Tag Archives: conservation lab

Welcome to Our New Intern Angela Nettles

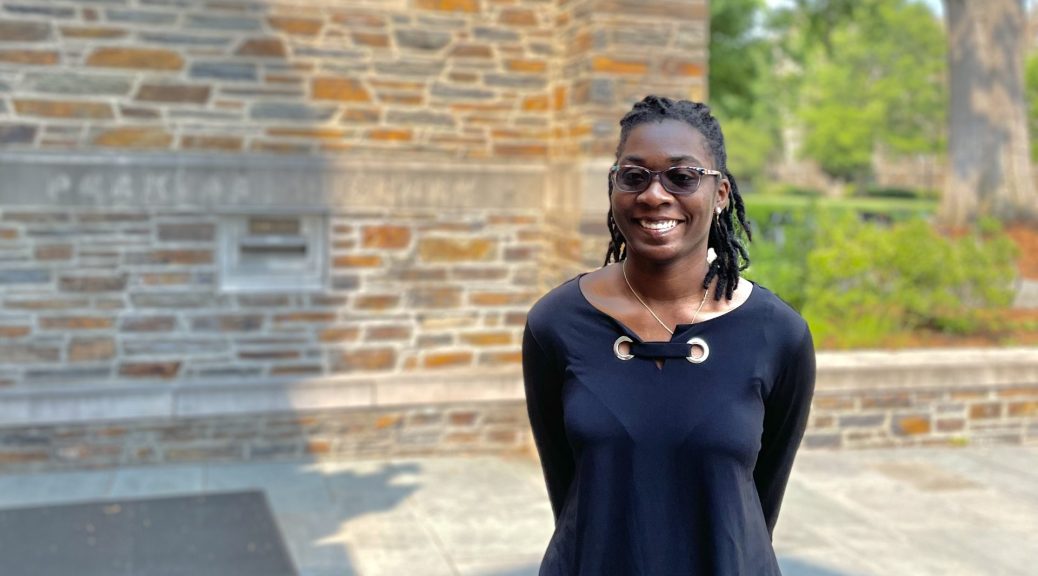
We are delighted to welcome our sixth HBCU Library Alliance intern, Angela Nettles, to Duke Libraries. Angela is a rising senior at Bennett College where she is studying Africana Women’s Studies. She is also one of eight students studying preservation this summer through the University of Delware/HBCU-LA internship program. As a part of the program, she will spend four weeks with us learning everything from binding pamphlets to conducting condition surveys.

After two years of presenting this program online, it’s refreshing to have our intern onsite again. So far, this first week has been a busy one. In addition to her bi-weekly cohort meetings, Angela has dived right into work here at Perkins Library.

To start, she spent the first half of the week assisting the Exhibition Department to set up the “Mandy Carter, the Scientist of Activism” exhibit.

From left to right: Meg Brown (Head of Exhibition Services), Angela Nettles, and Yoon Kim (Senior Library Exhibition Technician) after working on the Mandy Carter exhibit
Placing case labels and adjusting exhibit lights.

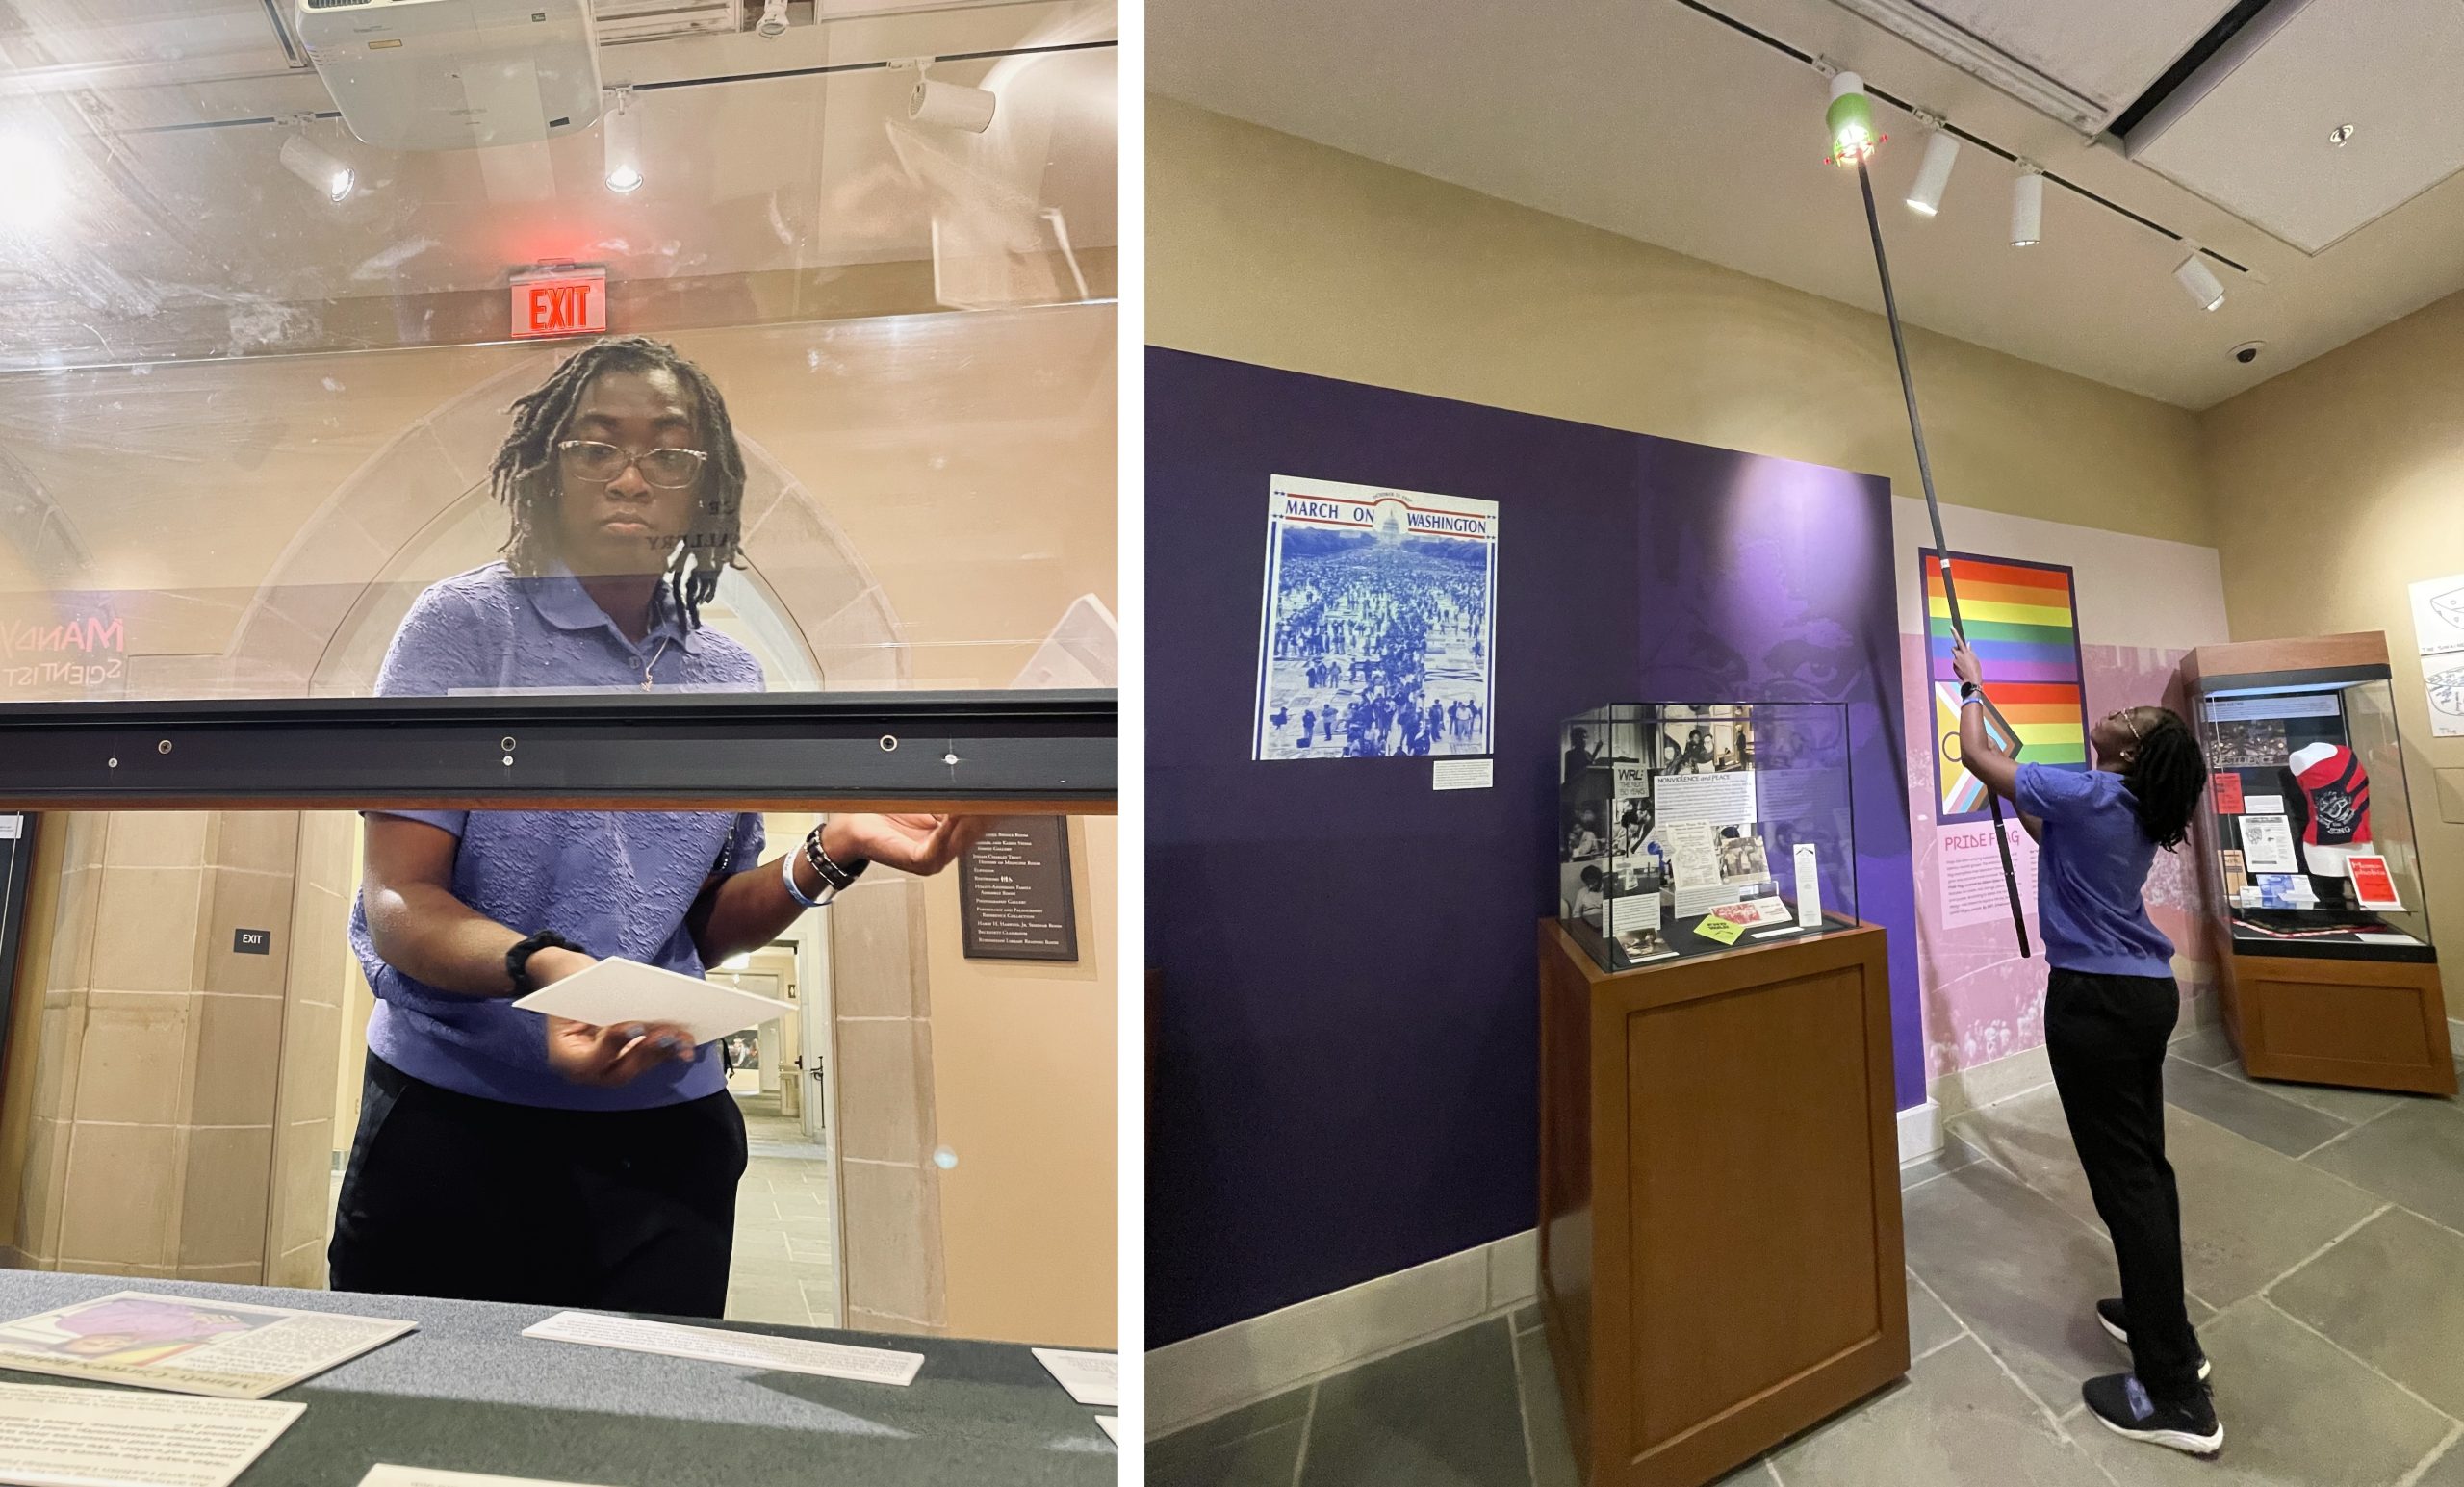
As you can imagine, there was a lot to be done. Regardless, Angela was up to the many tasks at hand. From sanding the walls to setting up exhibit cases, she eagerly took part in every step of the process.

Left: Sanding the walls to prep them for the new Phototex graphics that were going up. Right: Meg Brown showing Angela how they measure light in exhibitions for preservation purposes.

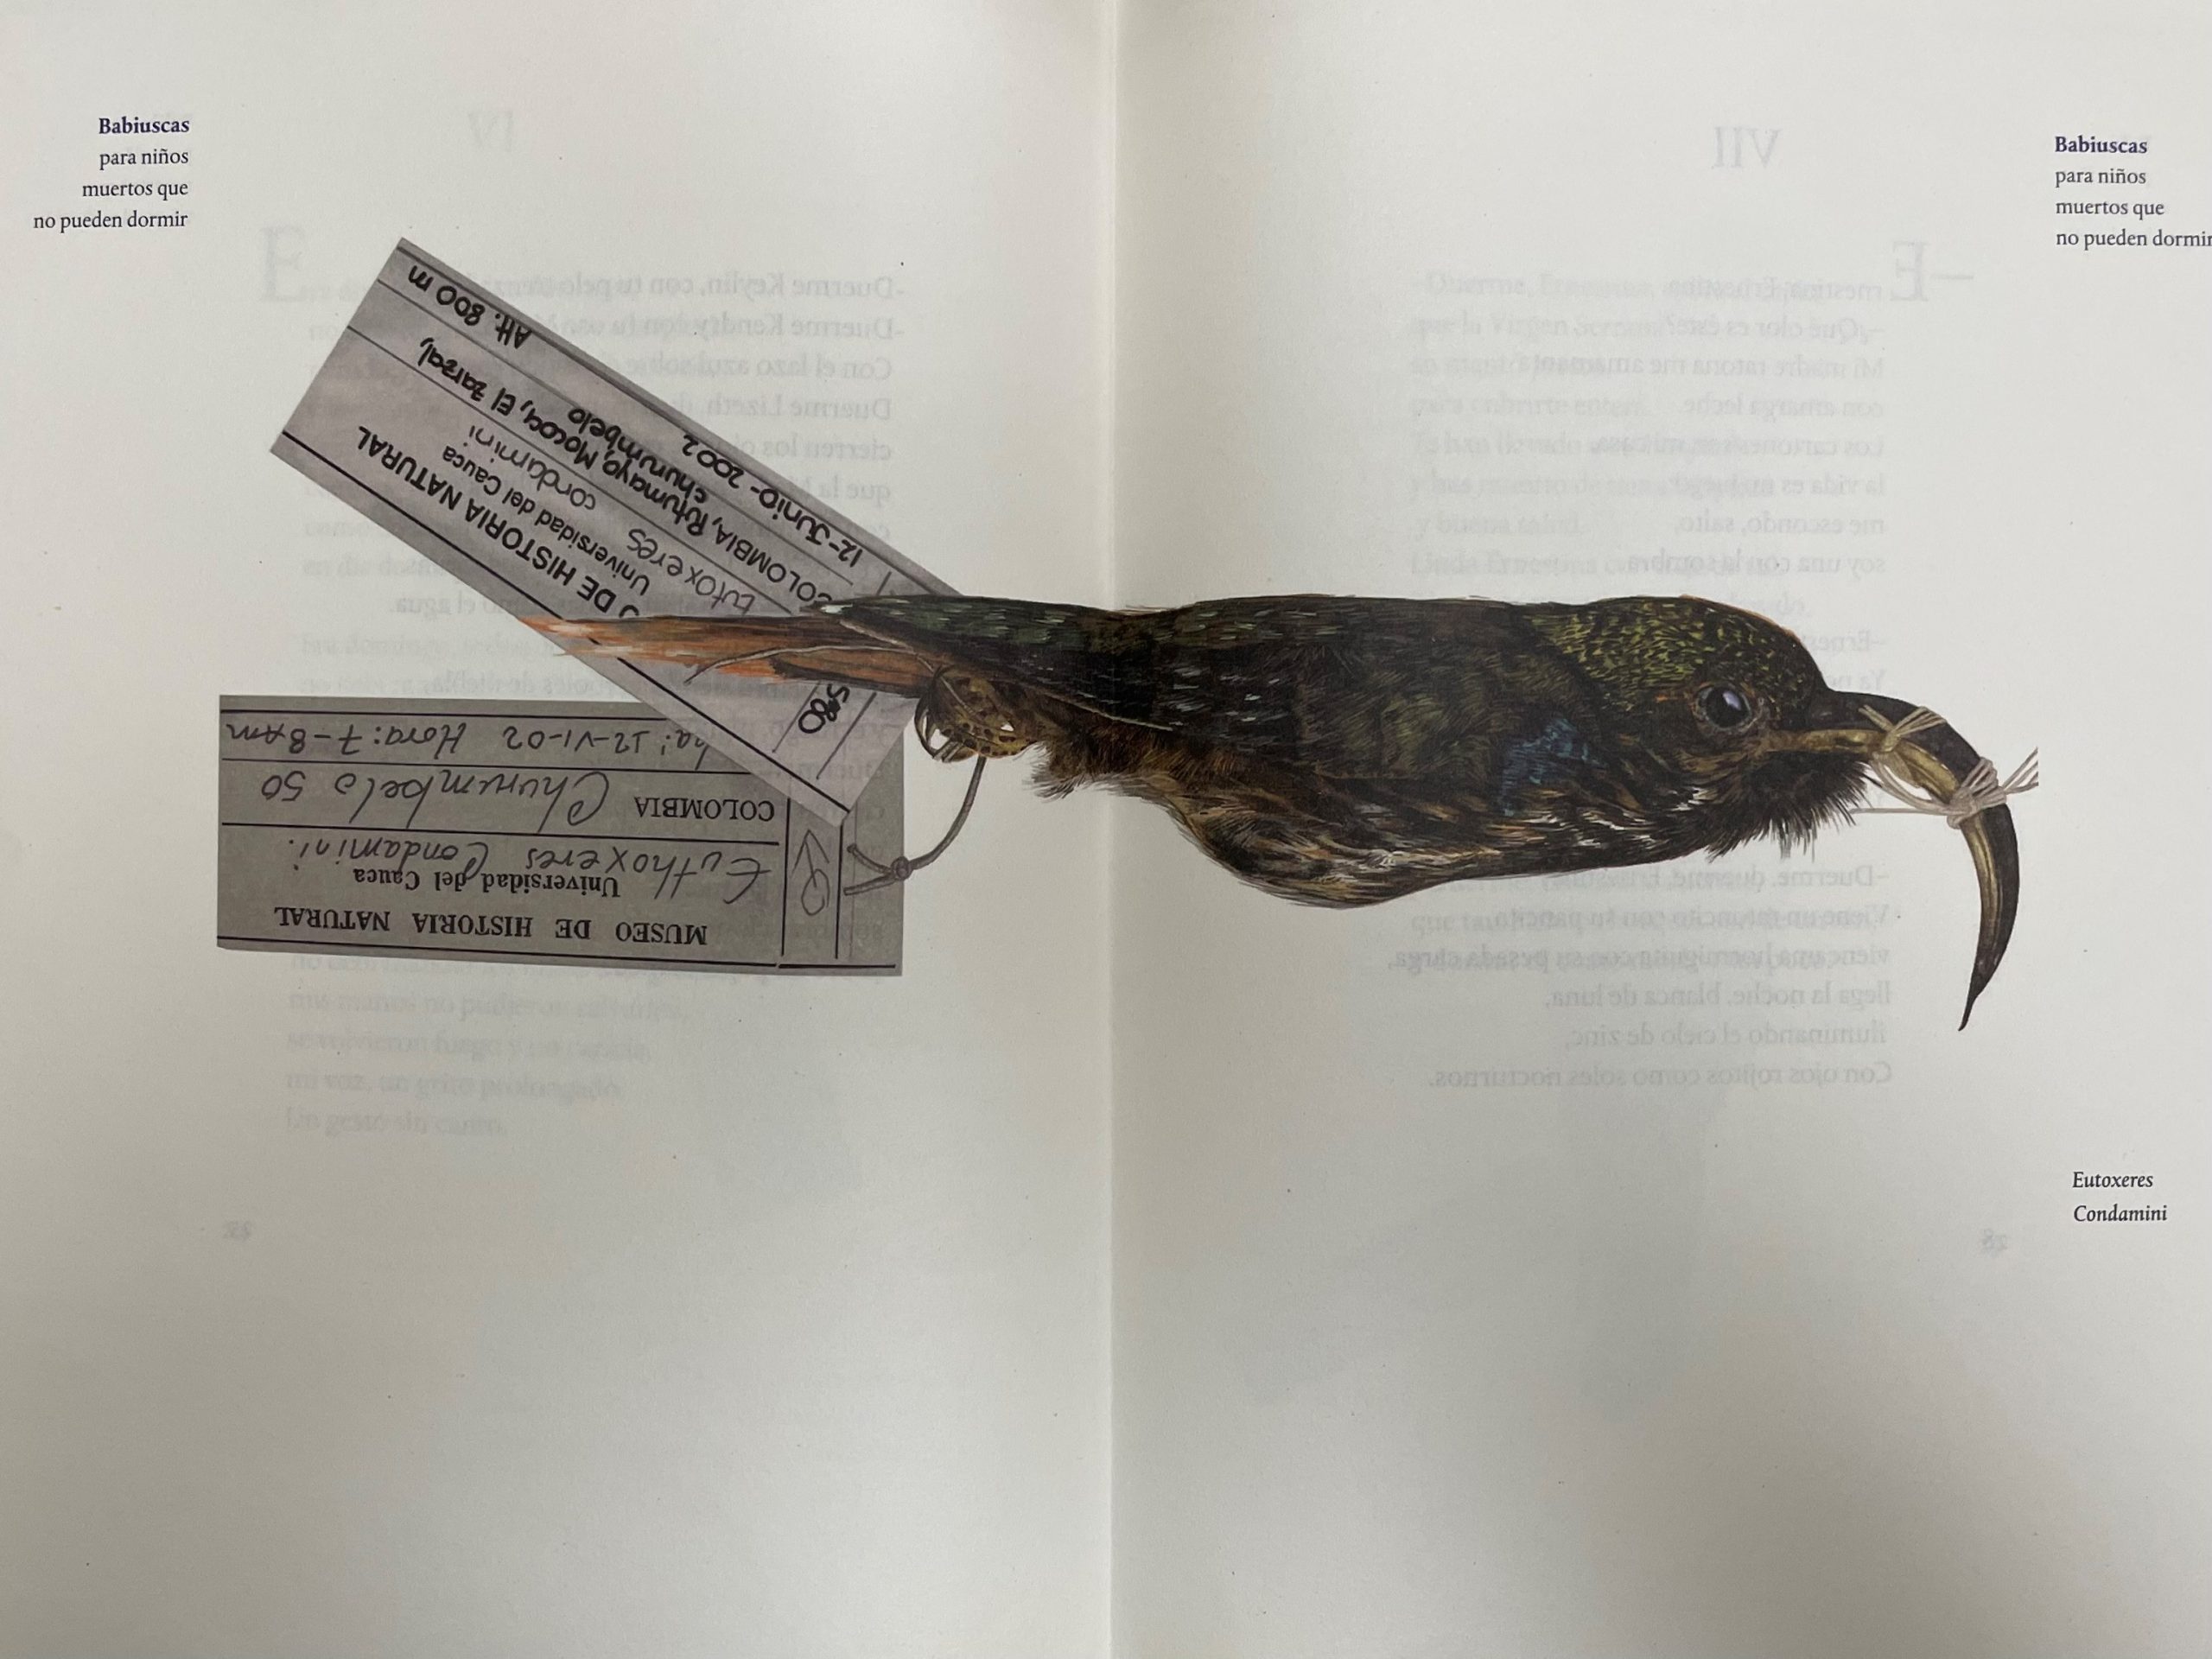
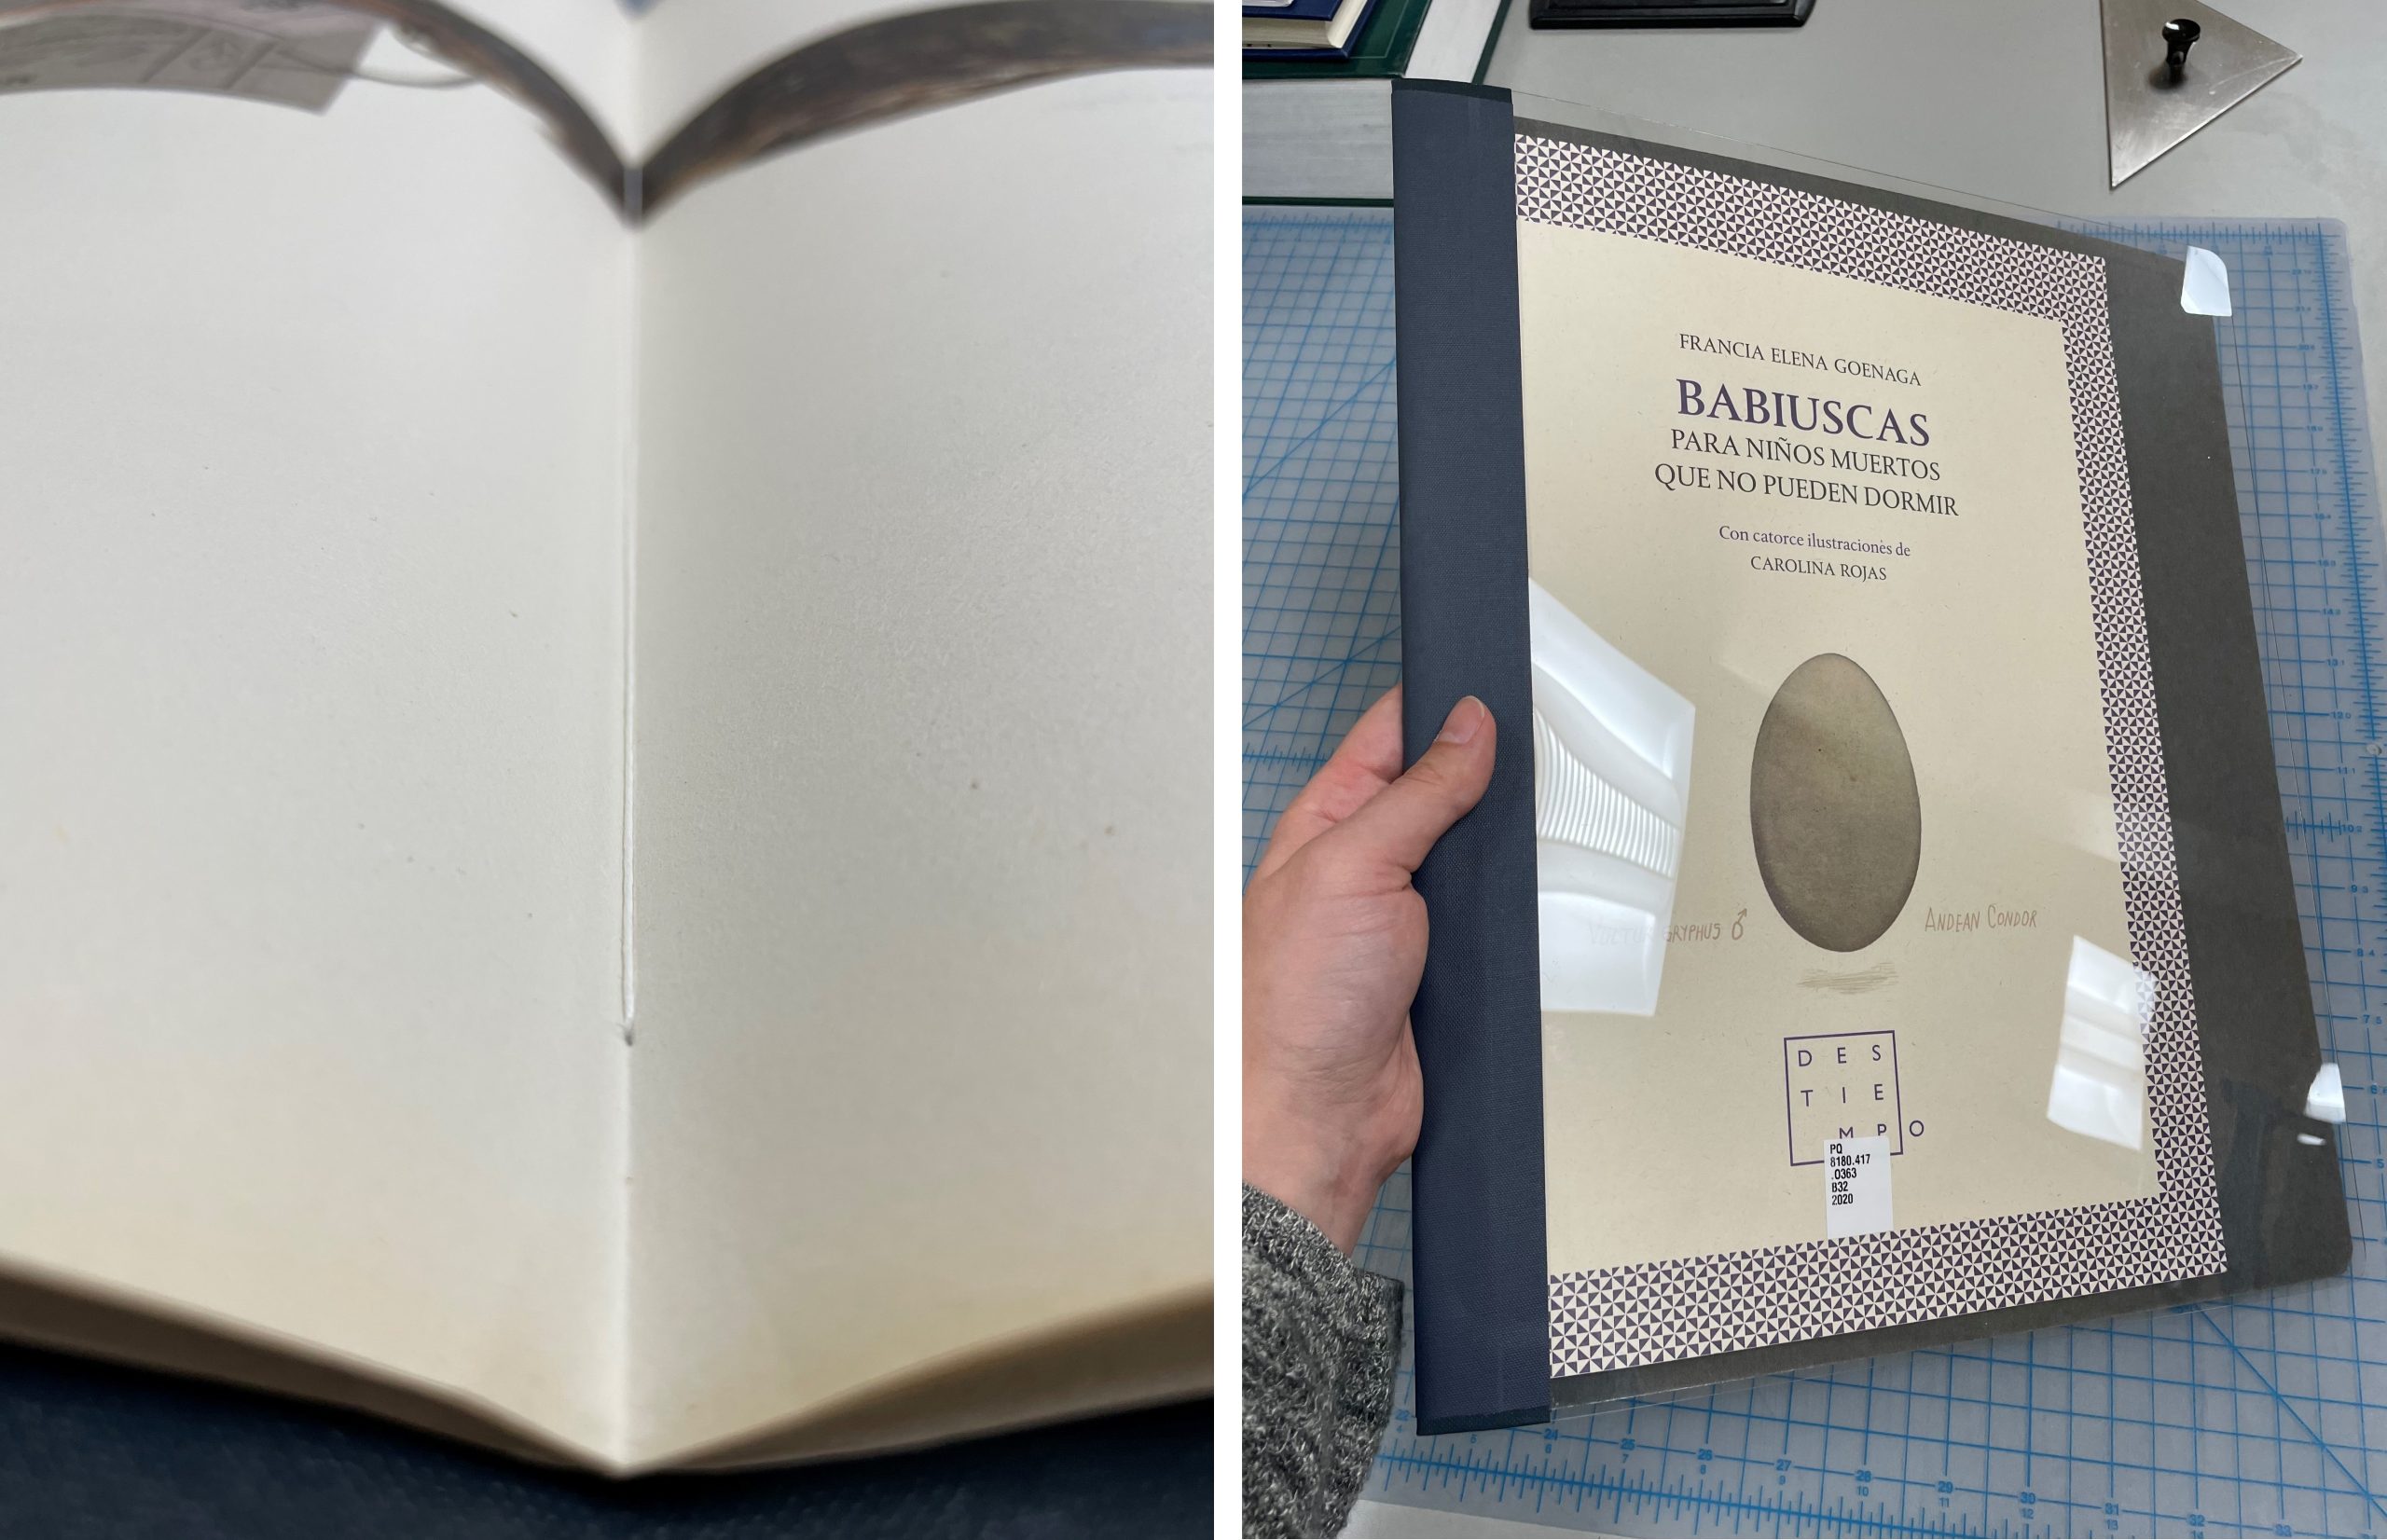
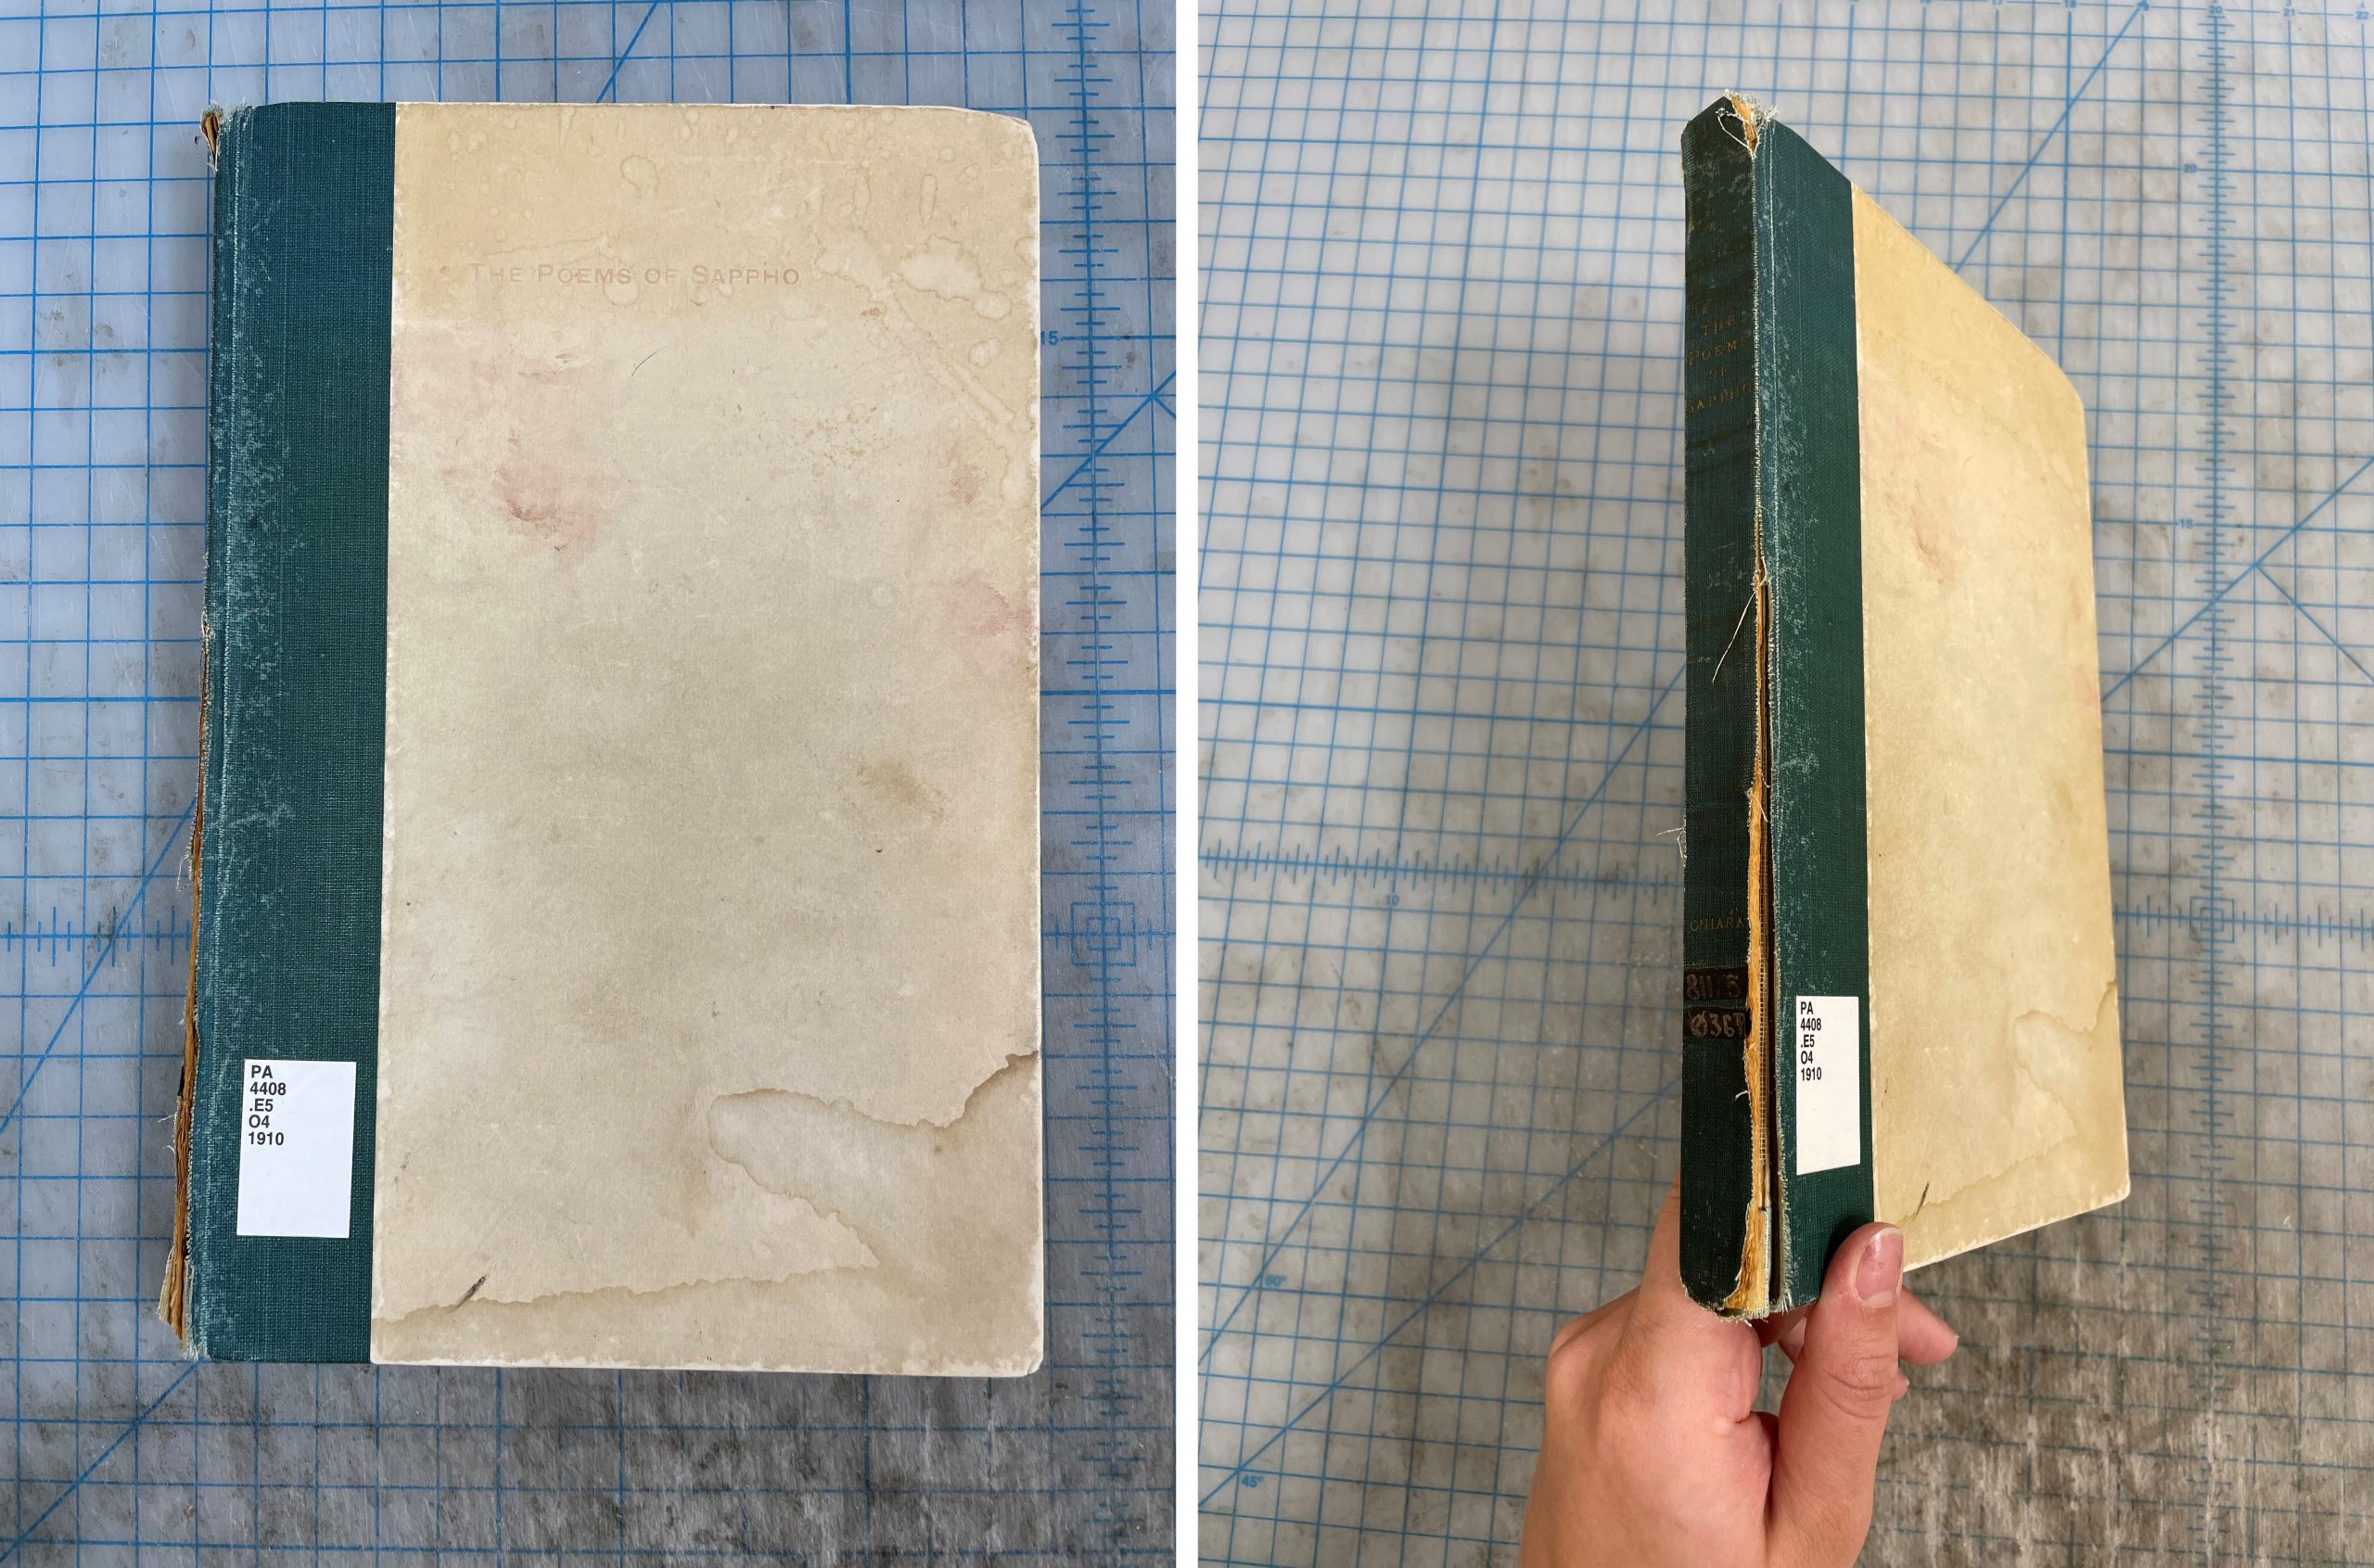
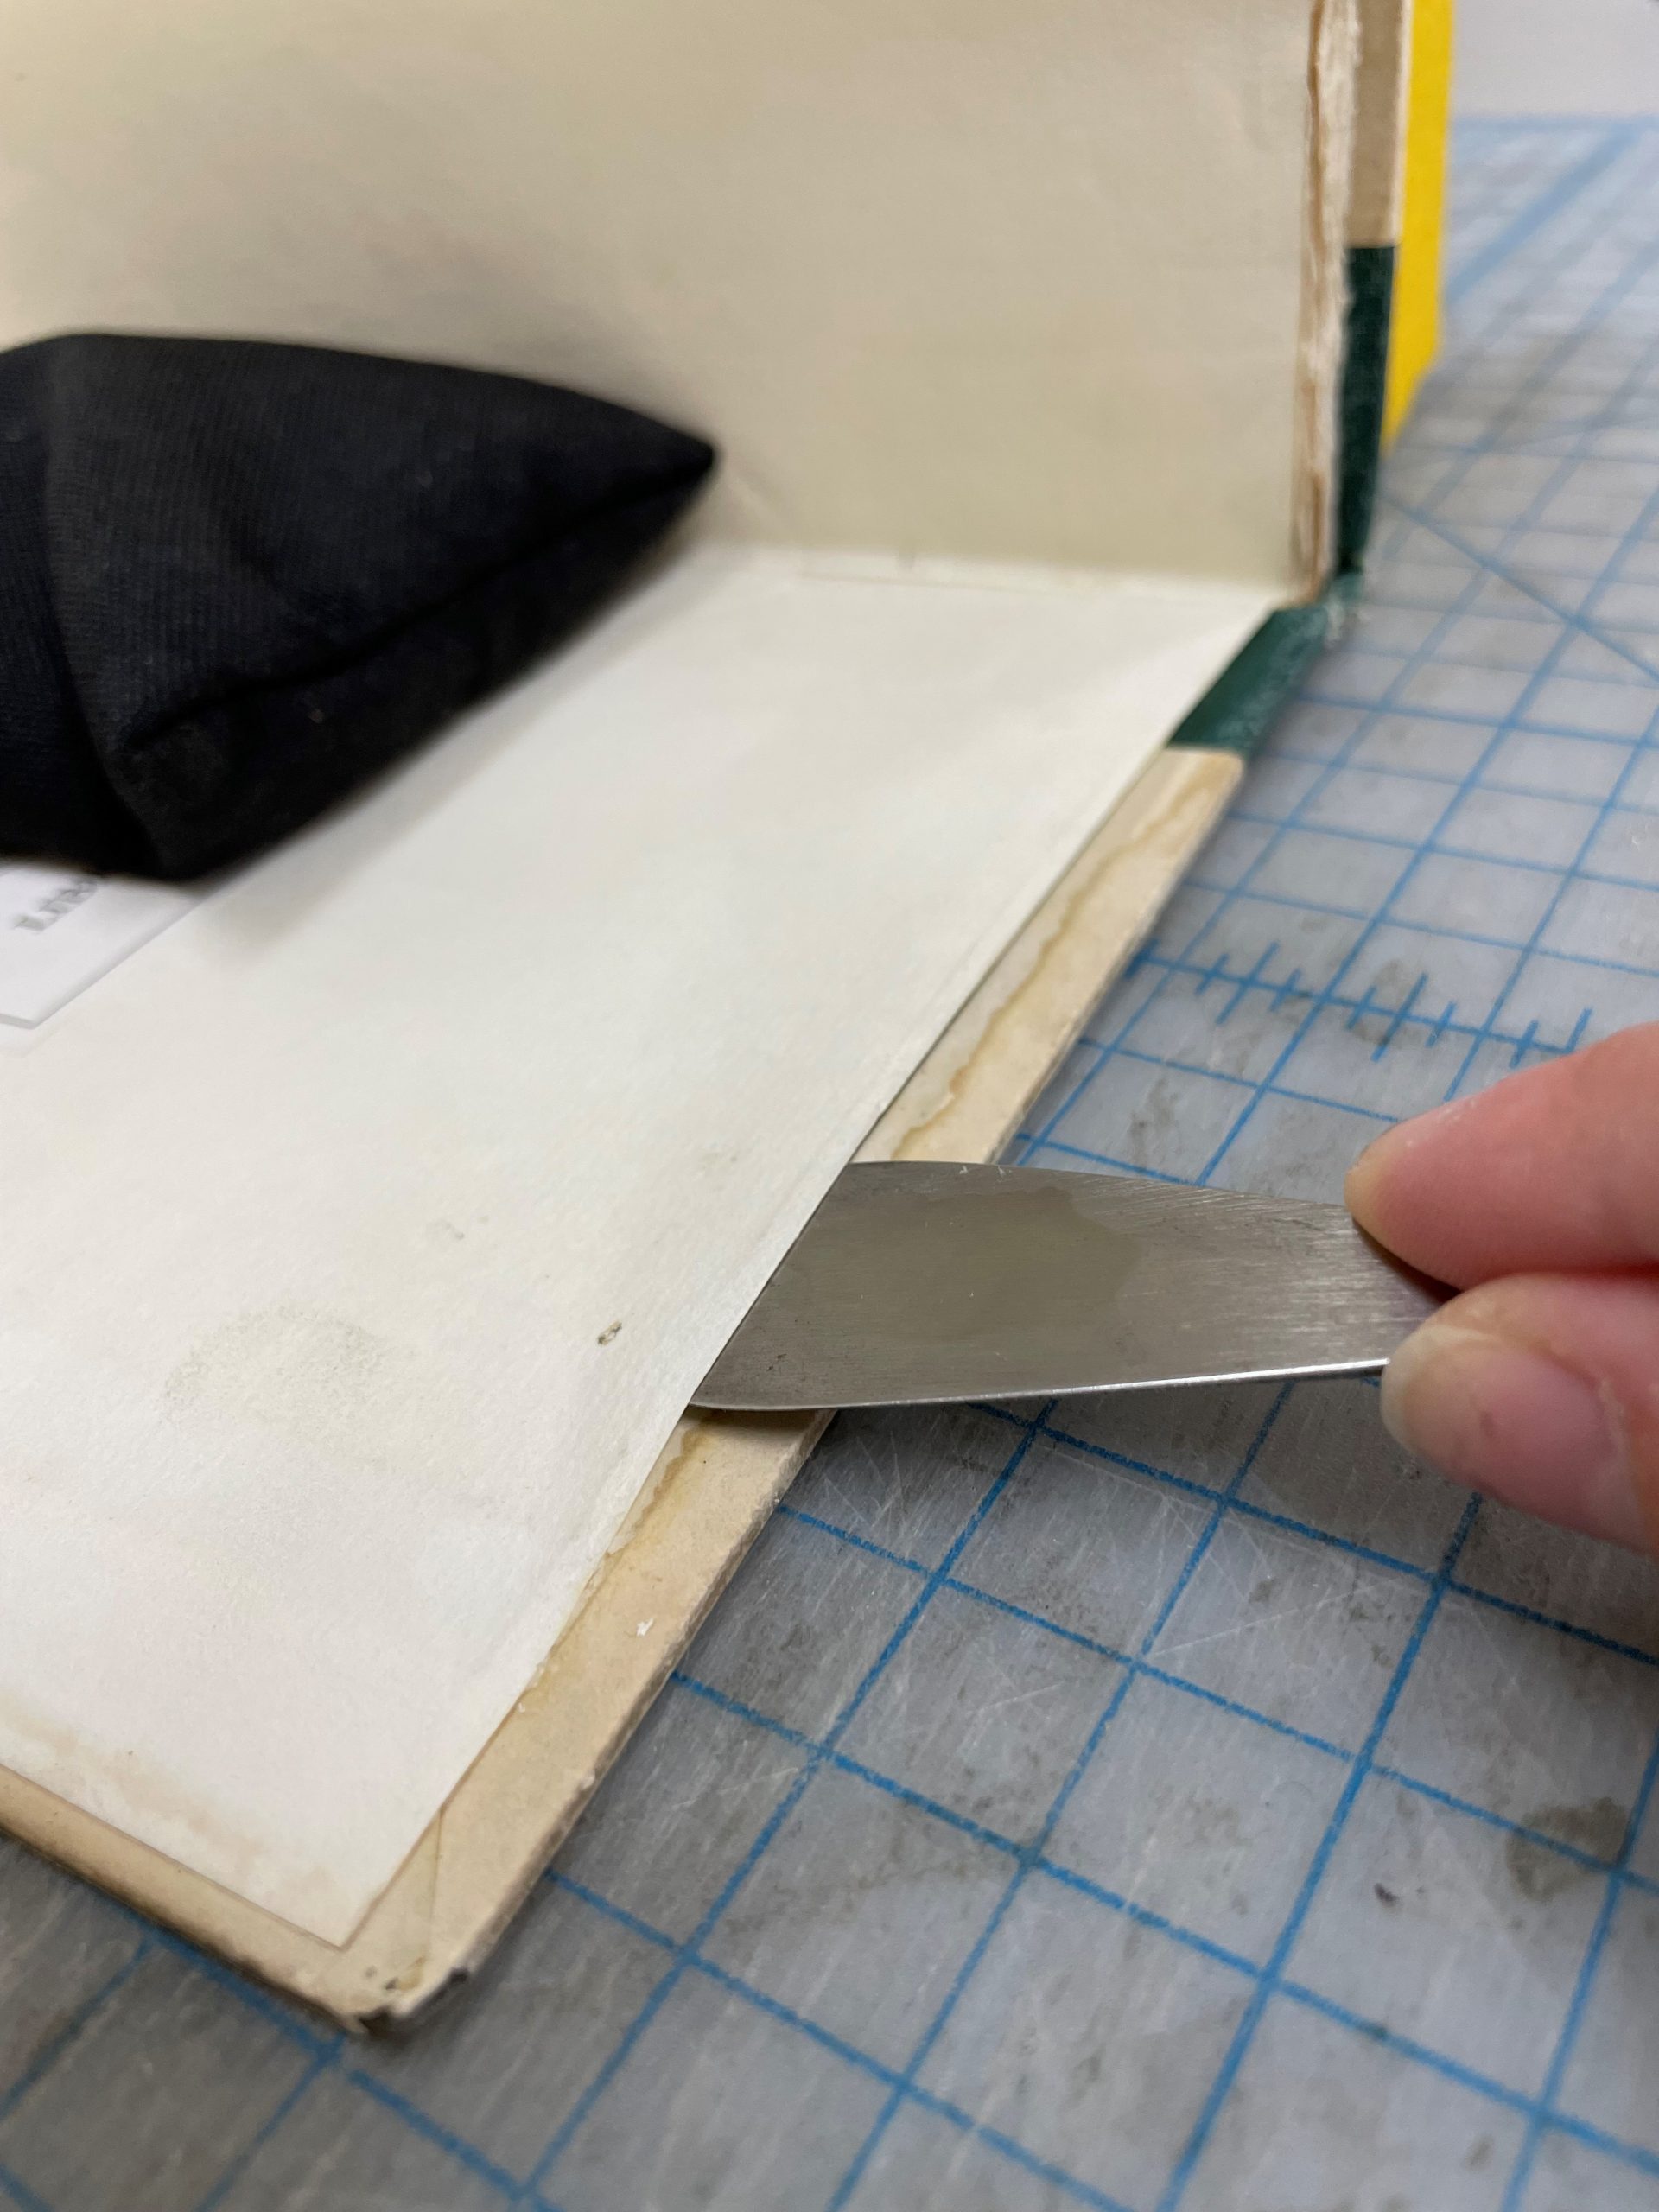
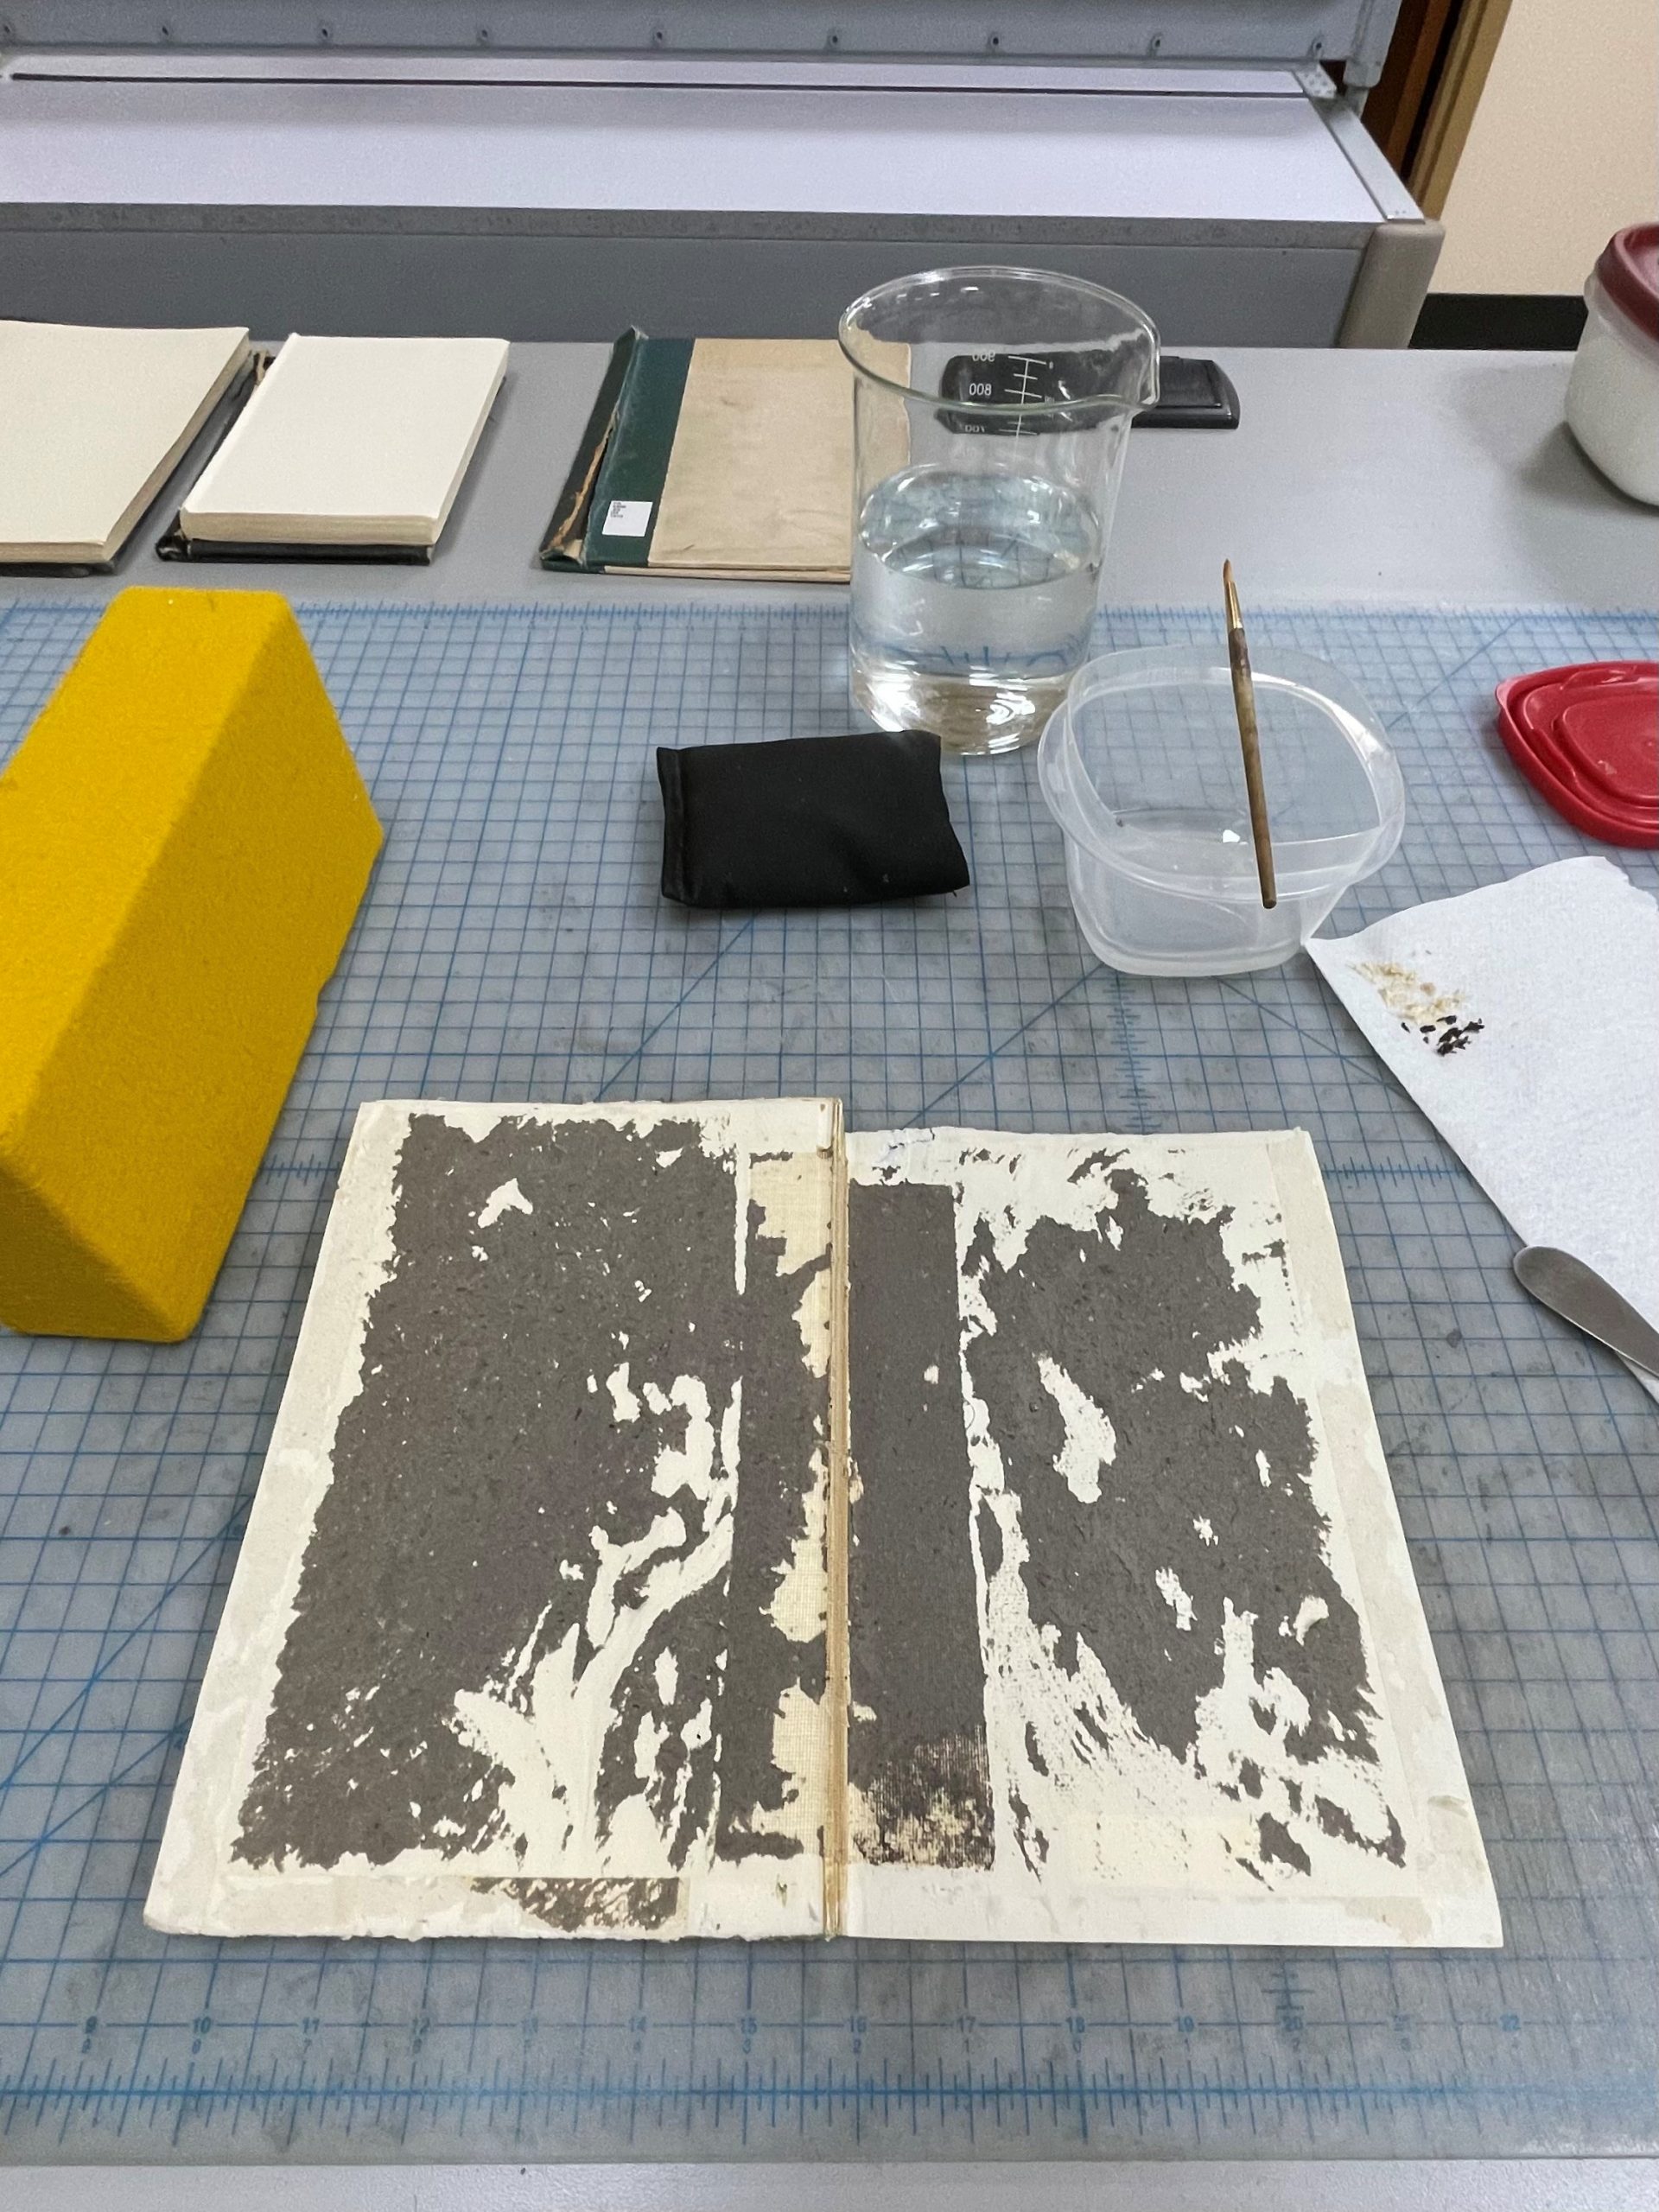
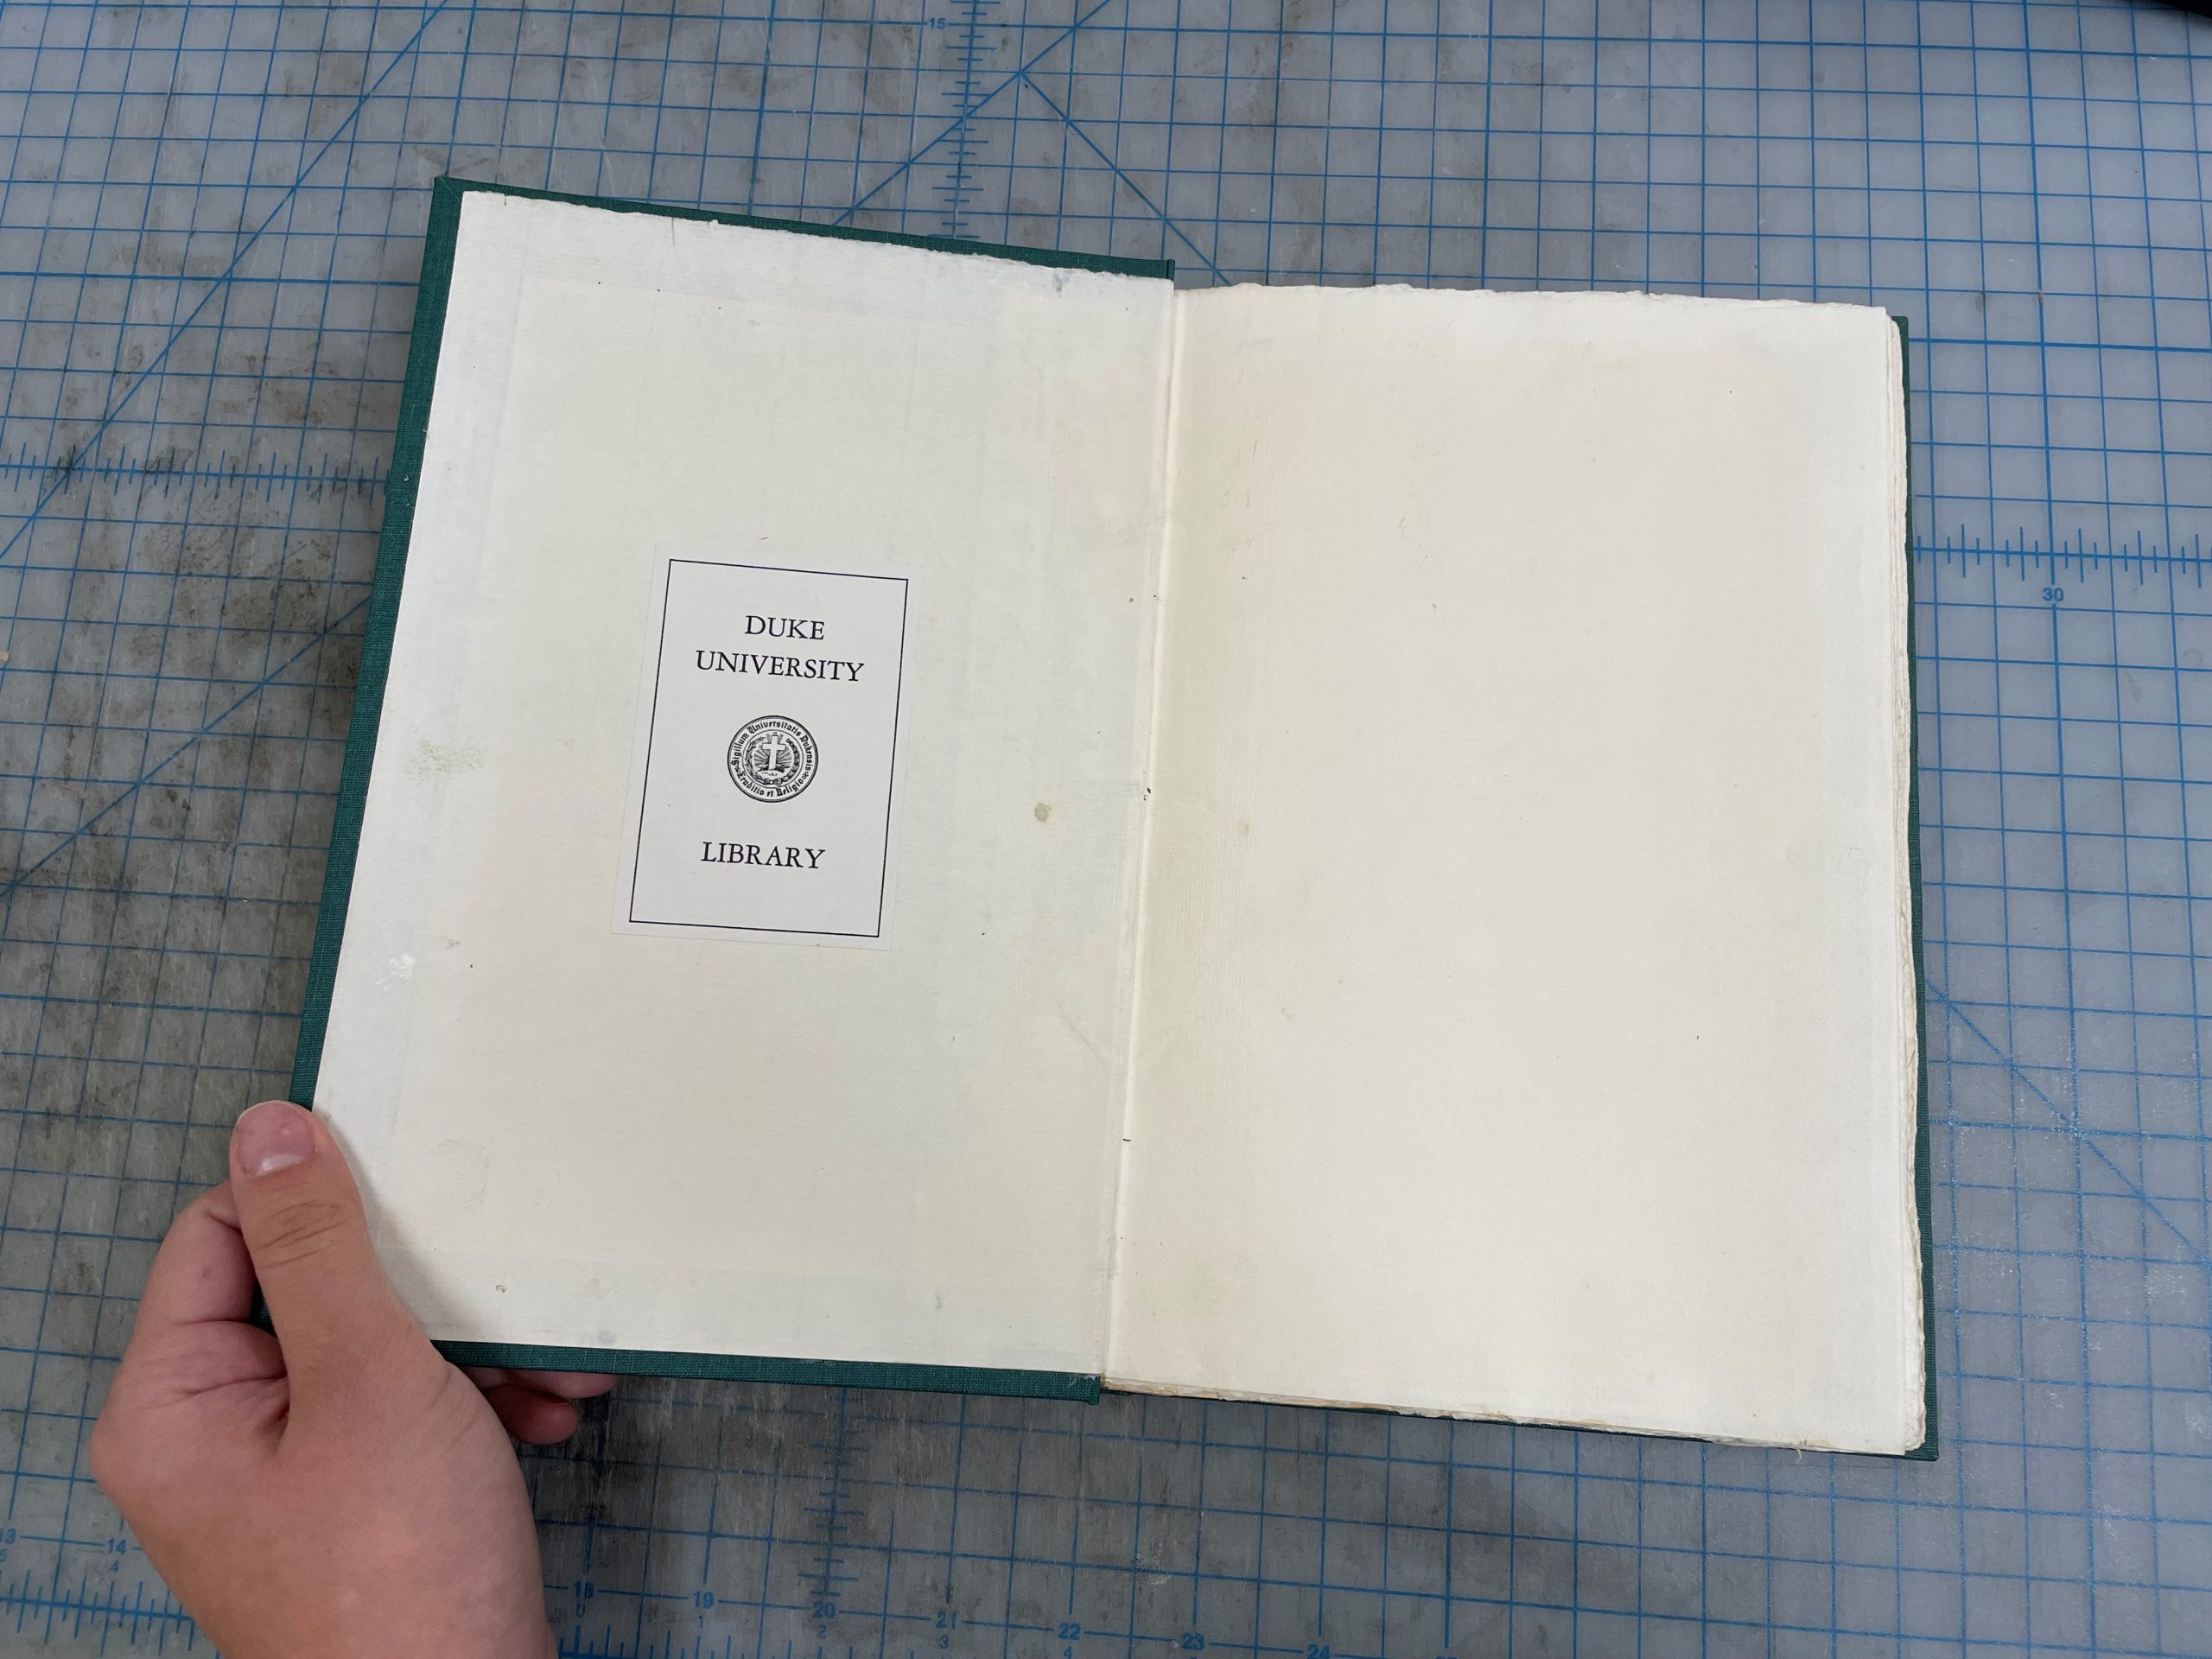
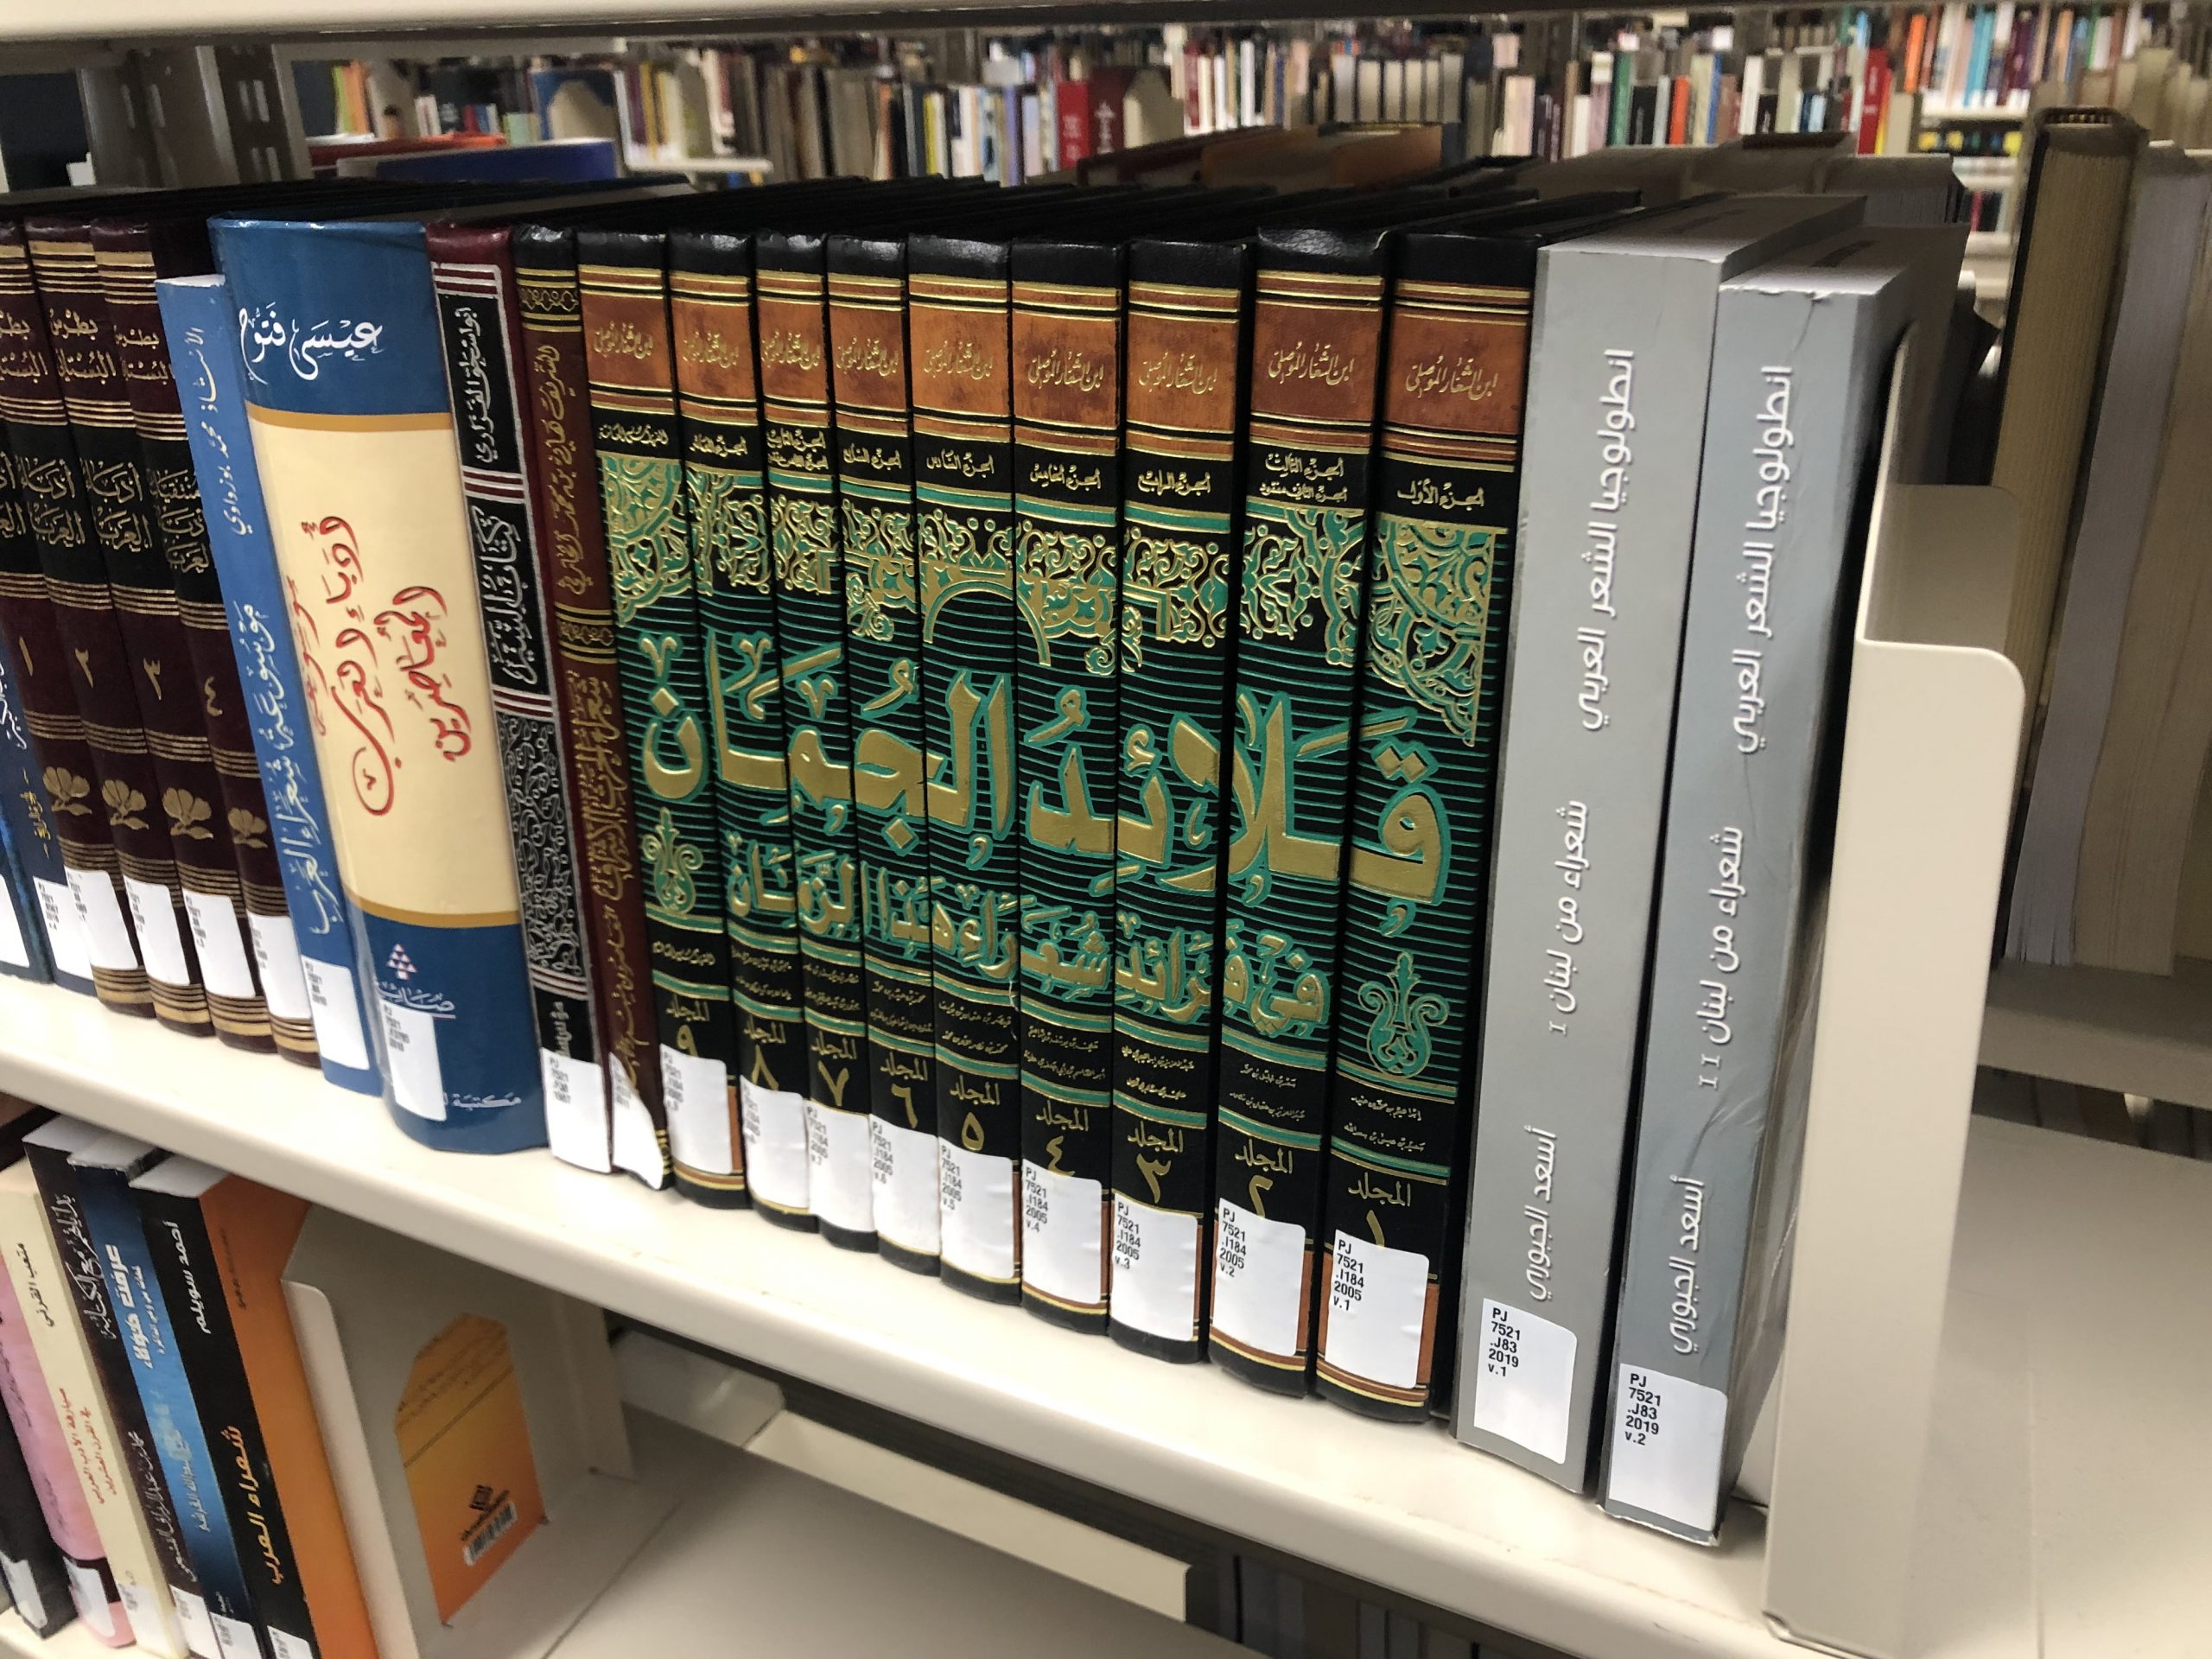
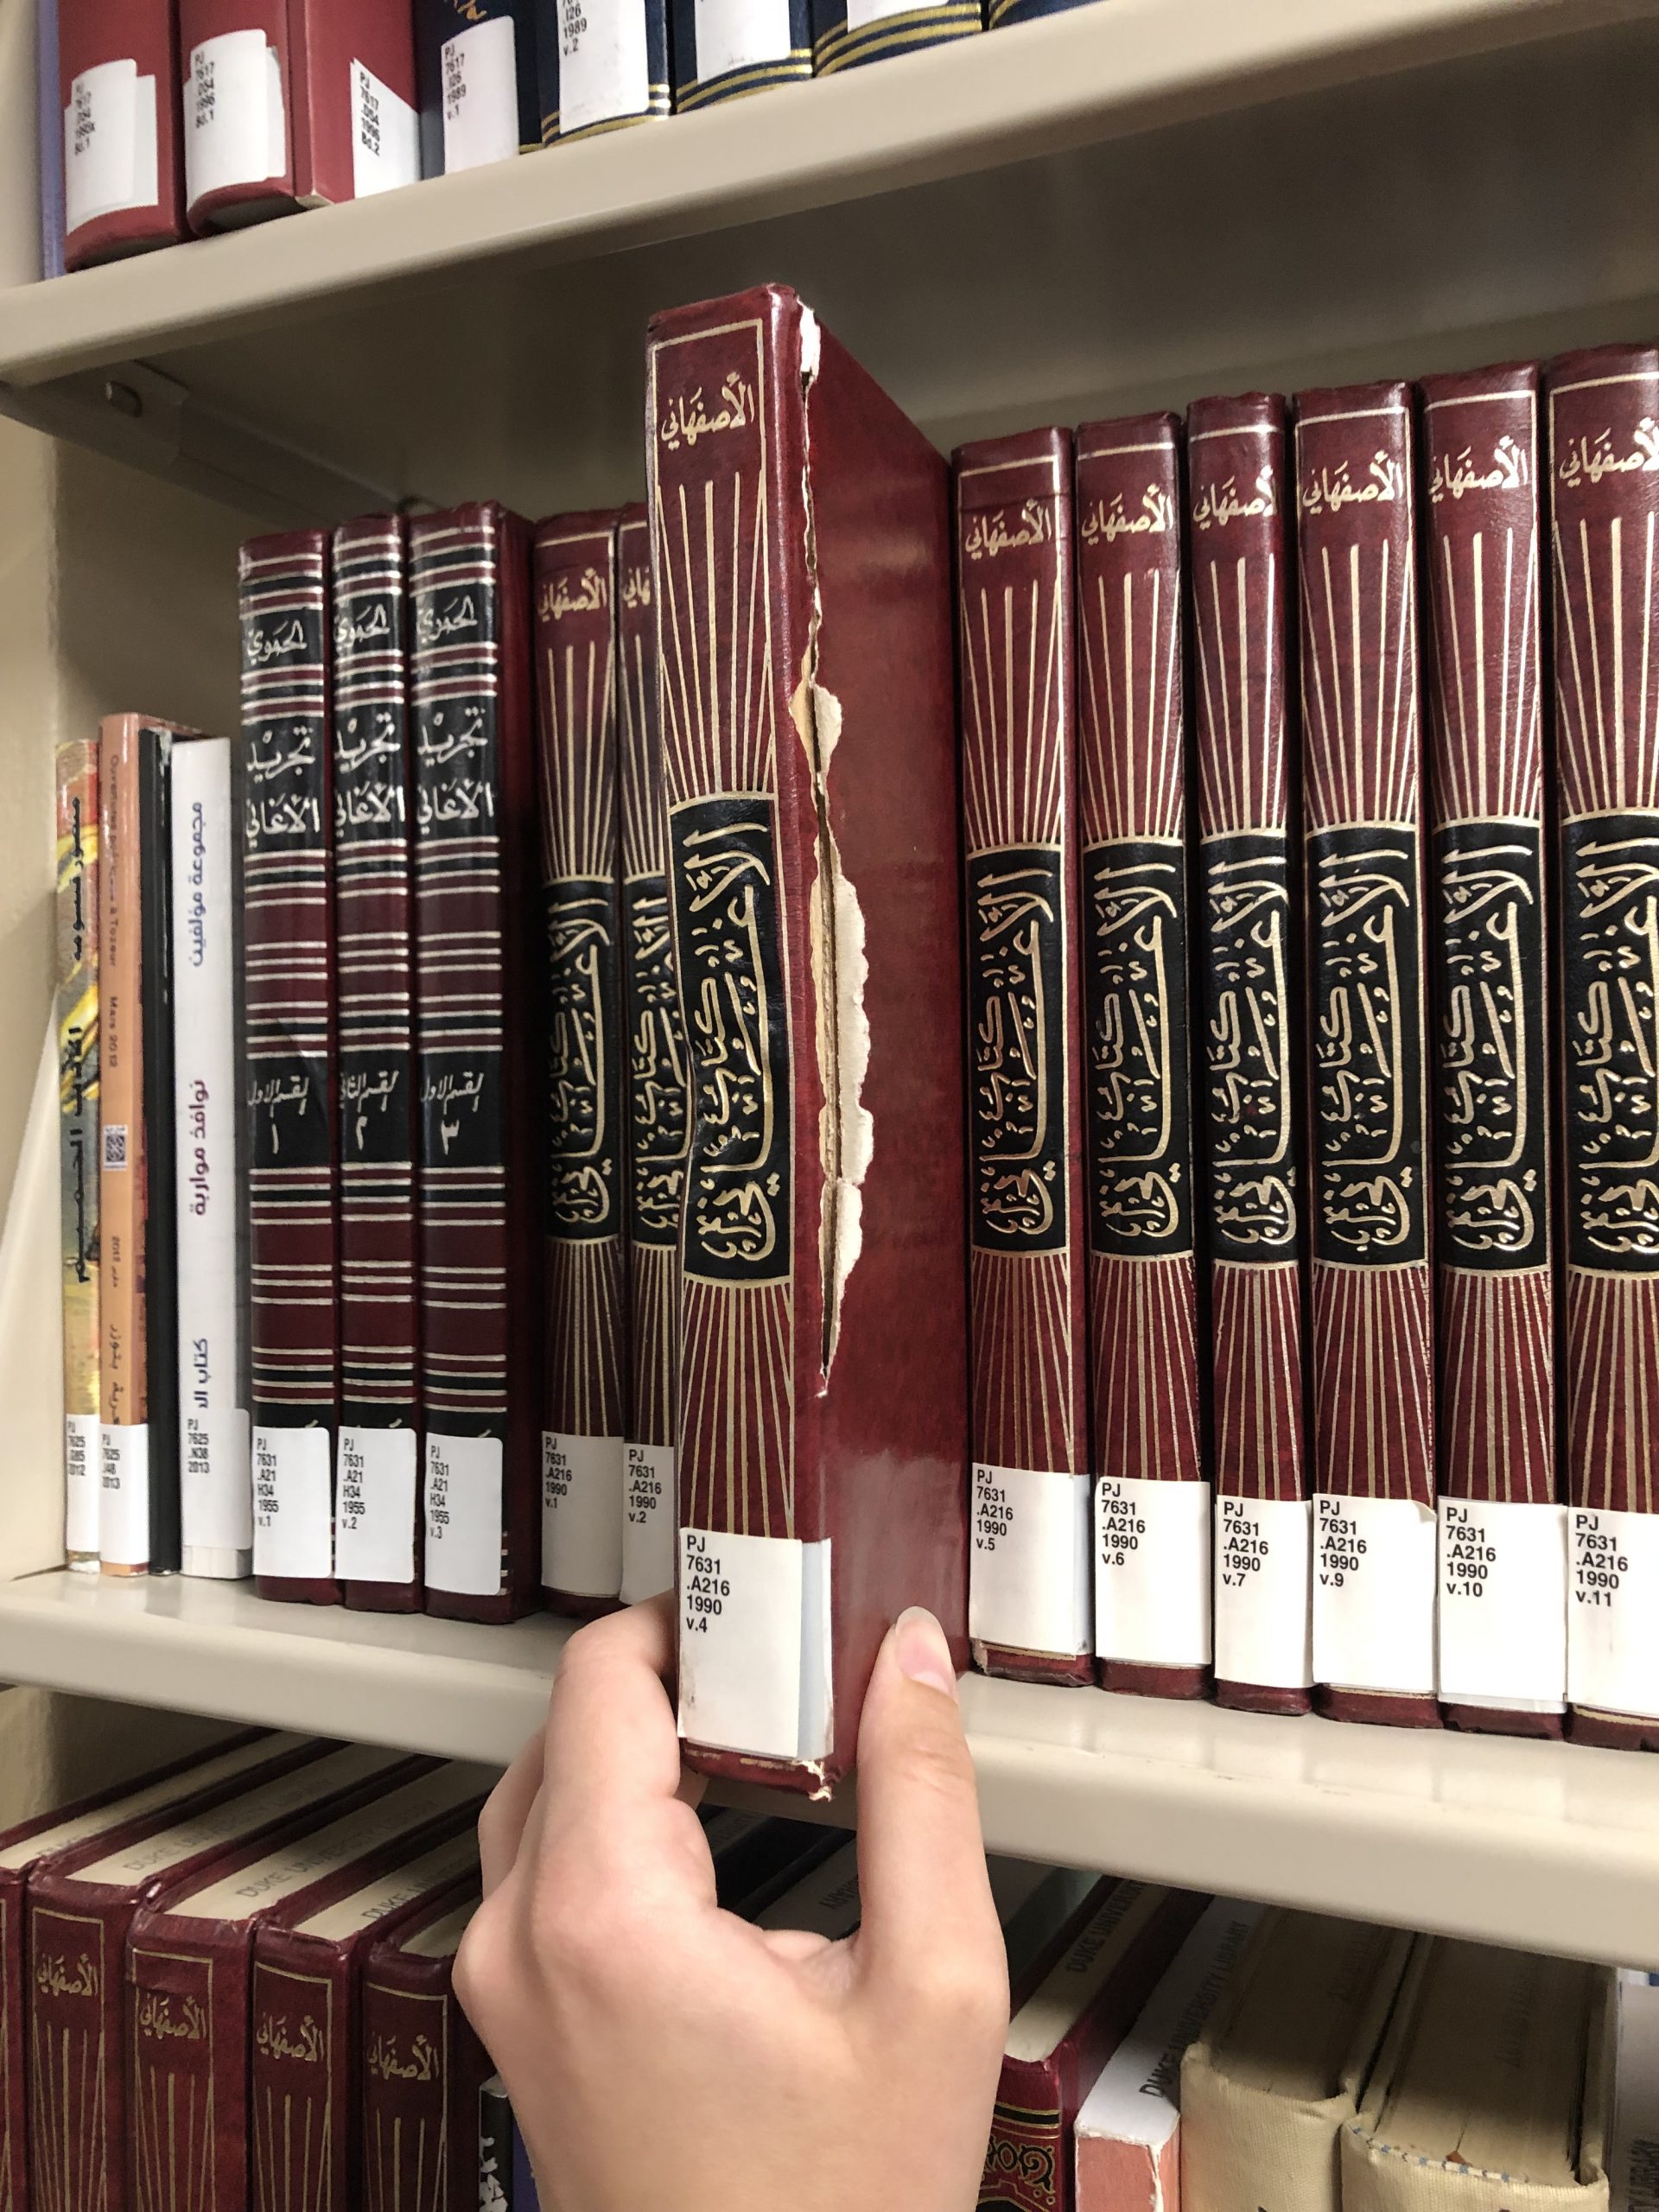
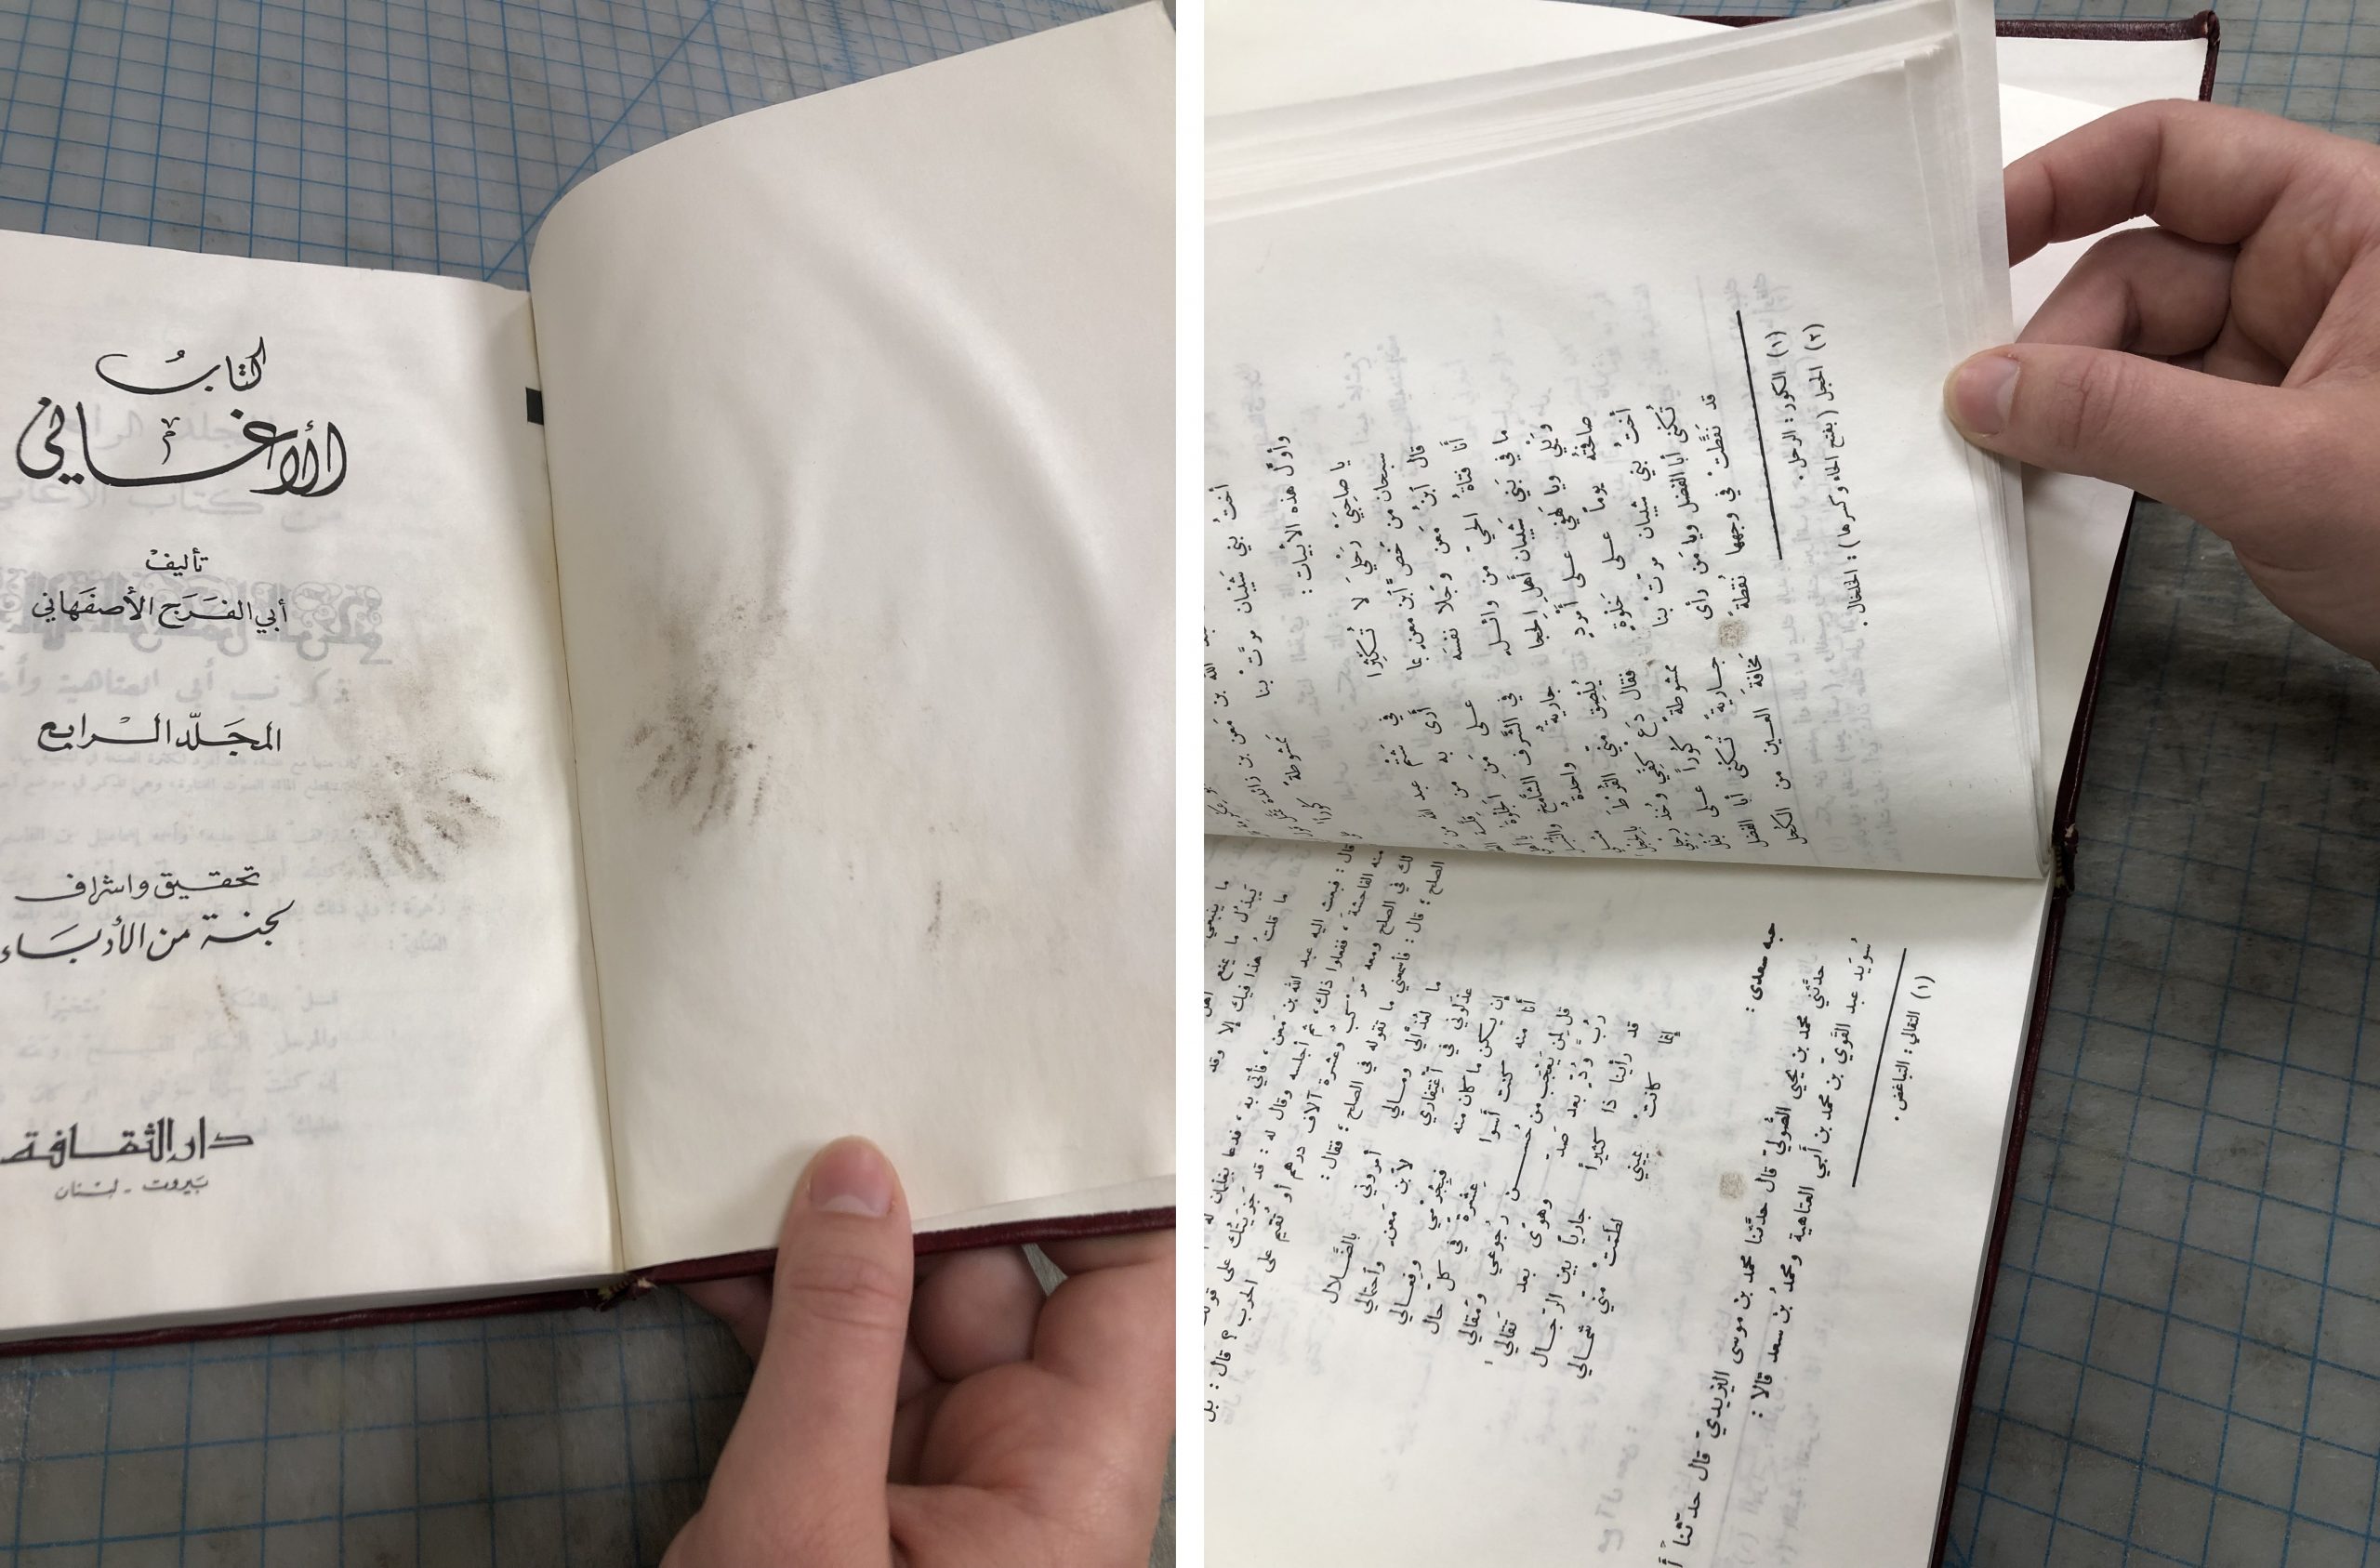
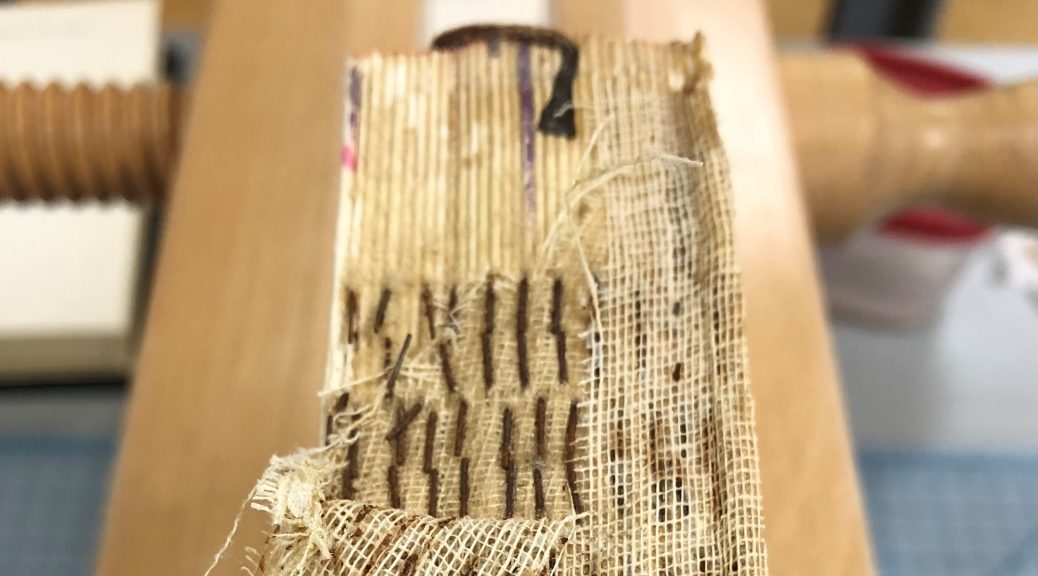
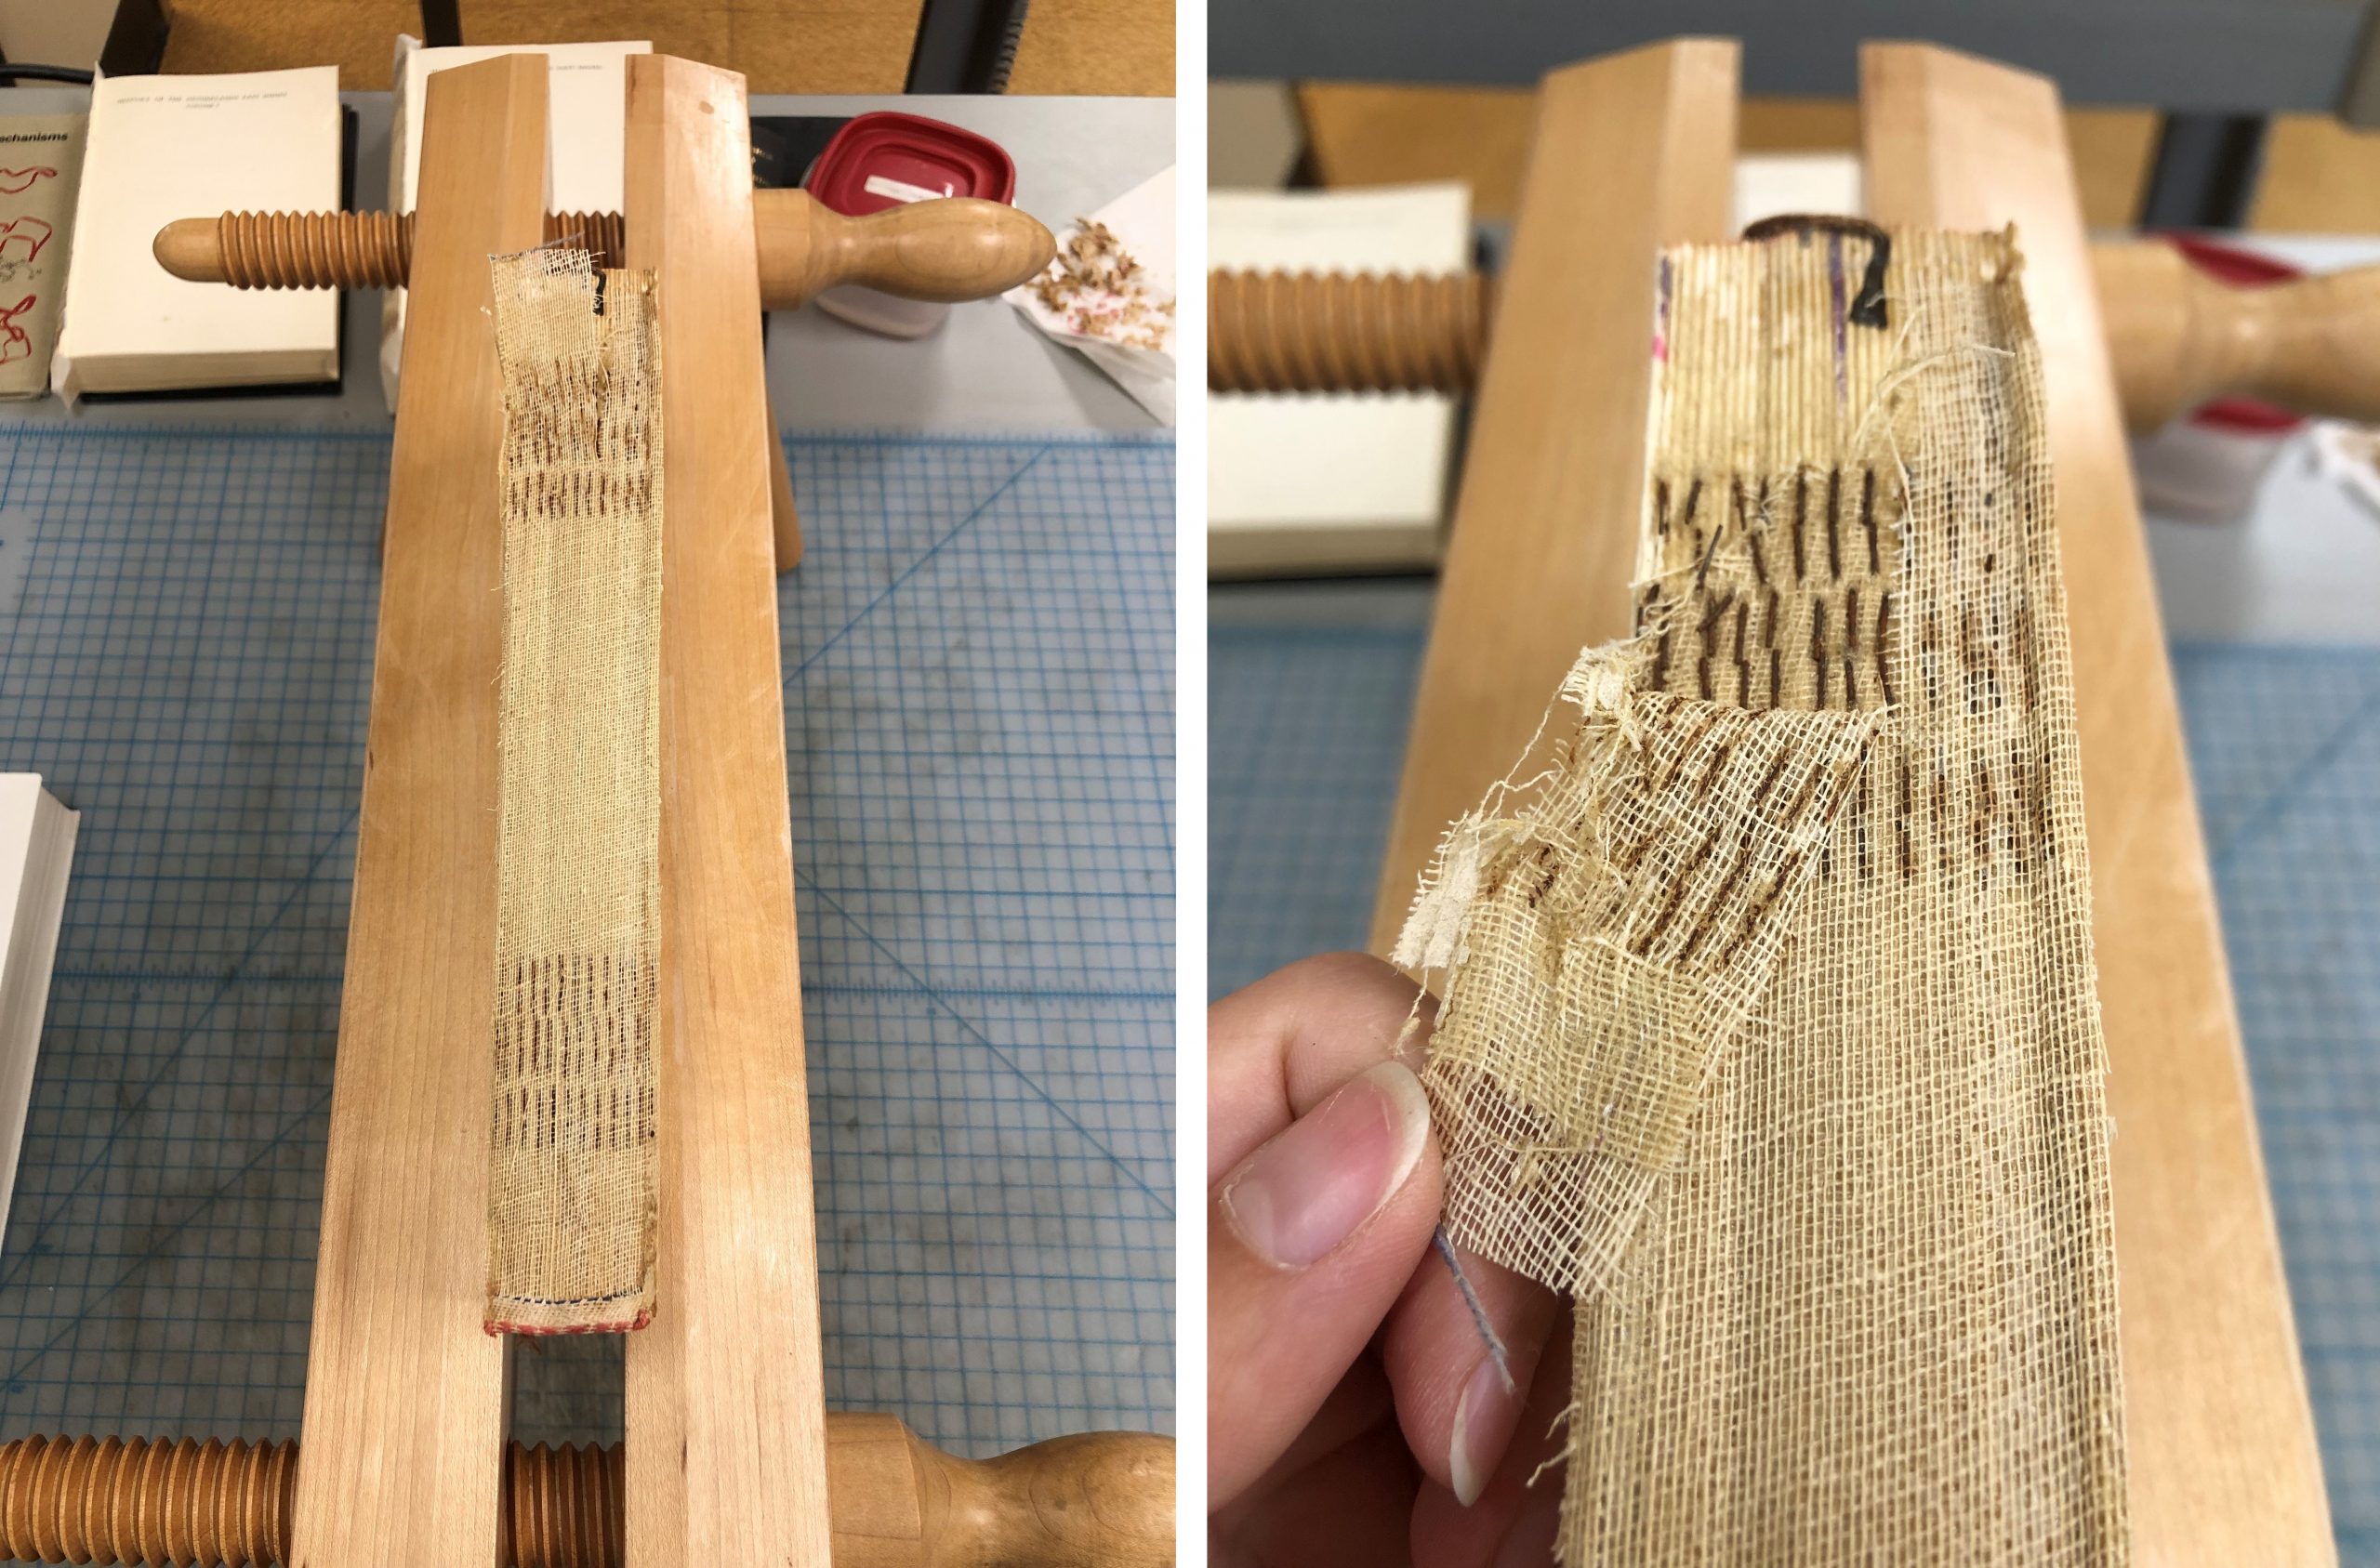
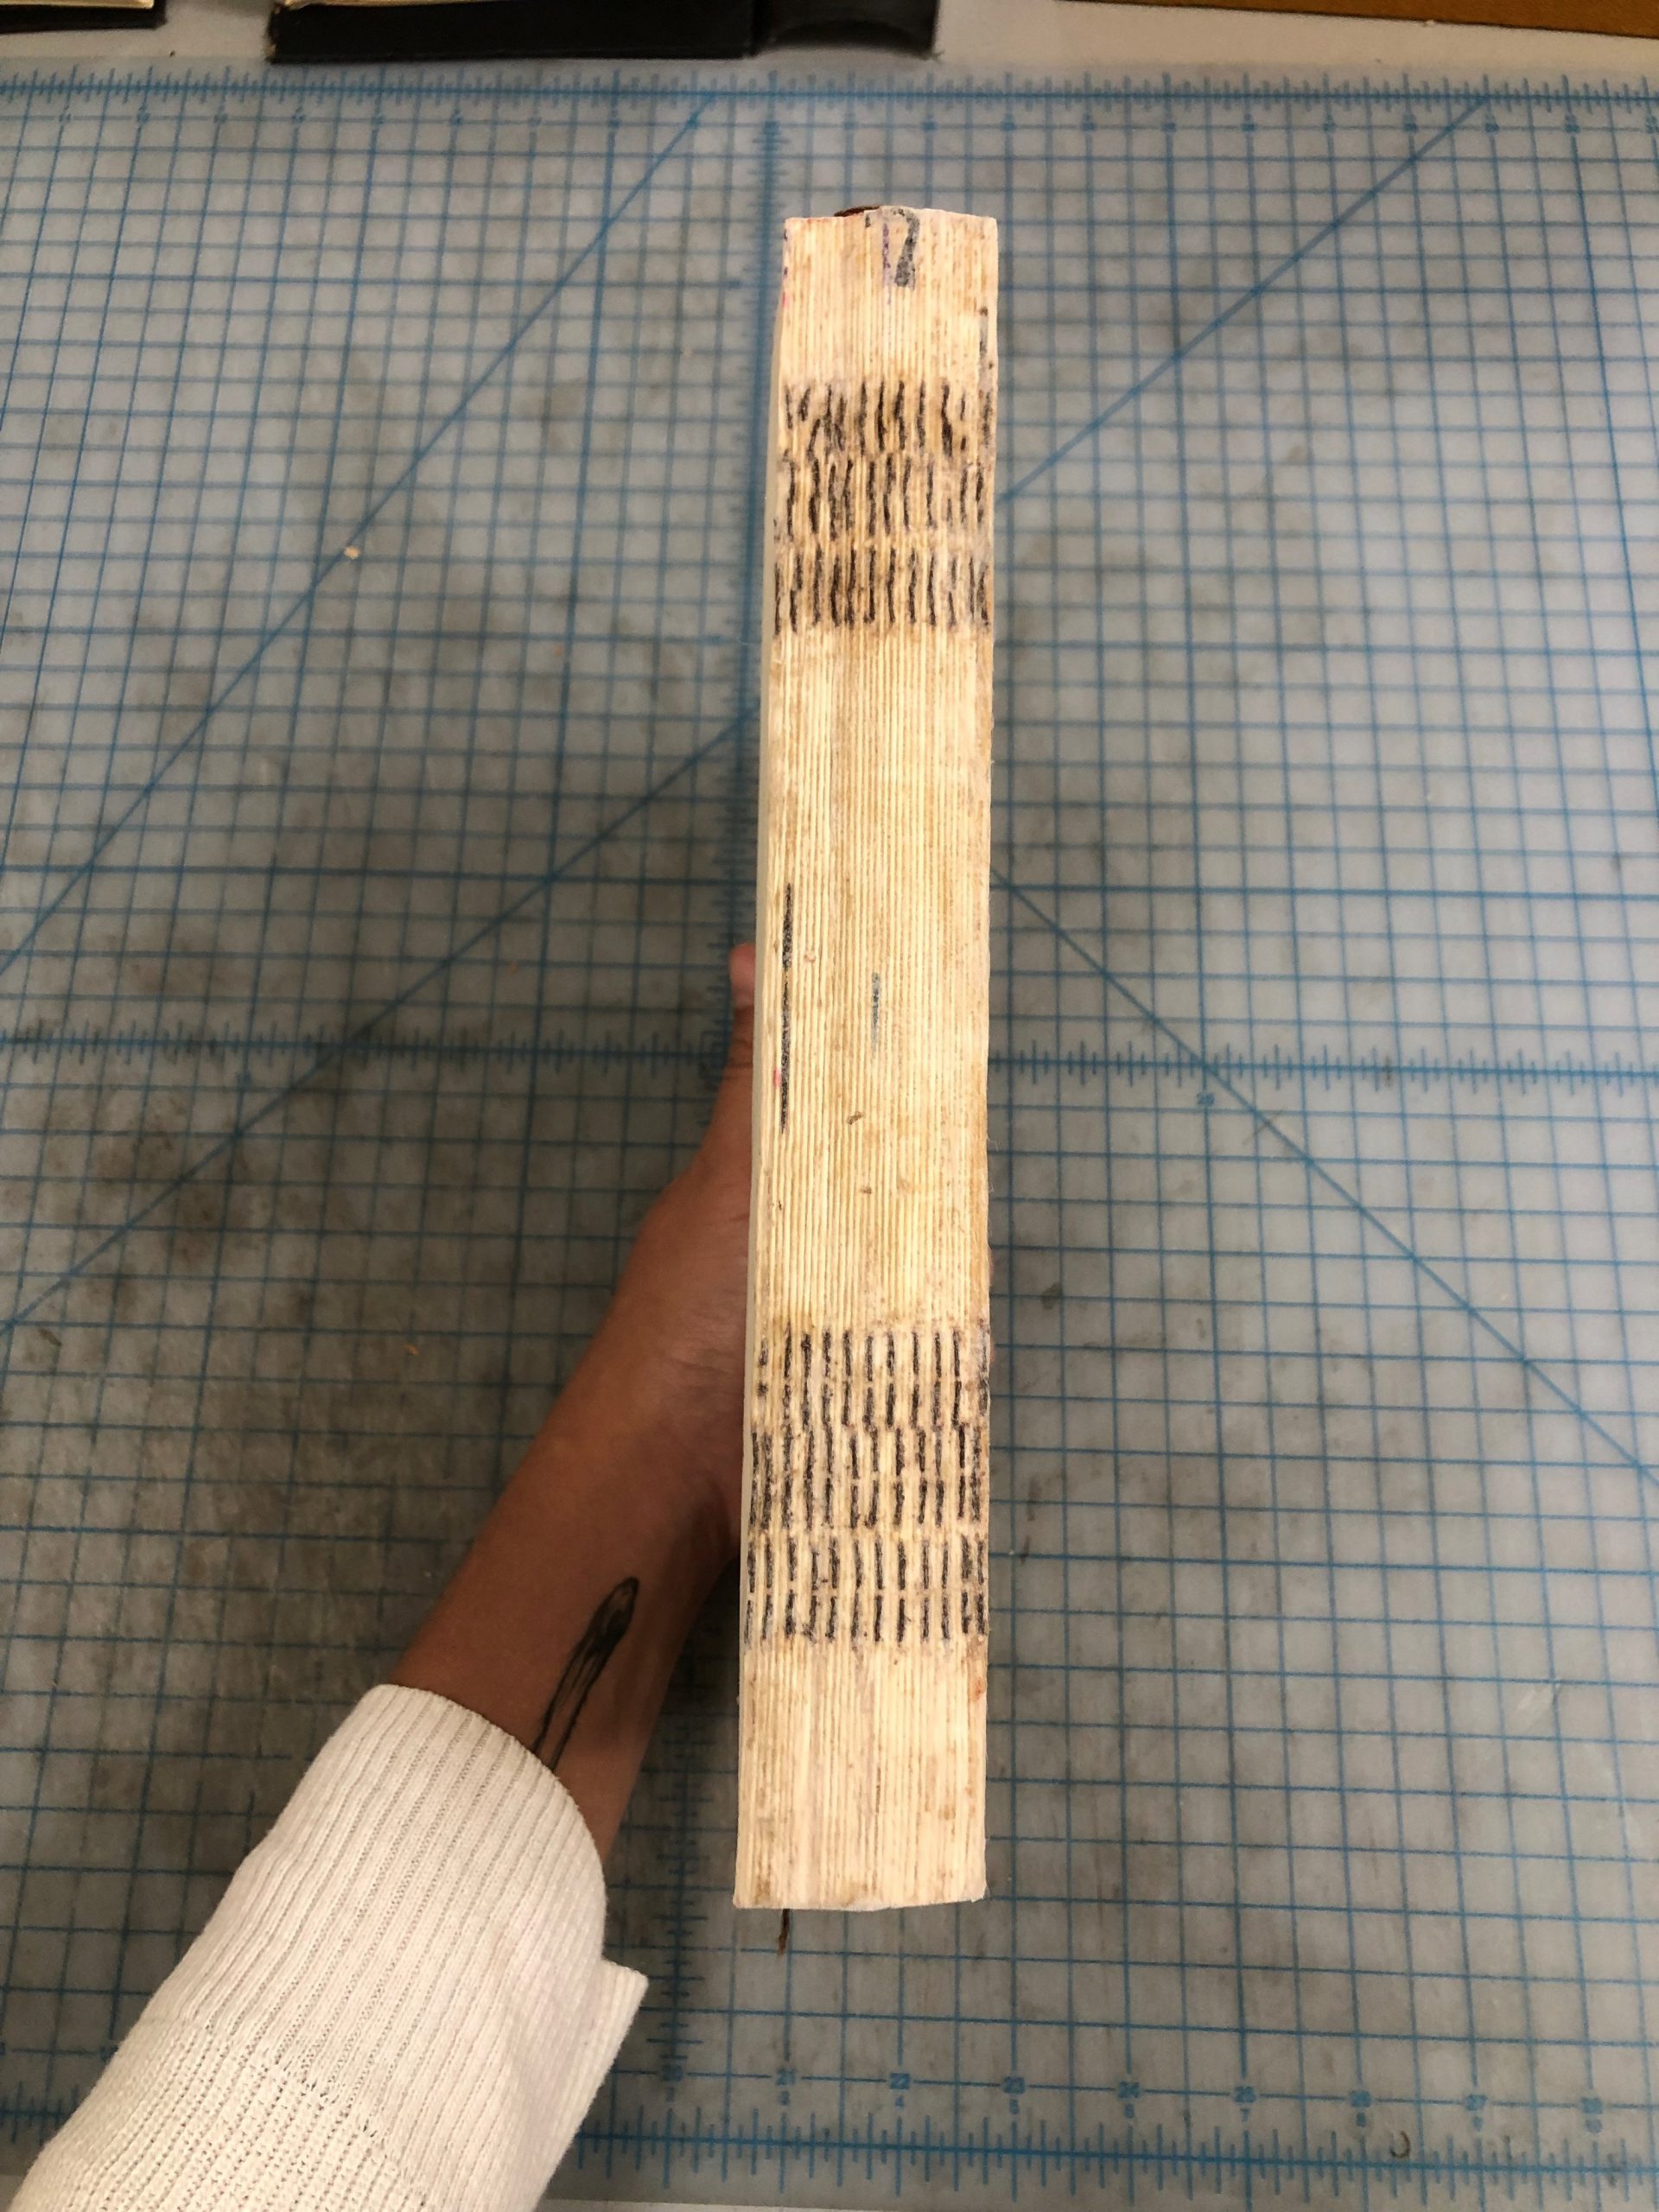
Additionally, the second half of the week was spent introducing Angela to my work in the conservation lab. She learned about how we make treatment decisions for general collections, and has already started doing treatments herself.

Angela finishing her first pocket (left) and binding music scores into pamphlet binders (right).

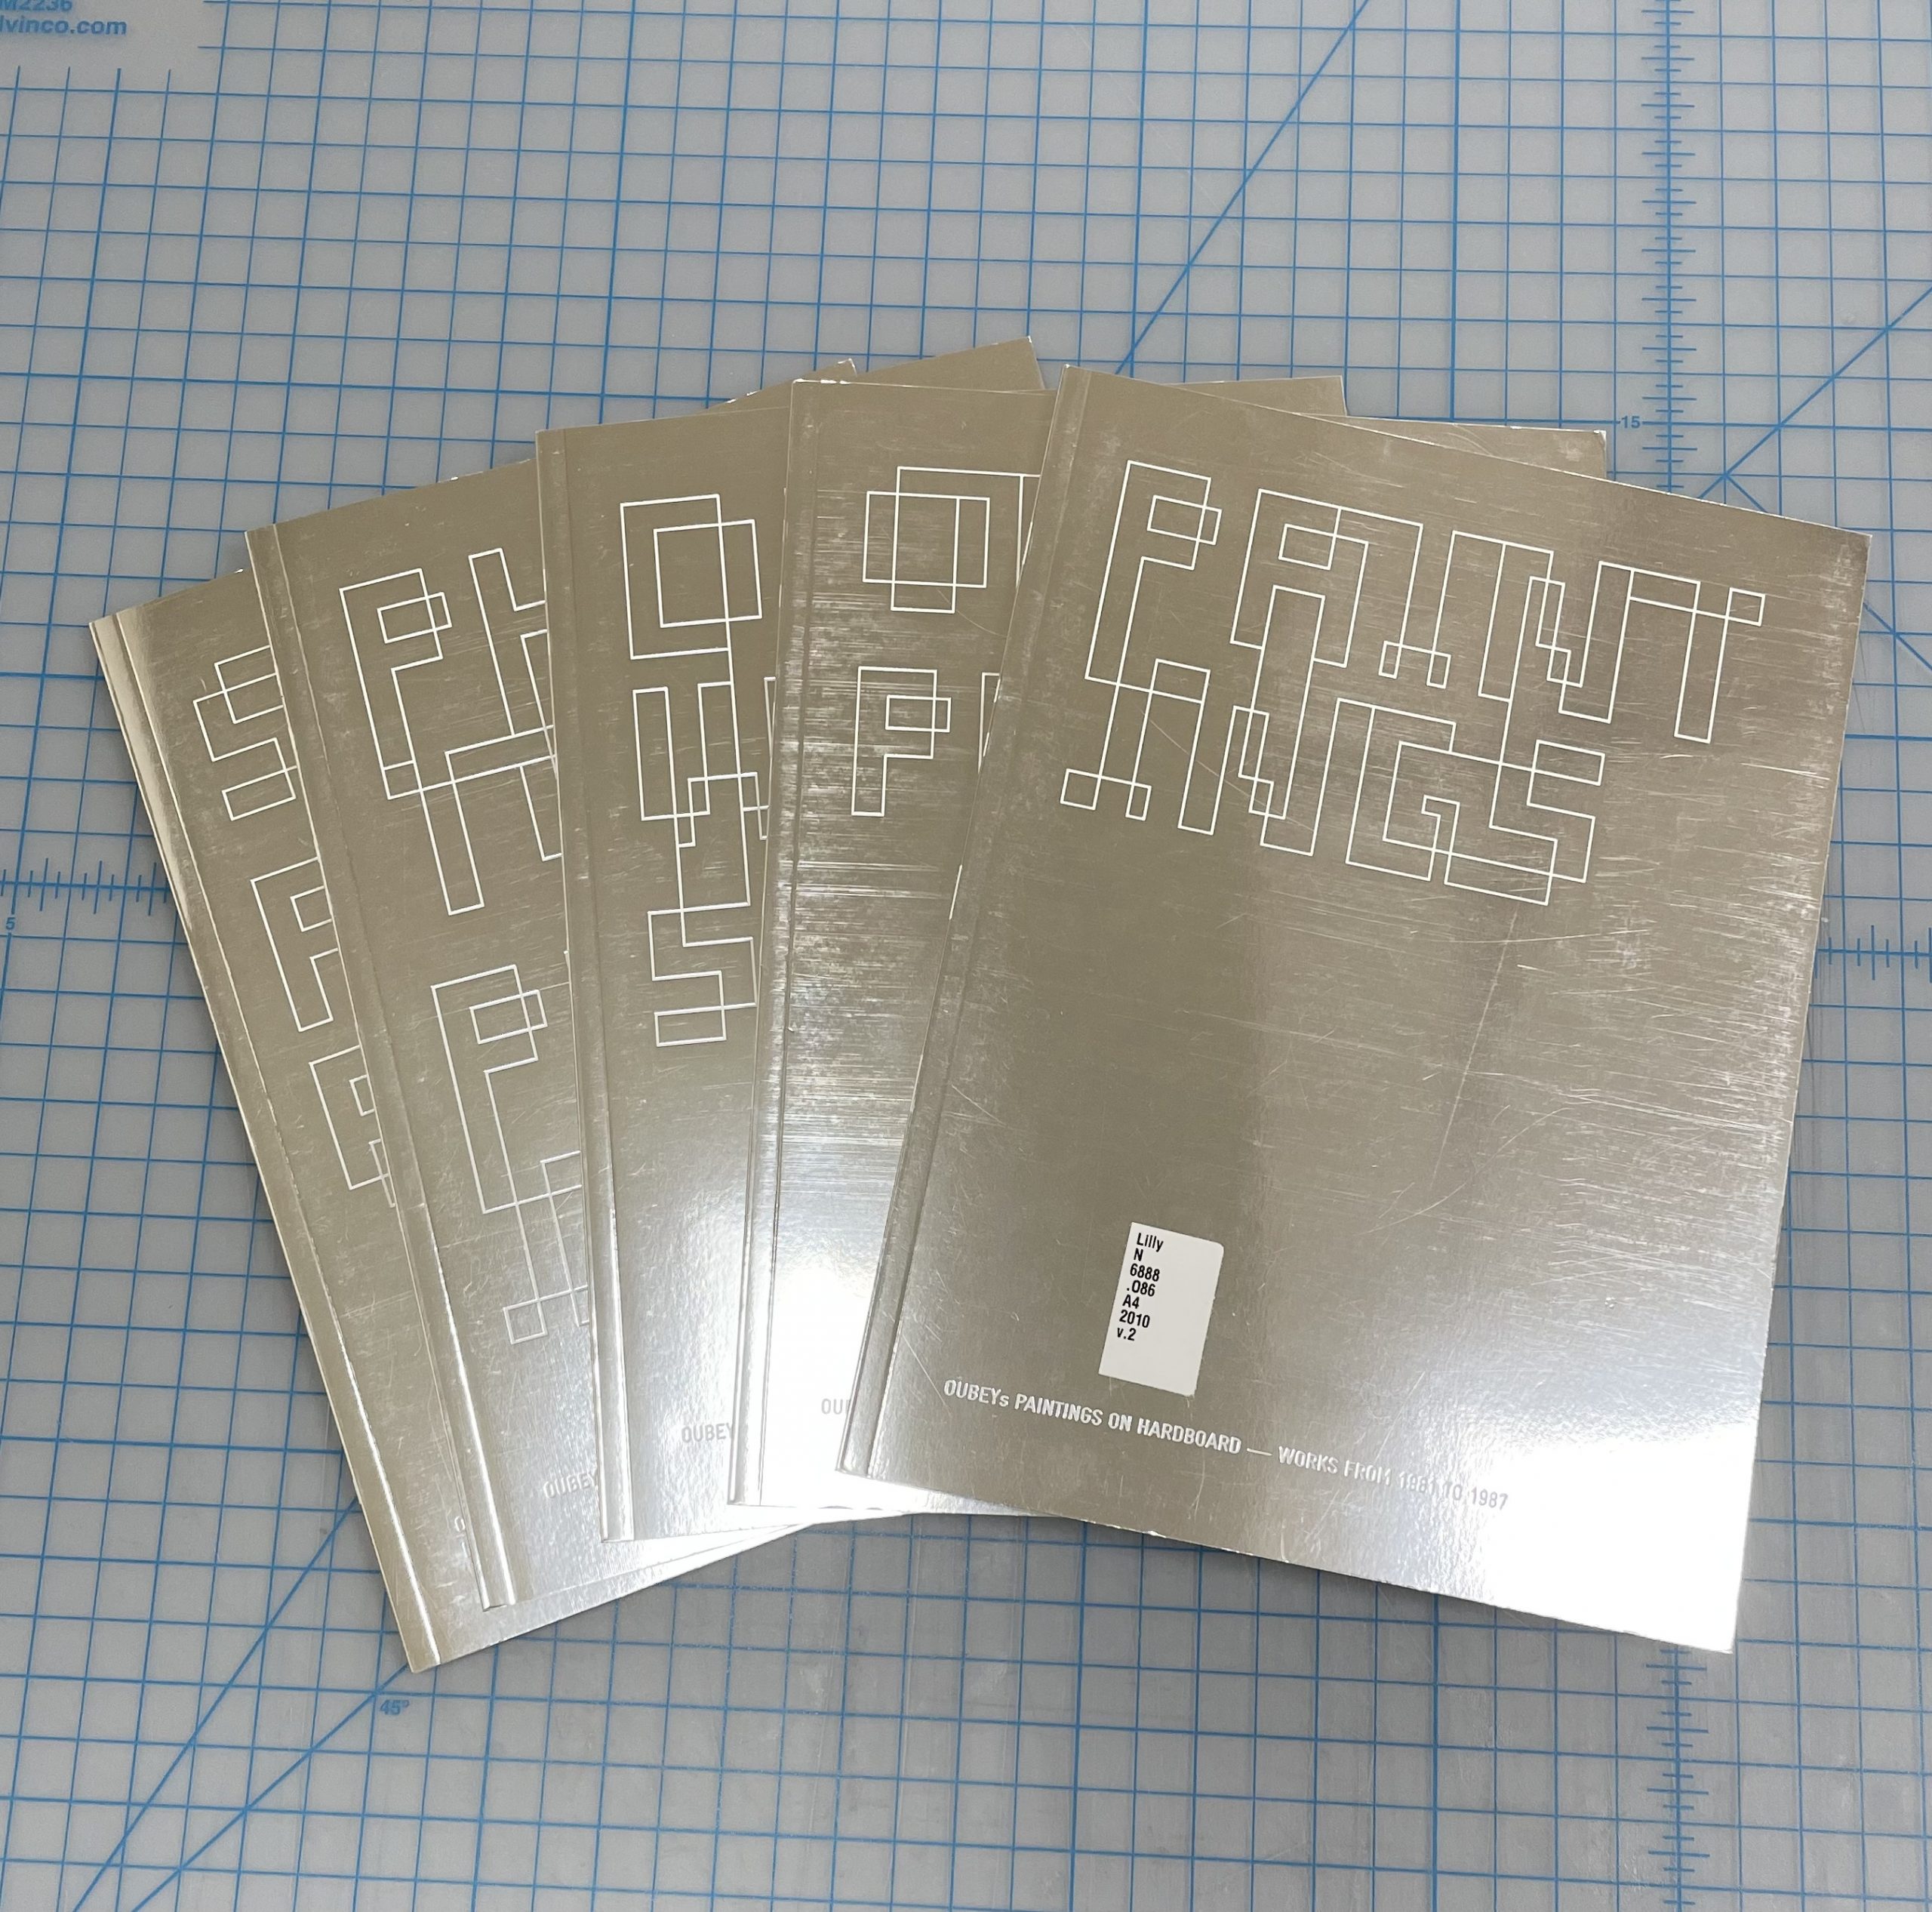
So far she is a quick study and has already picked up how to do tip-ins, pockets, and pamphlet bindings.

Angela hit the ground running during the first week of her internship, and we have appreciated her enthusiasm to learn and try new things. We can’t wait to see what else she will accomplish during the rest of her time with us! You can read about the full cohort of interns on the HBCU-Library Alliance blog post.  You can find posts from our past interns here. 

Artistry in A Book of Colombian Poetry

Spanish is not my native language. Luckily, I can read it well enough to appreciate this compelling and solemn work by the Columbian poet Francia Elena Goenaga. The cover image does not reveal much about the nature of the book. However, the title reads “Babiuscas Para Niños Muertos Que No Pueden Dormir”, which translates to “Lullabies For Dead Children That Can’t Sleep”.

The title sets a tone that is quite somber. This is further highlighted by the subheading on the title page, which reads “Para los niños Colombianos que han sufrido violencia y sus madres”. This translates to “For the Colombian children who have suffered from violence and their mothers”.  As dedications go, this is a specific and sentimental one. It inspires one to be pensive as they delve deeper into the book and read the poetry within.

Accompanying said poetry are a set of 14 illustrations that create an intriguing  juxtaposition with the text.


 Colorful studies of various dead birds appear throughout the book in striking detail. There is something to be said about comparing the visual of something dead to something sleeping. And since this is a book of “lullabies” in the form of poems, I find the choice to combine them with these illustrations remarkably provoking.

When a book this delicate and artistic come across my bench, I want to treat it delicately as well. As you may have noticed, this book was not originally bound.

It is too risky to send a book like this to the stacks since pages could be lost. The best solution for a book like this is to sew it into a pamphlet binder. Now our patrons can request this book and enjoy its artistry safely.

A close up on the sewing inside and the final product.

An Artist Book in a Conservation World

Here at Duke University Libraries, we’re fortunate to have a stunning collection of artist books from all over the world. Just like a regular book, artist books can come in a range of shapes and sizes. Some, however, come in more unusual shapes than most, which in turn can pose some interesting conservation questions.

One such book is the “Oubey: Mindkiss” book.

The Art

As you’ve probably noticed, this is not simply a book. “Oubey: Mindkiss” is made up of a sculptural slipcase containing five separate books.

Each book is devoted to the work of t late artist Oubey and is organized by the medium of the work or the time period the work was made.


The piece is clearly a work of art in itself. This is all the more evident by the fact that it has won multiple awards for its design. However, there are features of this item that have to be addressed from the view of a conservator, rather than one of an artist.

The Concerns

For one, the sculptural top of the slipcase consists of shapes and edges that are noticeably sharp. Pair that with the hard plastic material it’s made of, and you have an item that is bound to do some damage.

I am mostly referring to the damage the slipcase would do to any object placed beside it, but honestly this slipcase could probably hurt your hands as well if not handled carefully.

One of many pointy bits

If this item were to sit as is on a shelf next to other items as normal, there is no way the stiff plastic edges wouldn’t eventually catch, snag, or tear the item beside it.


Another common problem with slipcases is how easily the books within them can fall out. These books are no exception due to the slippery, metallic material they are covered with. That combined with the equally slippery plastic case means the books have an especially high risk of sliding around.

Additionally, the plastic of the slipcase might be doing damage to the books inside of it over time. Although the books are still reflective and metallic (I provided proof in the following photo), if you look at the covers more closely you can see many horizontal scratch marks across the surface of each cover.

Still a decent mirror

This observation is more of an assumption than a proven fact, but my guess is that these scratch marks are the result of the repetitive in and out motion of the books when they are removed or inserted in to the slipcase. The books fit rather snugly into the case, so they could be rubbing up against the inside whenever they move.

So, what can a conservation specialist do?

The Conclusion

Unfortunately, I can’t fix the issue regarding the covers of the books. Even if I knew how of a way treat metallic coatings (which I certainly don’t), something would still have to be done about the material of the slipcase rubbing up against the covers in the first place. An extreme solution would be to refrain from taking the books out of the slipcase at all, but then future readers would lose access to a significant portion of the information this item has to offer.

On a more positive note, something can be done about the nature of the slipcase. Luckily that solution is simple. We just make a box for it.

Does it feel a bit like hiding away a piece of art? Sure. However, as a library, one of our priorities is maintaining our collections while providing access to them. Making a box will protect our collections while also insuring that “Oubey: Mindkiss” is safer to handle for future patrons. And that’s a win for everyone.

When the Paper is too Nice

There’s something special about a book made with handmade paper. You don’t come across it too often in general collections, but, when you do, you want to take extra good care of it. This week a beautiful example of this arrived at the lab in the form of The Poems of Sappho, printed in 1910. As you can see in the images below, the book was in rather rough shape. I could tell it would be the perfect candidate for a new case. This means I would need to make new covers for this book.

Upon opening it, I immediately noticed the lovely deckled edges of the paper and what appeared to be a watermark.

A watermark is an image or design that is impressed into the paper during the papermaking process. This is easier to see when you hold the paper up to a light like so.

The main purpose of a watermark is to identify the papermaker; however, this watermark goes even further and tells us where the paper was made as well. In this case, the paper was handmade in Italy by a group called “The PM co”, which could possibly refer to The Paper Mills Company.

Saving this paper and the vital information on it is going to be my priority as I treat this book. This should be relatively straightforward, but what happens when two of these pages have been glued to the covers?

Preserving the Paper

When the book was bound, the pastedowns were made with the first and last sheet of the textblock of the book rather than using a separate decorative paper.

In order to make a new case for a book, I have to remove the old covers.  I must lift the original handmade paper from the front and back boards to retain it. This can be done by taking an exceptionally thin metal spatula and running it back and forth under the paper to loosen and separate the paper from the covers.

This can be a tricky and time-consuming process if the paper is old and brittle, or if the paper is well adhered to the covers and doesn’t want to come off. Luckily, both pages cooperated with me and I managed to remove the covers without damaging the paper.

A lot of the original board material had to be lifted along with the paper, so the next step is to remove that material from the pages. Leaving it on would make it nearly impossible to neatly reattach the pastedowns when I made a new case for this book. So, I removed as much as I could mechanically before moving onto the rest of the treatment.

With the brand-new case complete, the book and it’s handmade paper are better protected and ready to be handled.

Books Can be Deceiving

As someone who repairs books for a living, the idiom “don’t judge a book by its cover” can have a much more literal meaning than expected. I’m regularly encountering books that seem to need only one kind treatment from the outside, but then have more problems than I realized on the inside. This can be a bit frustrating when you’ve mentally prepared yourself for one kind of project and instead find yourself tackling more than you had planned for. Even so, it is especially satisfying to finish a treatment on a book that you felt was going to be complicated. In today’s blog, I’ll be sharing my most recent encounter with a book that I misjudged.

The Problem

The Perkins Library has a great number of collections of Arabic books like the ones you see below.

These books are especially striking due to the eye-catching uniformity of their spines. Outside of how aesthetically pleasing they are, there is an added benefit to the fact that all the books are identical in design. Take a look at this collection of books below. Do any of them look different than the rest?

If you happened to notice the fourth book from the left in particular, then you can see what I meant earlier by “an added benefit”. Thanks to the collections precise design, it’s all the more obvious when something isn’t quite right.

In this case, this poor book seems to have been crushed under something as well as torn along the spine. We certainly can’t leave the book to be handled by patrons in this state, so back to the lab it goes.

At this point, I had assumed the only problem I was dealing with was the crushed spine of the covers/textblock. Unfortunately for me, I didn’t realize that this book had been through more than just some extreme pressure. Right as you open the book to its title page, you’re greeted by discolored paper and some significant black speckling. The spotting continues a good 20 or so pages.

These are the tell-tale signs that not only did the book get wet at some point, but mold had made itself at home here as well.

Now, luckily this isn’t a terrible amount of mold to be dealing with. However, it does mean I have to add several more steps to my treatment before I can tackle the original issue of the crushed spine.

The Solution

Let’s say there hadn’t been any mold in this book. What would my treatment have looked like?

First, I would remove the covers so I could assess the damage done to the spine of the textblock. Once I had addressed that, I would prepare the textblock as I normally would for a recase. Finally, I would repair the covers by making a new spine piece to replace the damaged one, and reattached the textblock to the case.

Now, I will have to remove all of the mold first before I can start anything else.

Based on the dry and powdery consistency of the mold, I can tell that it is no longer active and can be safely cleaned by hand. To do so, I used a soot sponge to manually clean the mold and debris off of every page.

You can see the immediate difference before and after using the sponge on the old mold, both on the pages and the sponge itself.

The soot sponge is mostly likely also picking up dirt and dust on the pages as well, but regardless it’s clear the book needed a good cleaning.

Now that the textblock is free of the residual mold, I can finally get to the treatment I had planned at the start. This book will be back on the shelves and ready for patrons in no time!

North Korea as Seen Through Stamps

Stamp collecting, often associated with philately (or the study of stamps), is a hobby that has been around since the first postage stamp was issued by Britain in May of 1840. Since then, stamp collecting has been one of the world’s most popular hobbies, resulting in the production of over 400,000 different types of stamp by the year 2000.

Many of the stamps produced are from smaller countries seeking to bring in much needed revenue, which they achieve through the printing of limited run stamps specifically for stamp collectors. One such country happens to be North Korea. This fact came to my attention when a collection of North Korean stamp albums arrived at our lab.

The collection of stamp albums stacked on top of one anotherThe collection consists of five stapled pamphlets and two bound books, all full of loose stamps in need of securing.

The stamp albums that are pamphlets spread out on a flat surface.

A top down view of the the stamp albums that are in book format.

I will mention that it is unclear whether these are actually functional stamps or just coated paper made to look like stamps. There is no noticeable adhesive on the backs of them, and even a UV light analysis and our ordering specialist couldn’t get us any closer to a conclusive answer.

Regardless, we couldn’t risk all of these stamps being lost or stolen. I had to find a way to contain them all so that patrons could access these albums without leaving the fate of these stamps to chance.

How do we treat these items?

Each of these albums is made up of pages containing several small slips of mylar with the bottom edge adhered to the actual page.

A hand pulls back one of the mylar slips and also bends one of the loose stamps away from the page.

Within each of these slips sits either a single stamp or multiple stamps, which varies from page to page.

A page from one of the stamp albums showing an assortment of stamps focused on North Korean fine art.

A page from one of the stamp albums showing an assortment of stamps focused on North Korean natural landmarks.

Although the stamps don’t necessarily fly about or out of the slips as you flip through the pages, it’s obvious that they aren’t exactly going to just stay in place over time.

So, what is the solution here?

Since these mylar slips were already at my disposal, it made the most sense to use them to my advantage. After applying a thin bead of wheat starch paste to the top of each stamp, I tipped each stamp into the mylar and made sure the bottom of the stamp was placed as far down into the slip as possible.

Two photos side by side. The photo on the left shows a brush being used to apply wheat starch paste to the top edge of the back of a stamp. The photo on the right shows the stamp being placed back into its mylar slip and adhered to the page.

This way the stamp is secured in place without having to glue up the entire back of the item, and the mylar acts as a catch for the bottom of the stamp so that they can’t be pulled out as easily. With the stamps now safely secured, these albums are ready for a closer look at their contents.

How do we interpret these items?

These albums seem to be geared towards foreigners and tourists. Of the seven albums here, three contain text in Korean, Chinese, and English, one contains text in just Korean and English, and the other three contain text in just Korean and Chinese. Seeing as none of these are written only in Korean, it can be assumed that these albums were not intended solely for Korean audiences.

A page from one of the stamp albums showing a larger sheet that is perforated to hold multiple stamps. The stamps depict images of Kim Il-sung, various antique cars, and a music score. There is also accompanying text in Korean and in English.

As you have also probably noticed, these stamps cover a wide variety of subjects as well. It seems as though you can find a stamp on just about anything if you really wanted to. This is probably for the benefit of appealing to as many collectors as possible who might only collect certain kinds of stamps.

A page from one of the stamp albums showing an assortment of stamps focused on Kim Jong-il meeting with various international leaders.

The world of stamps is quite intriguing, especially considering how they can become vehicles for propaganda. Are you a stamp collector or a philatelist (someone who studies stamps)? Leave a comment with your thoughts on this collection if you are, and leave a comment even if you aren’t! We’d love to hear what you think about our new addition to the Perkins Library. If you’d like to find these items in our catalog, you can click any of these links.

Stapled Instead of Sewn

When you look at how books are generally made, you’ll find that a majority of them are either sewn with thread, glued together as individual sheets, or occasionally bound with a combination of sewing and commercial glue.

On rarer occasions, a book will be stapled together. As luck would have it, one of these books recently came across my bench in need of a new cover. At first glance, you can’t immediately tell the difference between a stapled book and a sewn book.

It’s not until you open the book up and look at the gutter of one of the signatures that you might be able to see whether the book is stapled or not.

An opened book revealing the gutter of the pages where a staple can be seen.

It’s even easier once you’ve taken the cover off and can look directly at the spine of the textblock. As you can see in the images below, there are staples running through a significant portion of the signatures of this book.

Now, in a perfect world where I have all the time and patience I could want, I might remove the staples, mend any damage to the signatures in the process, sew the book back together, and then make a new cover. In this case, such an approach would be too labor intensive and time consuming. As the only senior conservation technician charged with maintaining the general collections, I cannot devote that much time to one book when I might have as many as 25 other books also waiting to be treated.

Considerations

With binding structures like this, the treatment decisions tend to boil down to preserving the provenance of the object vs choosing to rebind the book for greater longevity. In this blog post by Peter D. Verheyen in 2011, it’s evident that these wire bindings are a curious part of the history of bookbinding. Since they’re unusual, and since our goal is to conserve as much of the original item as possible, one might think that saving the original binding would be the obvious choice.

But how do technicians in general collections conservation (such as myself) reconcile keeping as much of the original object intact when we also have to prioritize making sure that the book can withstand regular use from patrons? If the staples in the binding had been so rusted that they were breaking whenever I opened the book, I would most likely take a more involved approach to the treatment of this book. An example of such a treatment would be adhering a cotton cambric to the spine and sewing through it along with the textblock, which you can see an example of in this paper by our very own Beth Doyle.

Luckily, in this case, both the paper and the staples were in good enough condition that a secondary treatment wasn’t necessary. However, it could be argued that perhaps I should have gone ahead with the more complex treatment just in case the staples failed in the future. In the end, these are the dilemmas we face in general collections conservation.

Treatment

I decided that the best course of action would be to clean the spine of its original lining and glue and replace it with a strong Japanese tissue adhered with wheat starch paste. By doing so, the spine is stabilized and strengthened while the staples are also given additional support. This reduces the potential damage that could occur from future use and repeated opening and closing of the book.

A picture of the stapled textblock post spine cleaning being held in a hand. The spine and staples are protected with a thin Japanese tissue, so you can still see the staples.

With the textblock now in a stable state, I could prepare a new case for the book. The original case had already failed and since the original materials were too fragile to keep using, it didn’t make sense to try and reuse the case. Instead, I made an inset on the front board in order to preserve the original cover material. If you’d like to learn more about the book, you can find the catalog record here.

1091 Project: Clean All The Things!

1091 graphicThis month on the 1091 Project we are talking trash…and dust bunnies and overflowing scrap bins and dirty sinks.

Conservation work requires a clean space. If you have a lot of dust and lint floating around it can get into your paste and under your repair tissue; overflowing scrap bins can make it hard to find a good piece of board to use for a project; and dirty sinks and lab ware just makes everyone crazy. Keeping the lab clean is necessary, even more so when you are adjacent to a construction zone and have a lot of fans and air scrubbers running.

Every day, Leon from Housekeeping comes and picks up the trash and does routine cleaning for us and we are grateful for his help. Even with this daily maintenance the dust bunnies can multiply under taborets and in corners. Last month at our staff meeting we decided to implement a  quarterly Lab Cleaning Day. To keep the labor equitable and to not stick the same person with the worst job every quarter, we divided the lab into six zones each with a checklist to complete. Each zone is assigned to one person, and that assignment will rotate each quarter.

The zones include:

  • Dirty room and encapsulation area
  • Main sink area including the long counter top and drying rack
  • Board shears, floor presses, and vertical board storage areas
  • Store room, photo doc room and vault
  • Locker area and two computer stations
  • Copier and CoLibri area, shared benches and the flat files with oversized supplies
The sink area before and after.

In your zone you are responsible for thoroughly cleaning under things, in things, and around things. If you need to get on your hands and knees to do it (e.g. the dorm sized fridge where we keep our paste) or put in an hour of elbow grease (I’m looking at you, Mr. Sink), then get in there and “get it done.”

In addition to an assigned zone each person is responsible for tidying up their bench, taboret and side table areas. It’s a good time to go through your taboret and get rid of scraps and bits of things, tidy up your press boards, scrub your bench top and generally organize things around you.

Lab Cleaning Day does take time away from repairing materials. However, having a clean lab allows you to find supplies and tools easier and reduces stray fibers and dirt in your past. A clutter-free lab also makes you feel better about coming to work.

Let’s head over to Parks Library Preservation and see their solutions for keeping their lab space clean and tidy.

Look at the shine on the sink!
Look at the shine on the sink! I should have taken a before picture. Trust me, it was black with PVA and paste, ick!


1901 Project: A Lab With A View (Or Not)

This month on the 1091 Project we take a look at our physical lab spaces, how they are set up and how our location impacts our work. The Verne and Tanya Roberts Conservation Lab is located on Lower Level 1 of Perkins Library, Room 023. We share this level with The Link, Digital Production Center (DPC), Preservation, and Shipping and Receiving.

When you enter the lab you will see that the work benches are aligned along the left wall; the large equipment such as the board shears, job backer, cloth roll storage and standing press are in the center of the room; the washing sink, clean-up sink, flat file storage, rolling work table, ultrasonic polyester welder, and sorting shelves are to the right. We have several rooms within the space including a “dirty room” with fume hood, sink, Kwikprint and work table; the department head’s office; a store room for supplies; and a photo documentation room. This space opened in 2008 and was purpose-built as a conservation lab as part of the Perkins Project. You can see a virtual tour on Flickr, and there is a video near the end of this post.

Challenges

One of the challenges in designing the layout of the lab was the fact that we have several large columns in weird places around the room that cause bottlenecks in the flow of traffic through the space. Since these columns are holding up the building, we had to work around them to arrange the space to accommodate large equipment and the need to move materials through the room.

Another challenge is navigating full book trucks through so many self-closing doors. If I could wave a magic wand and go back in time, I would invent the automobile ask for doors that open automatically in response to motion or the wave of your foot. The doors would also be wide enough to easily accommodate a truck of large, flat objects or supplies.

What Works

Having the benches in a row encourages interaction between the staff. Being close to each other allows for easy collaboration and discovery, it’s easy to ask for opinions or to see what projects everyone is working on. It also allows for a more flexible space as you can use an empty bench behind you as a temporary landing space if you need to.

lab staff working

The separate spaces for the dirty room and photo documentation room allows that work to happen away from the main lab. For example, when someone is vacuuming mold in the fume hood, or taking pictures of their objects in the photo documentation room, the noise and visual disturbance is reduced and makes for a happier workplace.

One of the benefits of the renovation was getting upgrades in ergonomic equipment and features. We have a cork floor that is easier to stand on all day, sit-to-stand benches that raise and lower at the push of a button, and special chairs (designed for dental hygienists) that are comfortable and supportive when you have to sit for long periods. We also have daylight balanced lights, which not only helps in color matching but are brighter and more cheerful to be under (in my opinion) when you have no windows in your space.

On Being In The Basement

Being in the basement has its disadvantages and advantages. We have to push carts through several doors, around many corners, and into an elevator to retrieve materials from the stacks. Driving book trucks safely around obstacles like these can be tricky.

People also find it difficult to find the lab on this floor. Unfortunately there are two rooms on this level with the same room number (one in Perkins Library and one in the adjoining Bostock Library). Bostock 023 is a computer training room, so we often have students ringing our doorbell expecting the lab to be their classroom. I tell students applying for jobs, “If you can find the lab, you have cleared one hurdle to being hired.”

The biggest advantage to being in our space is…our space. In our previous location our supplies were on pallets on the floor in a public hallway that went through the middle of our two work rooms. The photo documentation setup was in my office, which was difficult for everyone. We had no room for a fume hood or washing sink. We now have a physical space that allows us to provide a higher level of service and to work more efficiently. I quickly shot a video of our lab early this morning before everyone arrived. Sorry about the wobbly picture but you get the idea of what the space looks like.

httpv://youtu.be/0rXaSVhOUpY

The best thing about our space is that it is a gem in the crown of our renovated library. Our lab, the staff and the work they do have become one of the highlights of library tours. It is really fun to invite people “behind the scenes” to show off the great people I work with and the amazing things they do for the collections. Thanks for visiting us. Be sure to head over to Parks Library Preservation to read about their space!

1091 Project: Today In The Lab

We have been so busy with renovation projects that we forgot that today was a scheduled 1091 post. Instead of a long, thoughtful expose on a current conservation topic, Melissa and I will share some images of what is happening in our labs today. Think of it as a glimpse behind the scenes.

Parks Library and Preservation Underground will be back next month with another riveting 1091 post. Thanks as always for reading, and be sure to click over to Parks Library Preservation to see what is happening in their lab today.

Clockwise from upper left: large phase boxes drying under bricks, ledger bindings being rehoused, the lab (everyone’s at lunch!), making four-flap boxes, Lilly Current Lit books getting CoLibri covers.

Bonus pic: Look what showed up in my mailbox! A wonderful, home-made pop-up note to thank me for some consultation I did for someone whose cat damaged some of their papers.

Can I use the word “squeeeee!” in a professional post?