In the first blogpost of our series introducing the Conservation Documentation Archive (CDA), I wrote at length about the needs for creating documentation during our work and the various forms in which it takes. Unfortunately, ingesting those materials into the Duke Digital Repository was not as simple as migrating digital files from one platform to another. A lot of work went into preparing each record, and today I’d like to share some more of the details and considerations that went into that process.

Our “hard copy” documentation has always been stored in a filing cabinet, organized by fiscal year, with the files of each treatment contained in a paper folder. As record keeping practices and technology changed over the years, we began producing our reports and images digitally and saving them to shared network storage provided by the university. The digital files are similarly organized in folders by fiscal year and treatment number.
Preservation of our born-digital records has long been on our minds: it’s imperative that conservation treatment documentation persists for use by future custodians of the item (see AIC Guidelines for Practice #28 and commentary). Electronic records require regular, proactive maintenance in order to remain usable over long periods of time. The shared network drives are regularly backed up, but the integrity of the files are not checked as part of that process. If files were to become corrupted or deleted, we might not know for some time and our records could be lost.

Documents that are stored in a human-readable format, on the other hand, have advantages for long-term preservation. Their storage requirements are pretty minimal (a cool, dry place), and they require no active maintenance or special equipment to access them. AIC’s Guidelines for Practice state that if the maintenance of electronic documentation records cannot be ensured, the conservation professional must create and maintain hard copies of that documentation using the most permanent materials available (see Guideline #28, Commentary B). The adage often used in libraries and archives is “Lots of Copies Keep Stuff Safe”, abbreviated LOCKSS.

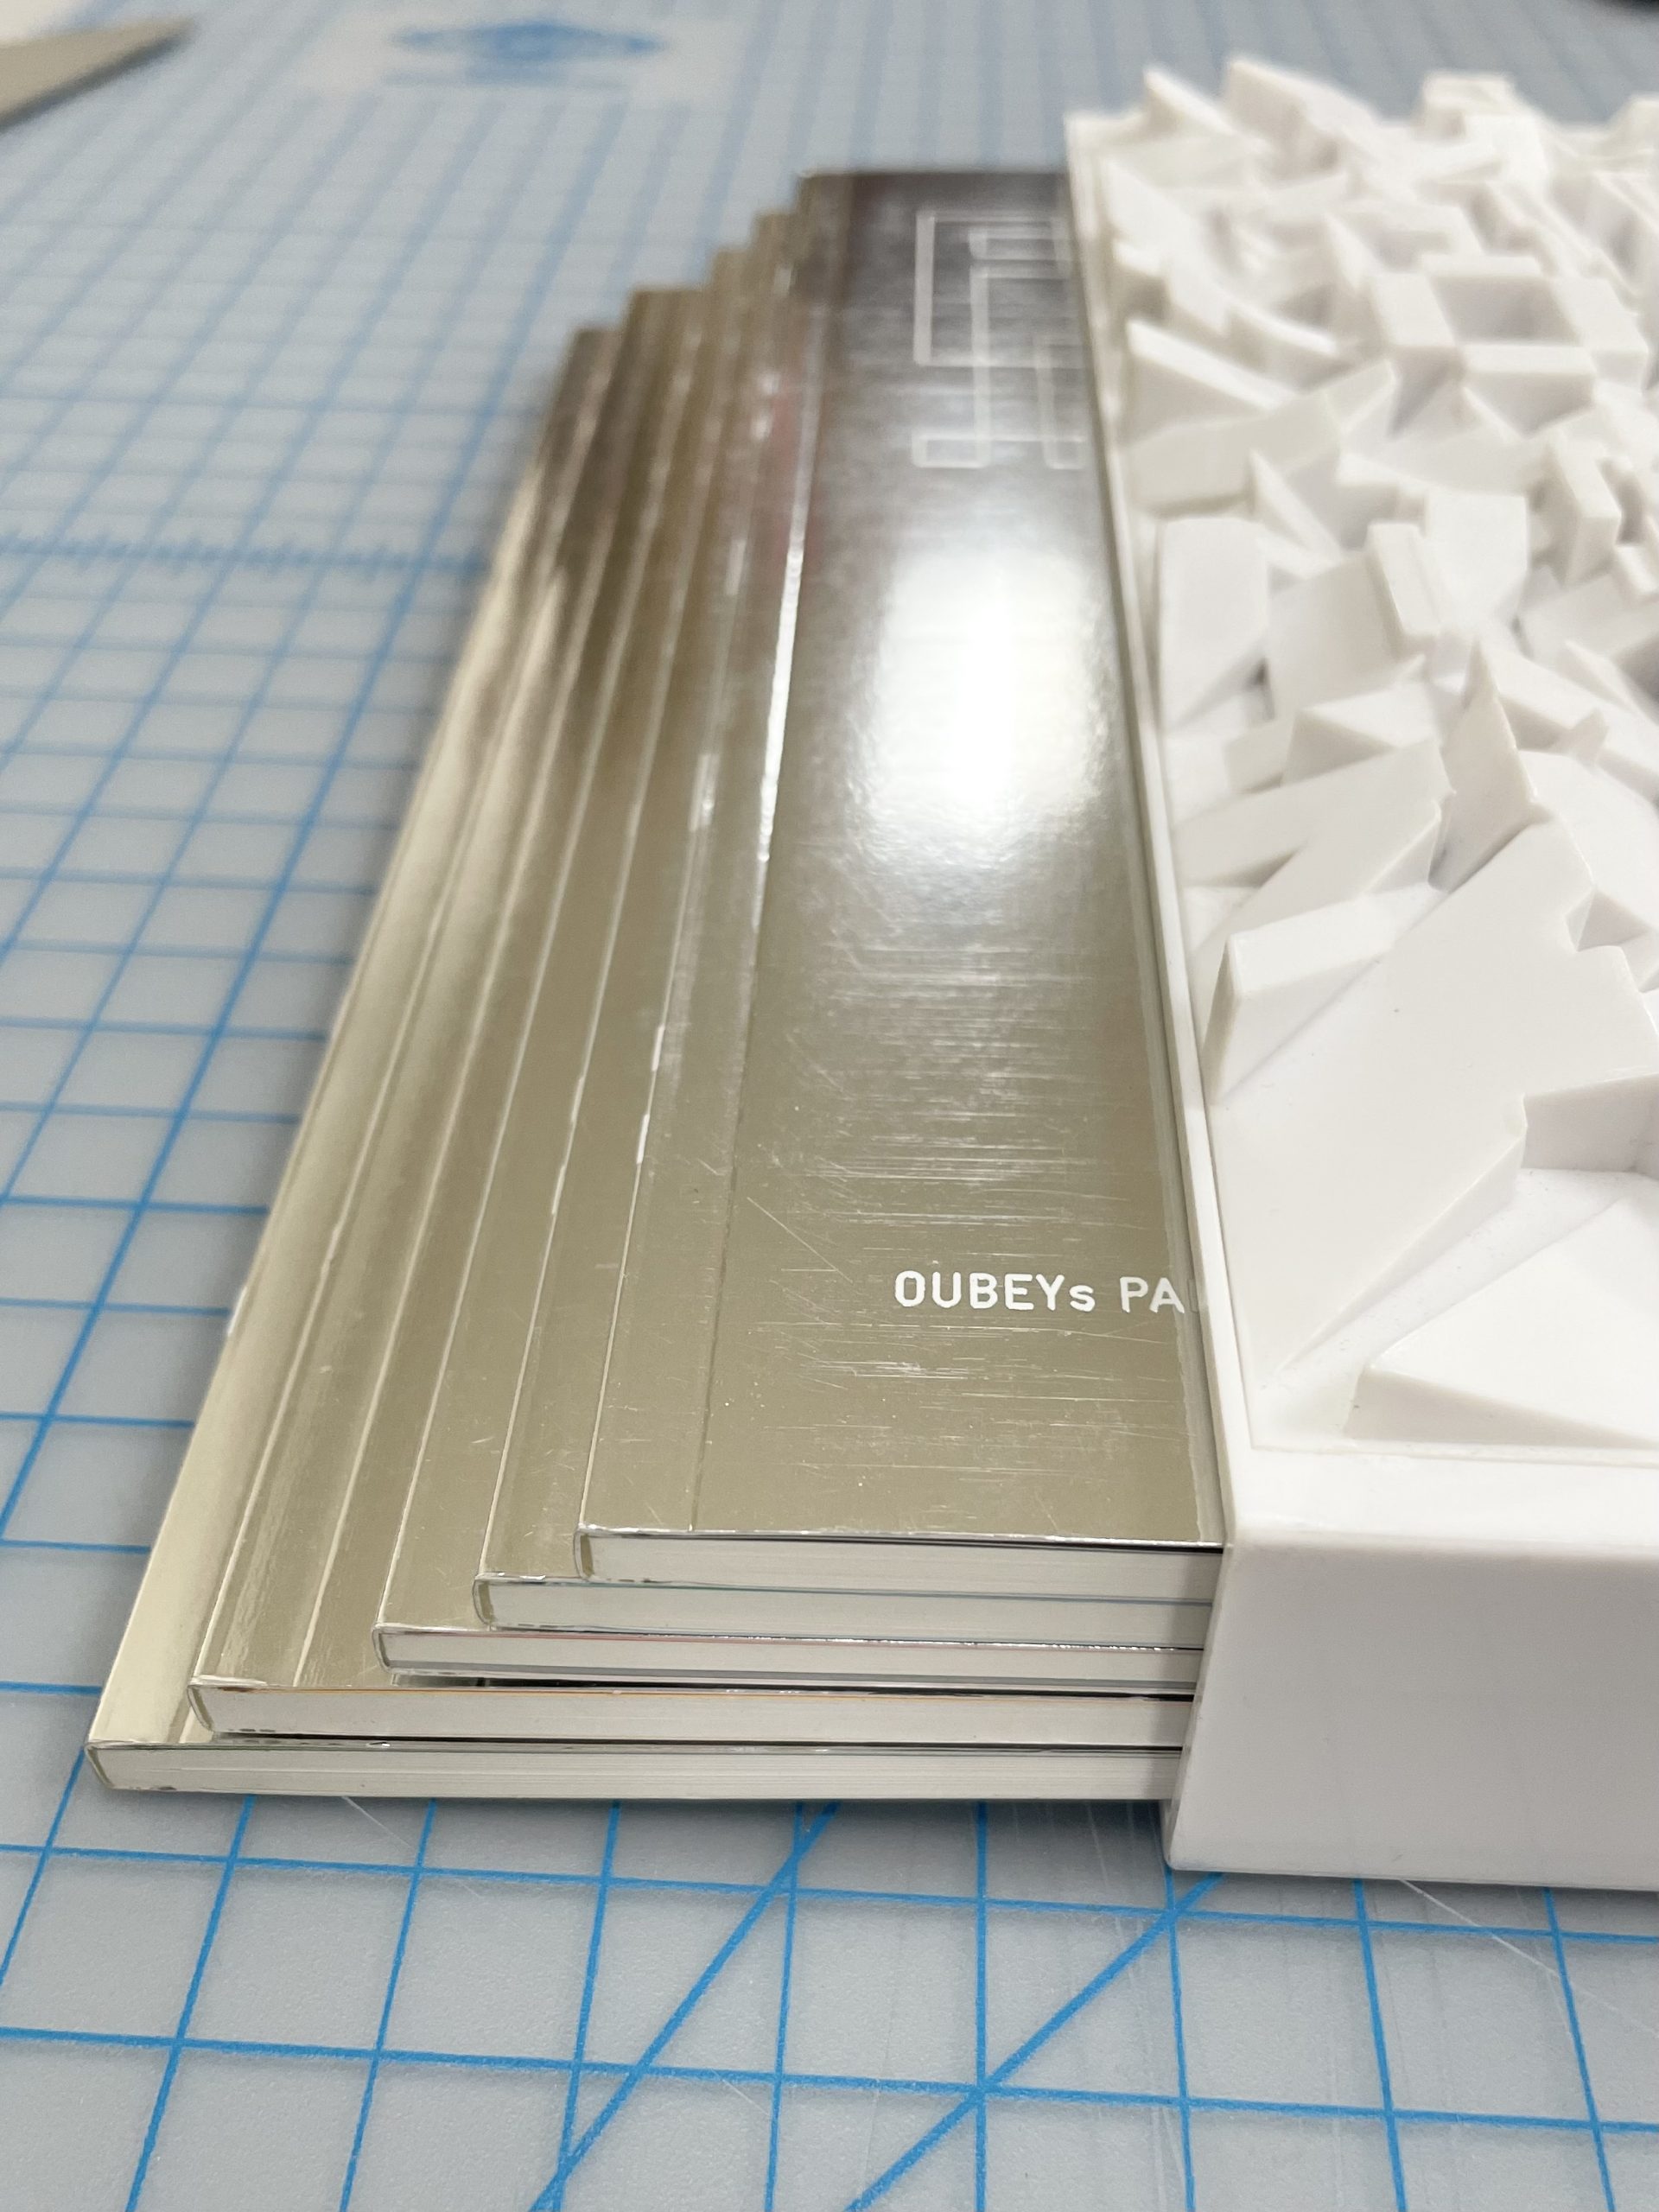
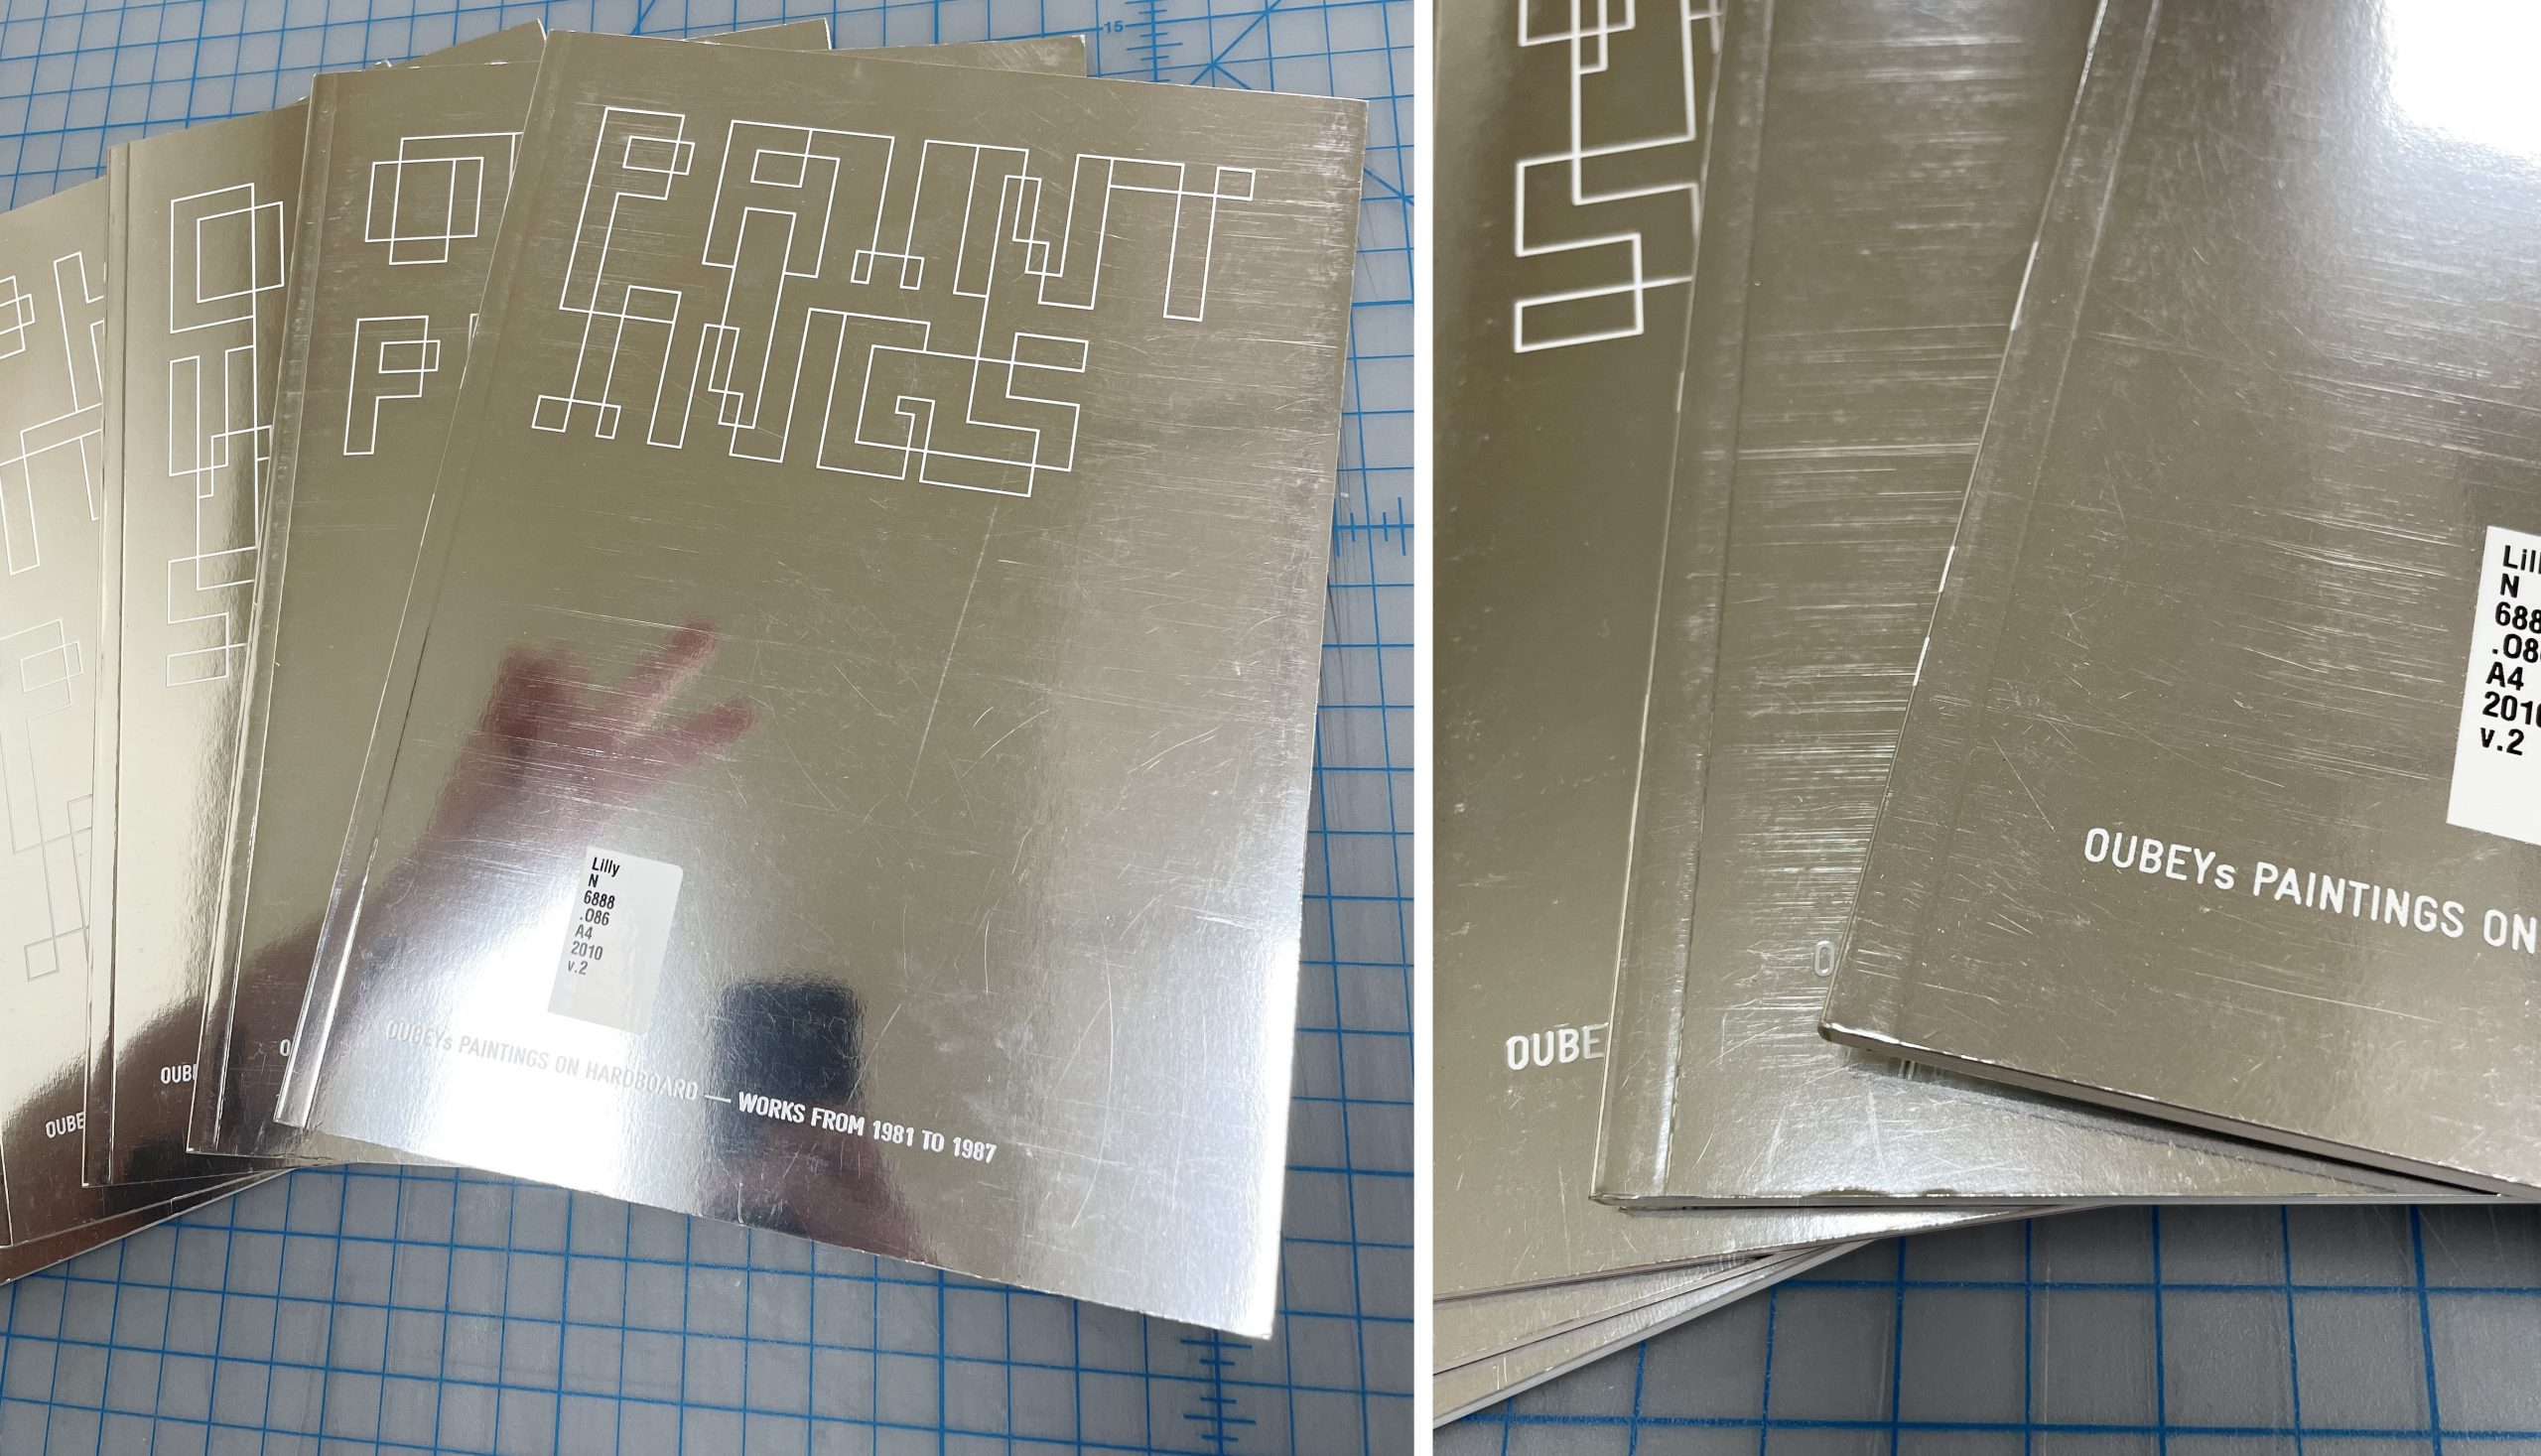
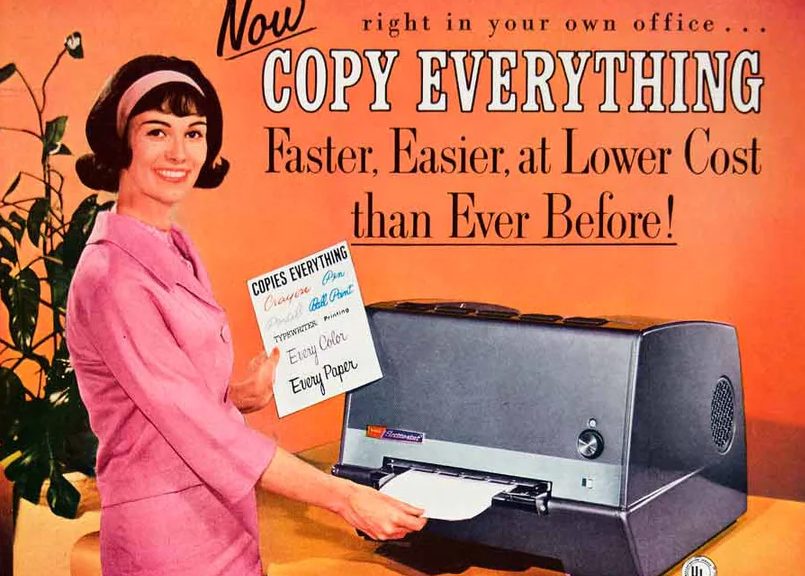
Since we already have a method for storing hard copy records, we’ve been printing representative copies of our digital records and storing them in the filing cabinet. The reports are black and white electrostatic prints from our office copier (see Batterham, 2008). We also select a small number of representative before and after images, arrange them four to a page and then print them with pigment-based inks on Epson glossy photo paper using an Epson SureColor P800 inkjet printer.

The 35 mm slides in our legacy documentation are a bit of an exception. While they can be viewed with just a light source and magnification, special equipment is required in order to work with them easily. The colors of those slides have also shifted over time – and will continue to do so (Weidner 2012). “Benign neglect” isn’t a viable preservation strategy for this media.

The Duke Digital Repository offers a number of advantages over our past record storage strategies. Many of these are outlined in the Digital Preservation Policy, including regular monitoring of records for fixity and version control, maintenance of multiple copies in different locations, and control over who can edit, move, or delete materials and metadata. In addition to providing a better preservation environment, the digital repository also offers an improved mechanism for access by scholars using the collection. Rather than requesting a copy of paper records from our filing cabinet, library users can just view the records themselves online. In order to make that kind of access possible, however, we needed to get all of our documentation in order.
Our records underwent several phases of work to prepare them for ingest into the repository. Thanks to support from the Lyrasis Catalyst Fund, we were able to outsource the digitization of all of our legacy hard copy documentation, as well as hire a student worker and intern to assist with the large volume of file prep and metadata creation.
With digital records for all of our treatments in one place, we were able to perform a comprehensive review to ensure the files were correctly ordered and labeled. Reports were checked to ensure they were complete, images were rotated to the correct orientation, and a file naming convention was established. Some file formats are better for long-term preservation than others, so the raw DNG files and compressed JPEG derivatives were separated into subfolders; only the uncompressed TIFF images are ingested. Written reports were migrated to PDF format. If the report was born digital (rather than a scanned page), the documents were converted to accessible PDF and saved in the PDF/A format for better long-term preservation.
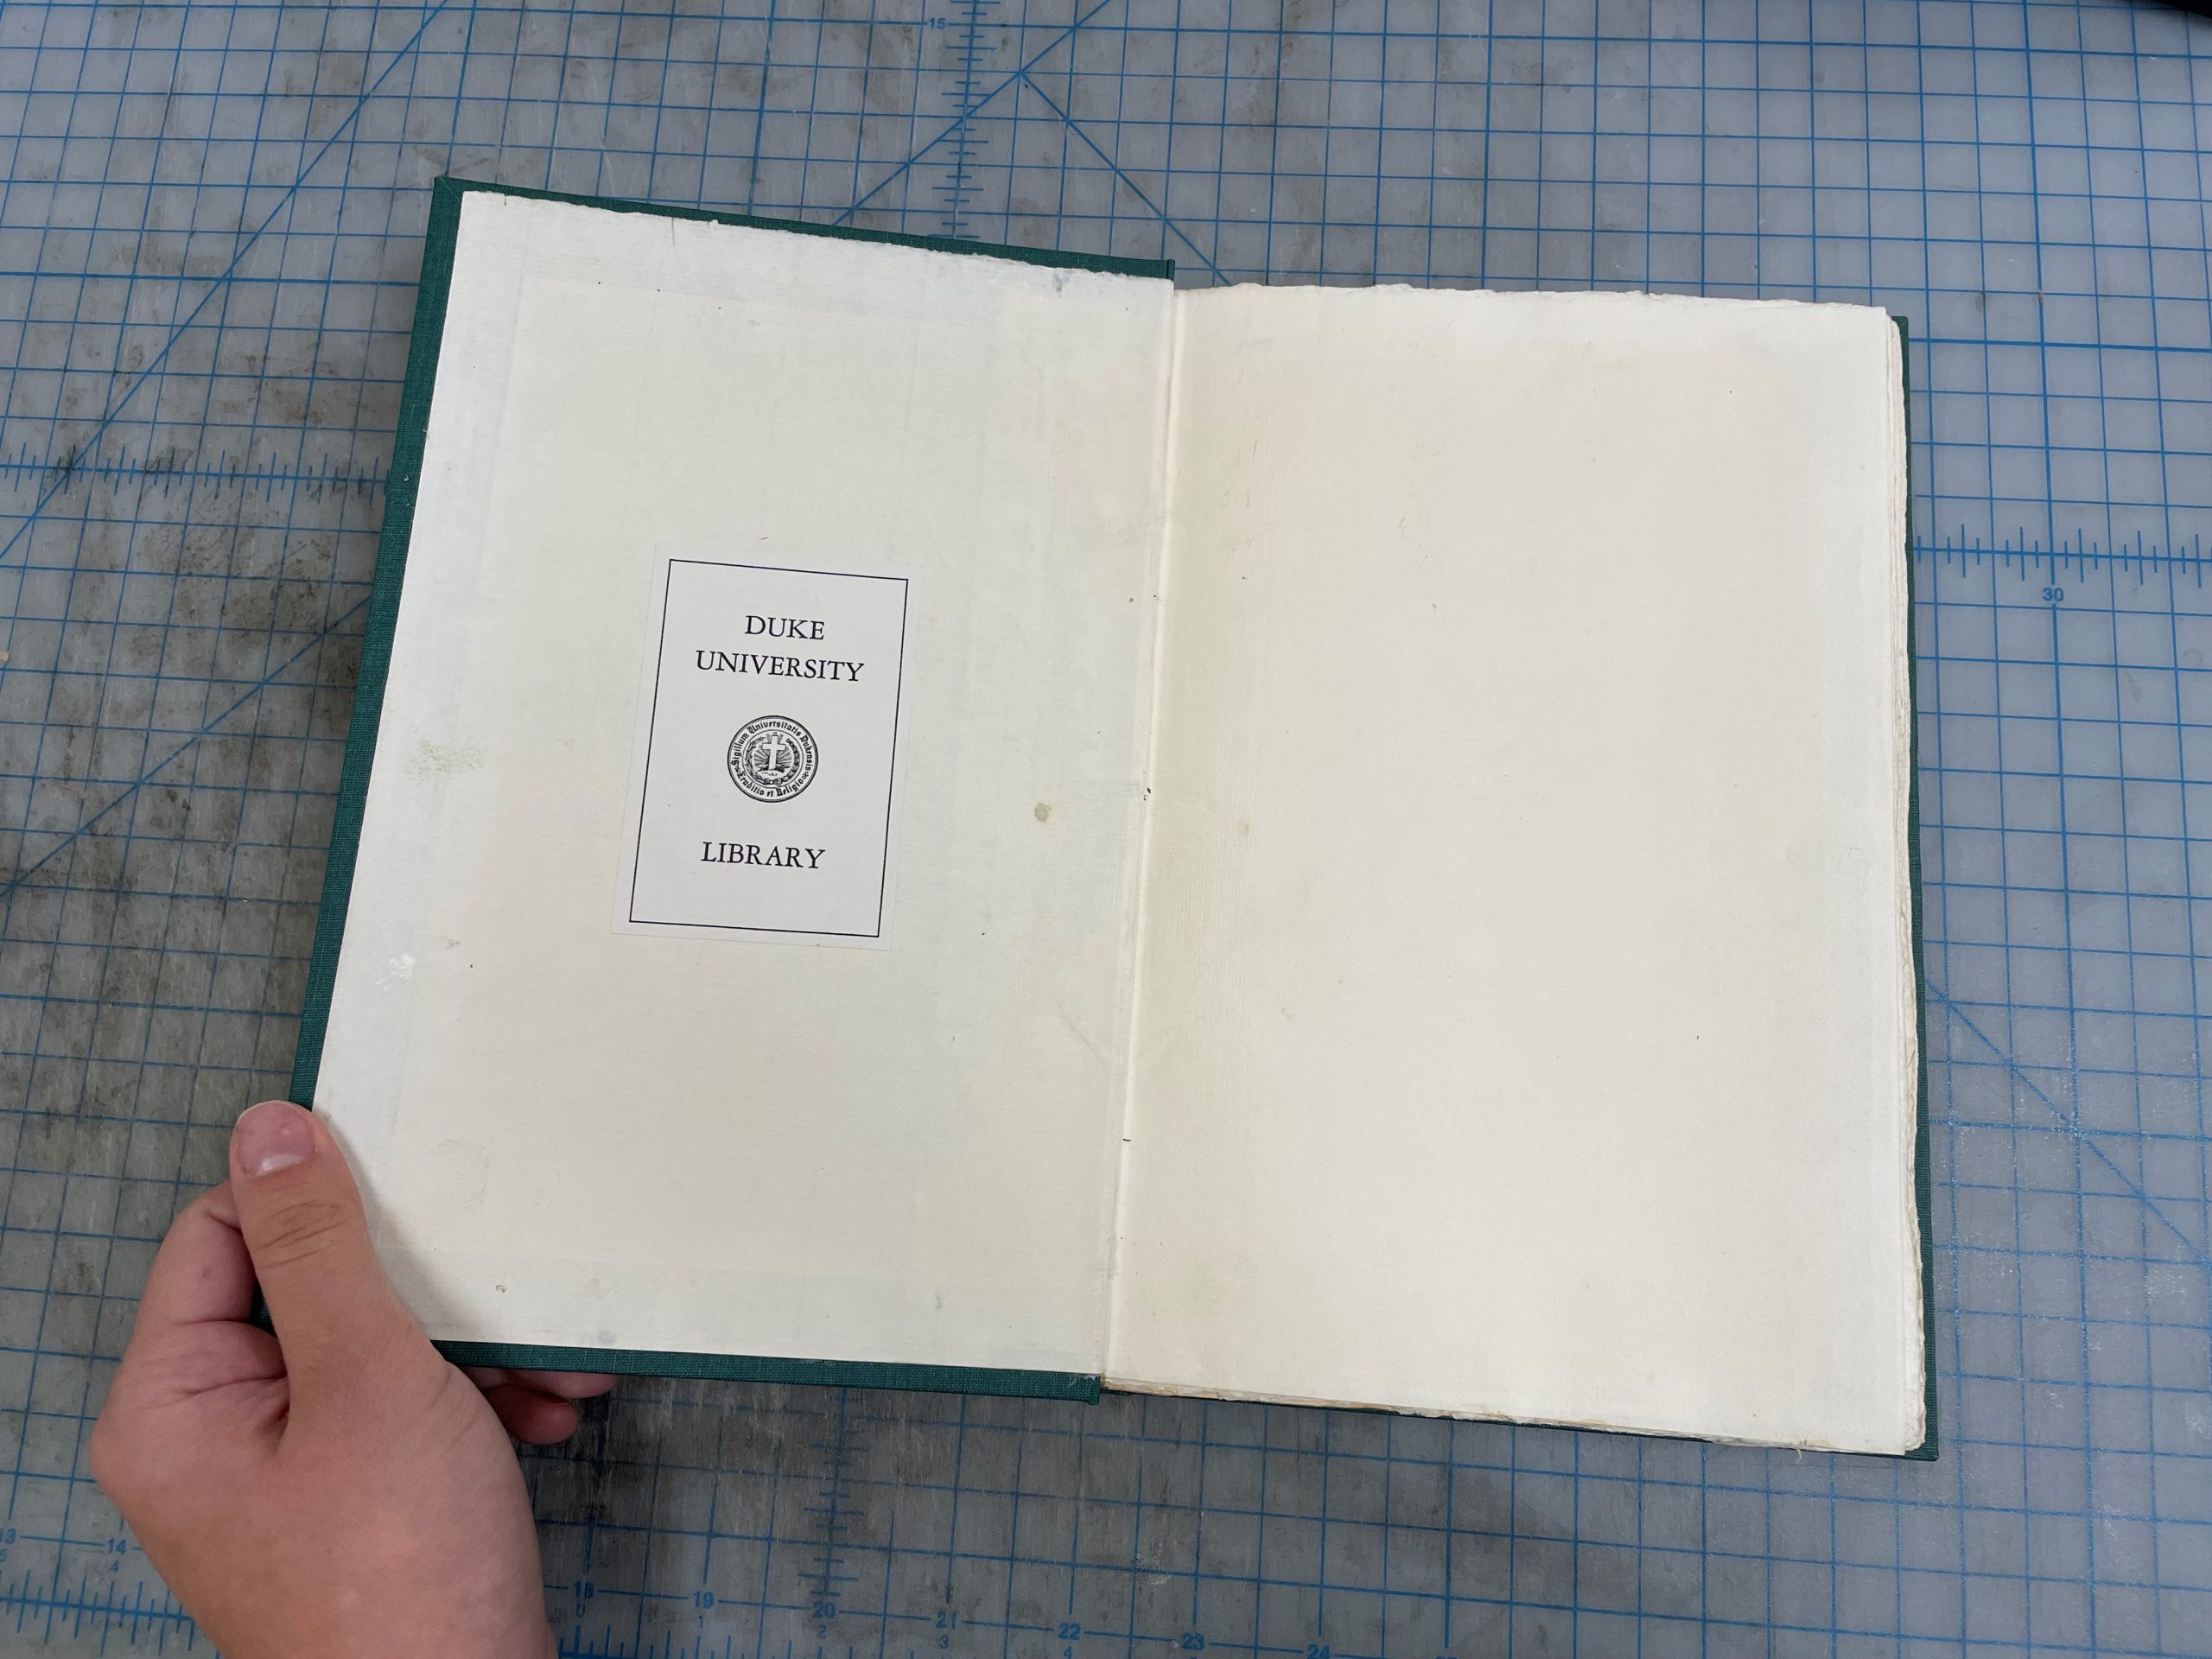
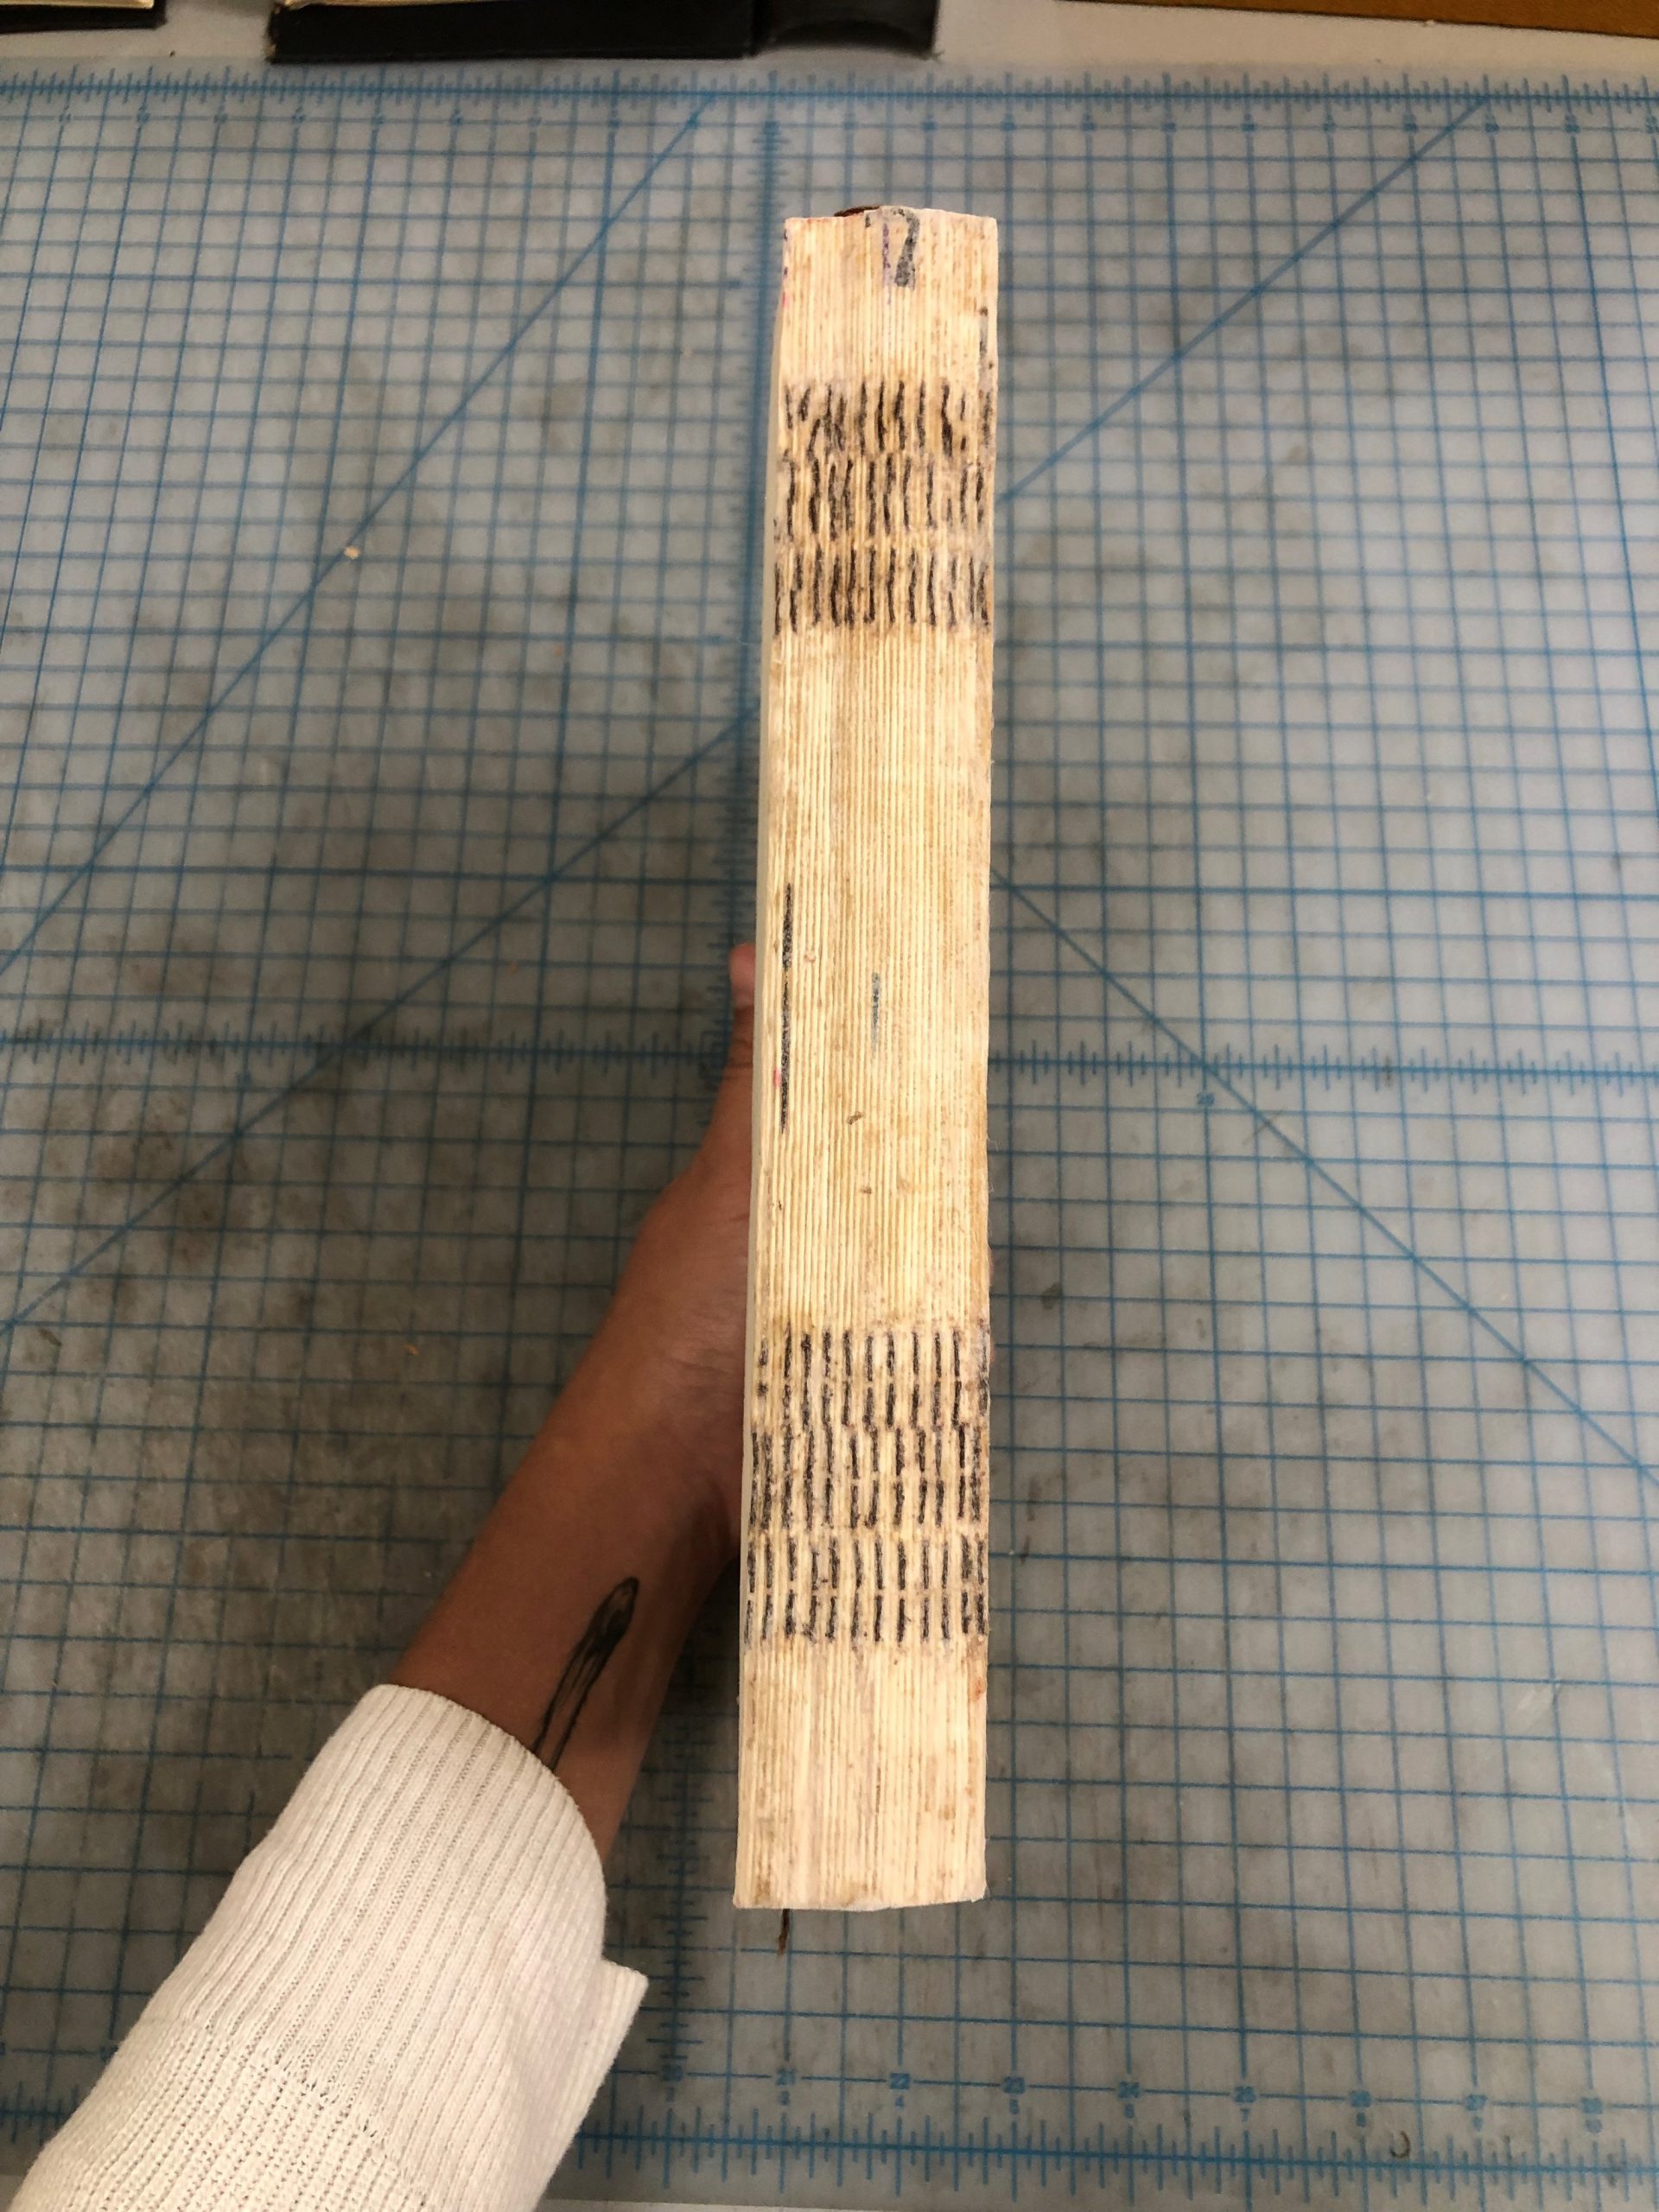
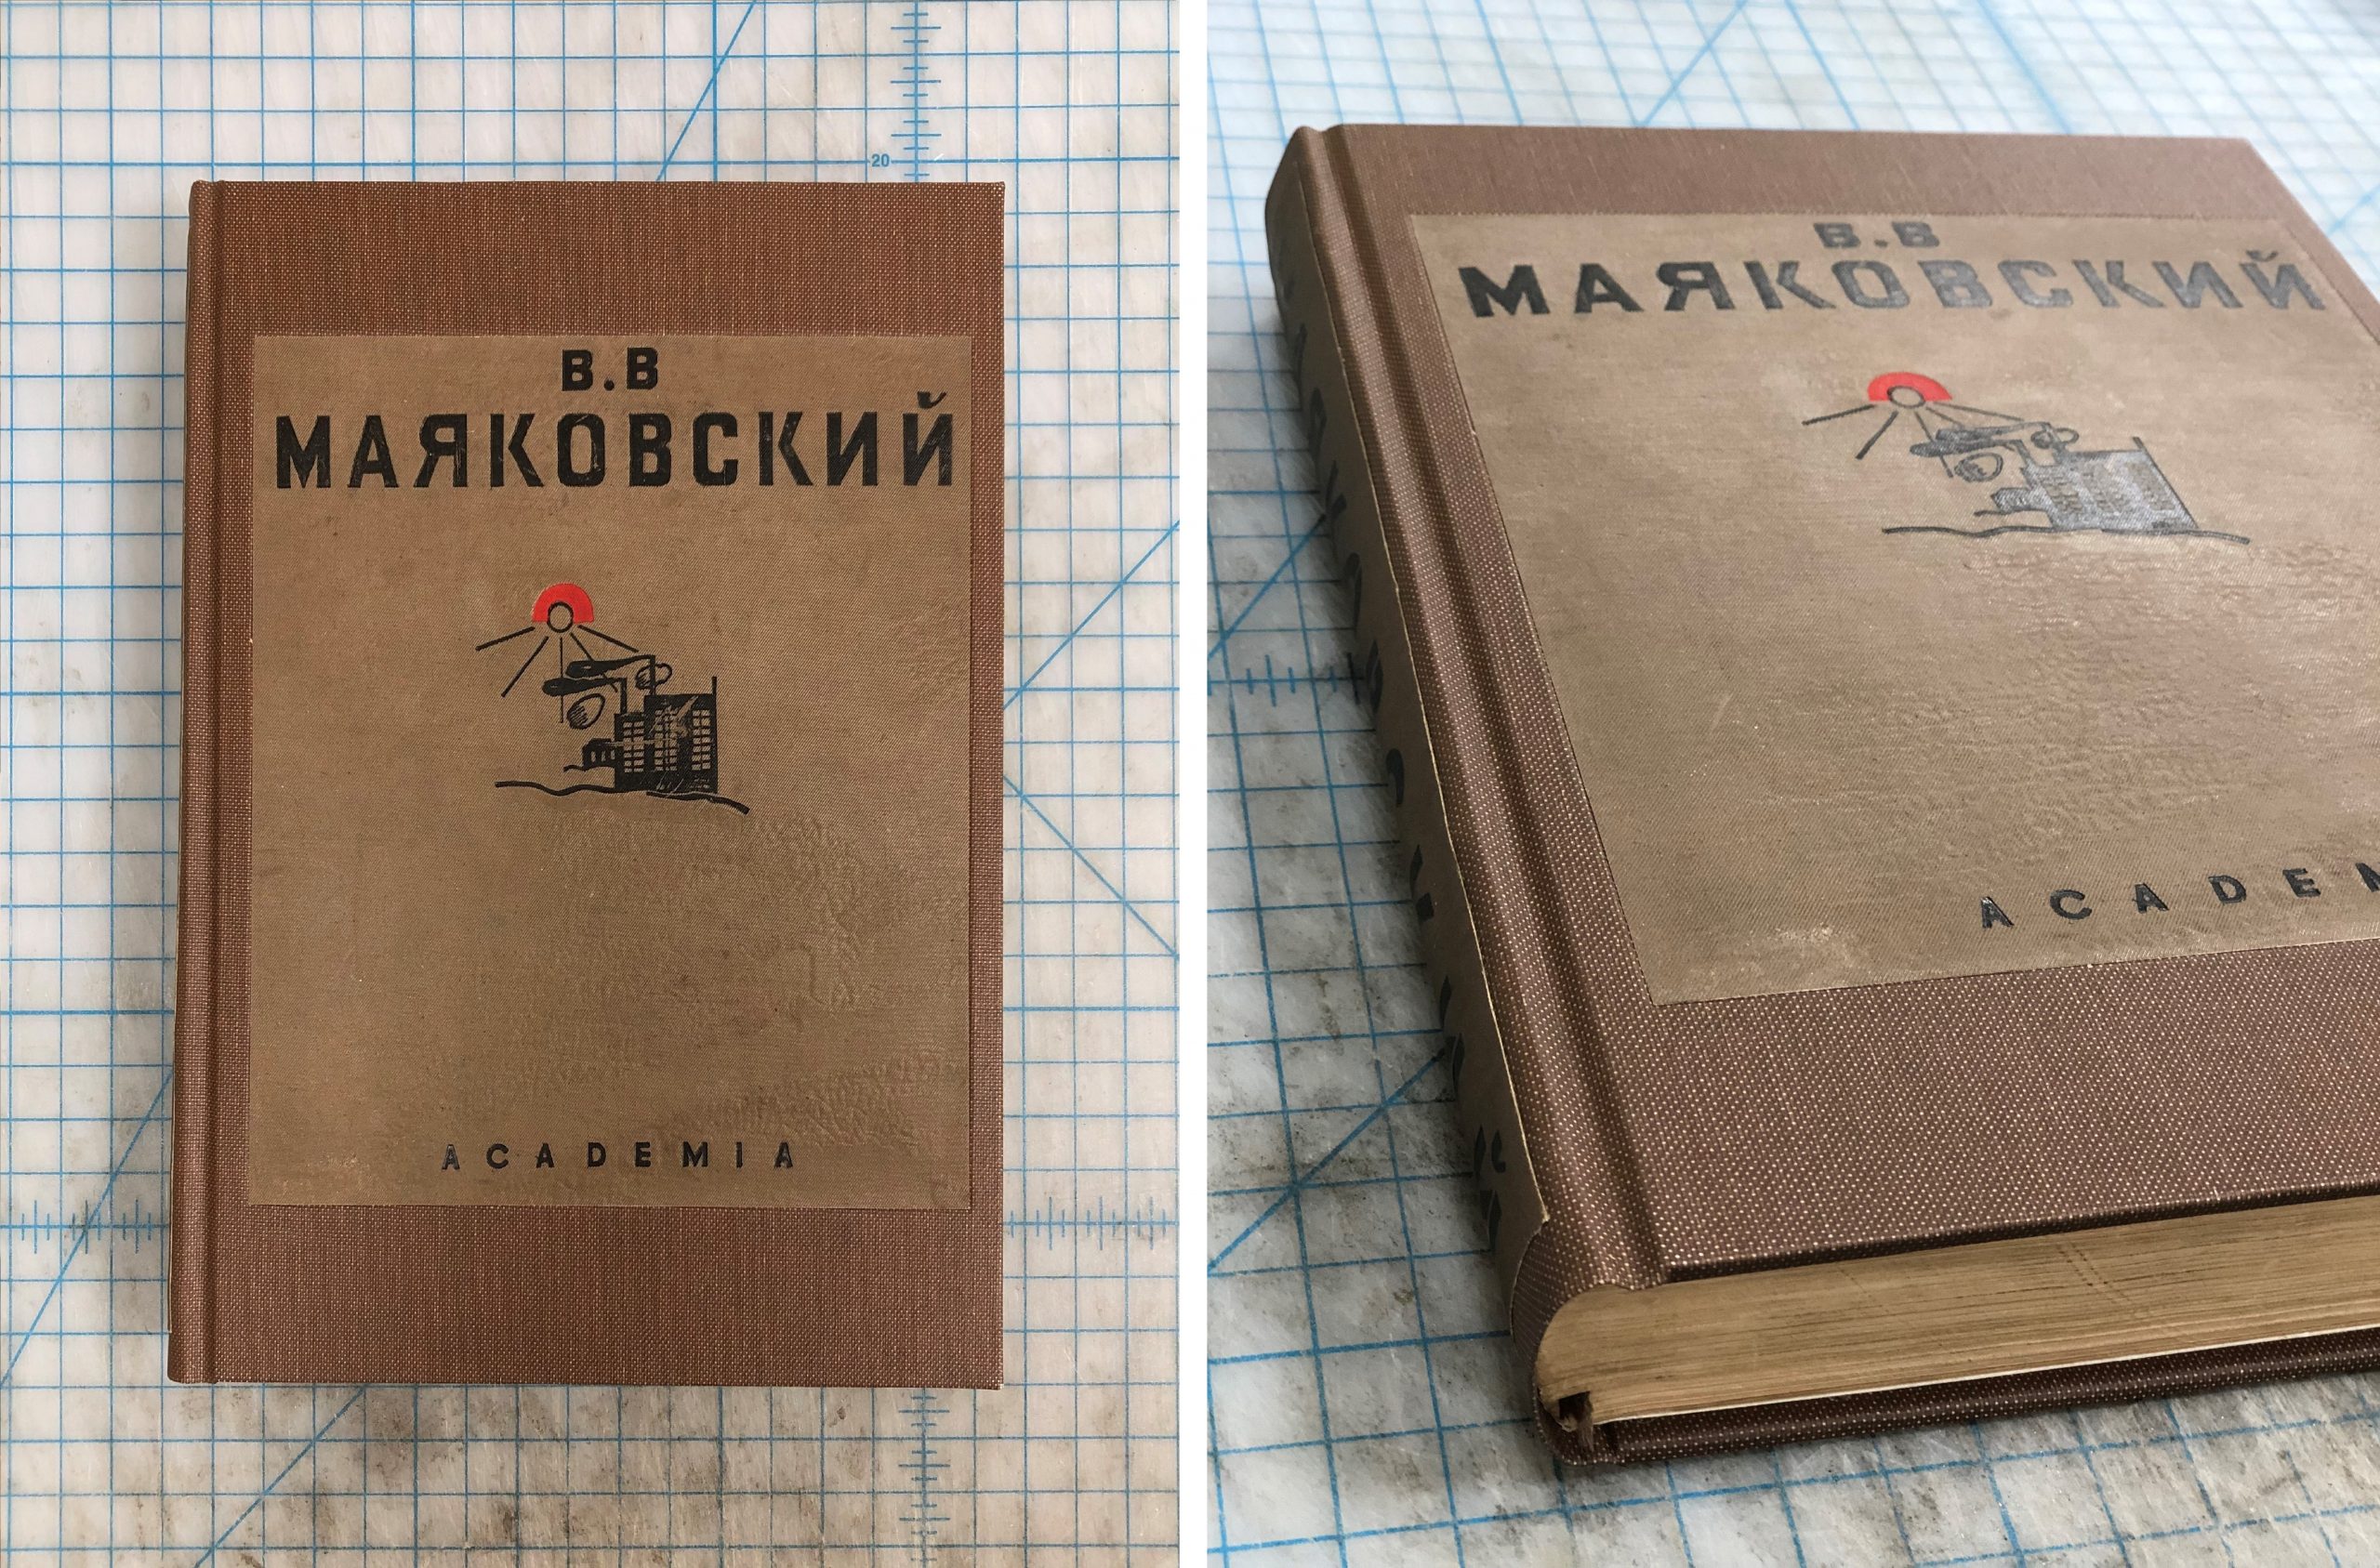
Once ingested, each treatment is organized as a single item in the digital collection, with the associated reports and digital images grouped together. We created metadata for each treatment to better identify and organize the records, and allow users additional access points. A title was created for each treatment, which includes the year the treatment was completed, a brief description of the work done, the workflow through which it came to the lab (if known), and the title of the item being treated (for example, “2016 board reattachment and tissue reback for instructional use of Athanasii Kircheri”). We also produced metadata to describe the culture or geography of the item’s origin, its condition, and the treatment techniques used. Whenever possible we adopted controlled vocabulary terms from the Art & Architecture Thesaurus (AAT) or Ligatus for all of these fields. Description for Duke’s other digital collections already rely on terms from the AAT. A unique identifier (either the BibSys number or archives collection identifier) was verified for each treatment in order to link the digital collection of documentation to the catalog record or finding aid for the item.

It’s important to note that some information or records are not represented in the CDA due to privacy or copyright issues. In all of our digitized reports, the signatures of employees have been redacted. While the email communication between conservators and curators that provides additional context for treatment decisions has been preserved, those files are suppressed from public view. Closed collections and items not owned by Duke University Libraries that we have documented (typically for exhibit loans) are also suppressed.

There was a lot of discussion in the media at the start of 2024 about copyright protections due to a certain culturally significant character entering the public domain. Shout-out to Jennifer Jenkins at Duke Law School for compiling a yearly roundup of works entering the public domain – it’s a really great read. Many of the items that we have treated are still under copyright protection, but there is a good fair use argument for making our treatment images of them available. The images are only used for scholarship, only small portions of copyrighted text are represented, etc. We ultimately decided to suppress certain treatment images of photographic collections, though, as they are fairly high resolution reproductions of the entire work. In those cases our reports are still available. See, for example, this condition assessment for an exhibit loan of a print from the Tom Rankin collection.
To date we have ingested around 1,400 records into the repository, which covers up to the 2016/17 fiscal year. At the moment we are hard at work preparing records from the next 3 fiscal years for ingest. Our eventual goal, once we are caught up, is to have a regular, annual release of records from the previous year.
We have heard that some of our colleagues are already using the CDA for research and instruction. In the next episode of this series, we will dive into the interface and look at some of the ways this collection can be used for research.
References:
- American Institute for Conservation of Historic and Artistic Works. (1994). Code of ethics and guidelines for practice (pp. 6-10). https://www.culturalheritage.org/docs/default-source/resources/governance/organizational-documents/code-of-ethics-and-guidelines-for-practice.pdf
- American Institute for Conservation of Historic and Artistic Works. (2008). Commentaries to the guidelines for practice of the American Institute for Conservation of Historic & Artistic Works. https://www.culturalheritage.org/docs/default-source/resources/governance/organizational-documents/commentaries-to-the-guidelines.pdf
- Batterham, I., & National Archives of Australia,. (2008). The office copying revolution: History, identification and preservation : a manual for conservators, archivists, librarians and forensic document examiners.
- Weidner, T. (2012). Fading out: The end of 35mm slide transparencies. The Electronic Media Review, 2, 157 – 173. https://resources.culturalheritage.org/emg-review/volume-two-2011-2012/fading-out-the-end-of-35-mm-slide-transparencies/