Tag Archives: general collections conservation

We’re Going to Need a Bigger Box

After my recent dabbling in miniature book work, I felt it was only appropriate to switch things up and work on something large.

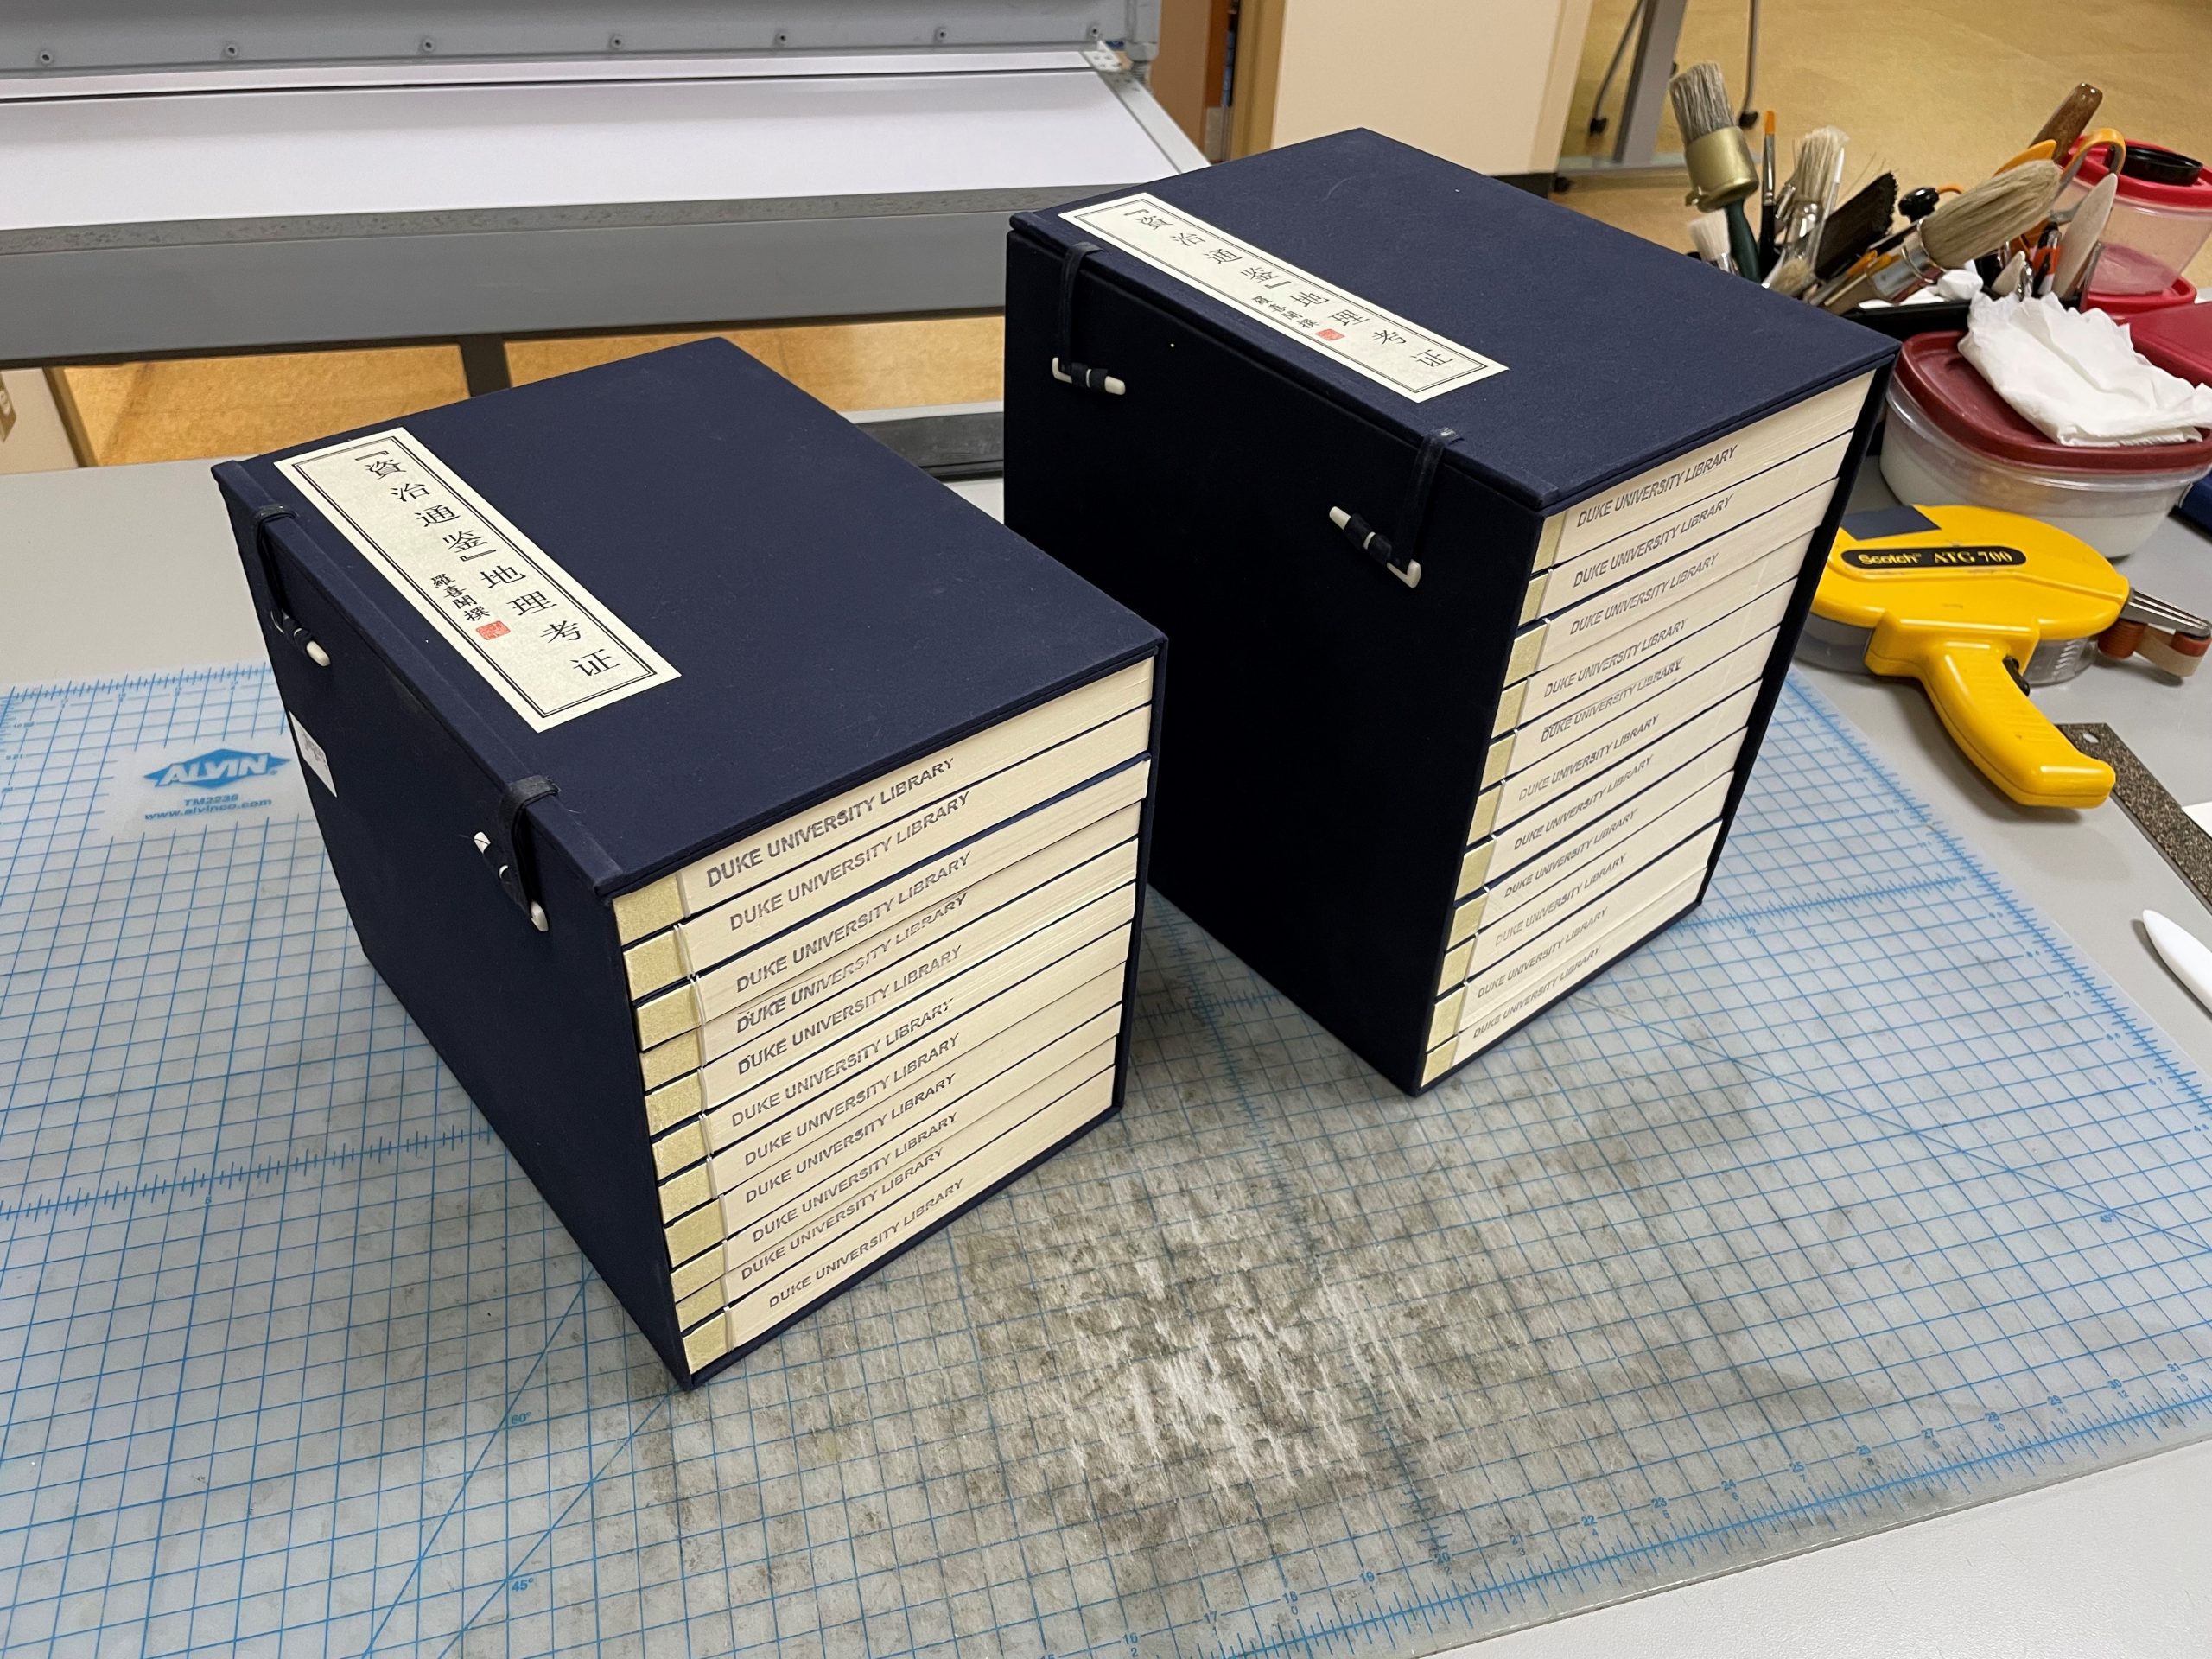
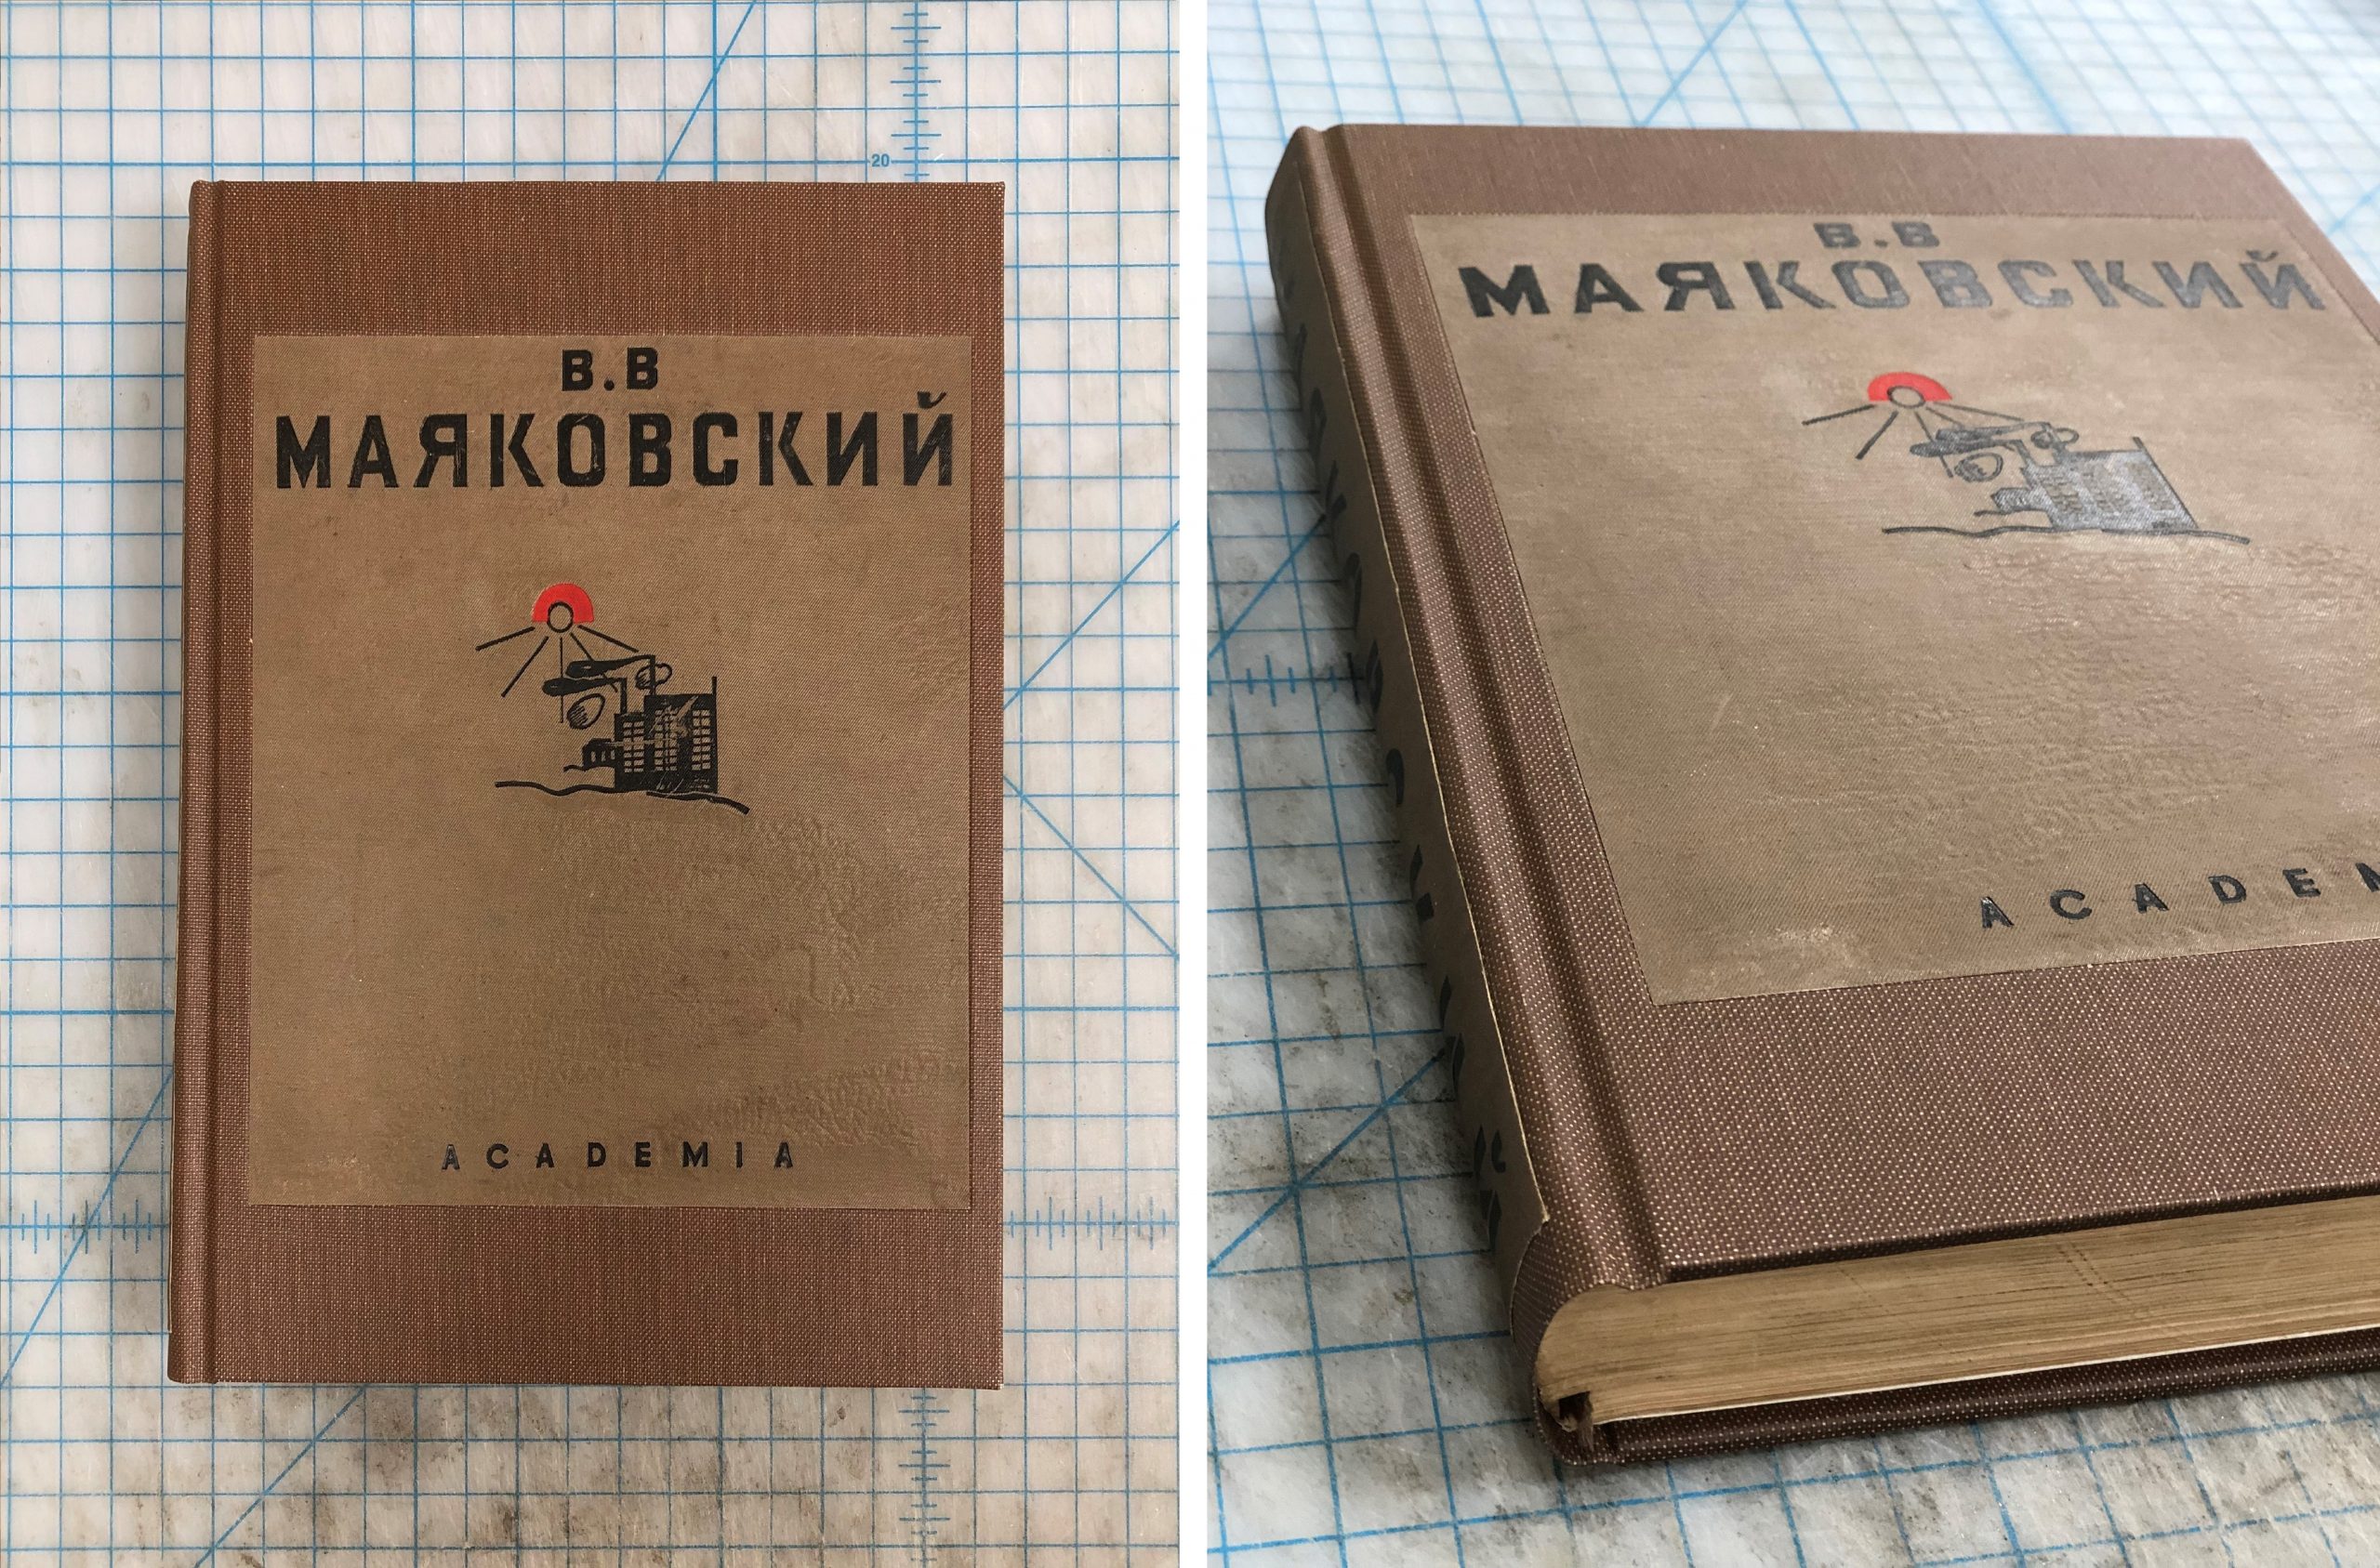
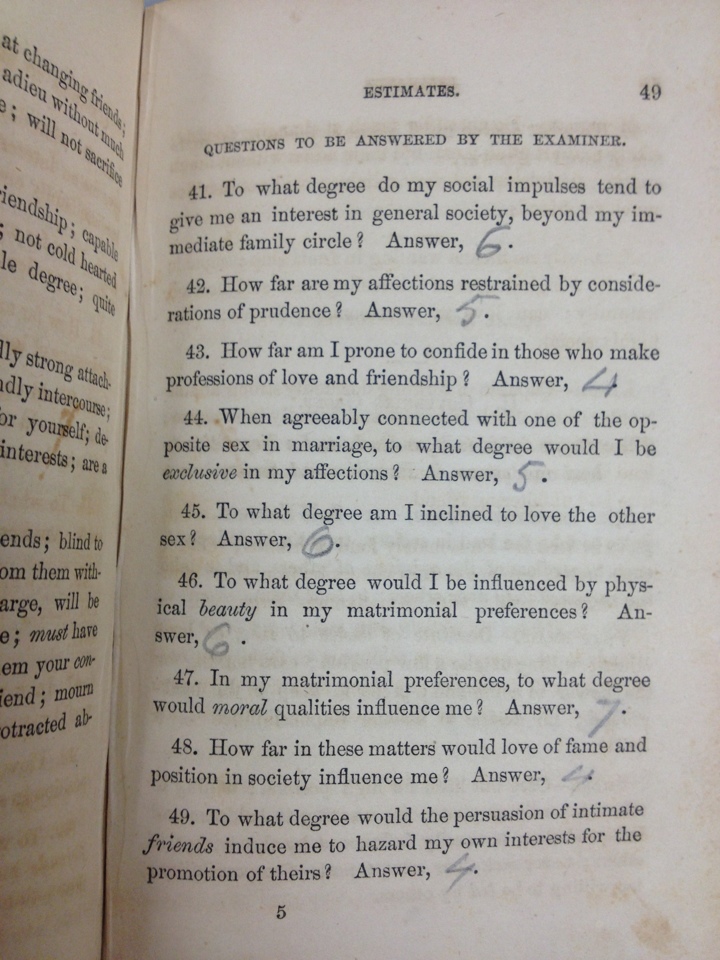
These two sizeable sets of East Asian books were exactly what I was looking for. Occasionally a set like this would be broken down into its individual books. However, since each set came with a unique cloth enclosure, they were cataloged as one whole item.

Therefore, I will treat each set as a single unit.

So, What is the Treatment?

I am glad that we are keeping the original enclosures, however it makes my job trickier. The current case doesn’t provide enough protection as it is. Even just a gentle push is enough to slide the books out of the enclosure, which could cause unwanted damage to the books in the set.

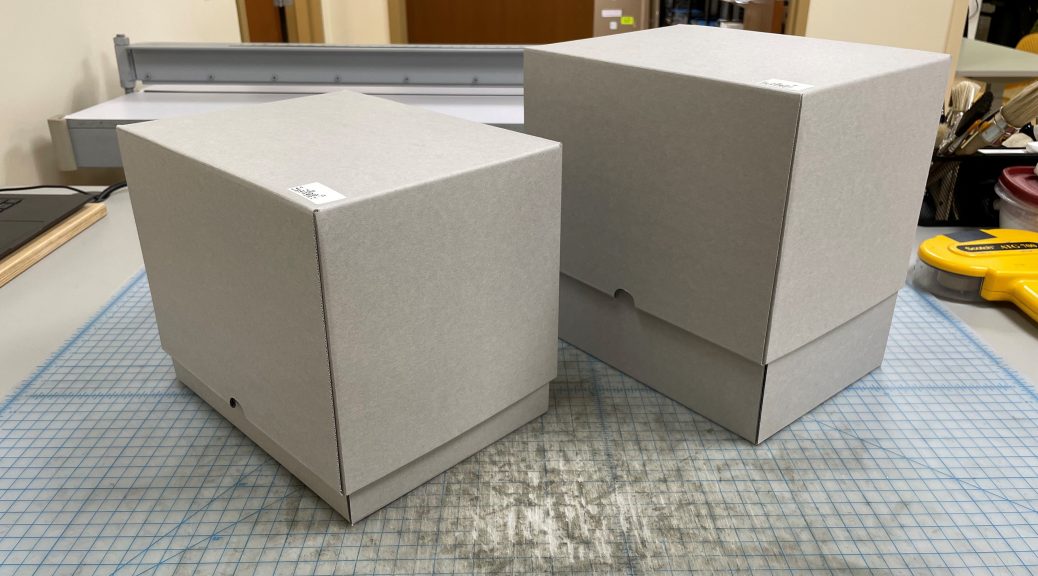
The best treatment option is to make each set a new box. That way the entire unit will be safer whenever it is transported or handled.

Normally this wouldn’t be anything new, but boxing something this tall is a first for me. The thickest books I’ve worked with were typically four or five inches thick as most. On the other hand, these two sets are a whopping nine and eleven inches tall.

Due to their size, a normal clamshell box is no longer an option. If I applied their dimensions to our usual clamshell design, the box would not fit on the sheets of E-Flute board that we have in the lab. The best solution to this problem is to make a telescoping box instead, which is made of two parts (an interior piece and a lid) instead of one.

How Do You Make Such a Large Box?

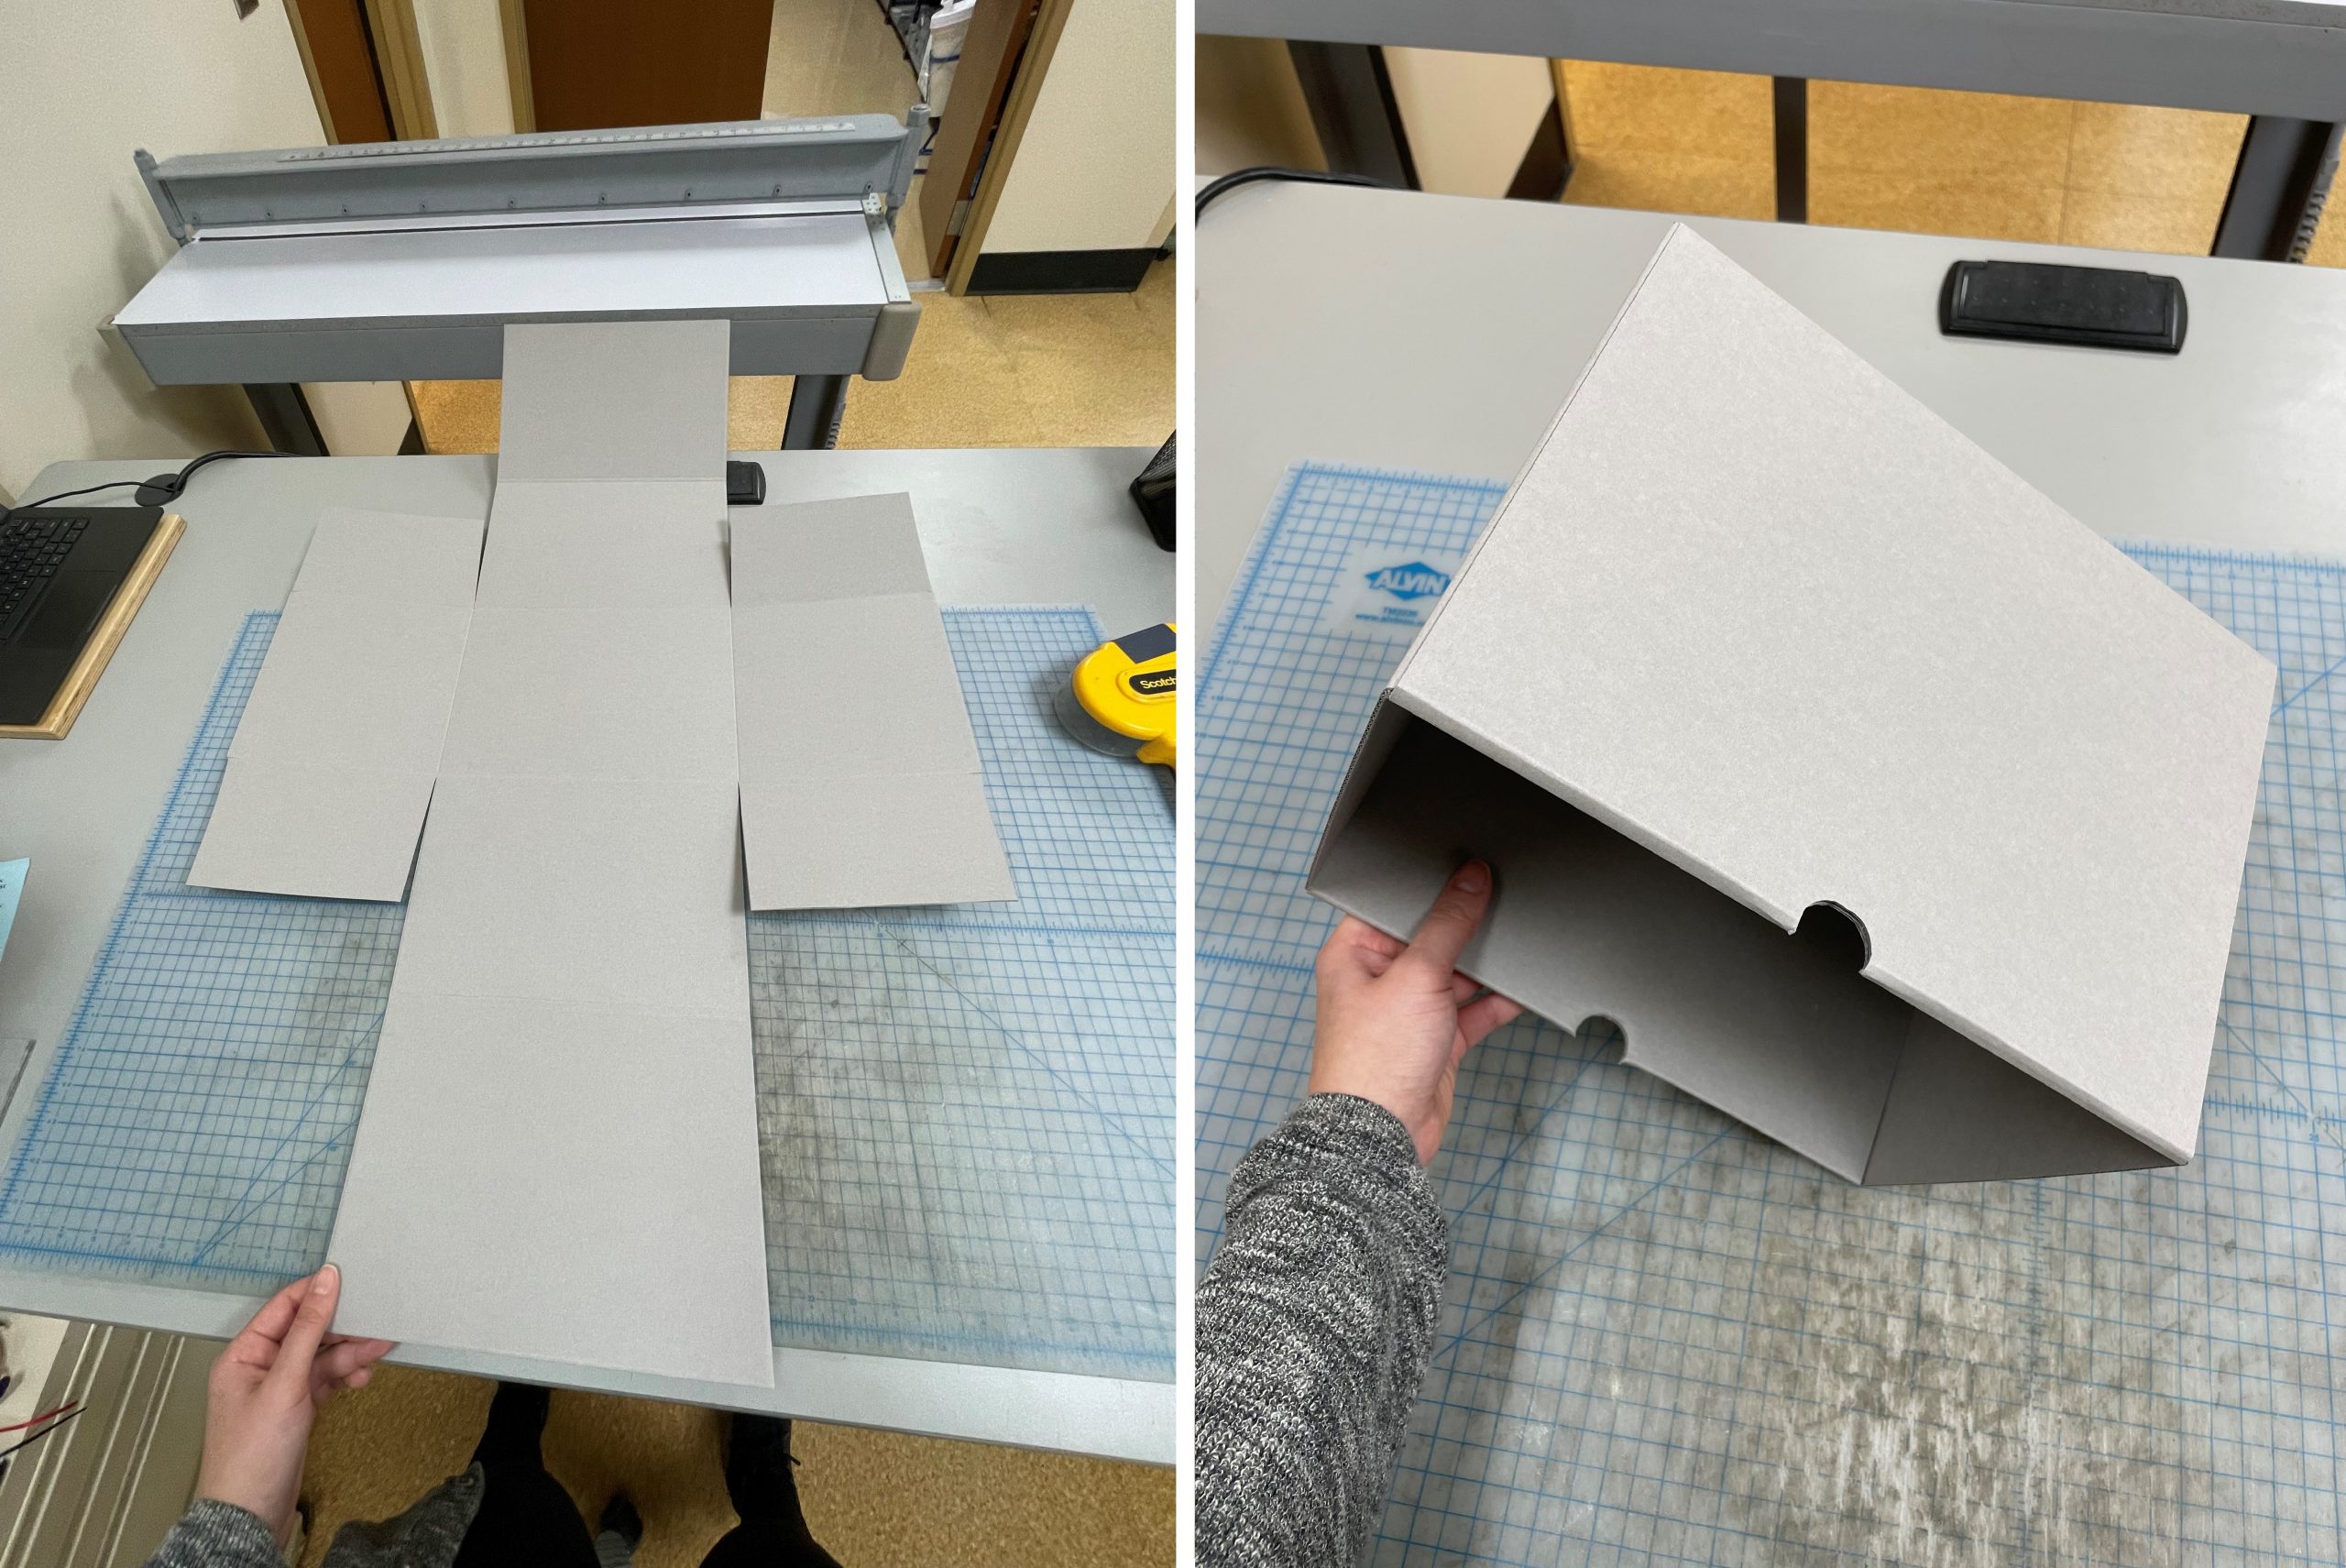
Even with this alternative design I had to make some adjustments. The book sets were large enough that they still didn’t quite fit on the boards. This meant I had to change how I transferred the design onto the board.

Who would’ve thought 30″x40″ was too small?

To make the majority of the box fit, I made all my measurements from the center line of the board edge. This method allows me to fit all the critical parts of the box on the board.

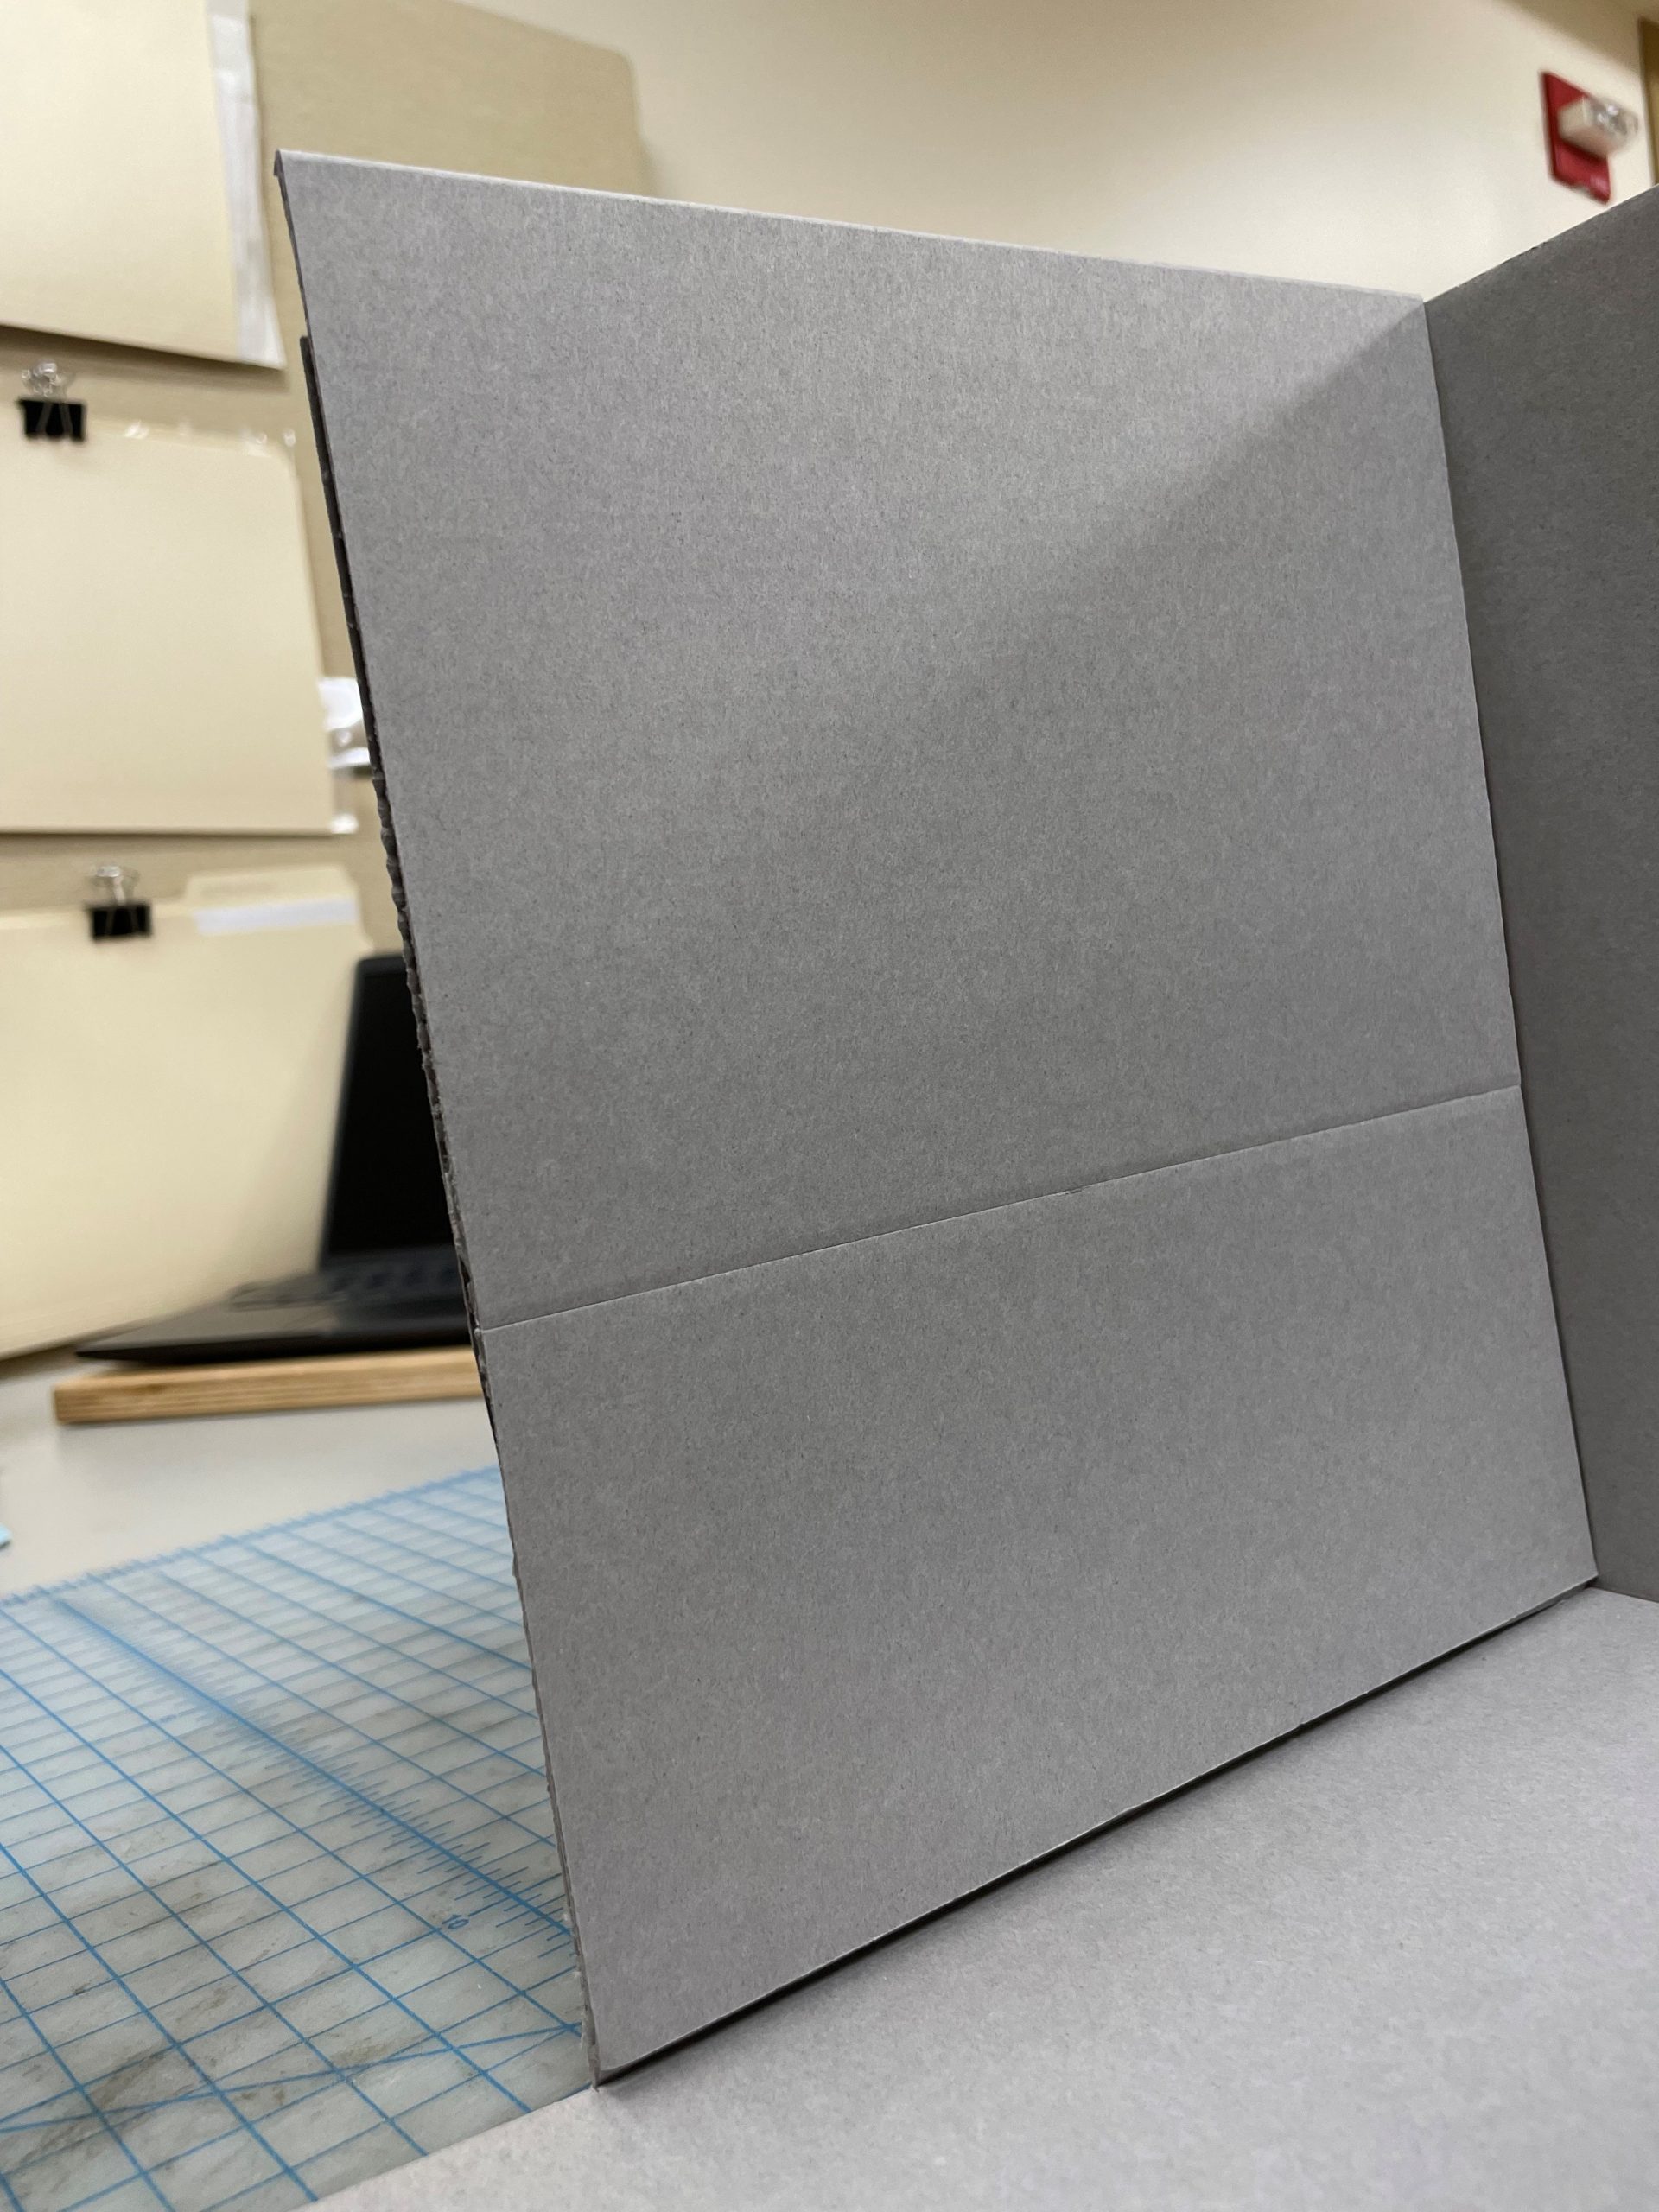
With all the important marks made I can now crease the board, make the necessary cuts, and assemble the interior piece of the box.

The lack of board is more apparent once the box is put together.

Luckily the solution is a simple one. All I need is a piece of scrap E-Flute (which we have plenty of) to fill the gap in the side wall.


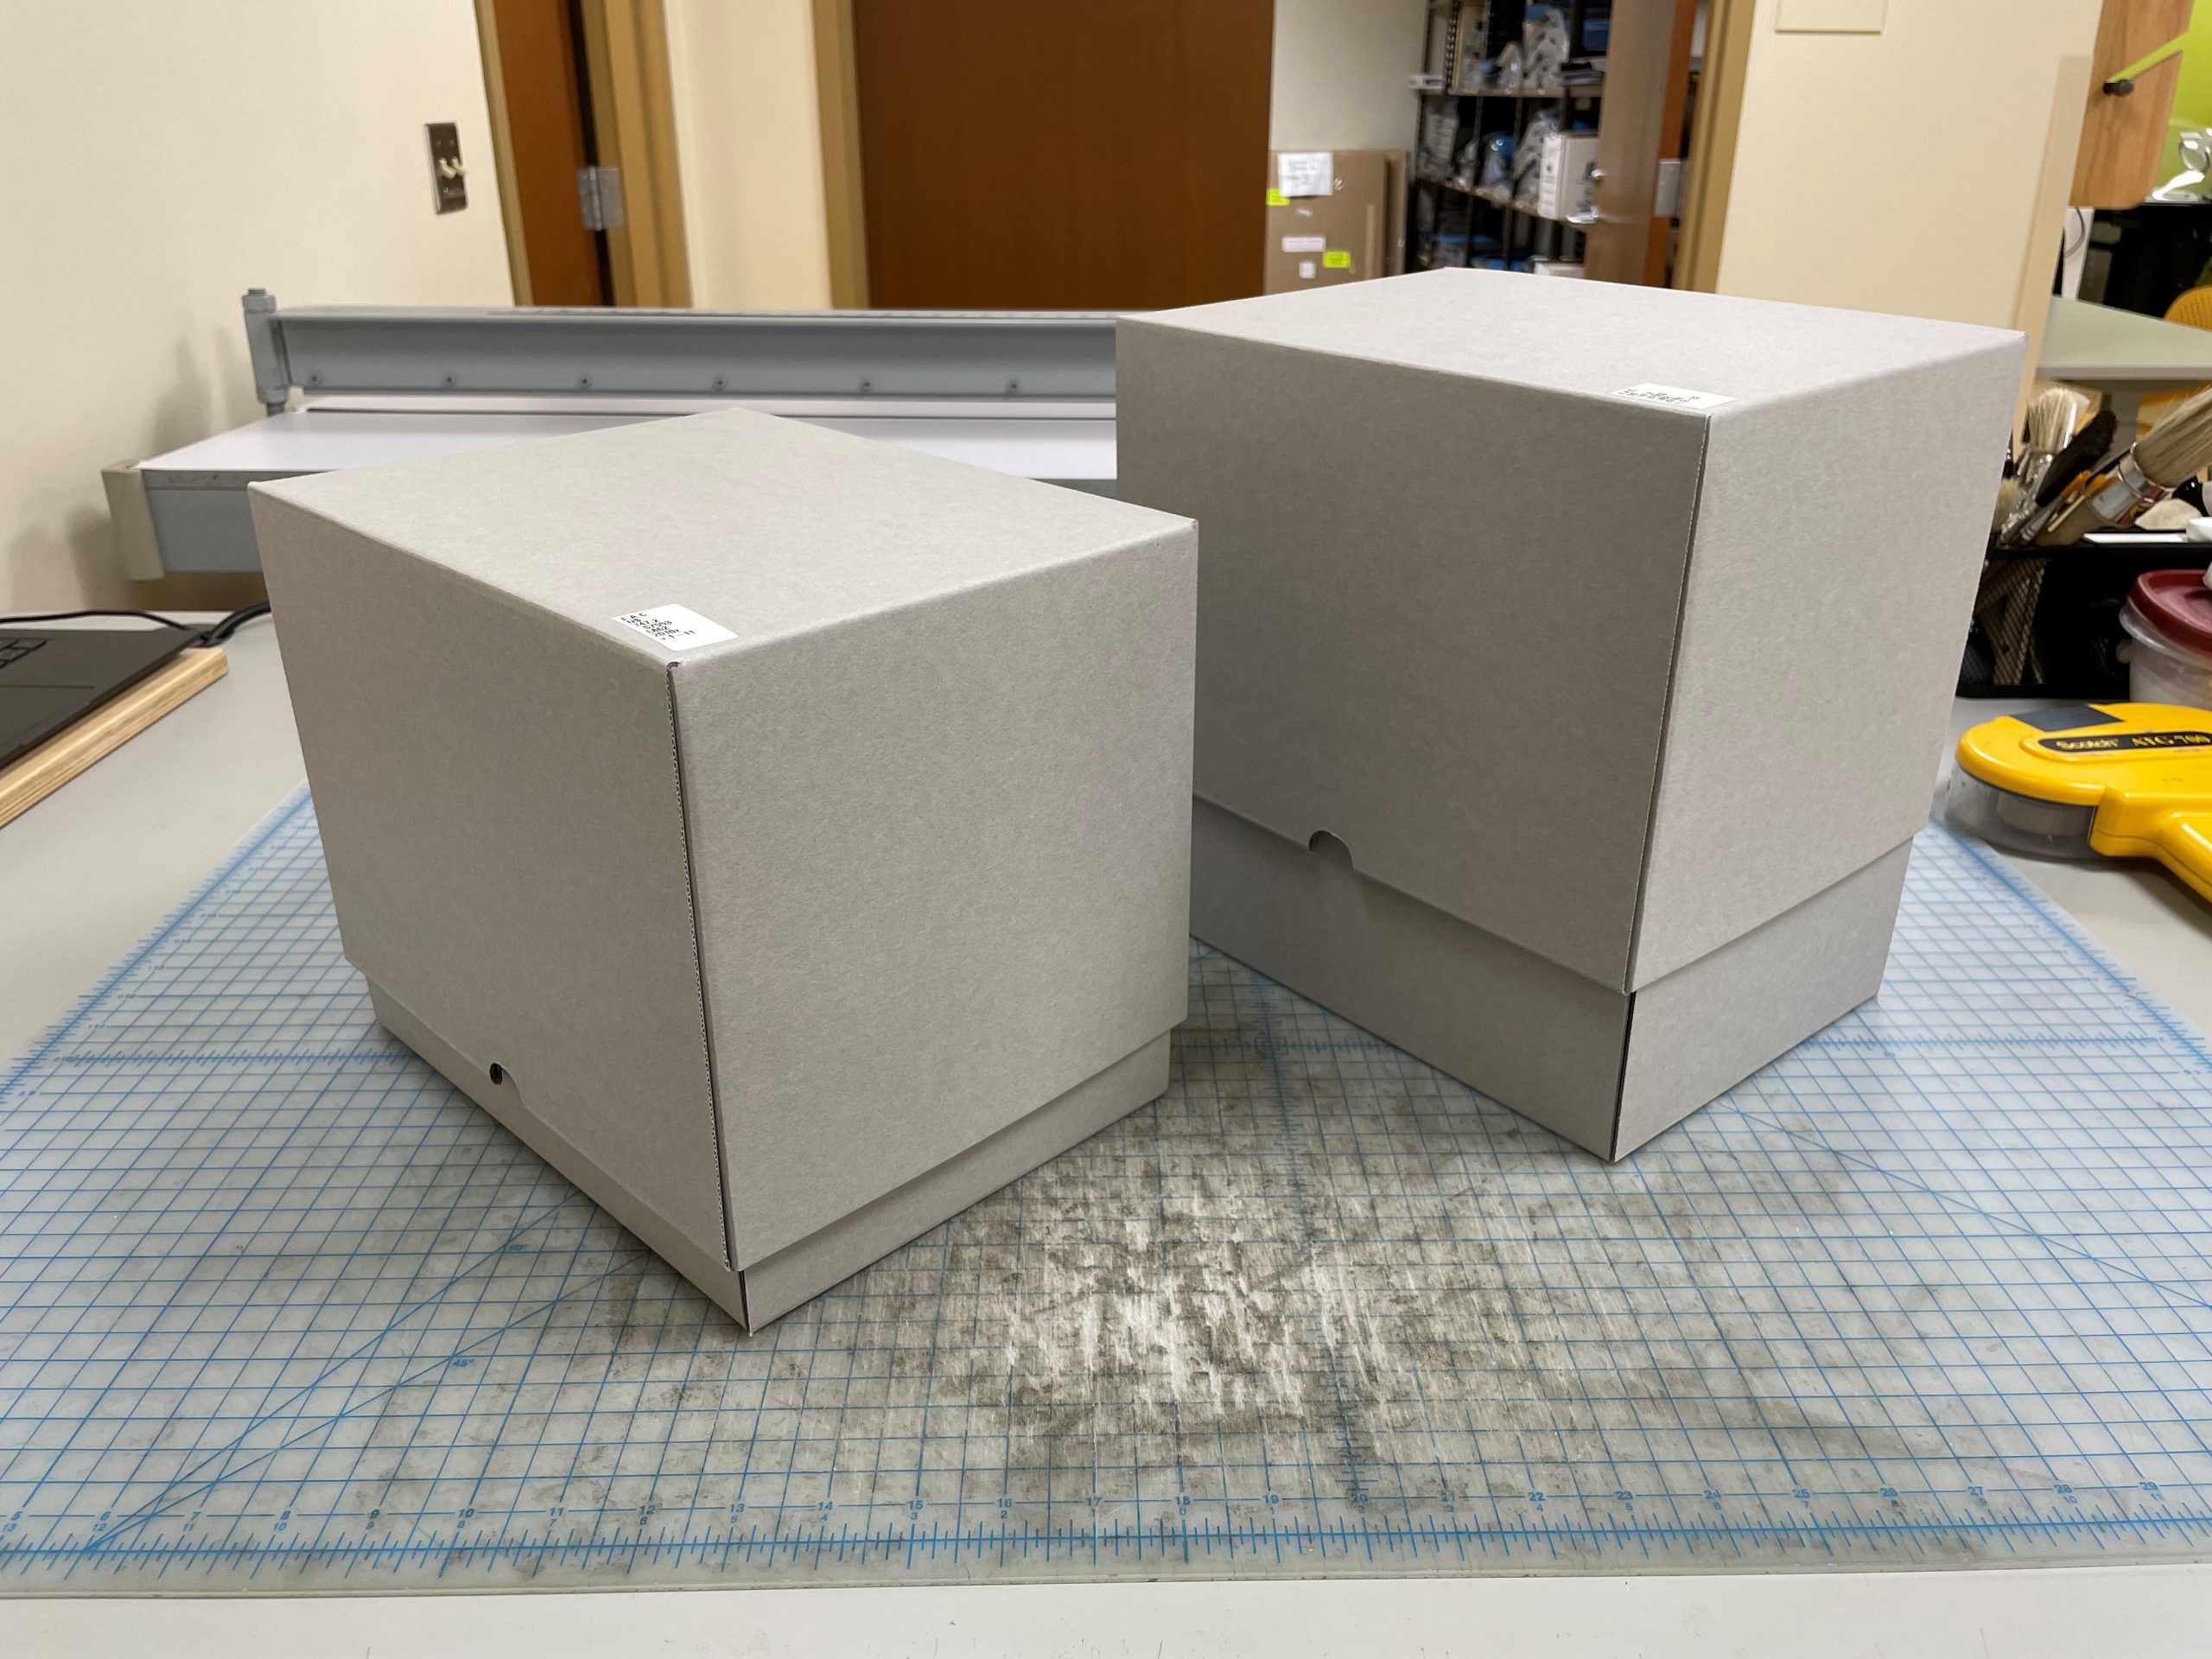
Once that is complete, I made the lid of the box. I measured this piece the same way I did before in order to be as economical as possible with the board.

After that I just had to repeat the process for the second set of volumes.

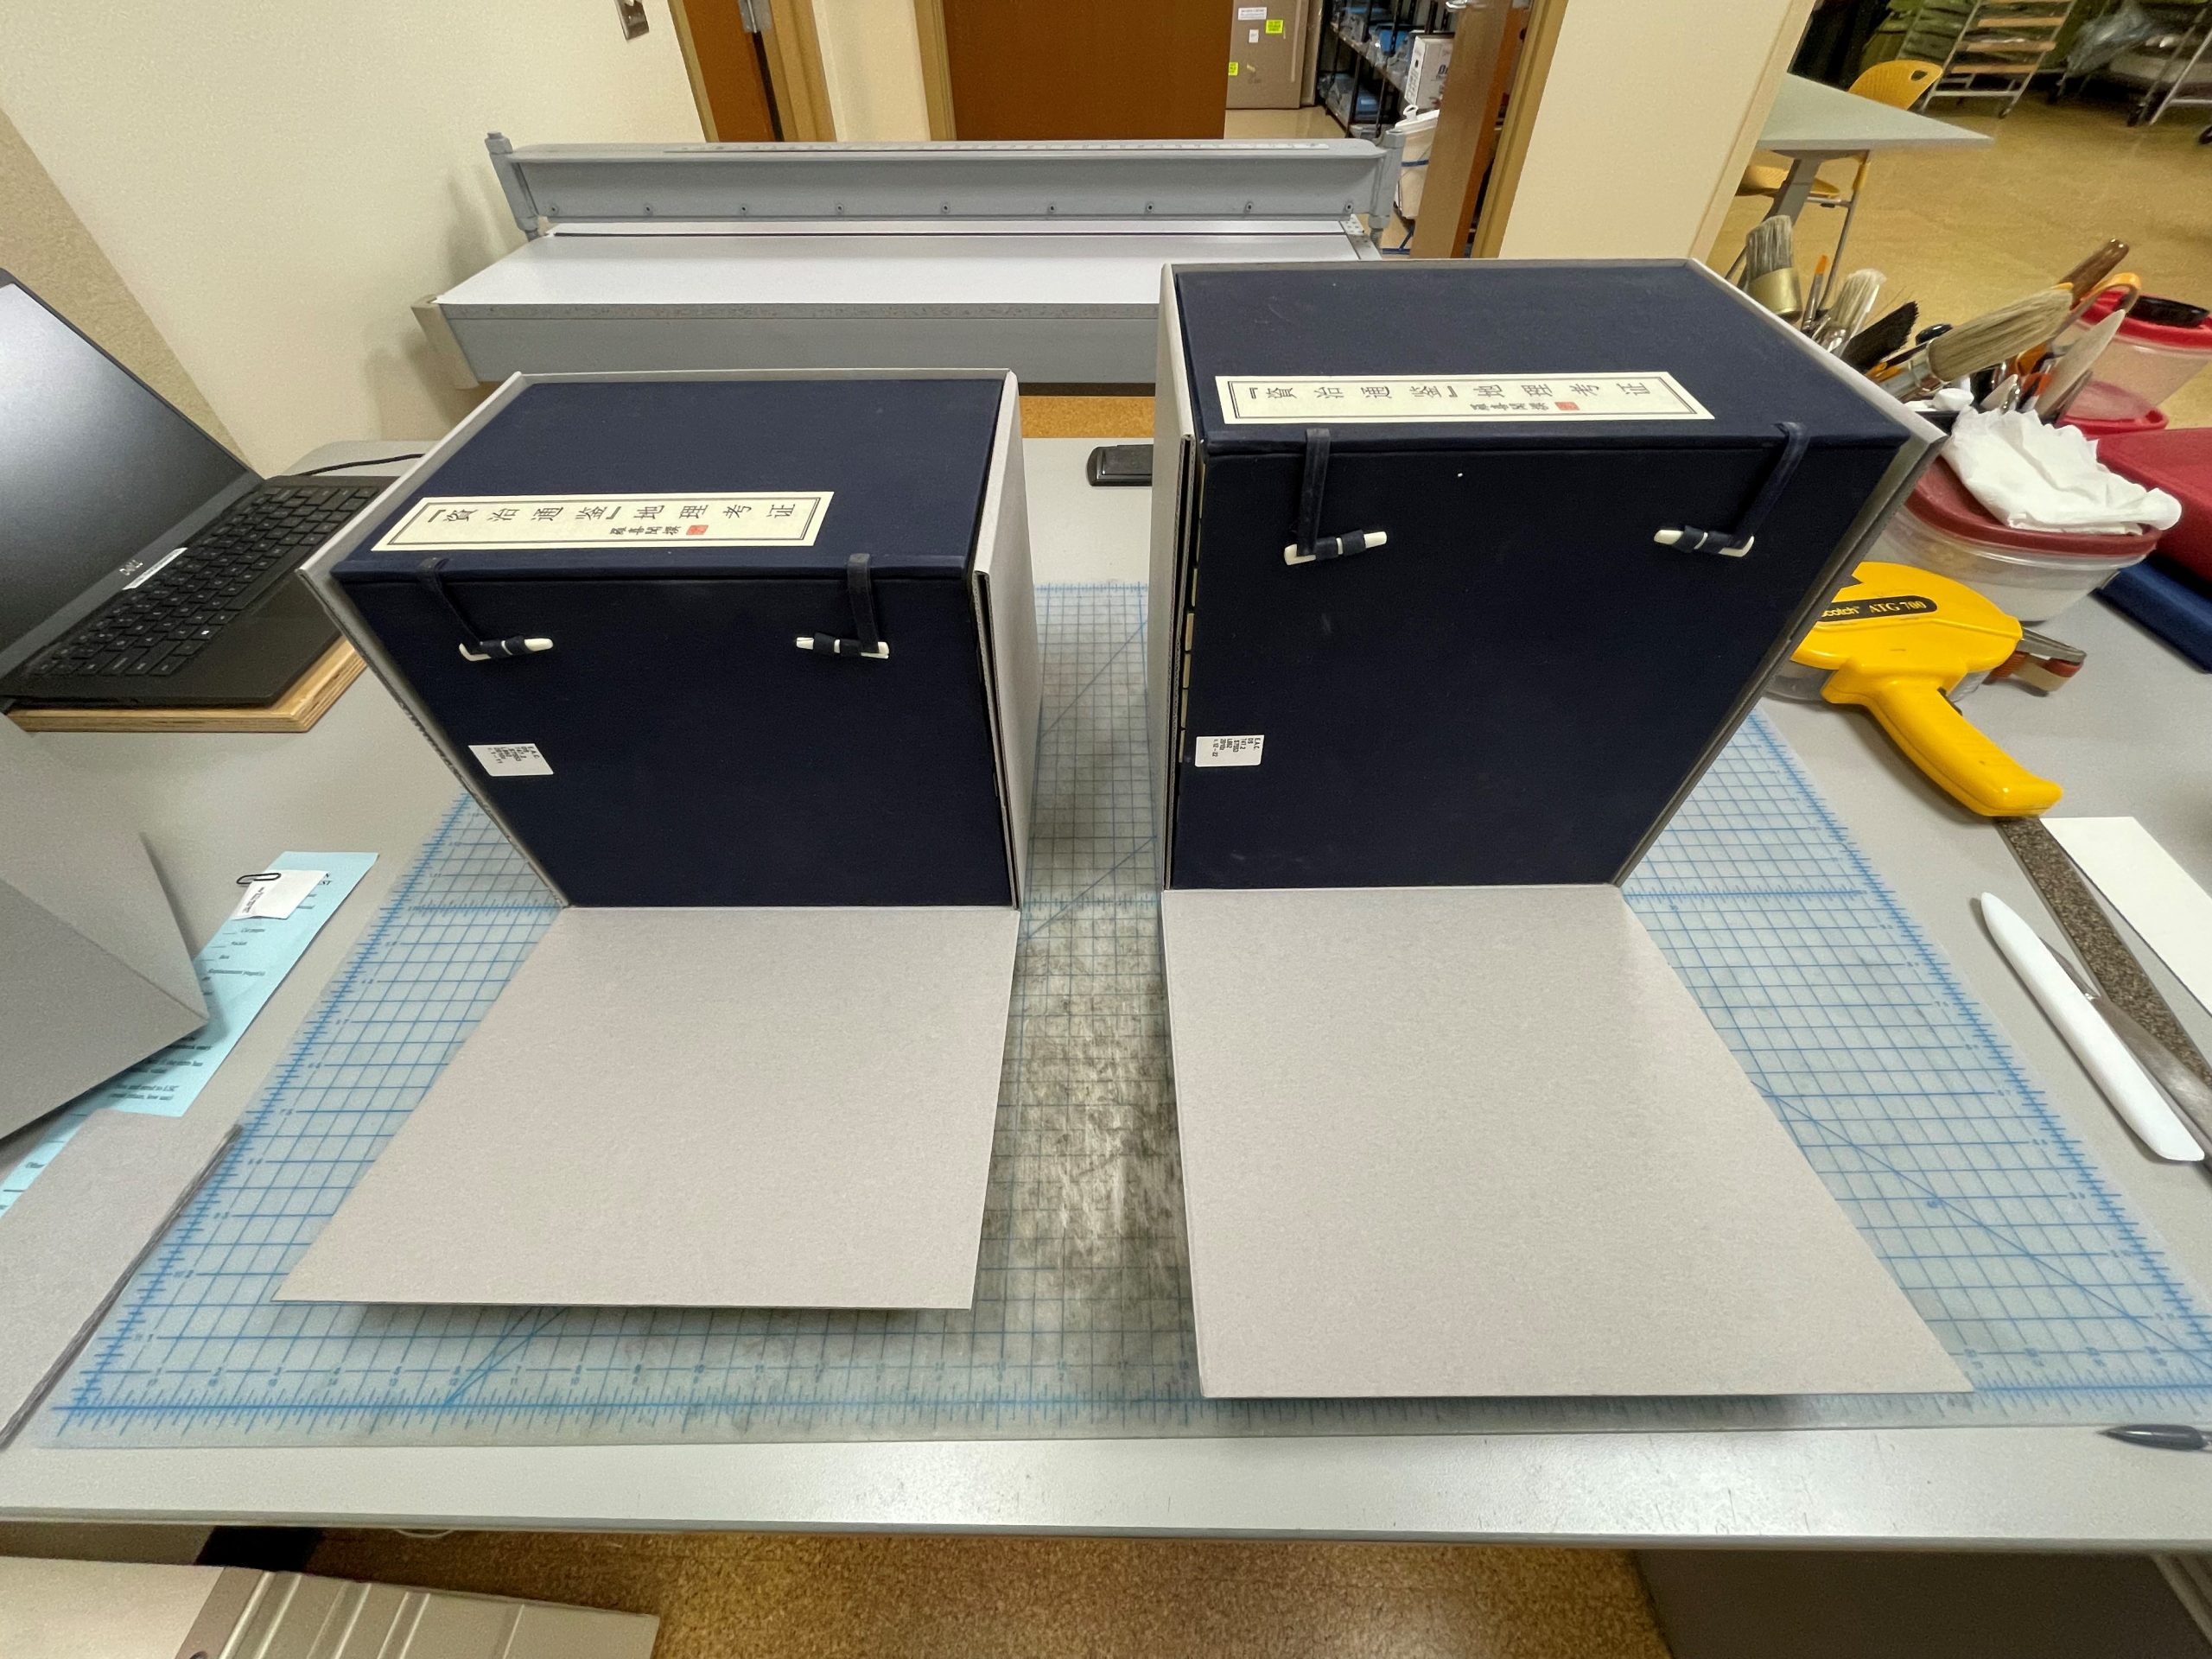
Now these massive sets are ready to go! Too bad they’re still just as heavy though.

Stapled Instead of Sewn

When you look at how books are generally made, you’ll find that a majority of them are either sewn with thread, glued together as individual sheets, or occasionally bound with a combination of sewing and commercial glue.

On rarer occasions, a book will be stapled together. As luck would have it, one of these books recently came across my bench in need of a new cover. At first glance, you can’t immediately tell the difference between a stapled book and a sewn book.

It’s not until you open the book up and look at the gutter of one of the signatures that you might be able to see whether the book is stapled or not.

An opened book revealing the gutter of the pages where a staple can be seen.

It’s even easier once you’ve taken the cover off and can look directly at the spine of the textblock. As you can see in the images below, there are staples running through a significant portion of the signatures of this book.

Now, in a perfect world where I have all the time and patience I could want, I might remove the staples, mend any damage to the signatures in the process, sew the book back together, and then make a new cover. In this case, such an approach would be too labor intensive and time consuming. As the only senior conservation technician charged with maintaining the general collections, I cannot devote that much time to one book when I might have as many as 25 other books also waiting to be treated.

Considerations

With binding structures like this, the treatment decisions tend to boil down to preserving the provenance of the object vs choosing to rebind the book for greater longevity. In this blog post by Peter D. Verheyen in 2011, it’s evident that these wire bindings are a curious part of the history of bookbinding. Since they’re unusual, and since our goal is to conserve as much of the original item as possible, one might think that saving the original binding would be the obvious choice.

But how do technicians in general collections conservation (such as myself) reconcile keeping as much of the original object intact when we also have to prioritize making sure that the book can withstand regular use from patrons? If the staples in the binding had been so rusted that they were breaking whenever I opened the book, I would most likely take a more involved approach to the treatment of this book. An example of such a treatment would be adhering a cotton cambric to the spine and sewing through it along with the textblock, which you can see an example of in this paper by our very own Beth Doyle.

Luckily, in this case, both the paper and the staples were in good enough condition that a secondary treatment wasn’t necessary. However, it could be argued that perhaps I should have gone ahead with the more complex treatment just in case the staples failed in the future. In the end, these are the dilemmas we face in general collections conservation.

Treatment

I decided that the best course of action would be to clean the spine of its original lining and glue and replace it with a strong Japanese tissue adhered with wheat starch paste. By doing so, the spine is stabilized and strengthened while the staples are also given additional support. This reduces the potential damage that could occur from future use and repeated opening and closing of the book.

A picture of the stapled textblock post spine cleaning being held in a hand. The spine and staples are protected with a thin Japanese tissue, so you can still see the staples.

With the textblock now in a stable state, I could prepare a new case for the book. The original case had already failed and since the original materials were too fragile to keep using, it didn’t make sense to try and reuse the case. Instead, I made an inset on the front board in order to preserve the original cover material. If you’d like to learn more about the book, you can find the catalog record here.

Phreno Charts And Conservation

I wanted to show off a beautiful repair that Mary completed recently. I saw this on the “ready for quality control” shelf and just fell in love with her repair.

The title is “Improved Phreno-Chart” by Br. C. Townsend (1859). The book needed a reback. Mary toned a piece of cotton to match the color of the original cover, then she took some sandpaper to the cotton to rough it up to mimic the wear on the original cloth. She did a really lovely job making the new spine blend into the original cloth.

phrenology1

What makes the book even more fun is the content. The book is a meant to be a workbook for an individual to fill out. In this case, Charles Miller was tested on February 9, 1864.

phrenology2

The text is filled with scores. I’m not sure what they mean, but it is really interesting to see a working document like this in the general collections.

phrenology3