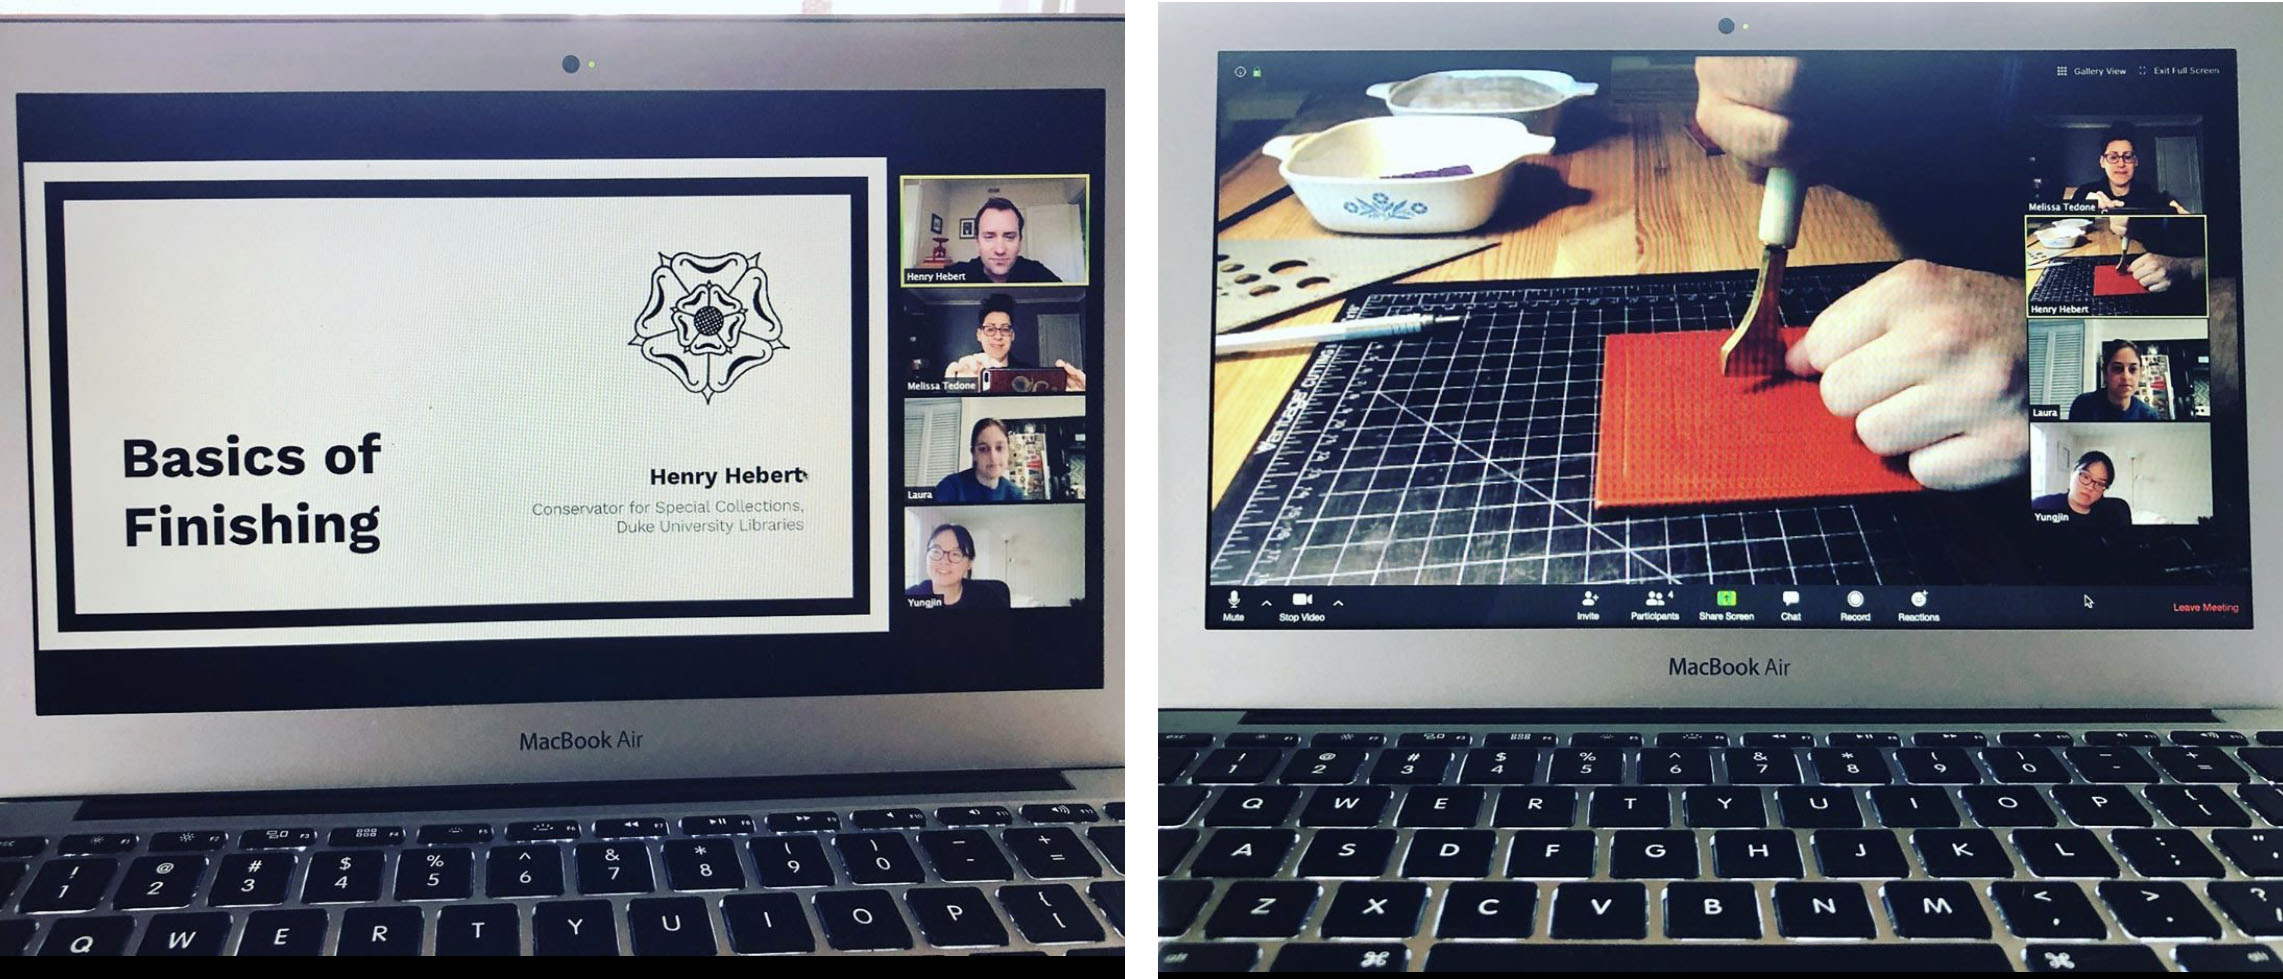
Preservation Week Panel Discussion on Public Digital Collections of Conservation Treatment Documentation
For Preservation Week 2024, Duke University Libraries will host a virtual panel discussion about Public Digital Collections of Conservation Treatment Documentation on Thursday May 2 at 11 am EDT. Conservation representatives from four institutions (The British Museum, The Preservation Lab (Cincinnati, Ohio), Duke University Libraries, and Stanford Libraries) will share their experiences in building and sharing their institutions’ digital collections of conservation treatment documentation. Panelists will introduce their collections and discuss topics such as digital preservation of treatment records, metadata creation, linking to catalog records and finding aids, and potential privacy and copyright issues.
Details:
Cost is free but registration is required
Thursday, May 2, 2024
11:00 a.m. to 12:30 pm EDT (Starts at 10:00 Central, 8 am Pacific Daylight Time, 4 pm British Summer Time)
The panel will be recorded and the video will be shared with registered attendees upon request.
Louisa Burden, Head of Conservation, British Museum
Ashleigh Ferguson Schieszer, Book and Paper Conservator, Co-Lab Manager, (she/her)
Erin Hammeke, Senior Conservator for Special Collections, Duke University Libraries (she/they)
Ryan Lieu, Conservation Operations Coordinator, Stanford Libraries (he/him)
Duke University Libraries recently hosted an Islamic Bookbinding workshop with instructor Yasmeen Khan, head of Paper Conservation at the Library of Congress. Staff from Preservation at UNC libraries; Duke Conservation Services; and former HBCU library conservation alliance intern, Layla Huff, attended the workshop. During the course of the week, we learned how to construct a Persian bookbinding model that illustrates many of the structural, material, and decorative features of Islamic bookmaking. The models have hand-sewn textblocks, woven silk endbands, gold-sprinkled endleaves, an envelope flap, and goatskin leather covers decorated with a traditional brass stamp. Students personalized their bindings with additional decorative elements like ruled and gold tooled lines, gold paint, and colored leather onlays. We also discussed conservation considerations for Islamic materials with Yasmeen and examined Islamic bookbindings from the Rubenstein Library Collections.
The workshop was generously funded by the TRLN Library Consortium’s IDEA funds. Big thanks to TRLN and to Yasmeen for making this workshop possible!
Considering the great expanse of the Islamic world, there is much variation in bookbinding features associated with diverse cultural traditions and geographic origins. We got the chance to examine and compare Duke’s holdings of rare Islamic manuscripts.
The Rubenstein Library holds Persian items (from India and Iran), Moroccan, Ethiopian, Turkish, and Chinese Uygur bookbinding holdings, as well as others whose geographic origins have not yet been identified. While the Islamic calligraphic manuscript tradition was paramount, the decorative features of bookbindings are also often quite glorious – from intricately painted lacquer bindings to stenciled or cut paper endsheets – these features can give clues about where an item originated and also to whom the bookbinding may have been marketed in the modern book trade.
Arabic Manuscript 020 has the more squarish format typical of Maghrebi bindings from Morocco.
Arabic Manuscript 048, a Chinese Uygur Qur’an, has endleaves decorated with colorful paper cut outs and a decoratively cut envelope flap.
Hosting this workshop reminded us of how important it is to have opportunities to expand our knowledge bases and also to convene with our regional colleagues for much-needed training. With a topic this large, many of us learned how little we knew and how much more there is to learn. It was a good reminder that of how important it is to advocate and care for all materials and it’s easier to do this when one is better informed about the history and unique features of such collections.
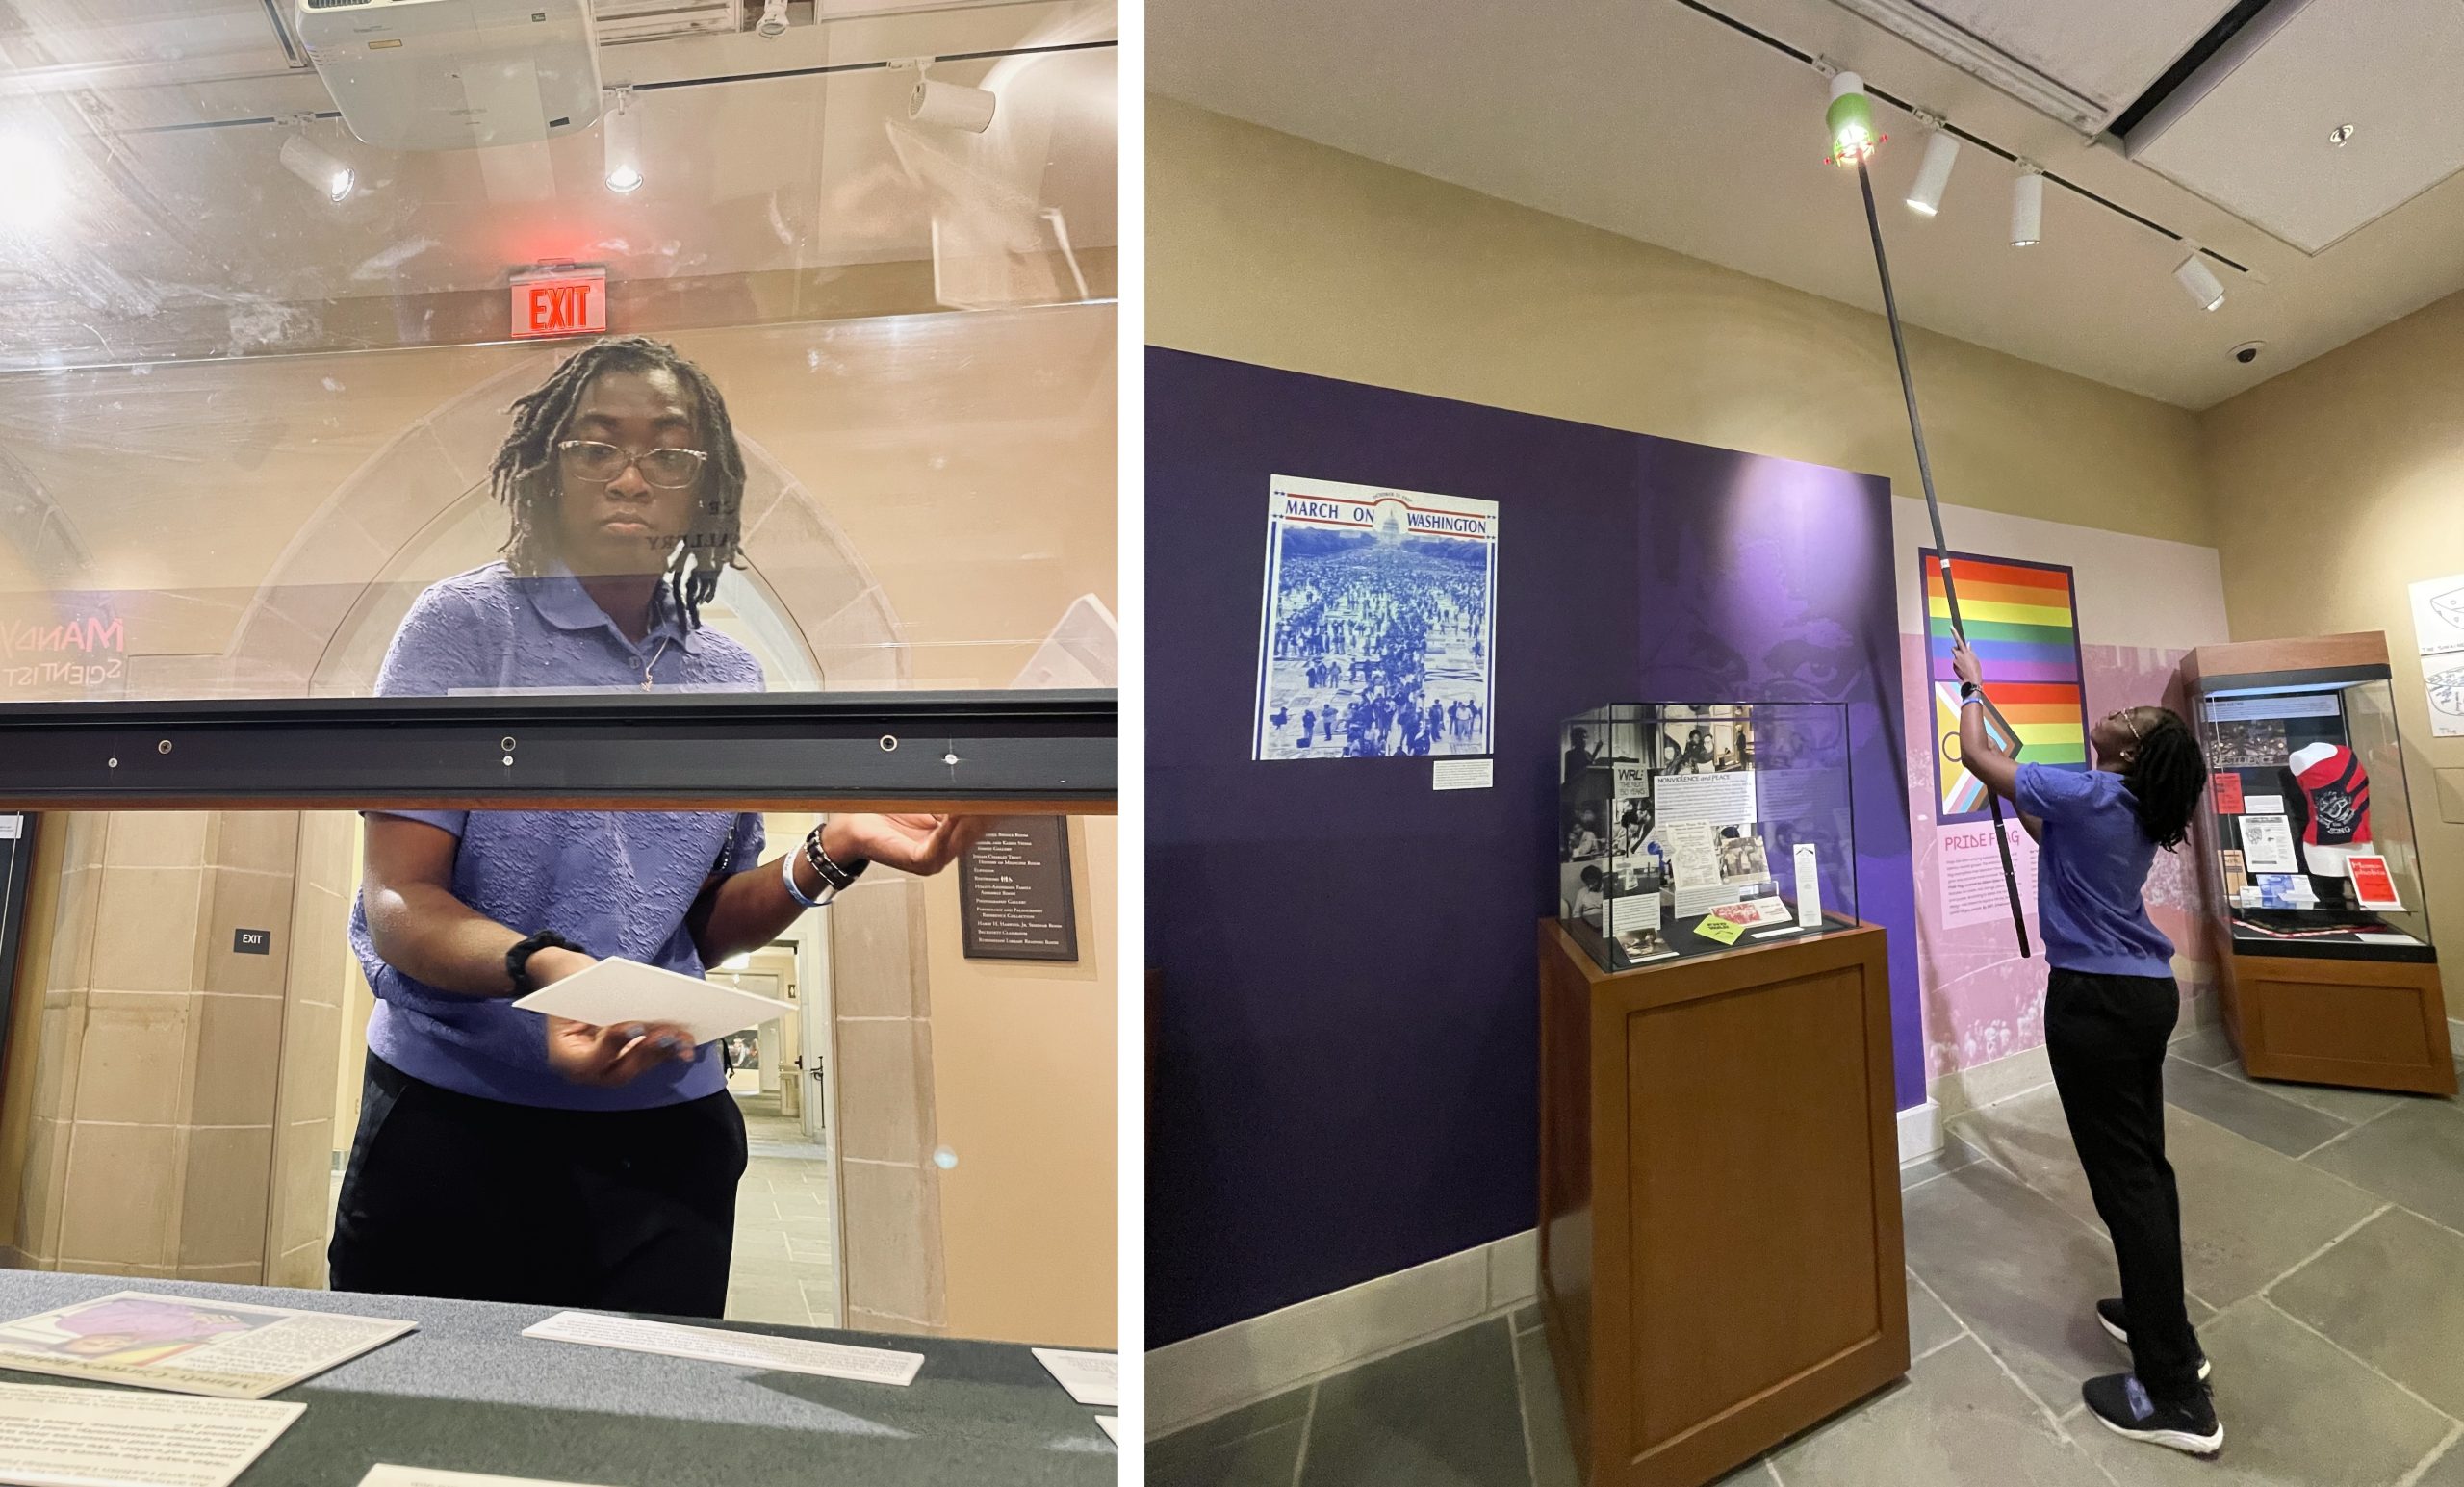
We are delighted to welcome our sixth HBCU Library Alliance intern, Angela Nettles, to Duke Libraries. Angela is a rising senior at Bennett College where she is studying Africana Women’s Studies. She is also one of eight students studying preservation this summer through the University of Delware/HBCU-LA internship program. As a part of the program, she will spend four weeks with us learning everything from binding pamphlets to conducting condition surveys.
After two years of presenting this program online, it’s refreshing to have our intern onsite again. So far, this first week has been a busy one. In addition to her bi-weekly cohort meetings, Angela has dived right into work here at Perkins Library.
From left to right: Meg Brown (Head of Exhibition Services), Angela Nettles, and Yoon Kim (Senior Library Exhibition Technician) after working on the Mandy Carter exhibitPlacing case labels and adjusting exhibit lights.
As you can imagine, there was a lot to be done. Regardless, Angela was up to the many tasks at hand. From sanding the walls to setting up exhibit cases, she eagerly took part in every step of the process.
Left: Sanding the walls to prep them for the new Phototex graphics that were going up. Right: Meg Brown showing Angela how they measure light in exhibitions for preservation purposes.
Additionally, the second half of the week was spent introducing Angela to my work in the conservation lab. She learned about how we make treatment decisions for general collections, and has already started doing treatments herself.
Angela finishing her first pocket (left) and binding music scores into pamphlet binders (right).
So far she is a quick study and has already picked up how to do tip-ins, pockets, and pamphlet bindings.
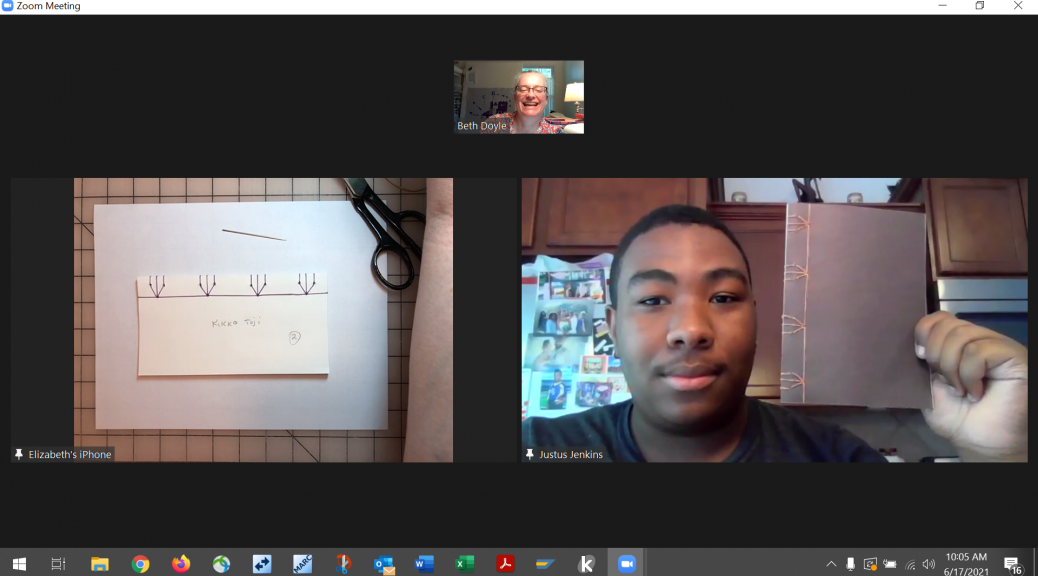
We would like to welcome Justus Jenkins, our summer HBCU Library Alliance intern. Justus is a student at Claflin University. He is one of eight students studying preservation this summer through the University of Delaware/HBCU-LA internship program.
This year the program is again being presented online due to COVID-19 restrictions. Interns will be meeting together twice a week with their cohort. Each session will be taught by one of the host sites. We are teaching a class on Archives Conservation Issues, and co-teaching with staff from the Library of Congress to teach some simple bookbinding structures. We will be teaching the Metamorphosis, and this zine.
For his capstone project, Justus has decided to create a portfolio of bookbinding models. Over the next several weeks he will work with Conservation staff to learn Japanese stab bindings, Longstitch binding, Coptic binding, pamphlets, and zines. The University of Delaware sent all eight interns a box of tools and supplies for the term. We put together a box of materials and bookbinding kits and sent that to Justus.
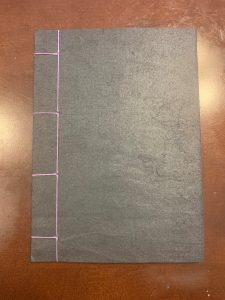
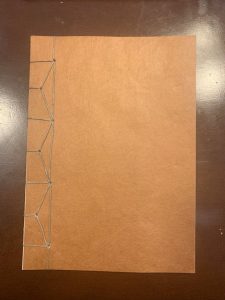
Four completed stab bindings. (photo credit Justus Jenkins)
We started last week with a simple pamphlet, and the Japanese stab bindings.
Yotsume Toji (photo credit Justus Jenkins)
Noble binding (photo credit Justus Jenkins)
Hemp leaf binding (photo credit Justus Jenkins)
Tortoise binding (photo credit Justus Jenkins)
This was the first time I taught a bookbinding class over Zoom. I don’t have a fancy set up at home, but I was able to use a variety of boxes and crates to set up my laptop and phone in a way that worked. I used the laptop camera for my head shot, and set up my phone so that it hovered over the work area. By pinning my “hand cam” and Justus’ cam, I could see both at the same time.
At home set up for teaching online.First book done! Looks great.
Justus did a great job on his first bindings. He was a patient student as I learned how to do this along with him. We look forward to seeing his next book!
One of the silver linings of business travel being suspended for the foreseeable future is that so many conferences have gone virtual this year. This has provided a number of opportunities to experience the meetings of professional groups outside my usual repertoire. This week I’ve been really enjoying the International Mountmakers Forum. The organization has been very generous to record and upload the talks to Youtube.
Mounting objects for exhibition can be very challenging, and I have learned about new materials and techniques this week that could be used in the gallery spaces in our library.
The success of virtual conferencing during that pandemic gives me hope that this kind of programming will remain available, even when the world has returned to normal. Conferences are an essential fundraising opportunity for many professional organizations, and there can be financial disincentives for the organization in making content too freely available. At the same time, there are many professionals working in cultural heritage institutions or in private practice who do not have access to funding for professional development and are cut off from the debates and interactions that happen at these meetings. I’ve been very impressed with the way our professional organizations have adapted in the last year and I look forward to continued innovation and greater inclusion using these same systems in years to come.
I have been very grateful to have the option of working from home over the last couple of months as we weather this pandemic, but I still really miss working at the bench and doing treatment. It looks like we may be able to return to the lab soon, so I wanted to start a bit of manual dexterity practice in my spare time to prepare – like doing a home workout for my hands. I’ve wanted to make a model of a Byzantine binding for some time now, and this seemed like the perfect opportunity.
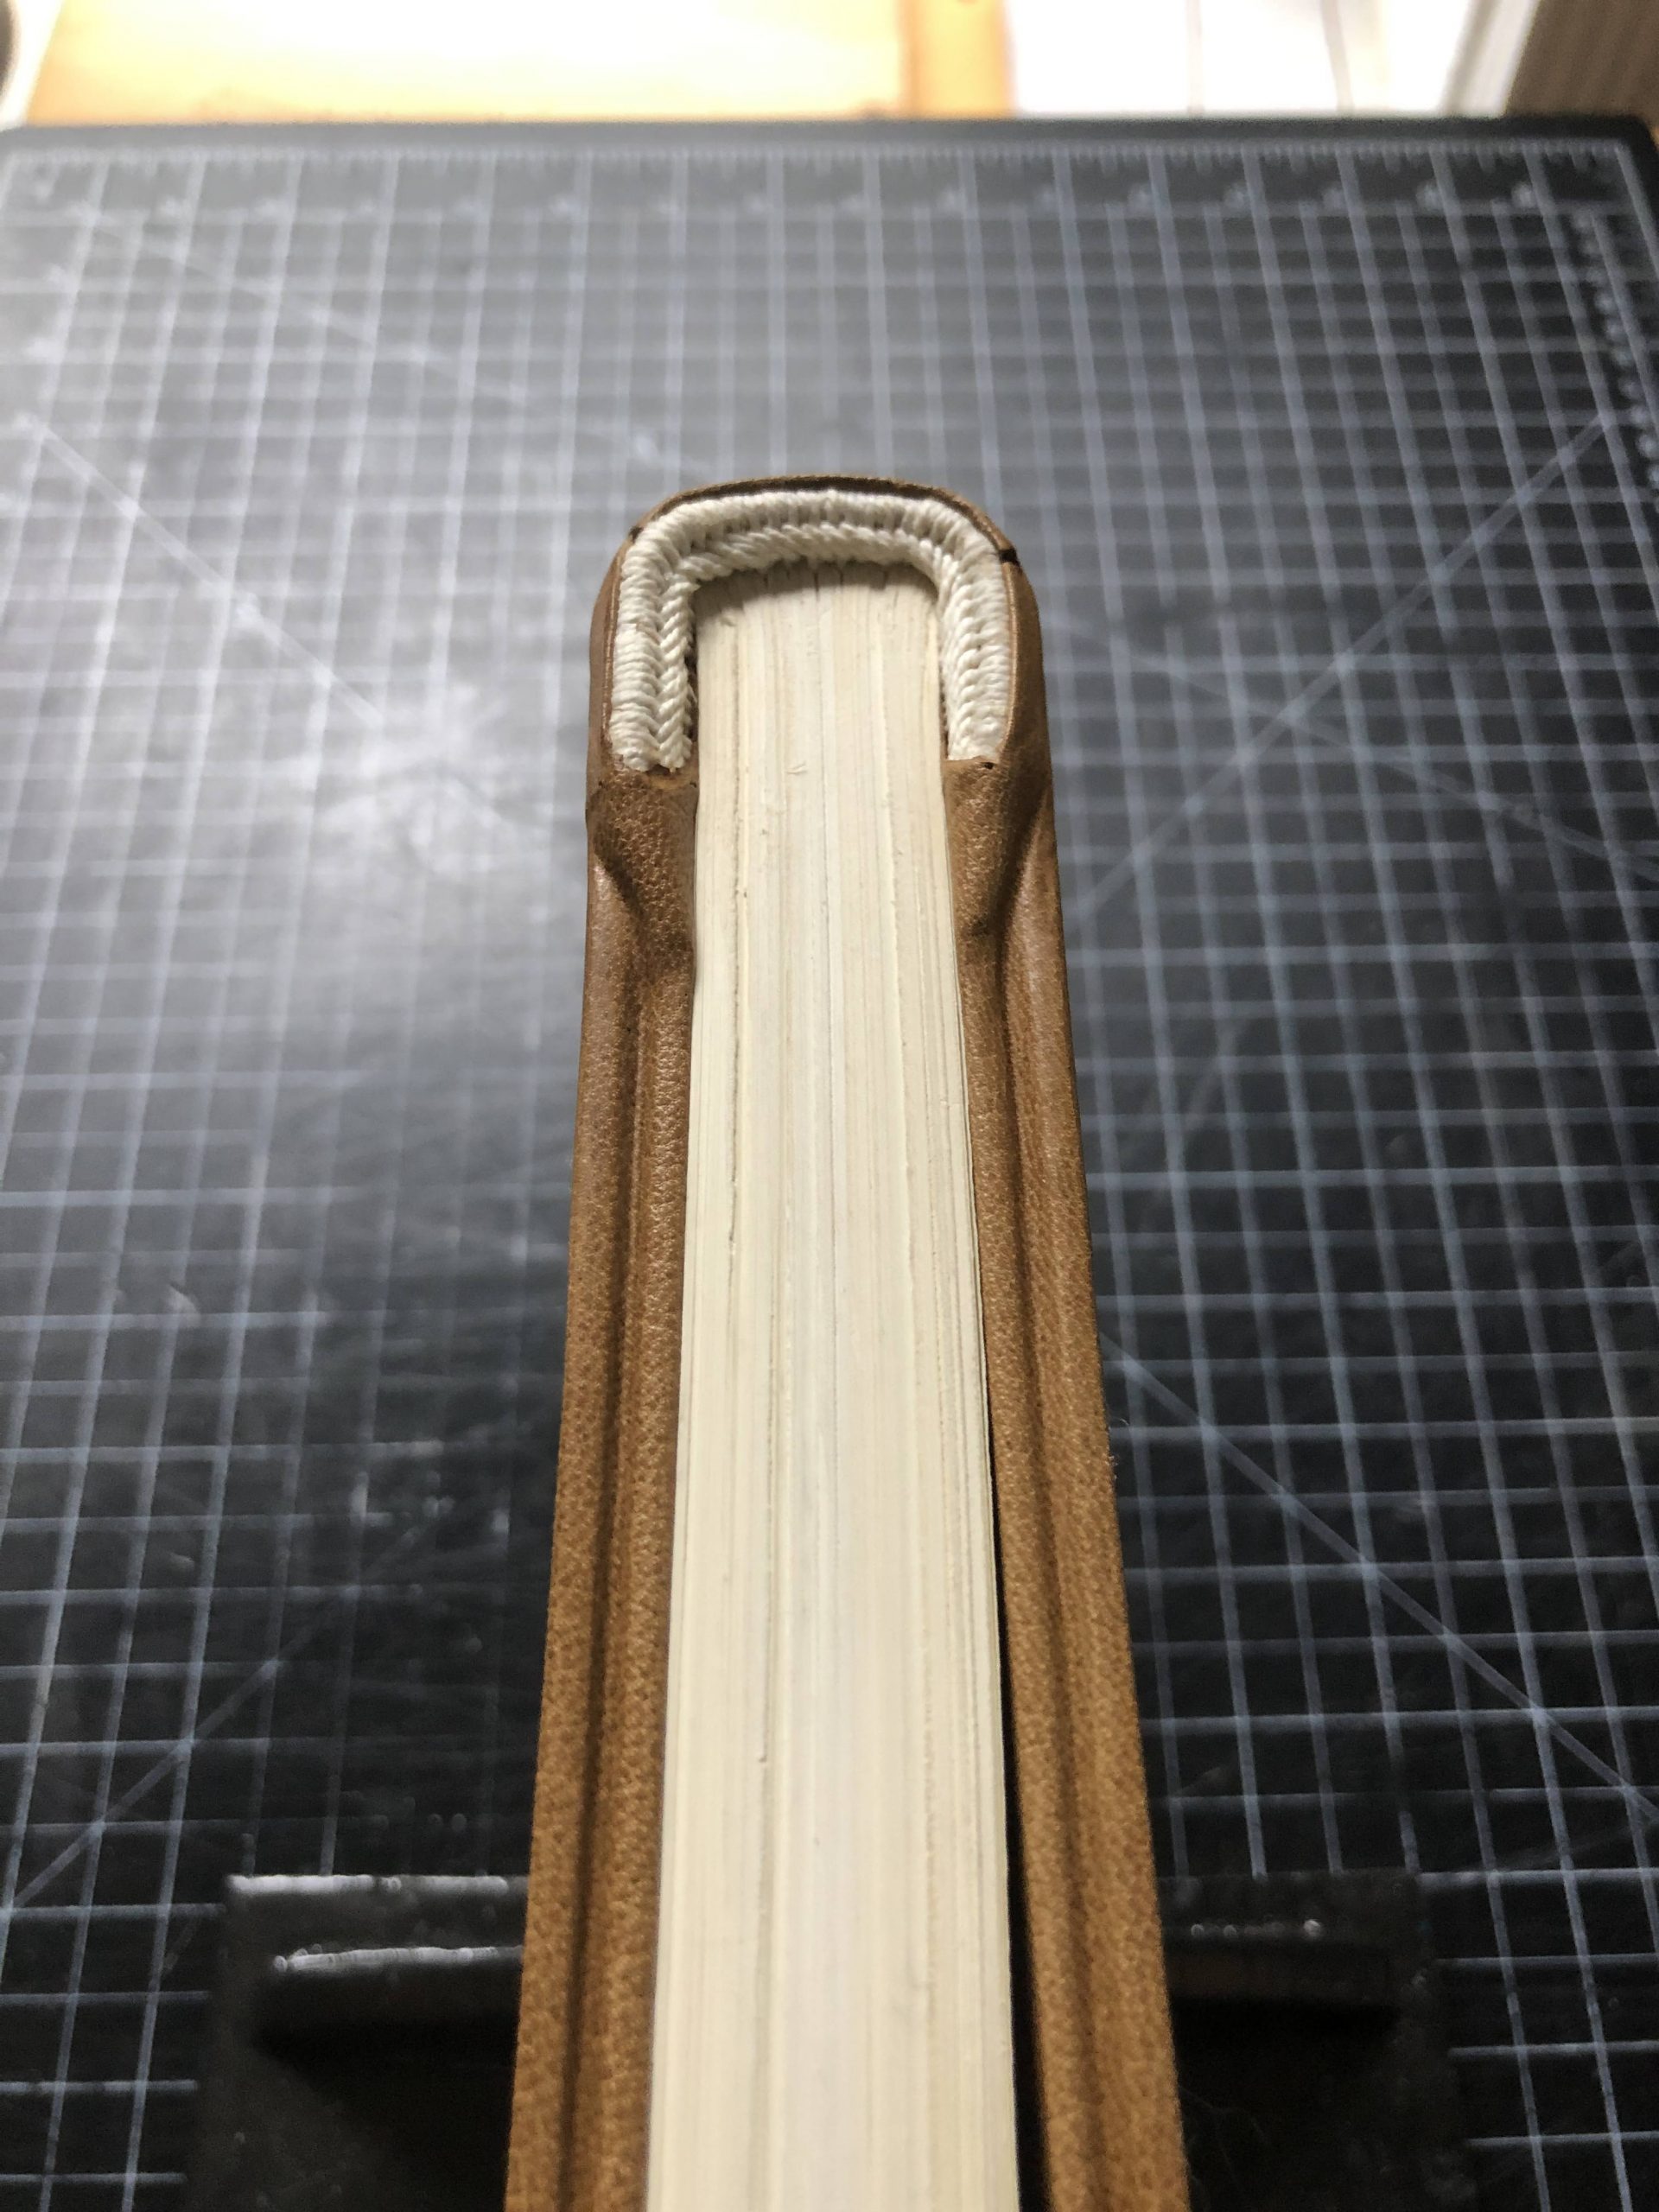
The Byzantine binding style originated in the tenth century and is commonly characterized by unsupported chain-stitch sewing, wooden boards with channelled edges, textblock edges trimmed flush with the boards, and protuding primary endbands. The Rubenstein Library holds a number of Greek manuscripts bound in this style, which can be seen in the Early Manuscripts digital collection. It can be difficult to create a satisfactory model of a binding without being able to closely examine a historical example, but I thought it would be a useful exercise to make an attempt. Michael Burke’s 2010 presentation at the Guild of Book Workers Standards of Excellence seminar and Greenfield & Hill’s Headbands: How to Work Them (1990) were my primary references for this first attempt.
I already had most of the materials necessary to make the model at home, so I started with folding and pressing some wove paper to make the textblock. I only ended up with 13 sections of 6 folios with the paper I had on-hand, but I would have preferred the textblock to be a bit thicker. Five recessed sewing stations were cut into the folds of the sections using a scalpel. I purchased 1/4″ quarter-sawn white oak boards from Colophon Book Arts Supply.
Folded sections with recessed sewing stations and wooden boards.
I trimmed the textblock to fit at head and tail, thinking it would be easier to square up while sewing. In the future I will just leave all edges long and plough in-boards after sewing.
The boards were drilled for the board attachment and endbands using a hand drill. I used chisels to cut V-shaped grooves into the head, tail, and fore-edge of each board and shaped the spine edges with a hand plane.
Boards drilled, channeled, and shaped.
Normally, the sewing for a book will start at one side (e.g. the front board or first section) and proceed through the textblock to the other (e.g the lower board or last section). In the case of Byzantine bindings, however, the textblock can be sewn in two halves and then lashed together at the middle. For this model the boards were attached to the textblock through the primary sewing, which allows for a very tight attachment. After the two halves are linked together and the boards are closed, the book rounds and backs itself. After sewing and getting the spine into shape, the textblock was pasted up with wheat starch paste and lined with undyed cotton.
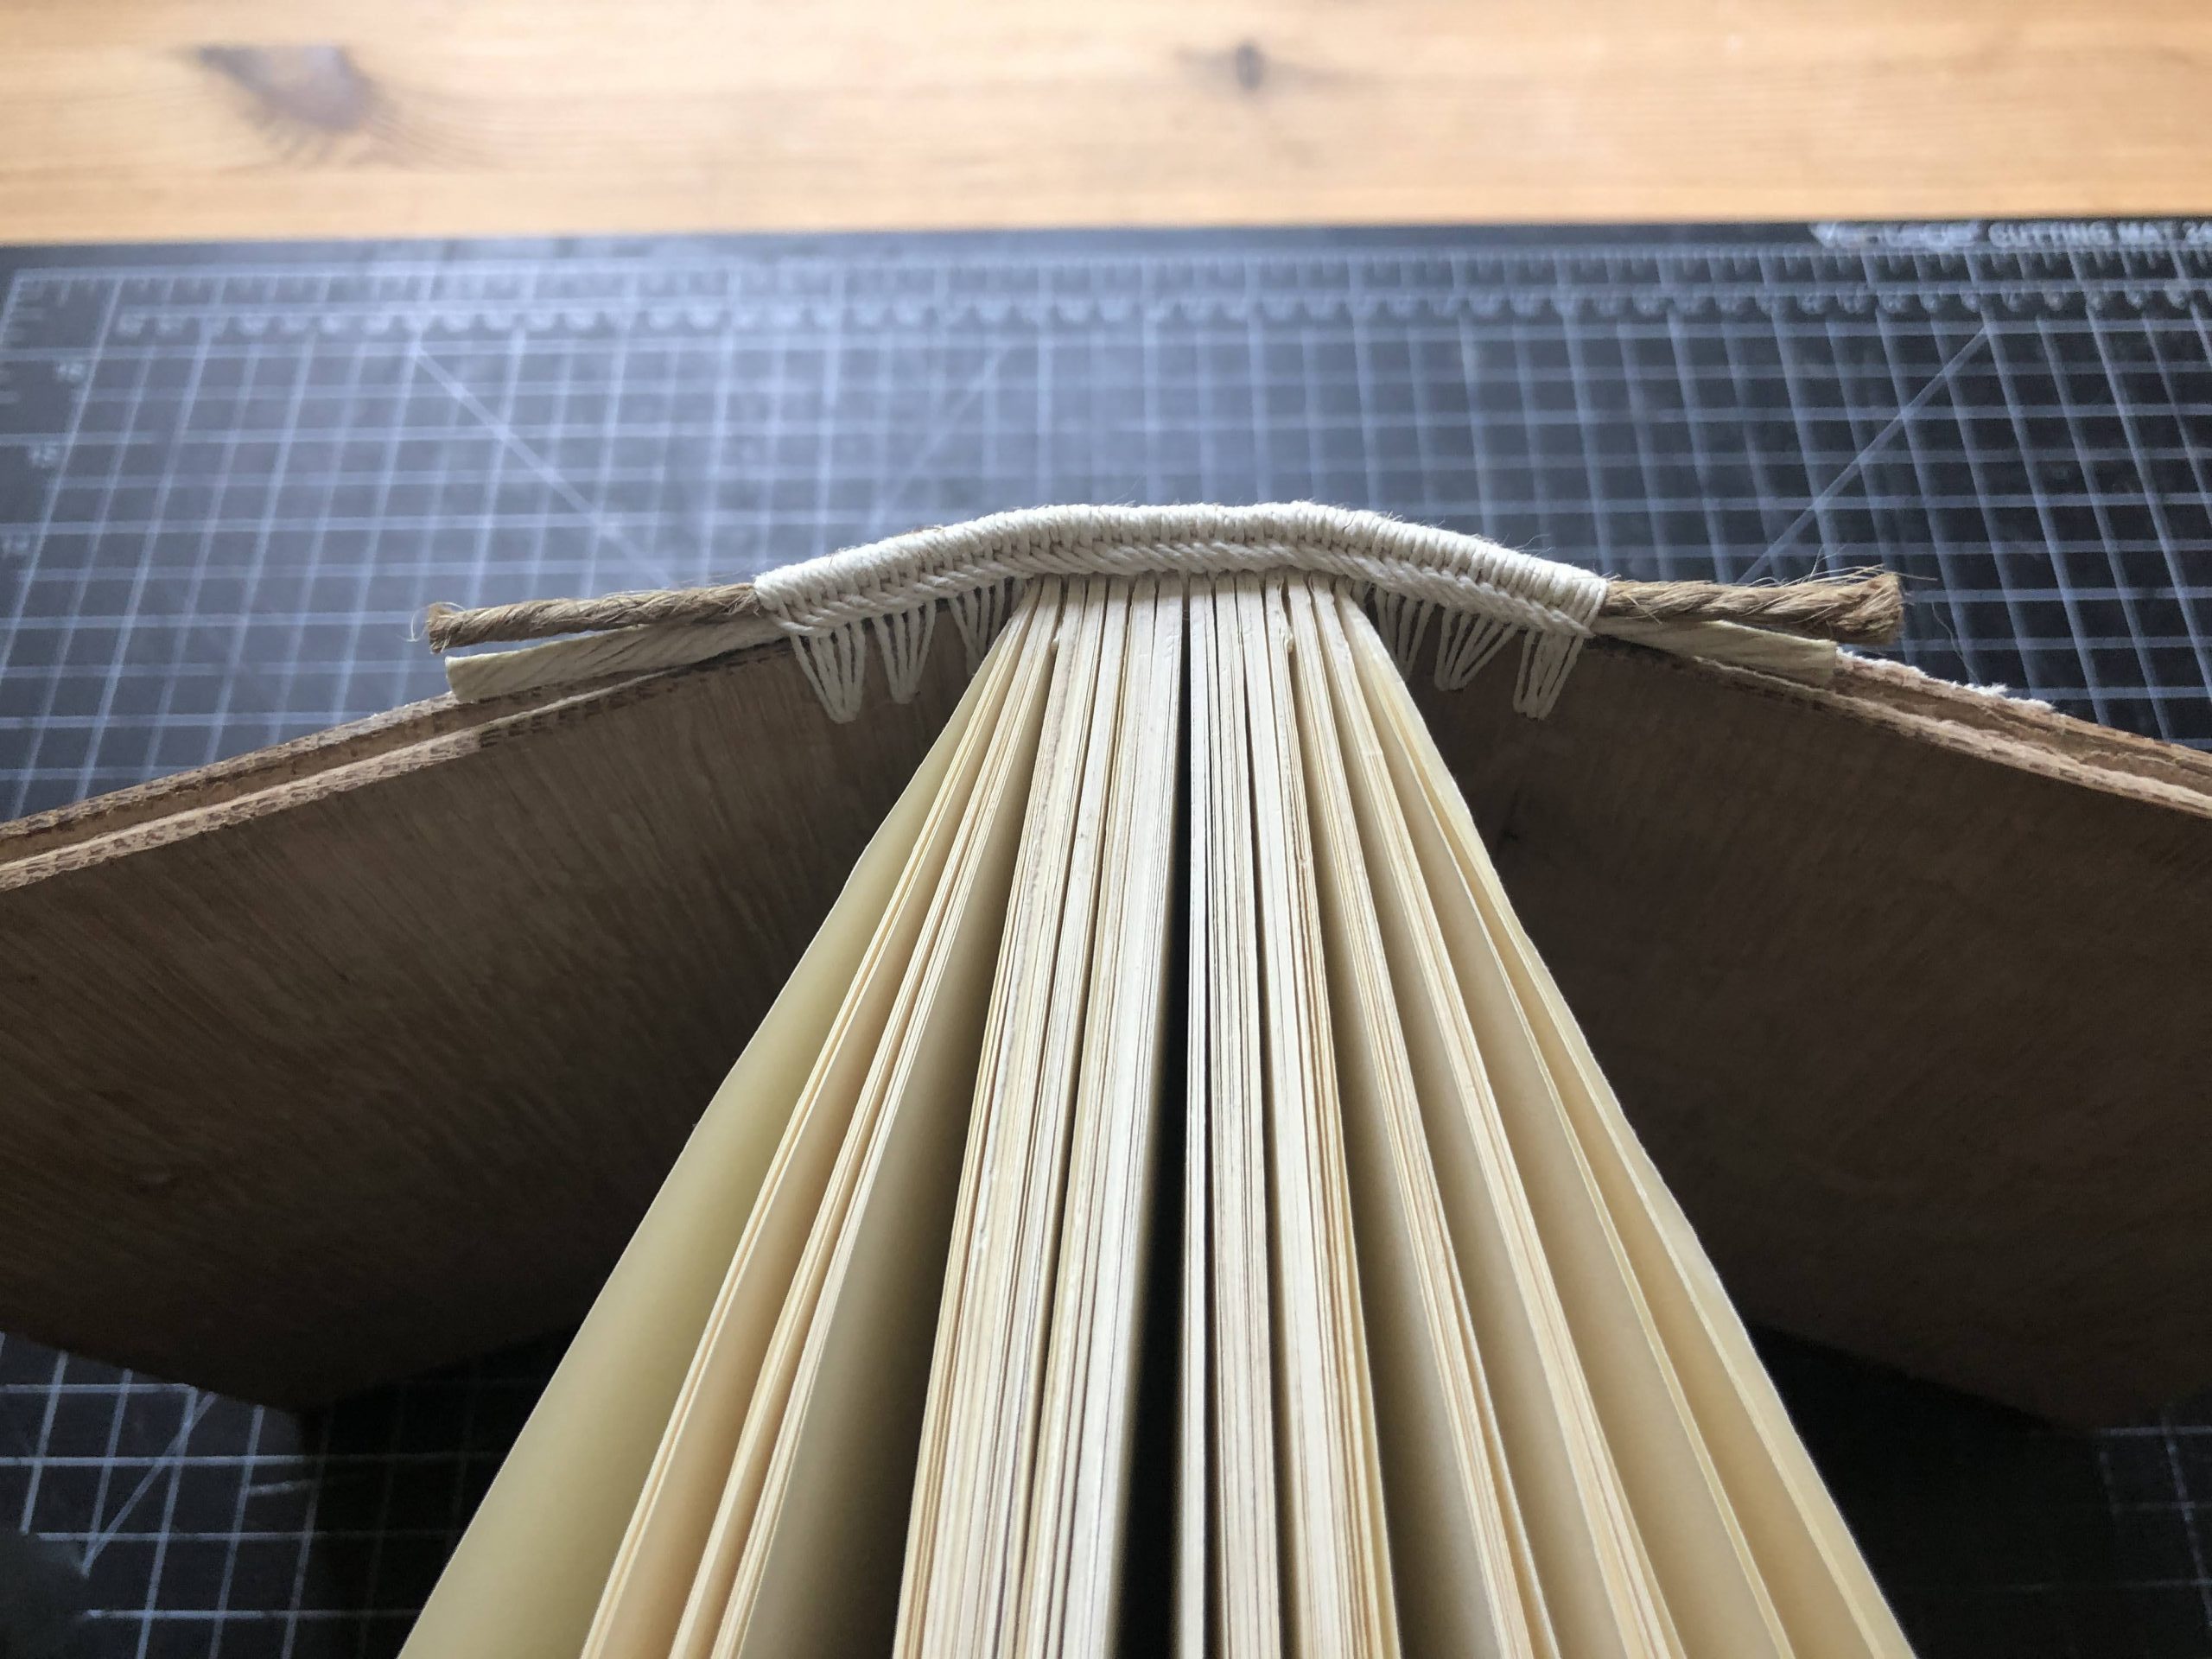
The Greek endband for this model contains two cord cores (one a bit thinner than the other) and is sewn with the same thick (12/3) linen thread that I used for the textblock. It is anchored into the boards, as well as the center of each section in the textblock. This endband is pretty straightforward, once you get the hang of it- but it did take me several failed attempts to get something that looked correct and consistant.
Sewn endband
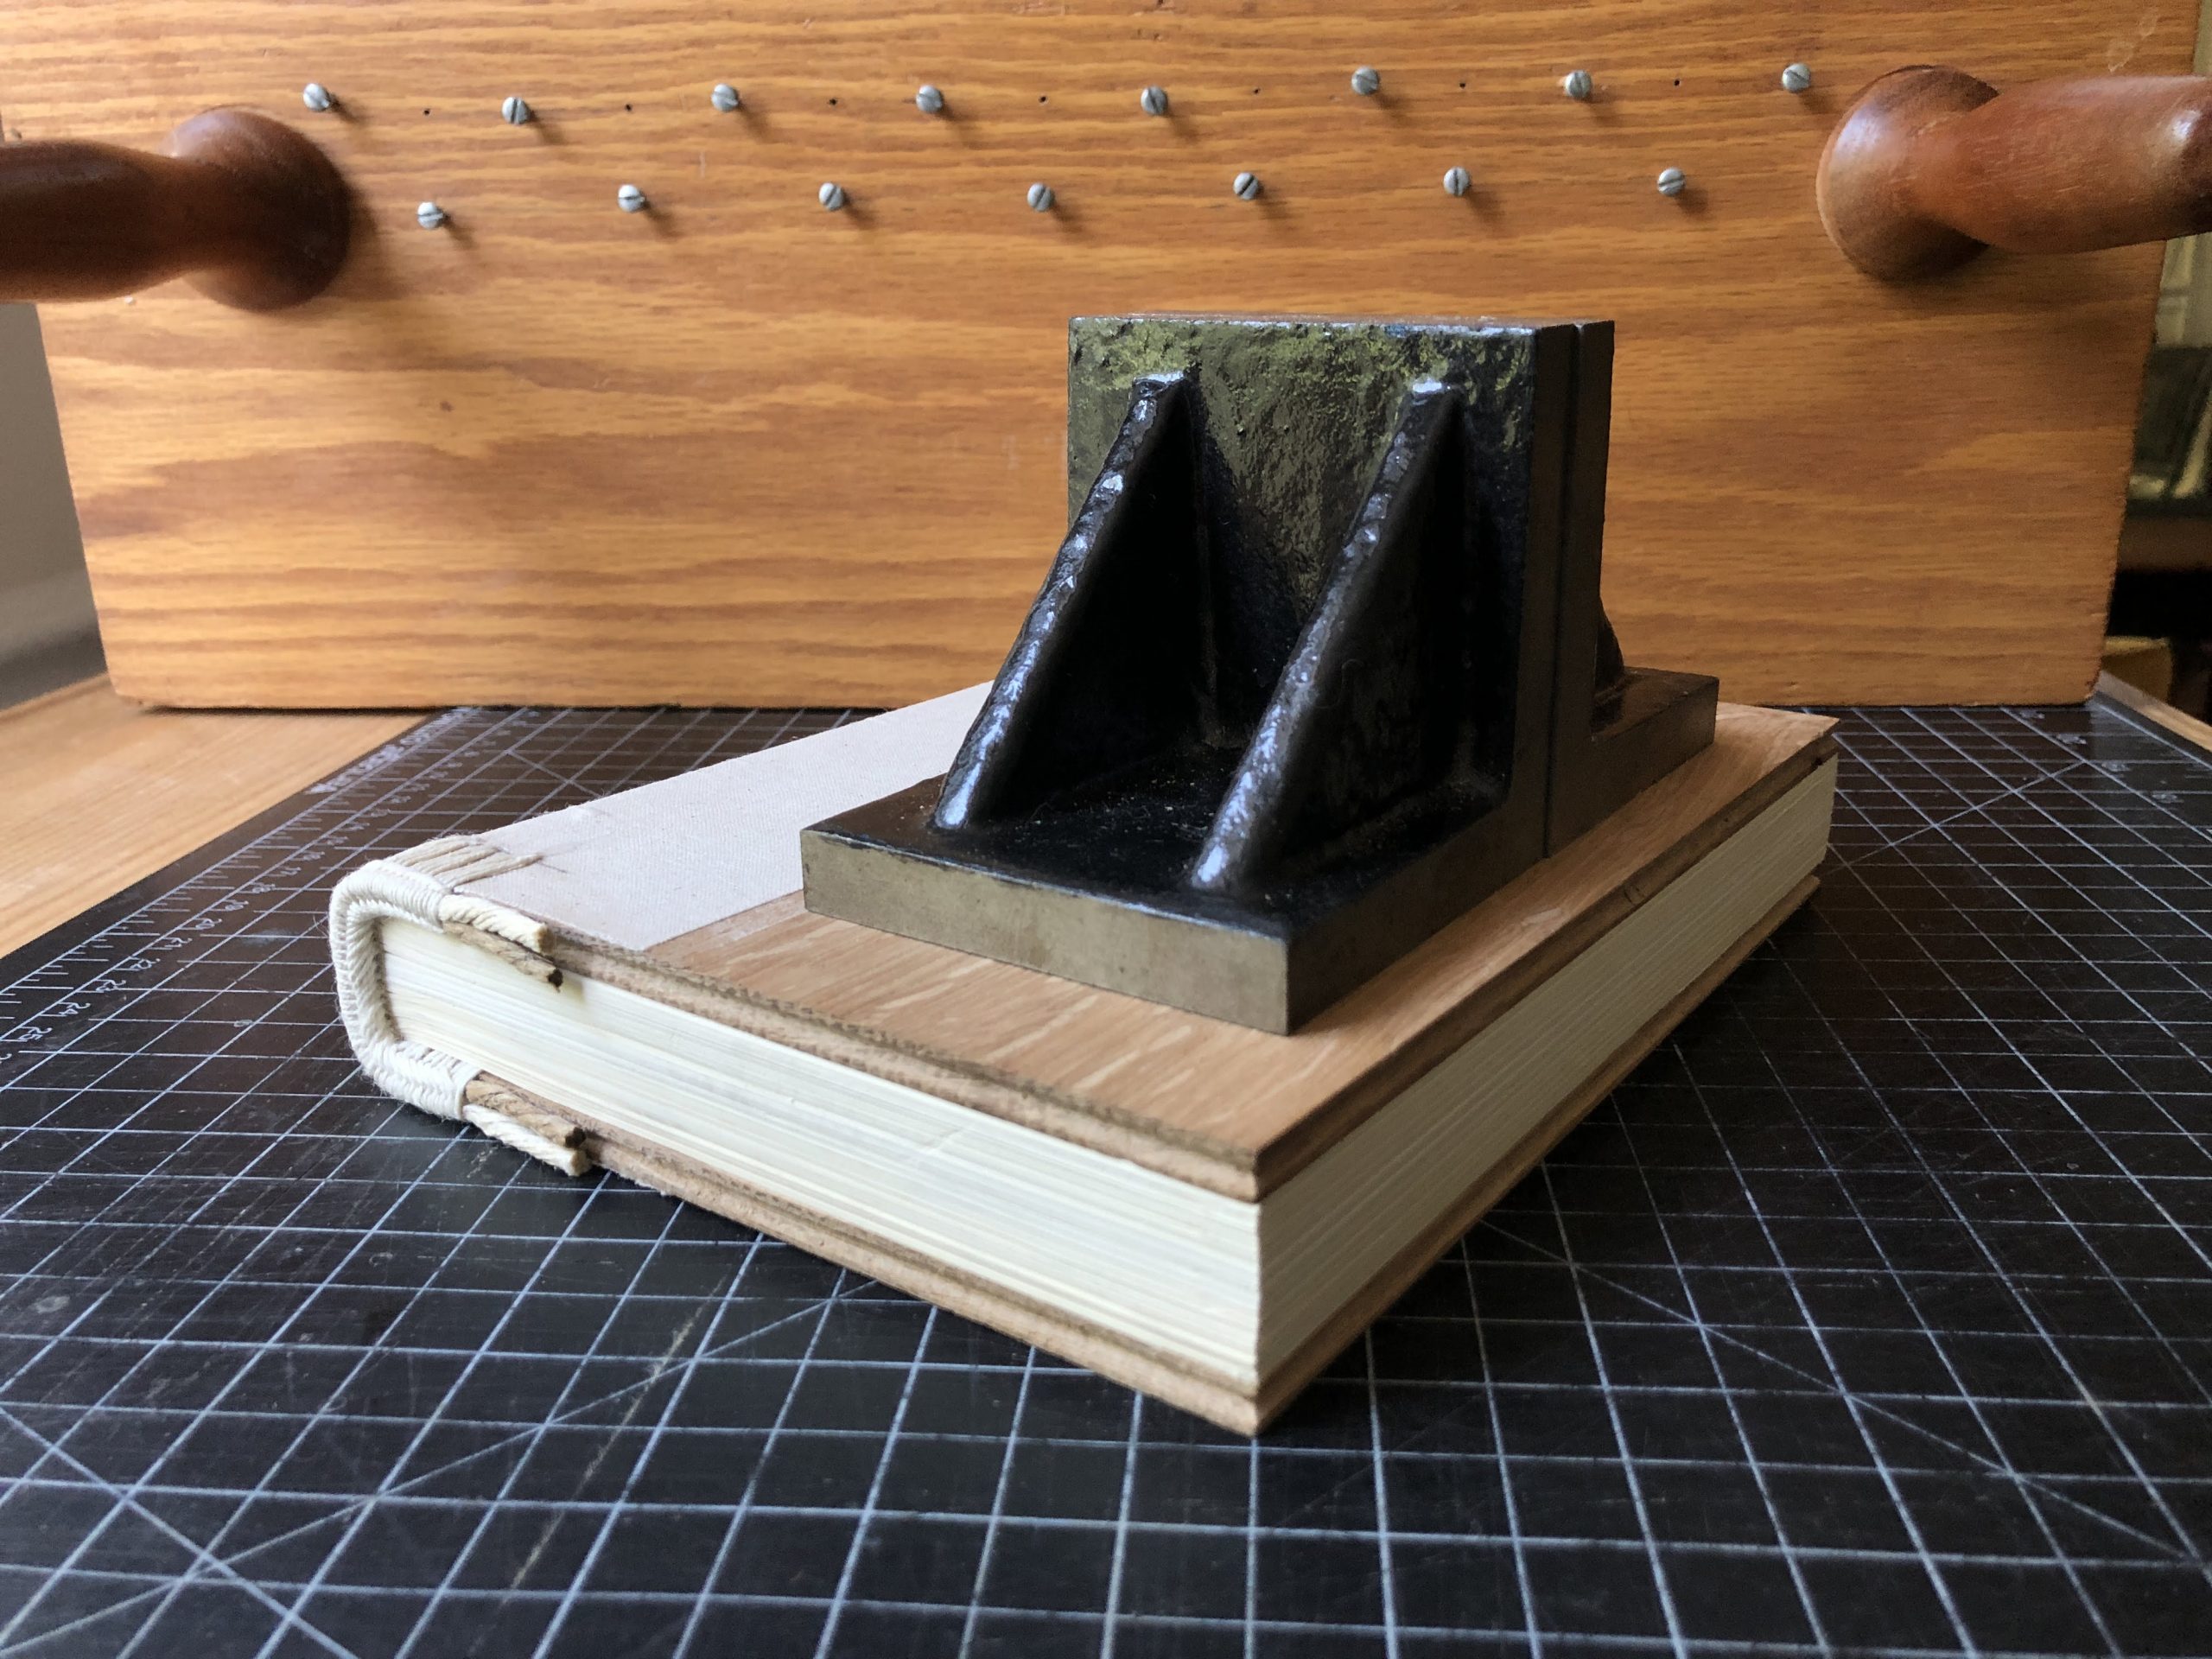
With the endbands done, I trimmed the fore-edge of the textblock flush with the boards and prepared for covering in leather.
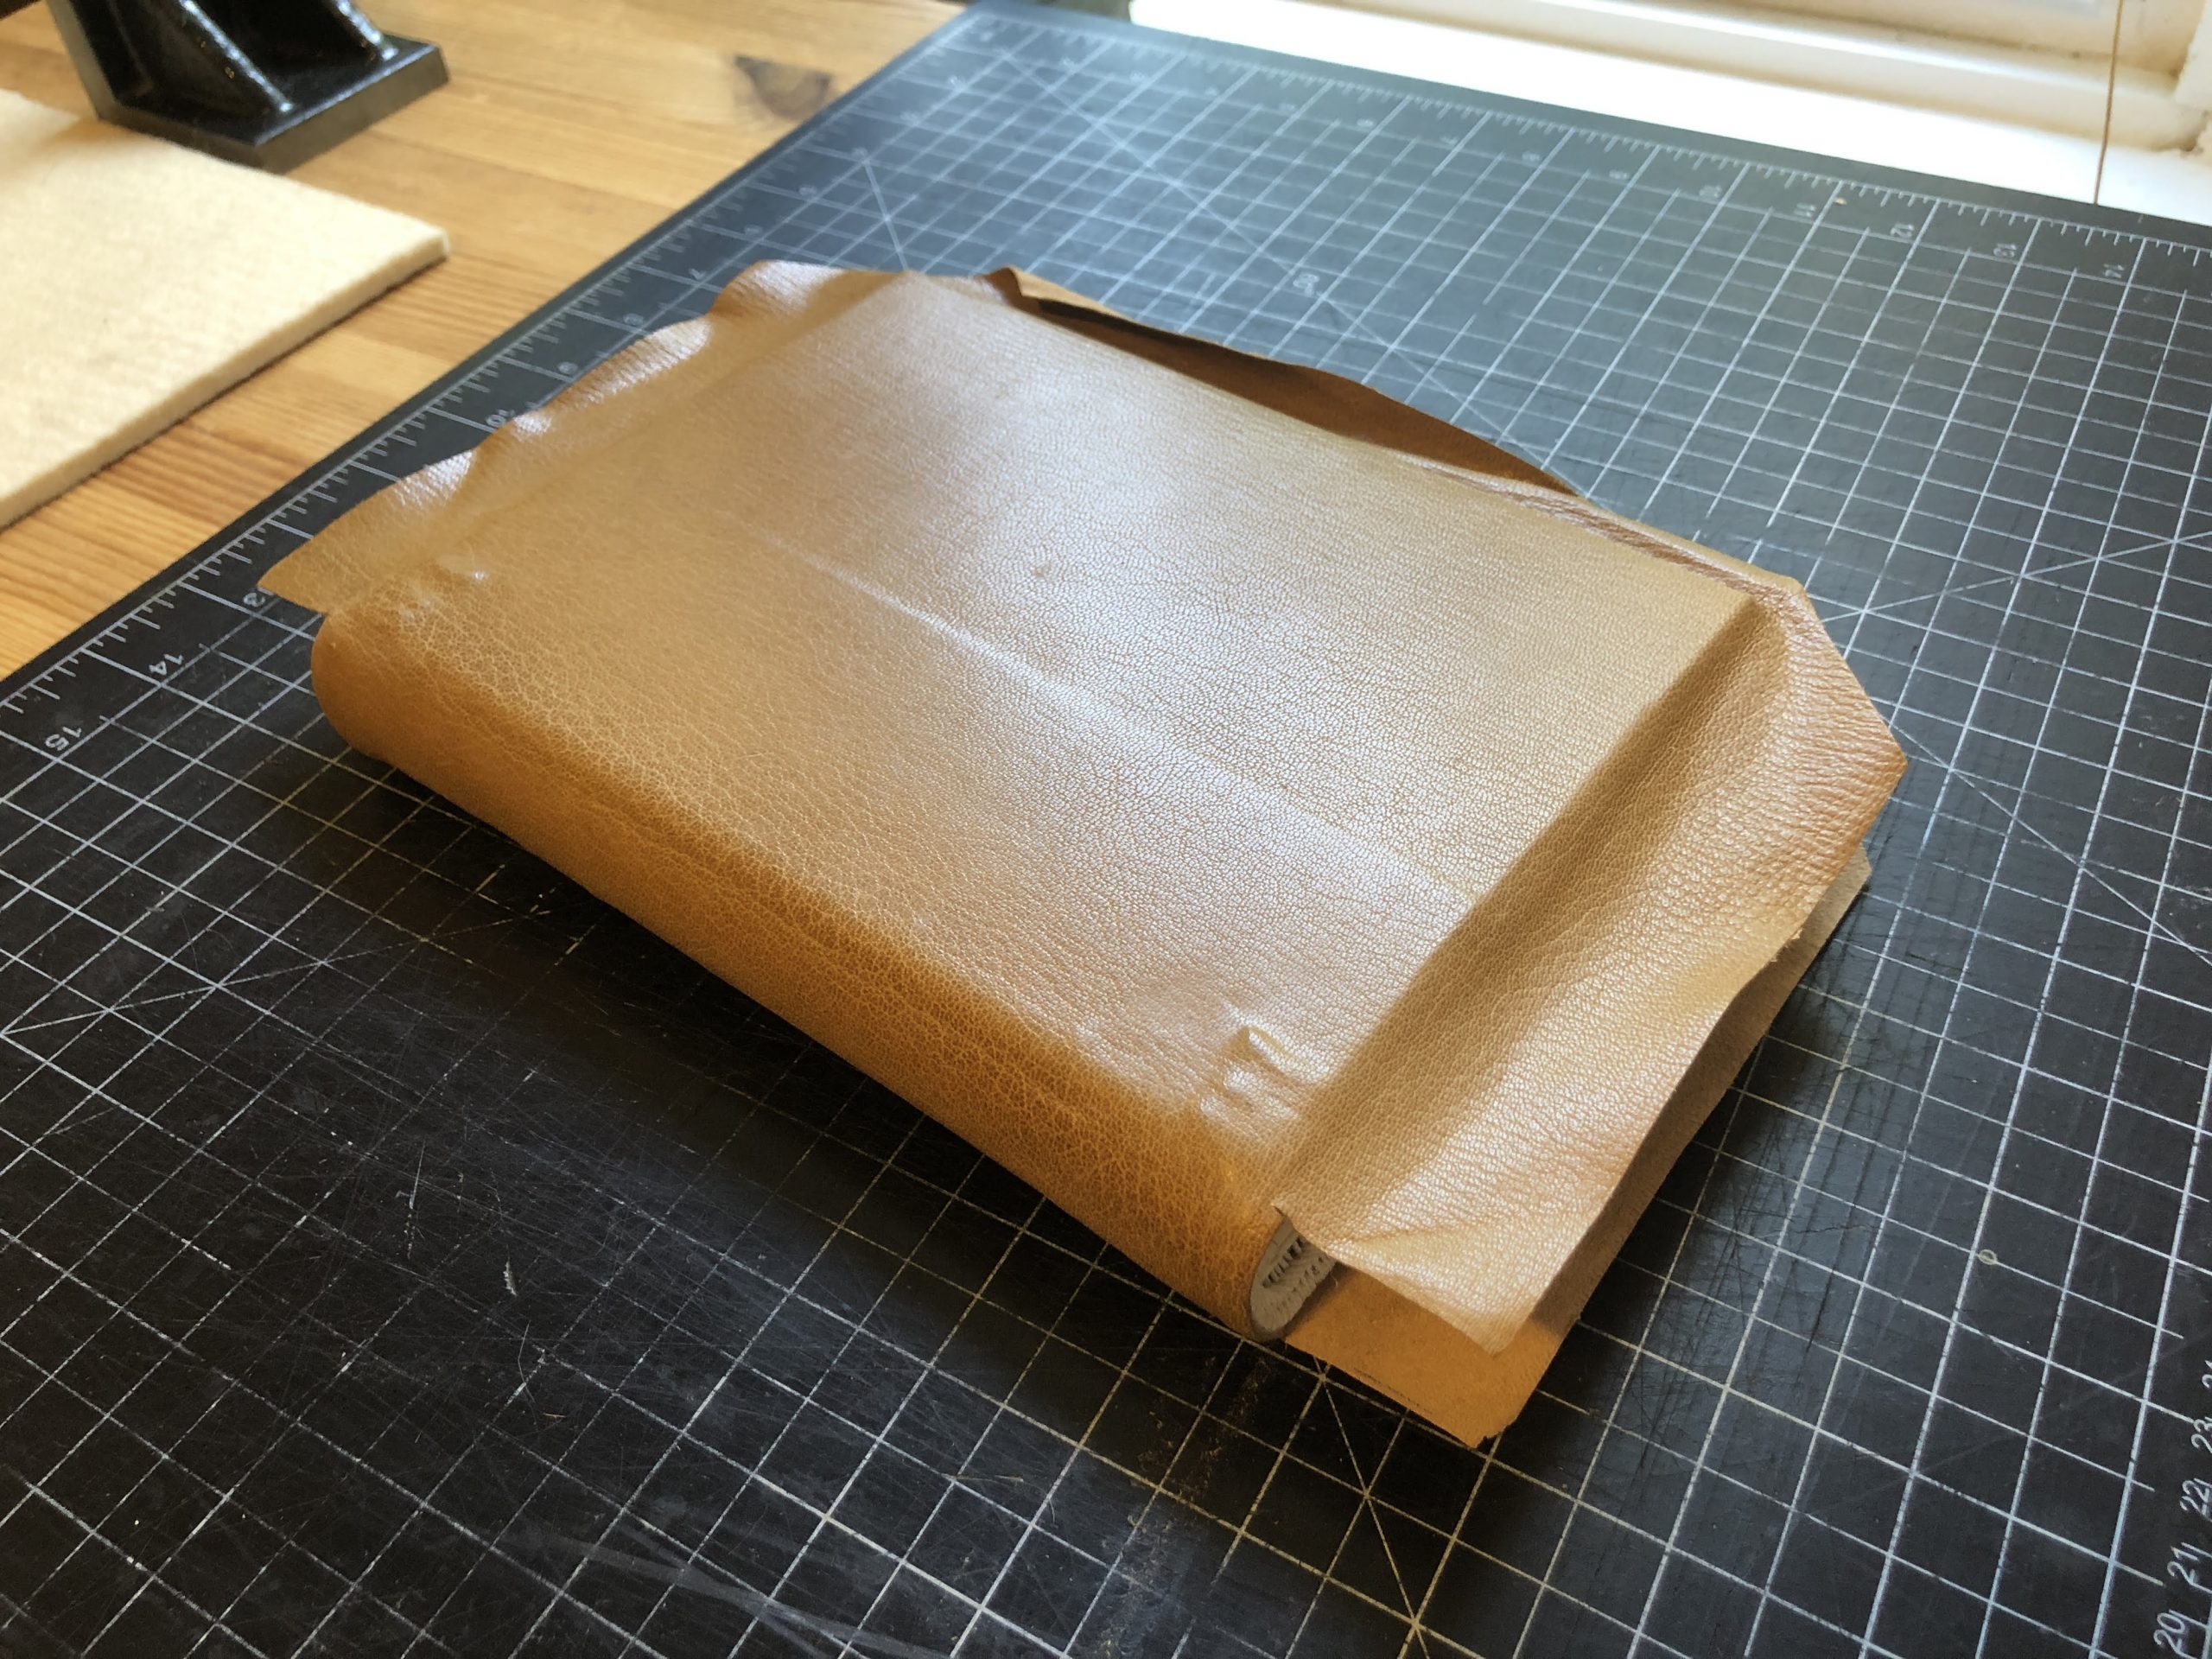
Every historical example of a Byzantine binding that I have seen so far is covered in a dark brown leather, although I’m sure there are is some variation. The closest that I had in my personal stockpile is a light brown goatskin from Harmatan. In an effort to make covering the channeled board edges a little easier, I flat pared the turn-in areas fairly thin using the Schärffix® leather paring machine I have at home (my spokeshave is at the lab). This method was very quick but I will approach it differently next time (more on that later). The leather was pasted out and adhered to the spine and boards. When the leather had dried, I cut the turn-ins at the spine edge of the boards and turned-in at the spine.
The textile spine lining and endband anchoring through the boards are pretty prominent after covering.
So far each of these steps has been pretty straightforward and familiar, but here is where things get a bit dicey. The instructions I had for forming the endcap area around the protruding endbands are pretty general and the digitized copies of historical bindings available online don’t show this part of the binding very well.
My decision to pare the turn-ins uniformly thin has given me some pretty wimpy-looking endcaps, but sometimes the best way to learn something new is to just try it and learn as you go.
A very rough looking “trial-and-error” endcap
After the second endcap, I have a better idea of how the covering can be done – but I still need to work out the paring and cuts exactly. Looking at variations on original Byzantine bindings will also help. The thinner leather did make covering those channeled board edges very easy, though!
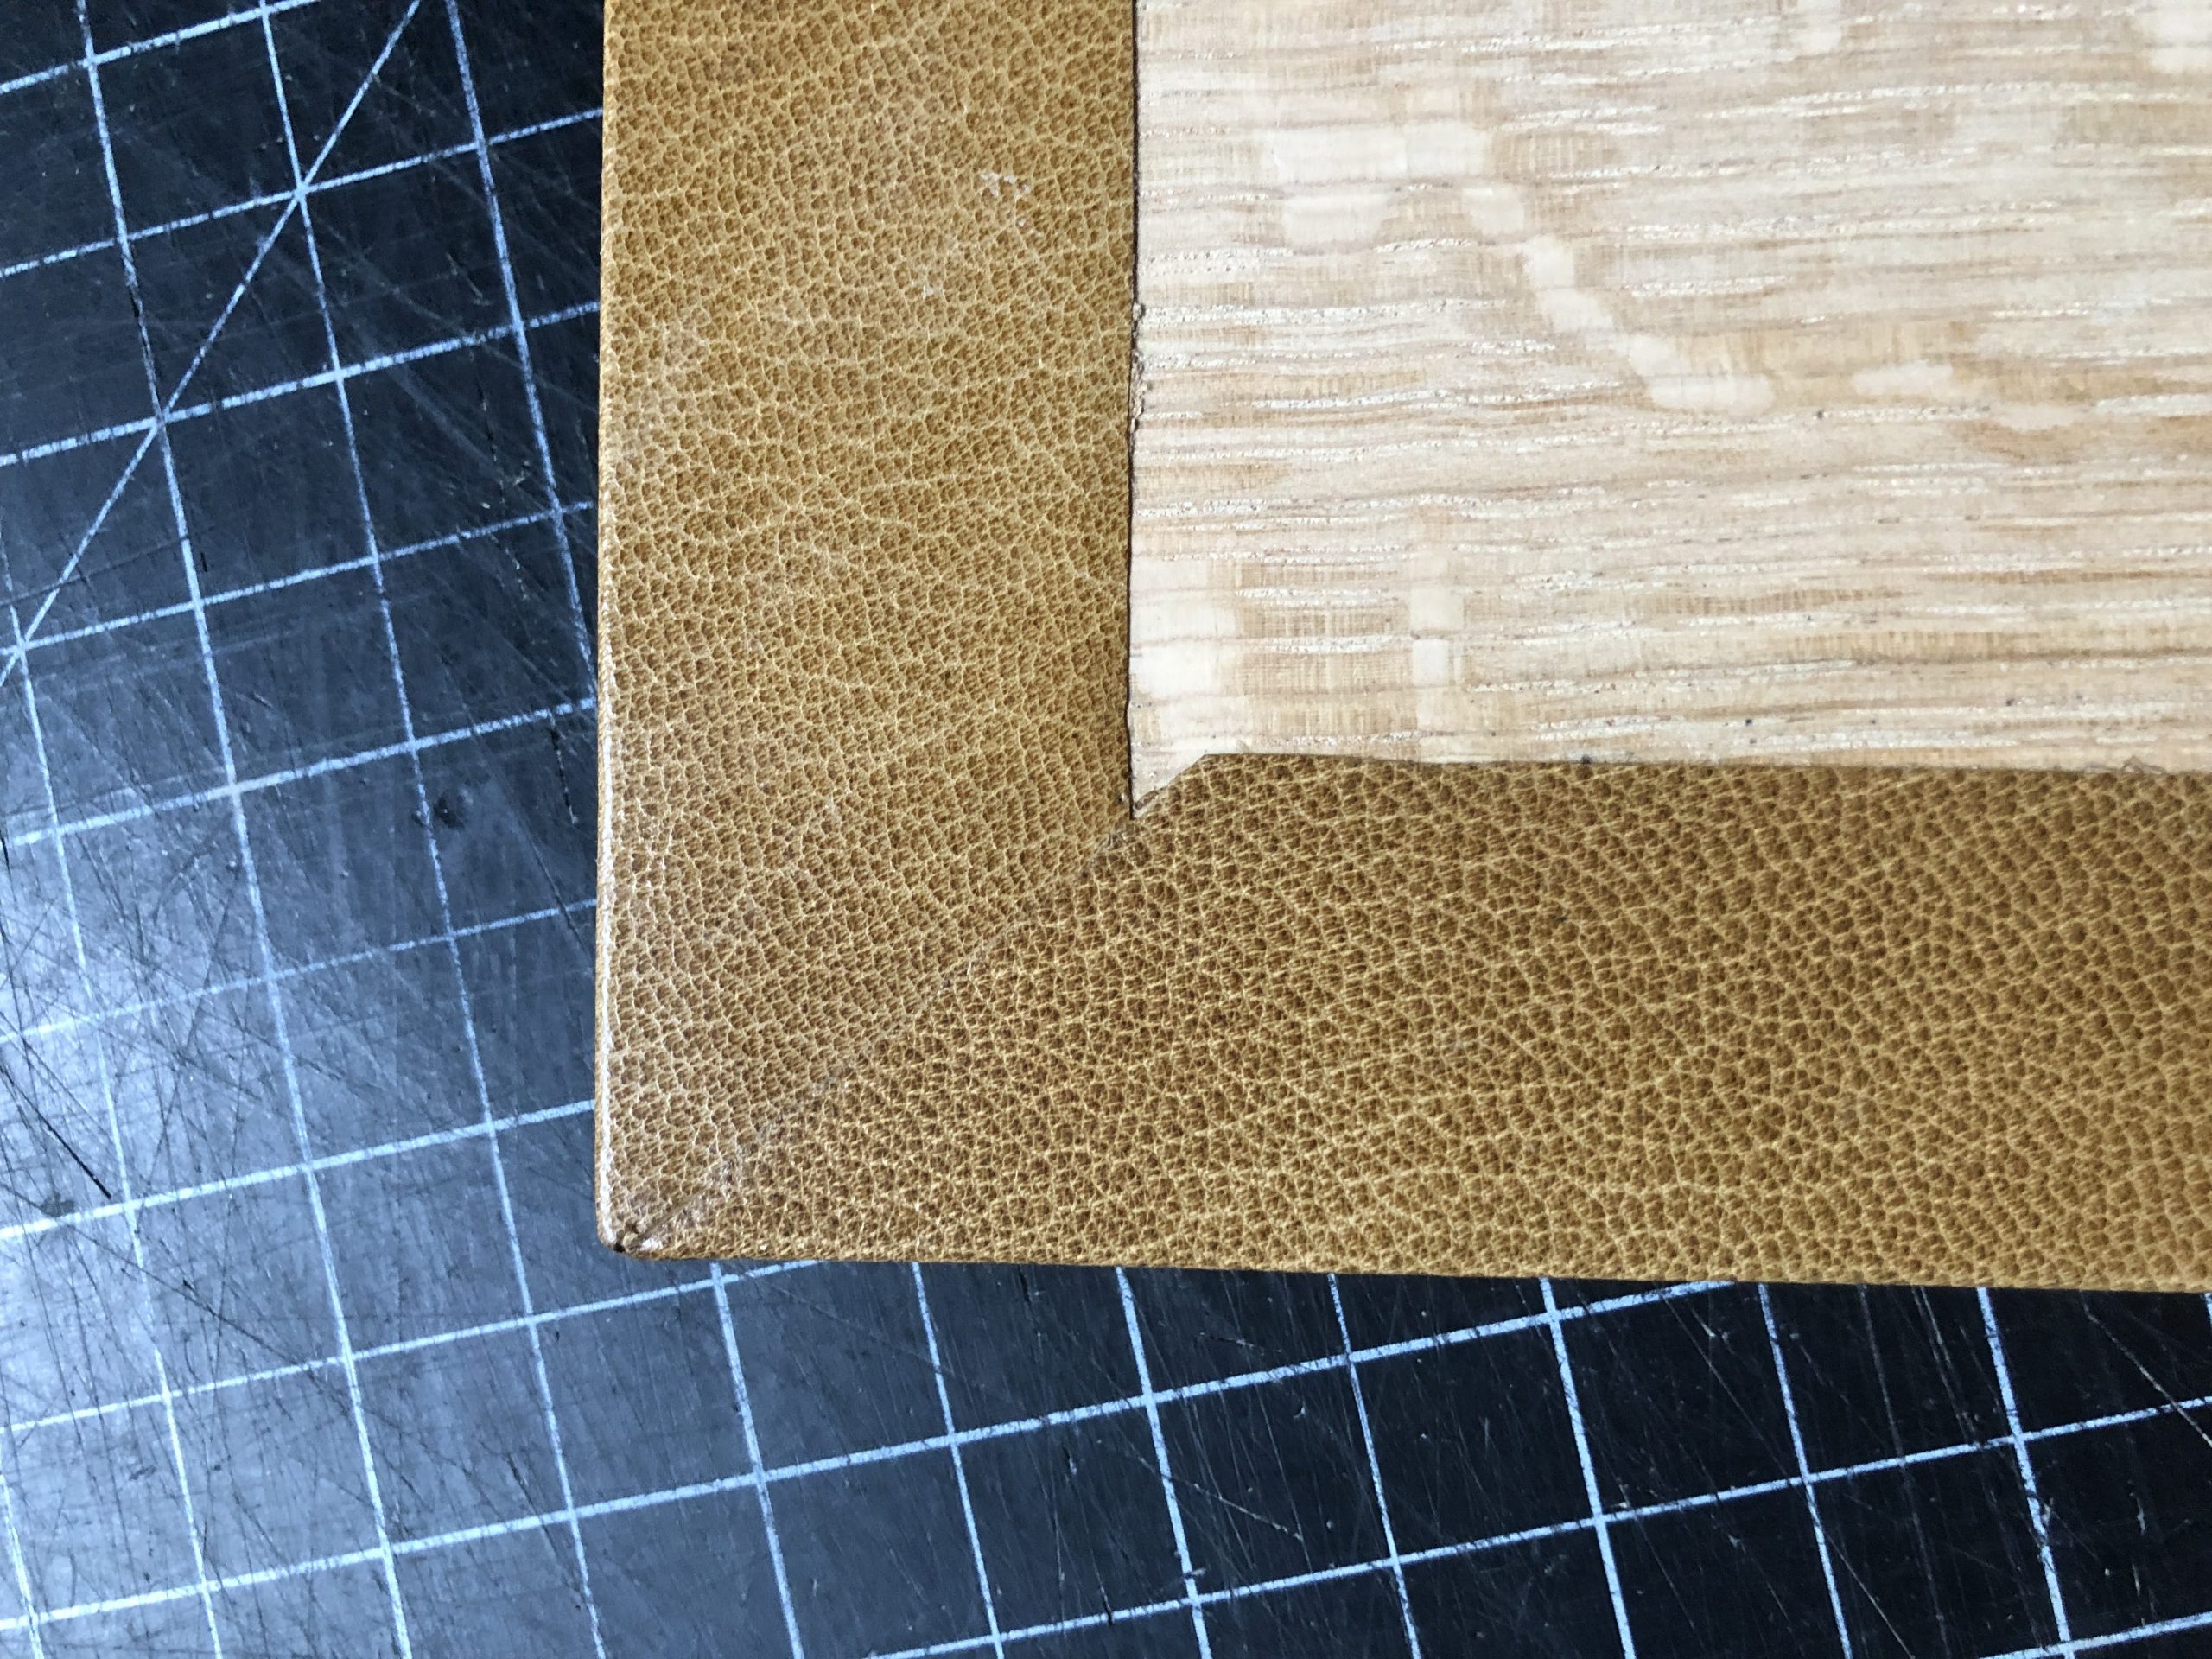
Covering the board corners was another area that could be handled in a number of ways. For simplicity sake, I decided to go with a straightforward mitered corner, as seen in the library’s Greek MS 60. I find the easiest way to make this corner is to cut through both layers of the overlapped turn-in with a knife, remove the excess leather, and line the turn-ins up again.
Mitered corner
Now that the book is covered, I will be working on a fore-edge closure. I had pre-drilled the lower board prior to covering with 3 holes for a braided leather strap. A brass pin will be mounted into the fore-edge of the front board as a catch.
Model making is a useful exercise for learning how a binding is assembled and how the different components function together. By manipulating the model, you can sometimes get a sense of where a particular structure performs well and where it becomes stressed and may fail. This side project has provided a welcomed diversion over the last couple of weeks, providing a “low stakes” project that I can use to experiment and test my hand skills. While I do feel a bit rusty after a few months away from the bench, it feels good to get in a little practice. I’m already looking forward to making my next model, after the library has reopened and I’ve had an opportunity to compare some items from the collection.
Welcome Amarah Ennis, our summer HBCU Library Alliance intern. Amarah is a student at Hampton University where she is studying journalism. She is one of eight students studying preservation this summer through the University of Delaware/HBCU-LA internship program.
This year the program moved online due to COVID-19. The site supervisors all agreed to host one class covering a specific topic. Those topics include:
Introduction to Library Preservation
Preventive Conservation/Disaster Preparedness and Response
Environmental Monitoring
Archives Conservation
Interventive Conservation
Digitization
Each module will be taught by a team from one of the host sites. Students are asked to do pre-class reading and/or assignments. During class we will have plenty of time for discussion and Q&A (my favorite part). Each intern will be completing a site specific project, and they will be presenting a short talk at the end of the summer to show what they worked on.
We are really going to miss having Amarah on campus. Hopefully in the future she can come visit in person when it is safe to do so.
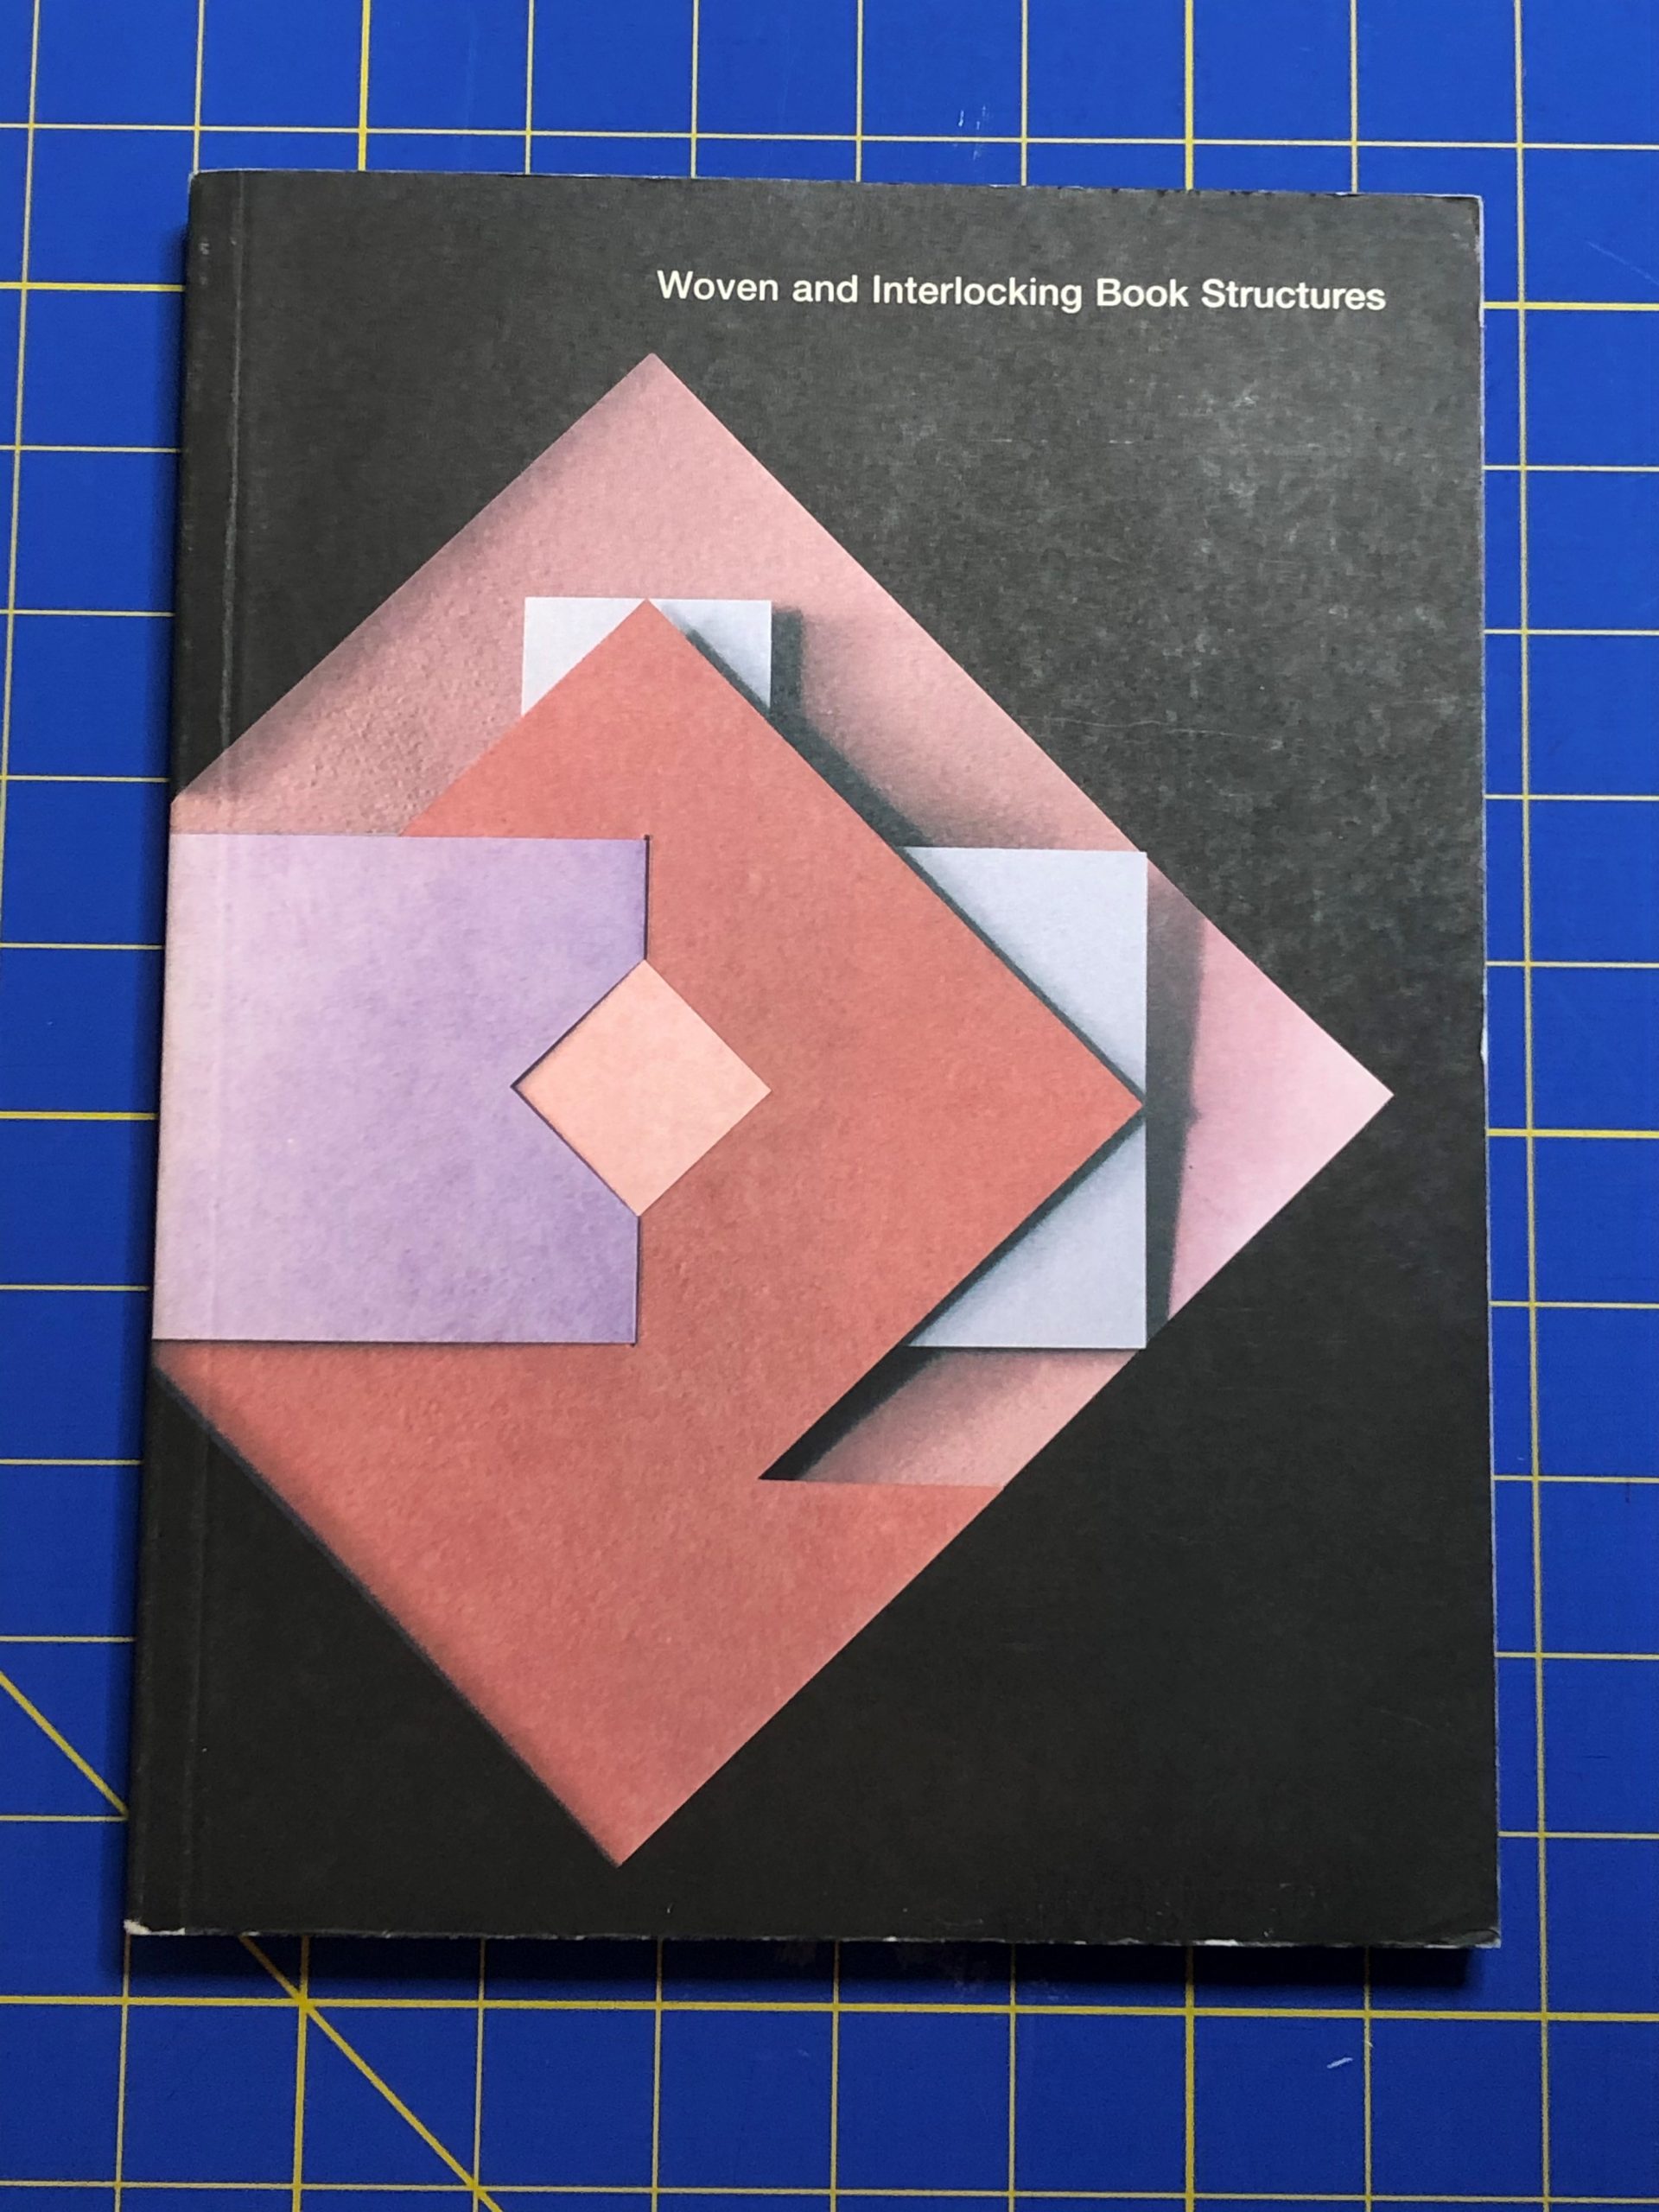
About 10 years ago I visited Claire Van Vliet at her Janus Press studio space in Newark, Vermont with another conservation intern. Claire was incredibly kind, spending all afternoon showing us around and talking about her work. At the end of the visit she gave us each a copy of her book Woven and Interlocking Book Structures as a parting gift.
I rediscovered this book on my shelf a few weeks ago when I hit my limit on Zoom meetings and was desperate to return to doing some hands-on work. And what a sanity saver it has been! I’ve taken time every day to step away from my computer and work my way through each of the structures.
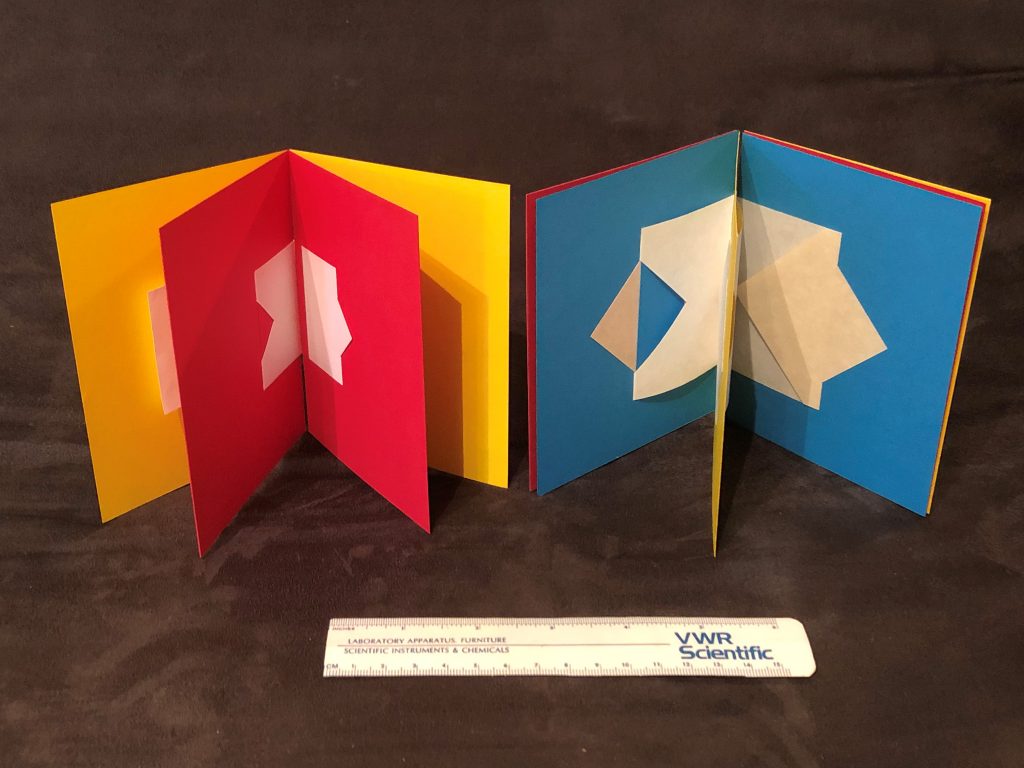
The book provides instructions for creating a sample of more than a dozen woven or interlocking book structures that are easy enough for anyone to do at home. The samples are small, only 4×5” and just a few pages long. Construction requires a few simple tools: a pencil, ruler, cutting blade, scissors, scoring tool/bone folder, awl/needle, glue, and a microspatula which was not required but “worth getting because you’ll wonder how you lived without it.” While nicer paper or a variety of papers would make more interesting finished samples, you really only need cover stock and text weight papers. Still, I had to make do with the paper I had on hand at home. Sometimes I had to use scraps of paper with the grain direction going the wrong way or that wasn’t quite the correct weight. But in the end I was able to successfully create a sample of every structure.
(Click each image to enlarge)
There are even instructions at the end of the book to create a lovely little slipcase to house your entire sample set of books.
If you would like to create your own sample set of woven and interlocking book structures you can access the entire book online for free through Internet Archive:
Each spring for the last couple of years, I’ve traveled up to the Winterthur Museum, Garden & Library to teach a workshop on blind and gold tooling to students in the Winterthur/University of Delaware Program in Art Conservation (WUDPAC). The workshop provides a very basic introduction to all the tools and materials that have historically been used to decorate bindings and allows the students to try some of the techniques for themselves. We also use the time to examine bindings from the library’s collection, looking closely at tool marks and other evidence, to determine how they were produced.
With in-person instruction suspended this semester, we decided to try a modified version of the workshop via the popular video conferencing platform Zoom.
Photos by Dr. Melissa Tedone
I had to change a lot about how I would ordinarily approach this workshop, since I usually provide paper hand-outs and bring a number of physical samples for students to examine. I was able to get around some of this by using the screen-sharing feature to display images of specific tools and diagrams of important concepts during the lecture portion of the workshop. I also shared links to specific bindings in the Folger Shakespeare Library’s Bindings Image Collection, so that each student could zoom in or navigate around the image on their own. Resources like this were a helpful stand-in for bindings from the Winterthur Library’s collection.
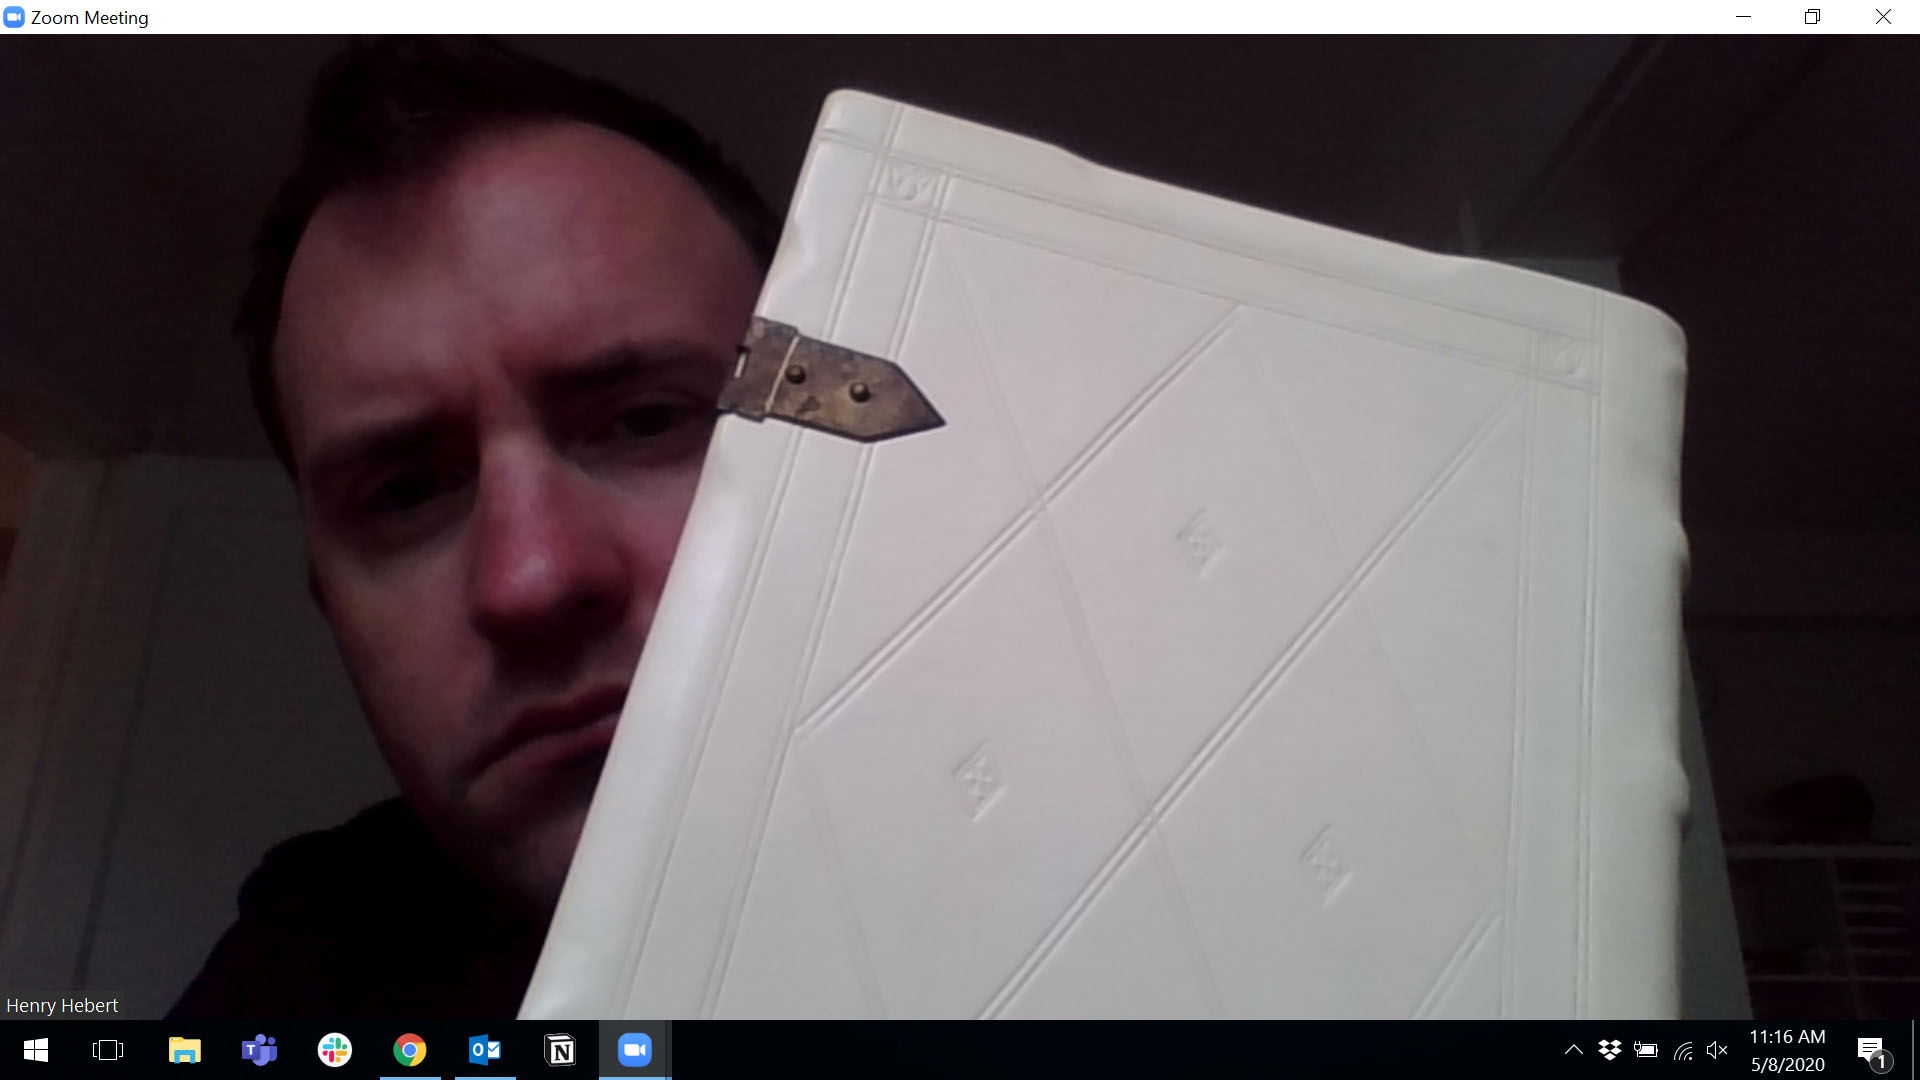
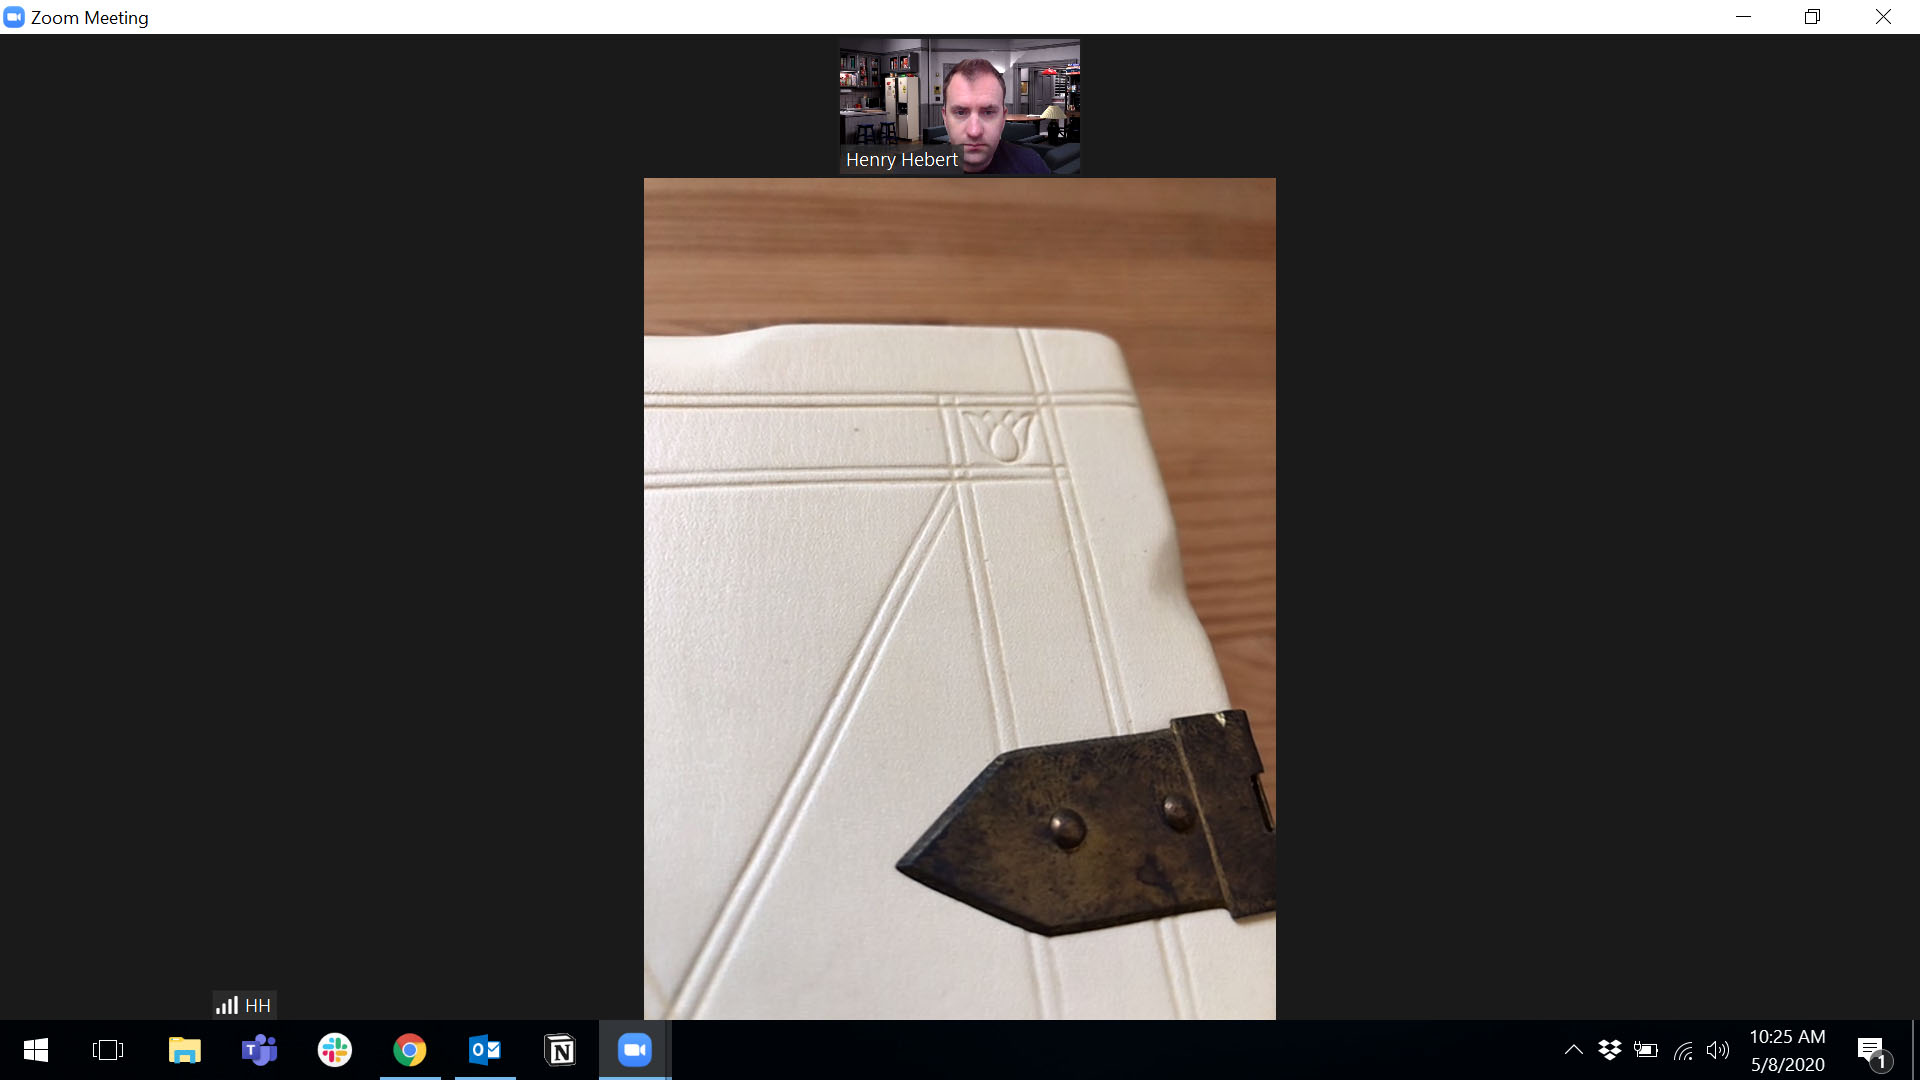
But what if you have an item on-hand which you would like your participants to examine more closely? My laptop’s webcam is thankfully good enough to show a fair amount of detail, but it can be a little tricky to orient the object in front of the camera so that your room lighting shows the surface characteristics. It might also be impossible to hold the object upright enough to view in frame.
“Can you see the decoration on this binding?”
I’ve seen some enterprising examples of detachable webcams mounted to headbands or task lights to create document cameras, but my webcam is not detachable. It turns out there is a simple way to turn your smartphone into a secondary, hand-held camera! Unfortunately, I figured this trick out too late for my own workshop – but maybe it can be useful for other folks doing instruction remotely. This trick requires you to first install the Zoom mobile app.
I start by scheduling a Zoom meeting and then either add the invitation to my calendar or email it to myself for quick access later. The meeting is launched on the primary device (in my case, a laptop) and the video and sound are set up. Instruction proceeds as usual until the hand-held camera is needed. At this point, tap the meeting link on a mobile device to join. When the meeting has launched in the mobile app, select “Join with Video” and then tap “Cancel” when asked to join audio. I learned the hard way that you will get some rather unpleasant feedback and echoing if you have audio going on two devices at once.
At this point your meeting participants will be disoriented by your competing video feeds (and maybe by your disheveled quarantine hair), but these feelings will pass.
Tap the button at the top left of your mobile device’s screen to switch to the rear-facing camera. You should ask your audience to find and “pin” the video feed for your mobile device, so that it occupies the majority of the screen when they switch to the “speaker view”.
Now you can easily move your mobile device around the object during your instruction session. When you don’t need the second camera anymore, simply leave the meeting on that device. Obviously this setup will put some additional load on your home network and internet connection, but it has worked well enough in my experiments to get the job done. This method will probably also work on other video conferencing platforms, but I have not attempted it.
With so many people developing and participating in online instruction right now, I’m sure others are finding new and helpful ways to use the technology we might already have at home. What tools or tips have you found useful in your work from home situation?
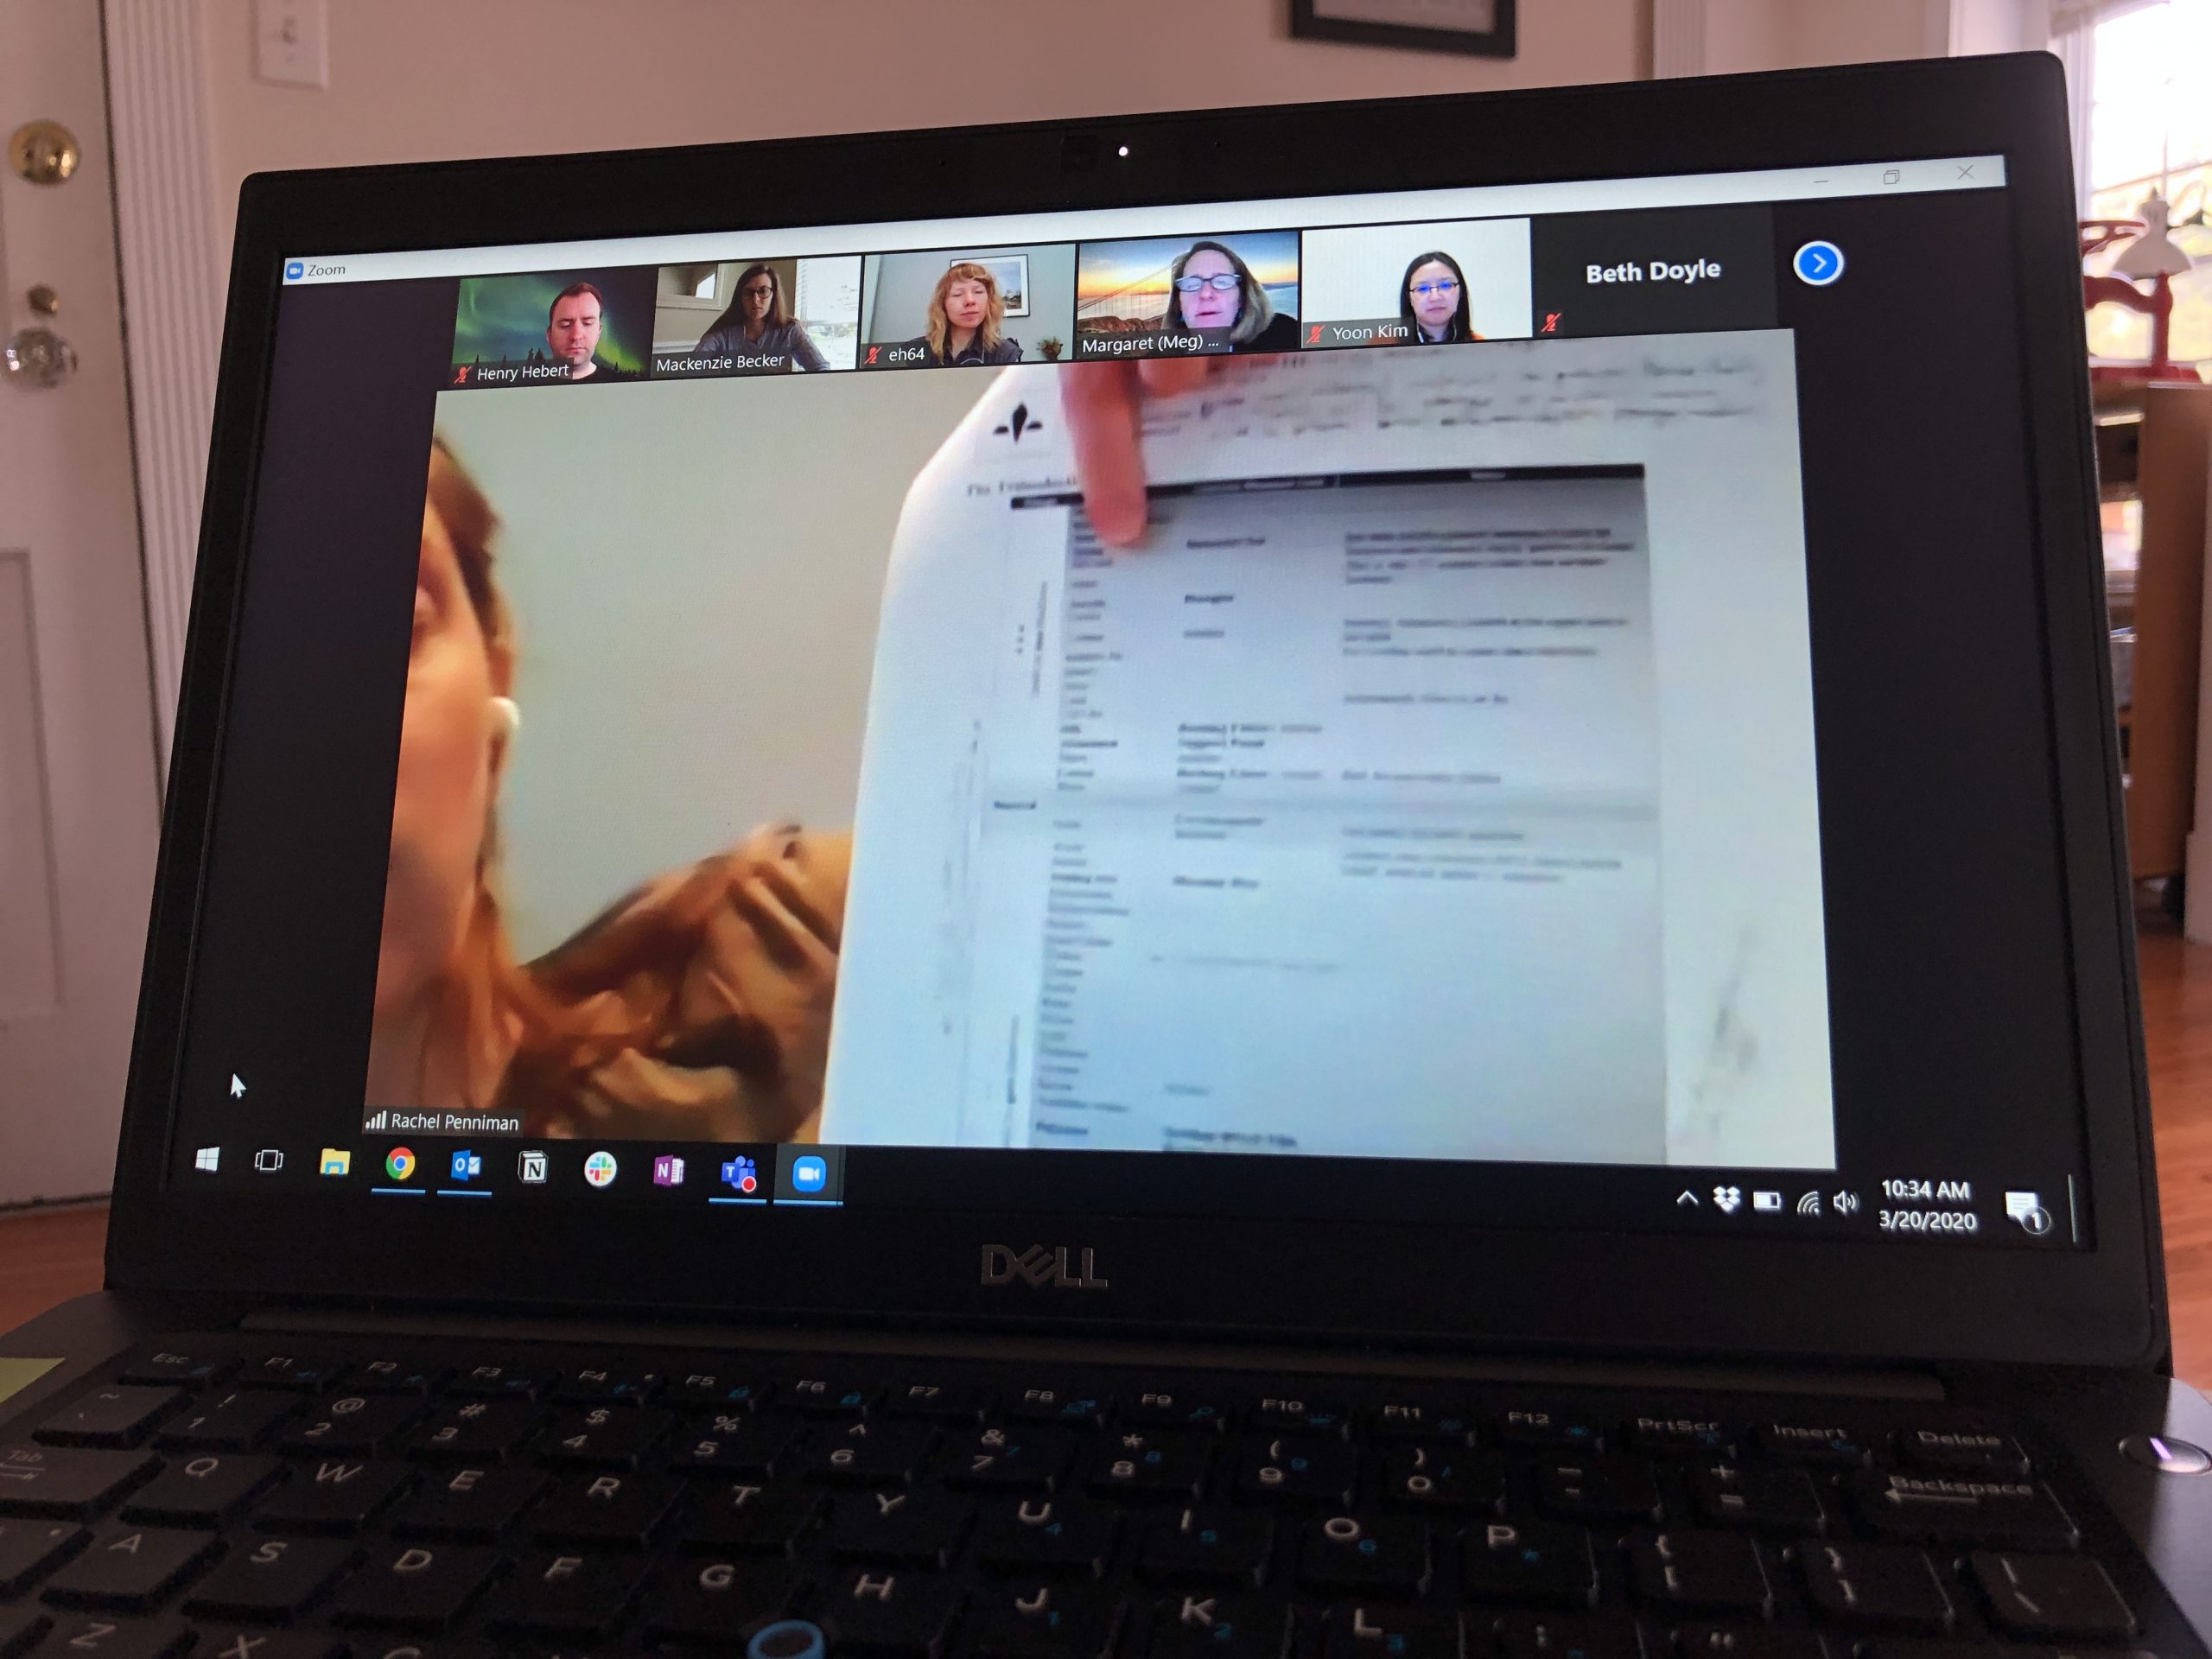
Here Rachel is showing a chart of the Triboelectric series (right before we all remembered we could just share screeens 🙂 ). It’s nice to be able to connect with colleagues so easily, despite everything that is going on.