All posts by Henry Hebert

NCMA Field Trip!

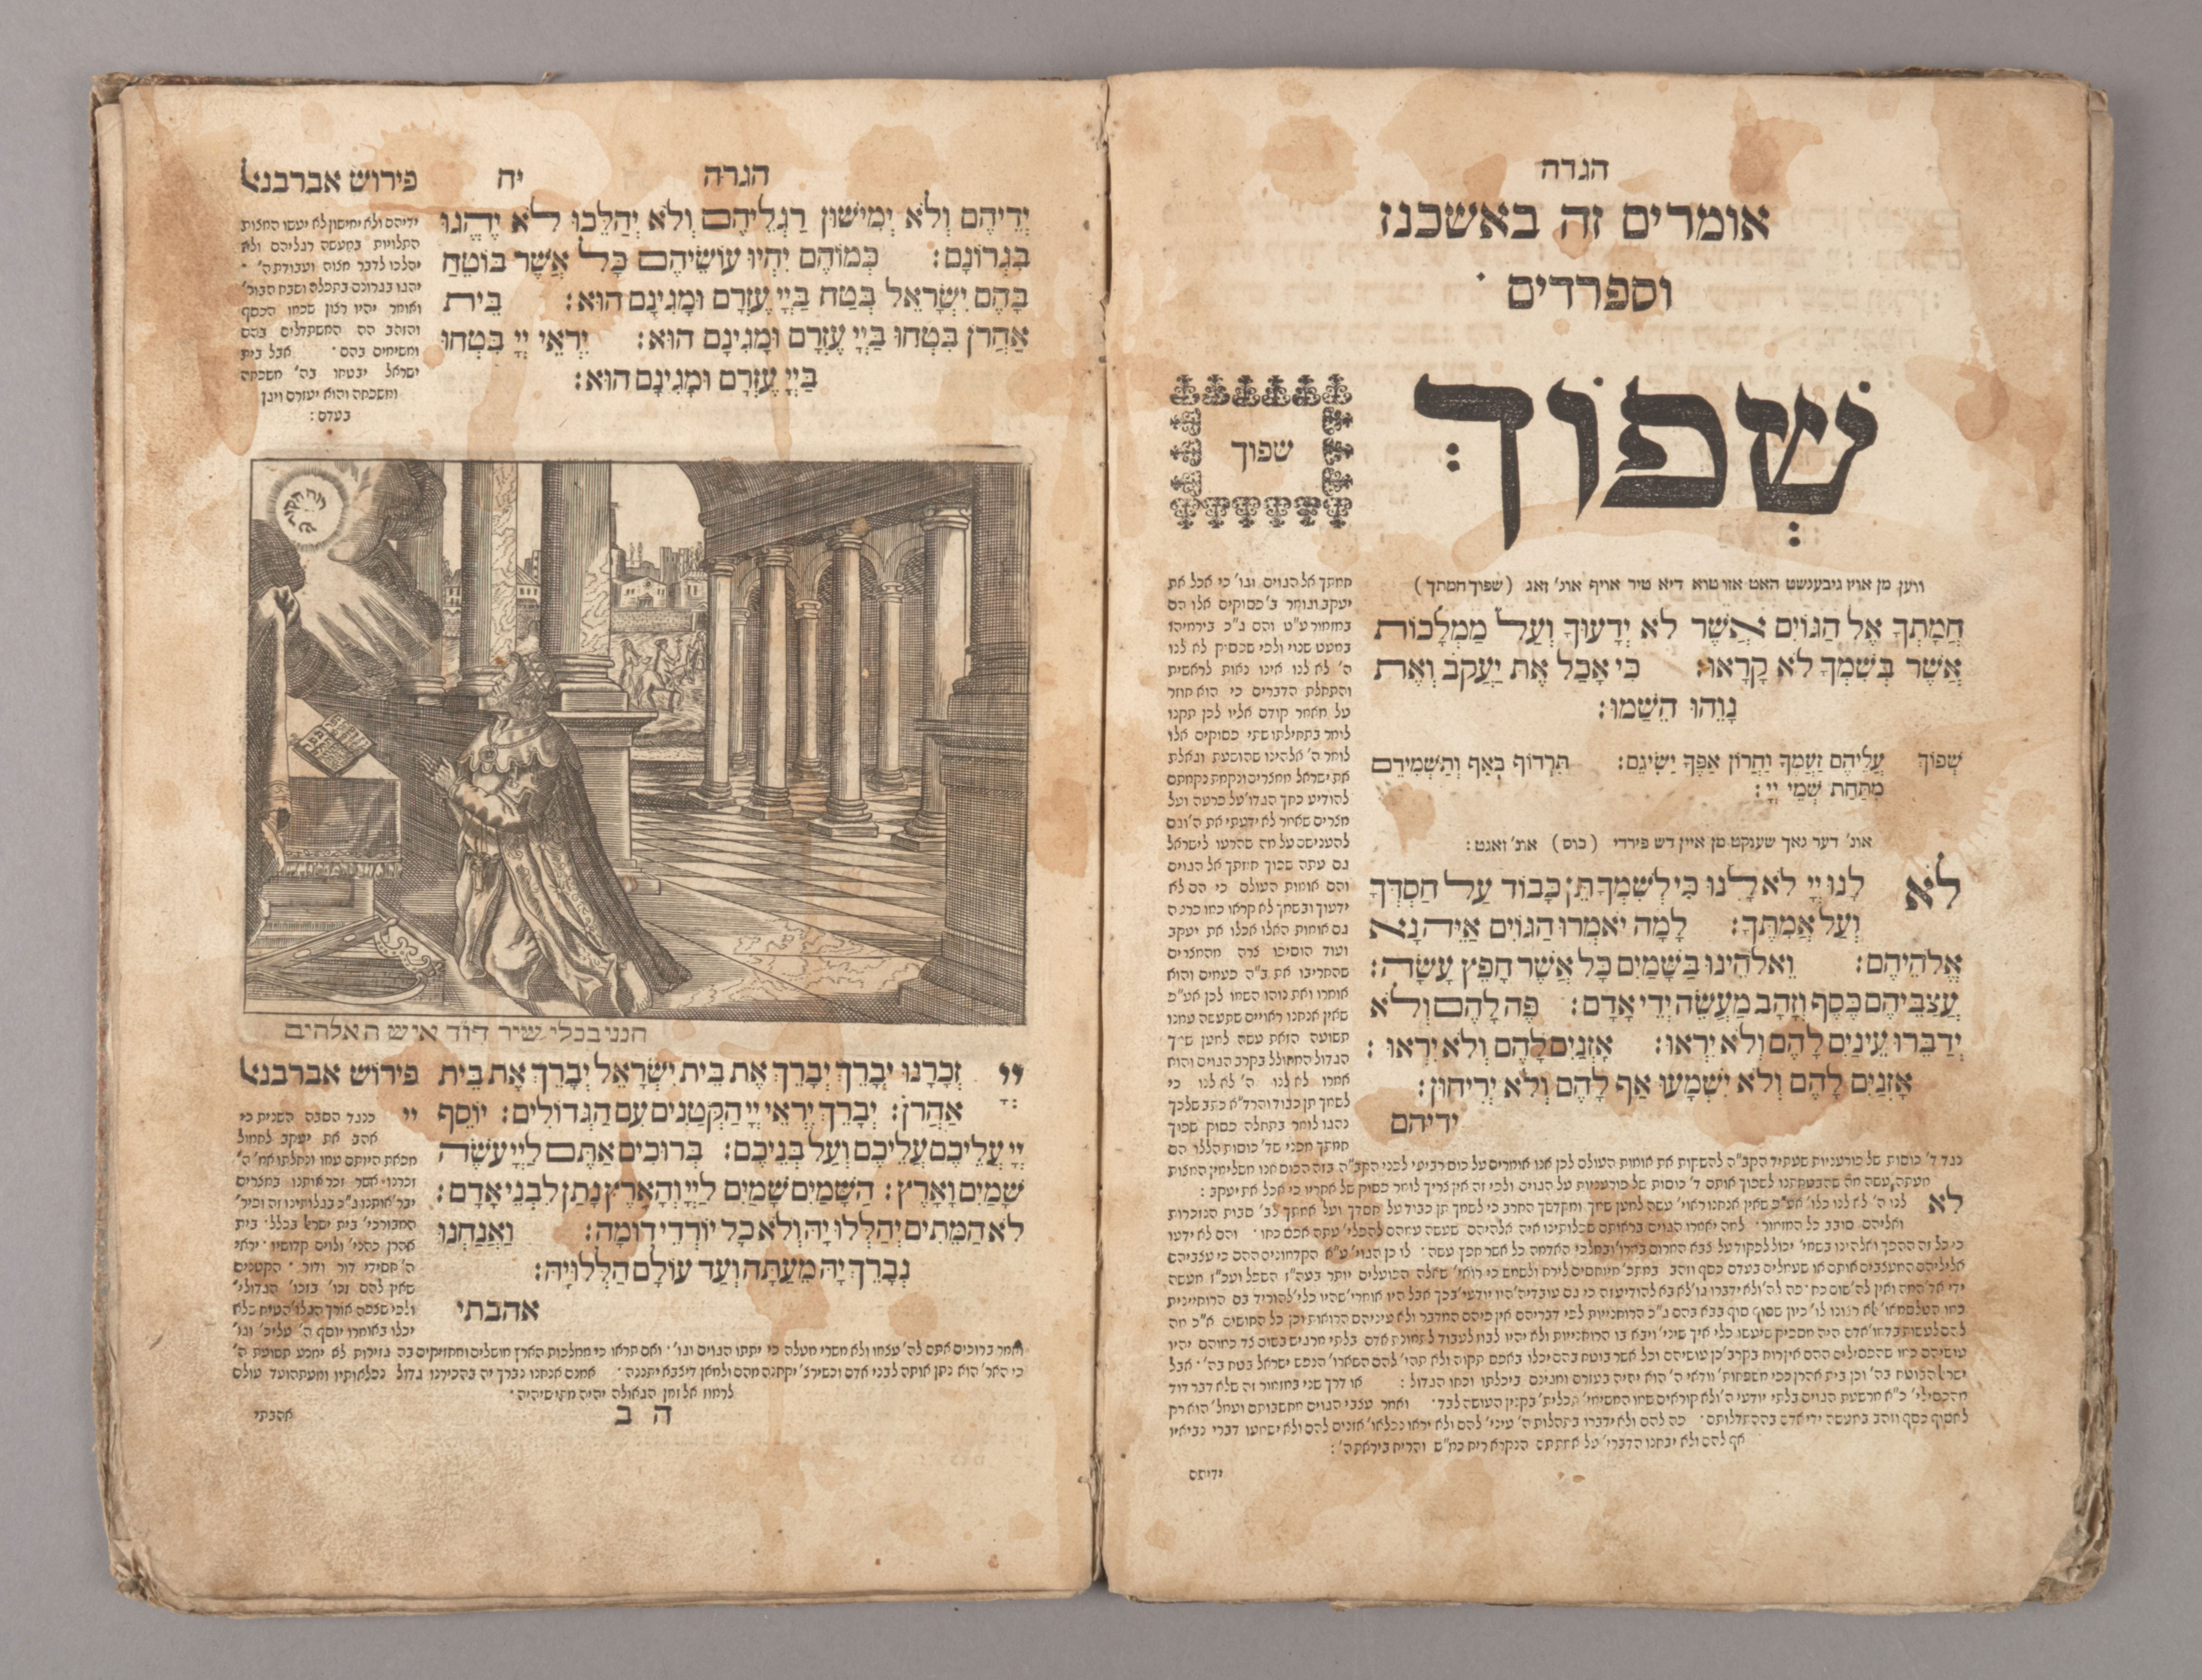
An upcoming exhibit at the North Carolina Museum of Art, titled The Glory of Venice: Renaissance Painting 1470-1520, will include some really beautiful examples of early printed books from The Rubenstein Library here at Duke and Wilson Library at UNC Chapel Hill. Earlier this week, our conservator colleagues at UNC and I traveled to Raleigh to install the volumes.

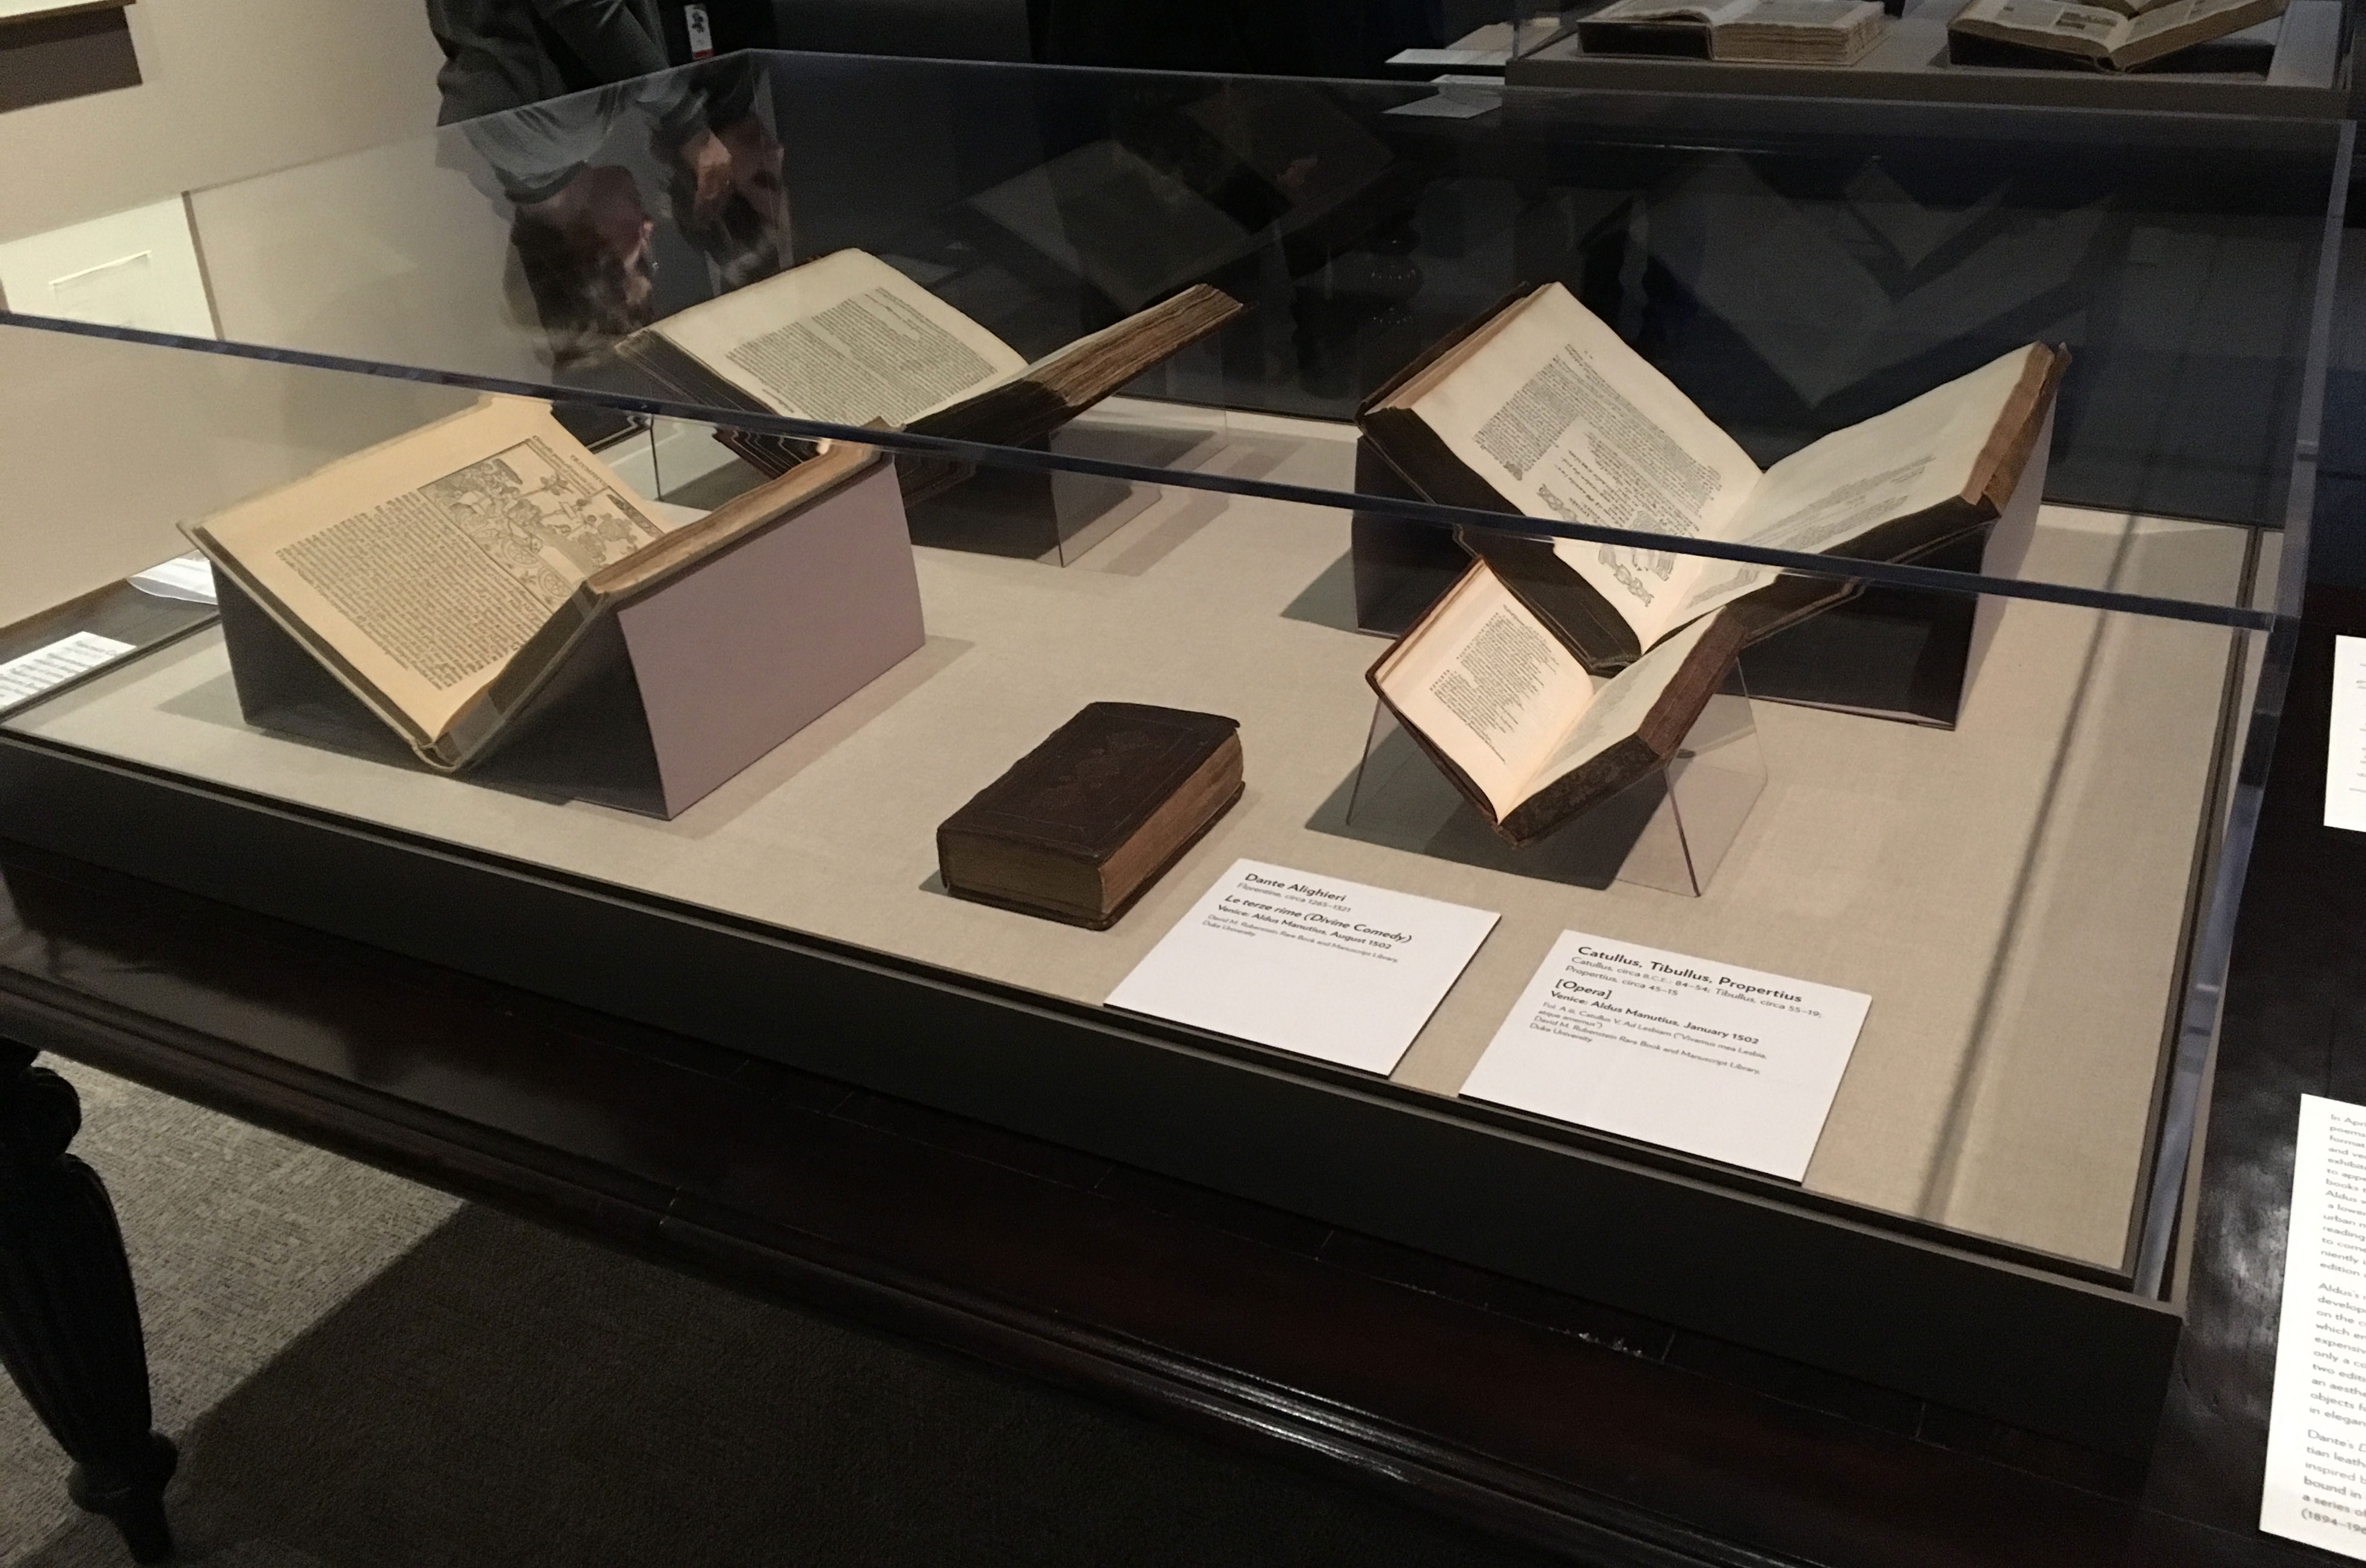
The installation was very similar to our workflow here at Duke. We had already constructed custom book supports for each volume using a clear, inert plastic resin called PETG. After unpacking everything, I was able to simply position each volume on its cradle and secure the pages at the opening with clear polyester strapping.

Once the books and labels were all correctly placed inside, museum staff stepped in to install the vitrines.

The curators and museum staff at NCMA were so great to work with and I really enjoyed being part of a collaborative effort between cultural institutions from around The Triangle.  I haven’t shared any images of the paintings that will also be on display, but I was able to get a peek at many of them. They are absolutely incredible! The show will be on display from March 4th – June 18th and I would encourage you to go visit if you are in the area.

Quick Pic: Year of the Rooster

Charles Bailey Reed Scrapbook Cover

Readers who celebrated Chinese New Year just a few weeks ago will know that 2017 is the Year of the Rooster. Fittingly, this wonderful painted scrapbook from the Charles Bailey Reed Collection recently came into the lab. Reed served as a radiologist in the U.S. Medical Reserve Corps in France during World War I.  This scrapbook contains postcards, newspaper articles, photographs, and other ephemera from various cities in France, dated between 1914 and 1924. I just really love the image of the rooster crowing atop a discarded Pickelhaube, signalling the return to regular life after the war.

Cradle Boxing Day

Last month, Senior Conservator Erin Hammeke shared her treatment of a caoutchouc binding, which incorporated a clamshell enclosure with integrated cradle. There are many items in the collection that can benefit from an enclosure like this (henceforth referred to simply as a “cradle box”): books which require a restricted opening to reduce the risk of further damage, collection material that is used frequently, or items that are exhibited at library events outside the reading room. Our History of Medicine Collection has several items which meet these criteria and everyone in the lab was interested in learning how to make a cradle box. This week we dedicated a boxing day to this project, which served both as a training exercise and supports use of the collection.

While several variations on structure are described in publicly available resources (see the AIC Wiki), we decided to all just stick with Jeff Peachey’s design. The benefits to this design are that the cradle fits the book very well and is attached to the box, so you don’t have to worry about it being removed and getting lost. We could also rely on Erin’s previous experience and help each other through the more complicated steps!

Construction begins by measuring the book at the intended opening angles to determine the sizes of the individual parts of the cradle.  As with measuring for exhibit cradles, it’s much easier to prop the boards up with cushioned weights before taking measurements.

(Photo by Rachel Penniman)

Then those pieces are cut from Davey board…

(Photo by Rachel Penniman)

… and covered in book cloth. The cradle is essentially constructed in two pieces, which are attached by a cloth spine piece. The image below shows the interior of one cradle side during covering (left), including the adhered ends of cloth tape that allow the user to lift up the cradle (right).

(Photos by Rachel Penniman)

Once the cradle is complete, the book is placed inside and the entire sandwich is measured for the clamshell box. The box is constructed in the usual way, but the right side of the cradle is attached to the interior of the smaller tray near the spine.

It was a lot of fun to approach learning this enclosure design as a group. If one of us hit a roadblock or did not quite understand the next step in the instructions, we could all talk it through together. Over the course of the day, we developed new techniques for completing steps or learned from each other’s mistakes. And, more importantly, now six more books from the collection will have cradles with them wherever they go!

Quick Pic: Meaningful Stains

Haggadah01

Haggadah 02

We are in the midst of preparing for an upcoming exhibit on the Haggadah, a text that describes the order of the Passover Seder. When examining a book, I really enjoy coming across signs that it was well used by previous owners. This Amsterdam Haggadah from 1695 was repaired several times and it is clear that was used at many Passover meals from the extensive staining from food or wine at specific page openings.

Cast Composite (AKA Synthetic Texture) Technique

While we are always trying to maintain an awareness of new techniques and materials for conservation through the literature, sometimes it can take a while to experiment and actually put them to use. Recently, I have finally gotten around to trying my hand at making and applying cast acrylic films for book repair; a technique which I had originally seen presented by Grace Owen-Weiss and Sarah Reidell at the Library Collections Conservation Discussion Group of AIC back in 2010 (See the Book and Paper Group Annual Vol 29, p. 92). Using a silicone mold, a blend of acrylic gels, and a paper or textile support, one can employ this technique to create a thin, reversible repair material that matches both the color and texture of the object.

Penny Magazine - Before and after treatment
(click images to enlarge)

This bound serial came into the lab several months ago, exhibiting some splitting of the leather at the joints and corners. Luckily the boards were still firmly attached, so it just needed some minor, stabilizing repairs to reduce the potential for further damage or loss. There is a lot of variation in the color of the red leather, either from light damage (evident on the marbled paper on the back board), pollution, or handling, which gave me the opportunity to make several different samples of film to match the various colors.

Penny Mag - Before and After TreatmentBookbinding leathers come in such a variety of grains and surface textures, so I started by making a silicone mold with two different grains. The brown leather on the left is a piece of goatskin from Harmatan, while the black piece on the right is actually fake leather from an old backpack. These were adhered to a piece of davey board, placed in the bottom of a bristol board tray, and then the 2-part mold material was poured over the top.

Leather Mold

Interestingly enough, the fake leather grain was a better match for this book. After applying the acrylic mixture to the mold, a thin Japanese paper support is applied on top. After drying, the film can be peeled away from the mold. Sarah Reidell has a really wonderful bibliography on her website, where you can find step-by-step instructions for creating the acrylic films, so I won’t go into more detail here.

(Under normal lighting at bench)

This technique produces a repair material that is quick and easy to apply, but visually blends much better than a toned Japanese paper repair. There are so many opportunities for experimentation using this technique, with the support materials, the application methods of the acrylics, and textures of the molds. I’m very excited to add this to our stable of techniques that we can employ here in the lab.

Street Life in London

By Erin Hammeke, Senior Conservator for Special Collections

This fall I had the opportunity to try out some new treatment and housing techniques. We recently acquired Street Life in London. Published in 1877, it is considered an early work in what would become the field of documentary photography. Throughout the text are mounted Woodburytypes depicting London street figures in somewhat staged vignettes and in archetypal roles: Italian Street Musicians, London Cabmen, The Street Locksmith, etc.

Before Treatment

The text was formed from single sheets of various weights and made into an early adhesive binding called a caoutchouc binding which is not too dissimilar from today’s paperback binding structures and uses a rubber-based adhesive on the spine. Our copy had breaks in the text, with pages and groups of pages coming loose with every handling. It can be difficult to repair an adhesive binding in a way that results in a sturdy structure, ready to hold up to instructional and reading room use. Luckily, Gary Frost and others have developed a technique of pasting an overhanging tissue guard to each leaf and consolidating these overhanging guards into a binding structure. This repair technique has been discussed on The Book & Paper Gathering. Their blog post, along with some very helpful guidance from Sue Donovan, a conservator who has recently researched and explored this technique in depth, inspired me to try the repair.

Mailing tube under fore-edge

I found the repair technique to be quite effective, albeit time-consuming. Each leaf had to be guarded, and after forming a slight round in the spine by jogging the fore edge into a curve (I used a mailing tube), I elected to glue each guard down one by one.

Spine guards

An alternative approach involves mashing the overhanging guards together with adhesive, which would likely have been a quicker but less controlled approach. The reformed text fit perfectly back into its original embossed cloth case (thankfully!)

Cover after treatment

Tail edge after treatment

The text functions well, but because of the heavier-weight, slightly brittle text paper, I decided I wanted to control the opening angle of the book during use by making a custom cloth clamshell with a built-in cradle. The cradle is attached to the inner tray of the box and folds out to support the book. I used Jeff Peachy’s instructions.

5_cradle-box-composite

I’d like to extend a big thank you to my generous colleagues for developing and sharing their innovative treatment and housing approaches with the rest of us! I’d also like to thank conservators Jan Paris, Annie Wilker, and Catherine Badot-Costello for their assistance.

6_open-in-cradle


Hidden Writing! Part Deux

Latin MS 221Conservation Services has been working closely with staff from our Digital Production Center this week to train in the operation of our new multispectral imaging equipment and learn about image processing. During the calibration and testing of the machine we took the opportunity to re-image the illuminated manuscript leaf which I posted on back in the summer. The palimpsest is so clearly legible in these new photos! We are very excited by the possibilities that this new imaging equipment opens for learning more about our collection materials.

Happy Anniversary Preservation Underground!

We started Preservation Underground in 2009 as a way to bring our work out of the basement and into the light. In the past seven years, we’ve had some fun and we’ve had some disasters. What we really hope is that we’ve shown you a little bit of what we do and why our work is so important.

glass eyes
Glass eyeballs from the History of Medicine Collection. Here’s looking at you, statistics!

We wanted to take a look back at some data about our blog and highlight our most-favorited posts. The data is a bit sticky because WordPress analytics appear to begin in March 2011, while Google analytics start in September 2012. But, as my grad school chemistry professor always said, “Close enough for conservation.”

WordPress analytics appear to begin in March 2011…
87, 940 total views
279 comments

Google Analytics start in September 2012
Only reporting 9,000 page views
Traffic from 95 countries.

These posts received the most hits the past seven years:

  1. Quick Pic: Mysterious Messages (January 2012)
  2. 1091 Project: Making Enclosures (March 2012)
  3. Hold me closer… protective enclosure (January 2016)
  4. Florence: Days of Destruction (A Film by Franco Zeffirelli) (February 2012)
  5. DIY Book Repair And Its Consequences (July 2012)
  6. Why I Hate Mr. Clippy (January 2013)
  7. The ‘Largest Sheet of Paper Ever Made and Printed’ (October 2015)

Do you have a favorite post you want to share? if so, tell us in the comments.

All Made Up

Every once in a while we come across a book composed of parts from multiple copies of the same edition, commonly referred to as a made-up copy (Carter, 2004). It can be very difficult to tell if a book is made-up, depending upon how the different pieces were assembled and treated.  An item that recently came into the lab provides a fairly obvious example.

Made-up book
Visibly smaller section on the right.

This incunable in a 19th century binding contains two gathering (one at the front and another towards the center of the textblock) that are noticeably shorter at the tail and fore-edge. Shorter leaves can indicate a number of things about the production of a binding, including proof (Roberts & Etherington, 1982) that the leaves were not overly trimmed by the binder. In this case, though, other evidence suggests the section came from another binding. It may be difficult to tell in the image above, but the paper of the section on the right is significantly brighter than the sections before and after.

Different edge treatment
Red and blue edge decoration

Additionally, the edges of the shorter section have been treated differently. The image above shows that the edges of the smaller section (left) are colored red, while the rest of the texblock (right) has been sprinkled with blue pigment.

In-filled tail edge
In-filled tail edge

It appears that the binder infilled the smaller section at the front to match the size of the surrounding leaves. Similarly toned and textured laid paper has been adhered to the tail edge and at the gutter of each leaf to make them larger. Since the red edge decoration is still visible on these leaves, this was probably done to reduce the risk of handling damage, rather than an attempt to disguise the added gathering.

While the added sections appear somewhat out of place in this binding, I appreciate that the binder did not attempt to hide them by over-trimming the entire textblock or obscuring their red edge decoration. The clear diffirences between paper size, color, and edge treatment provides additional information about the life and use of this object.


Carter, J. (2004). ABC for book collectors (8th ed.). New Castle, DE: Oak Knoll.

Roberts, M. & Etherington, D. (1982). Bookbinding and the conservation of books : a dictionary of descriptive terminology. Washington, D.C.: Library of Congress