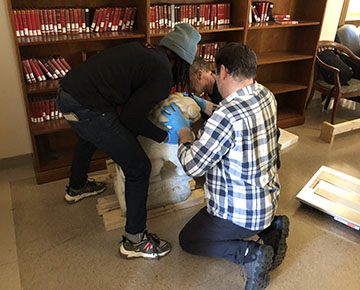
Last week, Crozier Fine Arts was on site to de-install, crate, and move the art and artifacts from the Lilly Library Thomas Room in preparation of the start of renovation this summer. It was incredible to watch this team get all of the work off the walls and into crates in five days.
The custom crates were made off site and shipped to the library. First up was crating the pair of marble lions that stood at the south door of the Thomas Room.
How do you wrangle marble lions? With many steady hands and a lot of shims.
Twinsies!
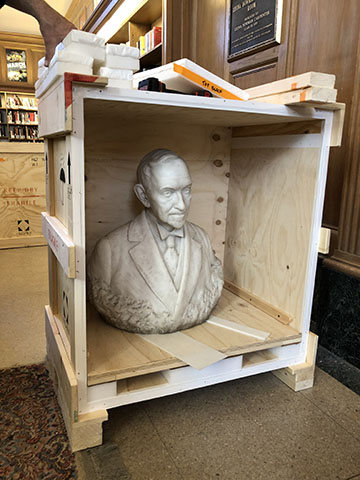
The statue of Benjamin Duke was estimated to weigh about 450 pounds. It took a lot of time, and careful planning, to get it off its platform and into a crate.
Benjamin Duke awaiting his crate.Moving Ben, inch by inch.Ben is ready for his road trip!
We have a lot more photos to share from the week. Until we get them posted, please see these other excellent recaps of the move of the art and artifacts from the Thomas Room. You can read more about the upcoming Lilly Closure and Renovation here.
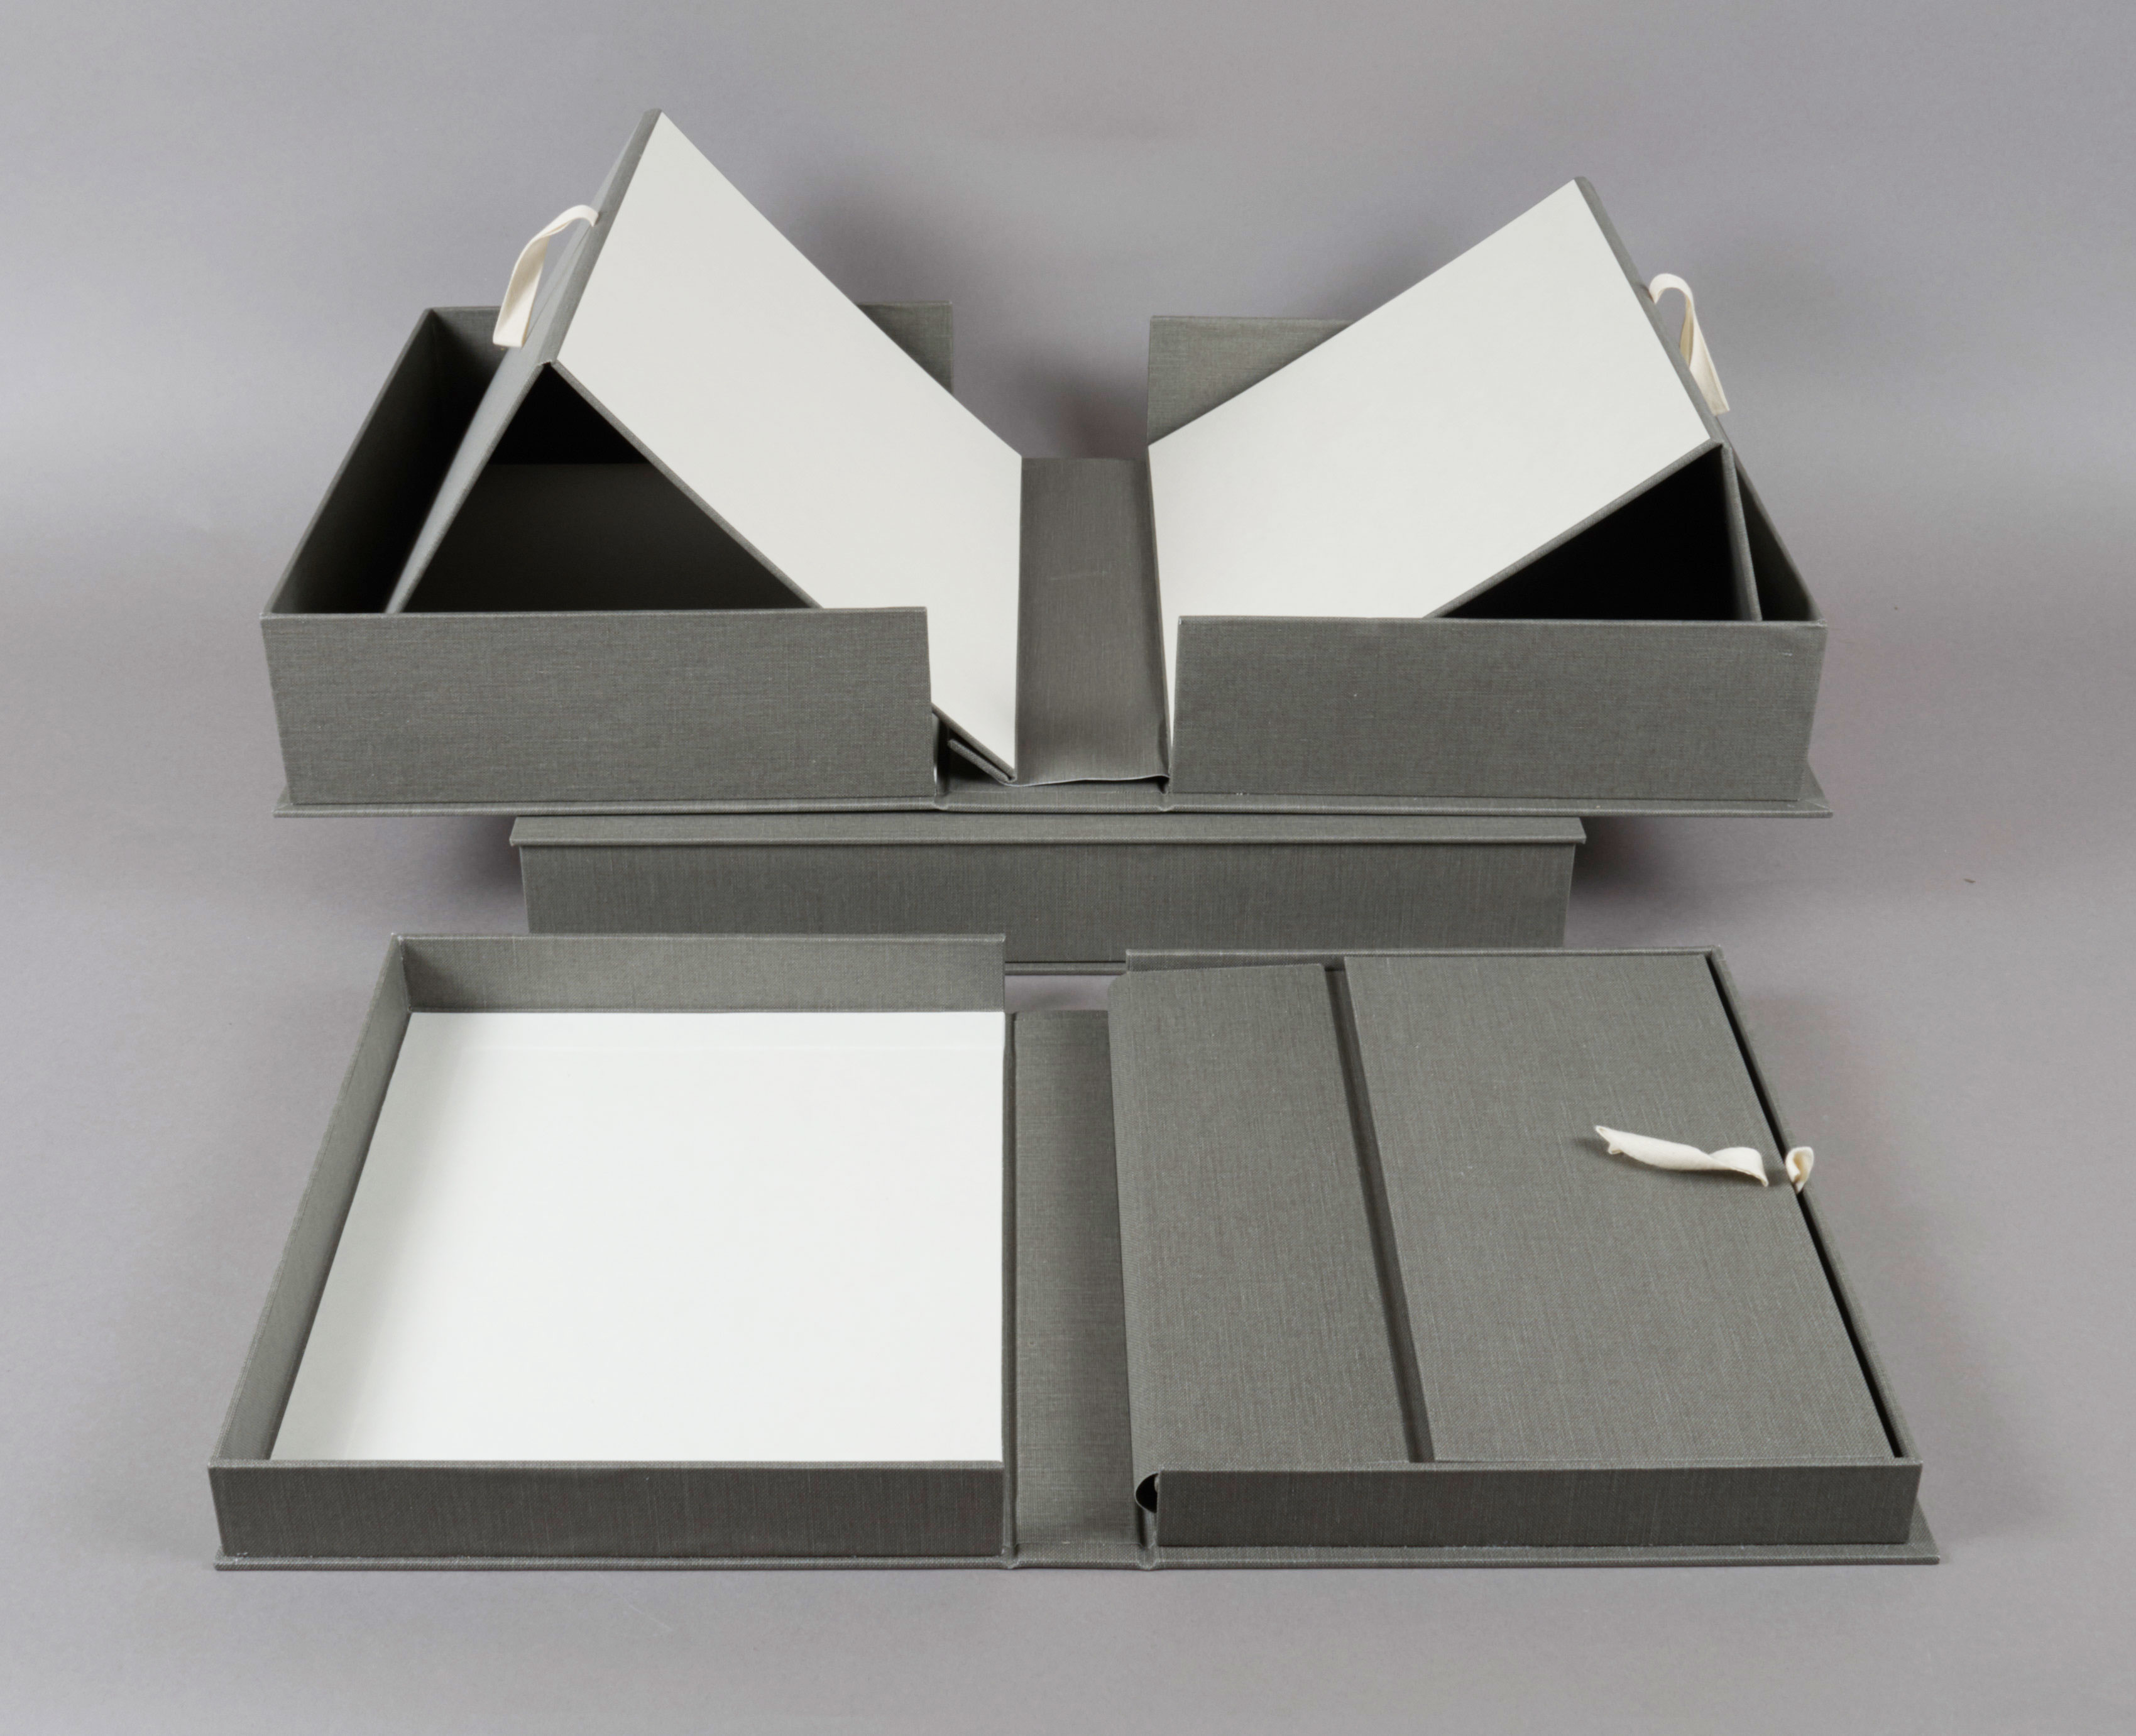
Last month, Senior Conservator Erin Hammeke shared her treatment of a caoutchouc binding, which incorporated a clamshell enclosure with integrated cradle. There are many items in the collection that can benefit from an enclosure like this (henceforth referred to simply as a “cradle box”): books which require a restricted opening to reduce the risk of further damage, collection material that is used frequently, or items that are exhibited at library events outside the reading room. Our History of Medicine Collection has several items which meet these criteria and everyone in the lab was interested in learning how to make a cradle box. This week we dedicated a boxing day to this project, which served both as a training exercise and supports use of the collection.
While several variations on structure are described in publicly available resources (see the AIC Wiki), we decided to all just stick with Jeff Peachey’s design. The benefits to this design are that the cradle fits the book very well and is attached to the box, so you don’t have to worry about it being removed and getting lost. We could also rely on Erin’s previous experience and help each other through the more complicated steps!
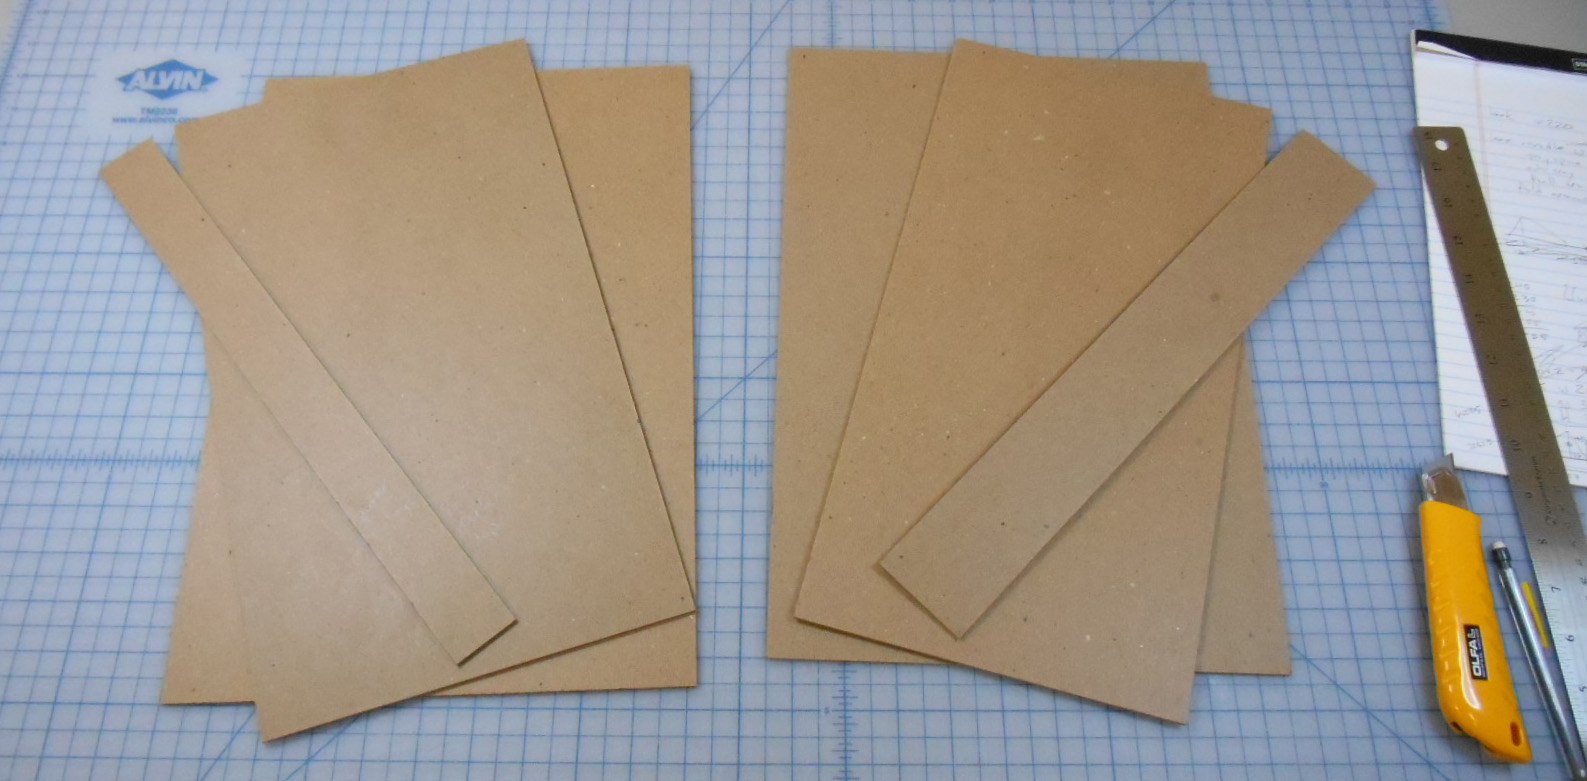
Construction begins by measuring the book at the intended opening angles to determine the sizes of the individual parts of the cradle. As with measuring for exhibit cradles, it’s much easier to prop the boards up with cushioned weights before taking measurements.
(Photo by Rachel Penniman)
Then those pieces are cut from Davey board…
(Photo by Rachel Penniman)
… and covered in book cloth. The cradle is essentially constructed in two pieces, which are attached by a cloth spine piece. The image below shows the interior of one cradle side during covering (left), including the adhered ends of cloth tape that allow the user to lift up the cradle (right).
(Photos by Rachel Penniman)
Once the cradle is complete, the book is placed inside and the entire sandwich is measured for the clamshell box. The box is constructed in the usual way, but the right side of the cradle is attached to the interior of the smaller tray near the spine.
It was a lot of fun to approach learning this enclosure design as a group. If one of us hit a roadblock or did not quite understand the next step in the instructions, we could all talk it through together. Over the course of the day, we developed new techniques for completing steps or learned from each other’s mistakes. And, more importantly, now six more books from the collection will have cradles with them wherever they go!
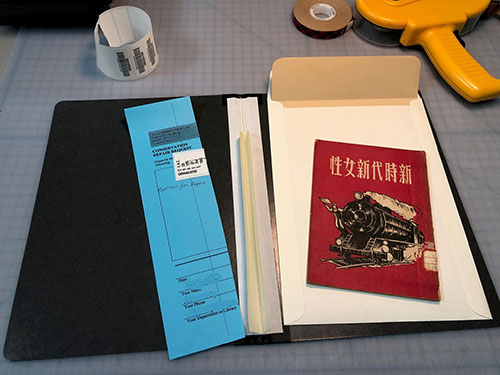
Have you noticed that the most simple-seeming projects always turn out to be more complicated than you think? As part of our preparations to move our collections to our renovated library, we are trying to free up space in the flat files. Our flat files contain broadsides, maps, posters, artwork, etc. Many of these items are large and flat and should be in the flat files. Many are flat but are small enough to fit into standard manuscript boxes or pamphlet binders. Last November we embarked on a project to help the Rubenstein Library move as many of the smaller maps as possible into enclosures to free up space in the flat files. Sounds easy, right?
First Challenge: To Keep the Old Encapsulation or Not
I am an advocate of NOT encapsulating materials unless it is necessary to facilitate handling. Polyester is expensive, and it can add a lot of weight to the stacks. It can also make handling difficult for patrons as they sift through a stack of slippery encapsulated documents.
Many of these maps didn’t need to be encapsulated. They are in good condition and a folder inside a box would suffice. However, in order to finish the project by the move date, we would need to utilize our student assistants and our volunteer. If we decided to de-encapsulate materials, it would mean a conservator would have to evaluate the condition of each item to determine its disposition. There simply wasn’t time to do this.
In consultation with Rubenstein staff, we decided the maps would stay encapsulated in their old polyester if possible. We would replace the polyester only if an item didn’t fit its current encapsulation, or if the old polyester was too damaged to keep.
Second Challenge: All That Tape!
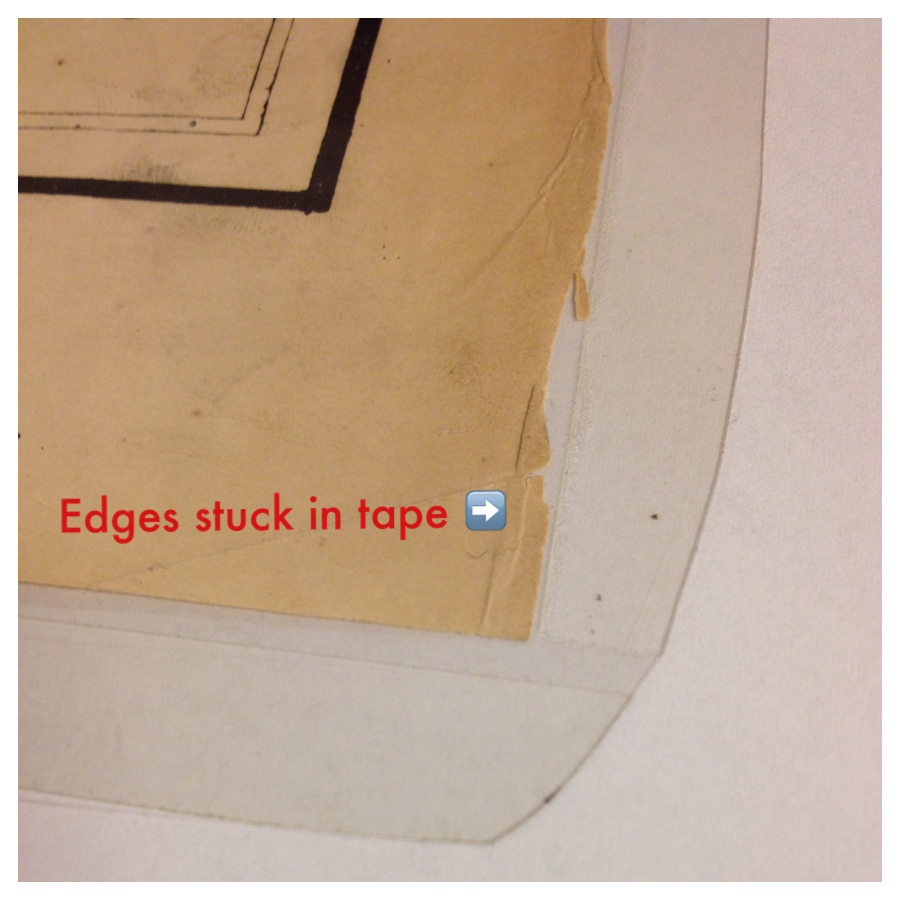
Almost all of the maps have been previously encapsulated using double stick tape to adhere the two pieces of polyester together. While this is a common method of encapsulation, it poses one big problem. A document can shift to the edge and become stuck. This poses a particular hazard for brittle materials. Lucky for us, most of our maps were encapsulated with a generous amount of space between the object and the tape.
We decided that we could ultrasonically weld between the object and the tape, trim the tape off, and voila! A retrofitted encapsulation.
Brittle map edge is stuck to the taped polyester sheets.
Third Challenge: Size Matters
As we looked through the thirty drawers of materials it became clear that some of the old encapsulations just weren’t working. There were several items that had encapsulations that were too small. Some large folded items were put still folded into an L-sleeve encapsulation. Handling is awkward, and unfolded these items became too large for either the manuscript boxes or the flat files.
Rubenstein staff decided on two standard manuscript box sizes and two standard pamplet-binder sizes. Anything that could go into one of these would do so. Any folded item would be unfolded. If an item was too big for a box, it would remain in a folder in a flat file. If it was too big to lay flat in the current flat files, we would wait to encapsulate it until we were in our new space with our new, bigger flat files. There are a few items that are in too bad of a condition to safely re-encapsulate. These will come to conservation for treatment first.
Maps in new manuscript boxes.
Fourth Challenge: The Weird Stuff
There is a lot of weird stuff in libraries and not everything in the map drawers are maps. As we work our way through the map collection we are setting these oddities aside for curatorial review. Some will end up back in the flat files, some will be the responsibility of Collection Development to deal with.
The Project So Far
To date we have encapsulated 1,865 items. By our estimates we are about 90% finished, but what is left is some of the oddball items that need special attention by conservation, curators and by technical services. Technical services will also have to update the new locations, which they will do during the reclass project. Did I mention Rubenstein is also doing a huge reclass project during the move? We don’t believe in doing only one huge project at a time, that would be too easy.
This month on the 1091 Project we discuss an essential part of almost every conservation department, student technicians. Without our students we could not keep up with the sheer amount of materials that come to the lab. This week is spring break, so I can’t show you pictures of our wonderful students, KellyNoel, Kaiti and Jessica (on loan from ERSM for a project), but I can tell you about the work they do and what we look for in a good student assistant.
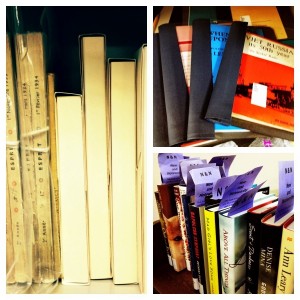
Student work, finished and in-process.
Student Workflows
Our students start out learning how to bind pamphlets, make simple enclosures, create CoLibri book jackets, make pockets and do simple repairs such as tip ins, cut pages, and binding musical scores. They also help with the tracking and physical moving of materials.
If the students have the abilities and interest they can learn more complicated repairs and enclosures. These might include recasing or rebacking books, or making four-flap or corrugated clamshell boxes for fragile materials. We have had a couple students who stayed for several semesters and because they had the skills and interest, they were able to learn multiple conservation rebinding techniques and cloth-covered clamshell boxes.
Newspapers ready for boxing.
We currently have students helping specifically with renovation projects. These students are primarily getting the newspapers ready to go to the Library Service Center. This involves jogging brittle paper into place, fitting the bindings into pre-made boxes, and making spacers in the boxes so the brittle papers don’t shift around during transit. This is a very labor intensive, dirty and repetitive project but all of our students are working hard to meet our fast approaching deadline.
What We Look When Hiring Student Technicians
Most of our students are undergraduates, but every now and then we hire a graduate student. We of course like it if they have state or federal work study, but that isn’t a requirement. We prefer to get the right student with the right skills regardless of their funding. Occasionally we will get a UNC-SILS student who wants to intern with the department and we will work with them to develop a project that fulfills their school requirements but also helps us move our department forward.
There are basic job requirements that are listed in all of our positions including being able to use sharp instruments and large binding equipment safely, lifting heavy boxes and moving full book trucks, and being able to work in a potentially dusty or moldy environment.
Beyond that, what I look for when I interview students is the ability to learn quickly and be productive, to work independently but to know when to ask questions, and to have a good attitude and work well with a diverse staff. It is rare that we find students who have bookbinding experience, so I look for interests or past work history that involve eye-hand coordination and attention to detail. It might surprise you that gamers have very good eye-hand coordination, students with musical backgrounds are excellent at following instructions, and research science students are amazingly skilled at detail-oriented work. If you are a student, you don’t need to be a crafty person or an art major to work here. We can teach you the skills you need to be successful if you have the ability to learn the craft.
I think this is the biggest box I’ve tried to make, it’s for a Torah that was recently on exhibit and needs to go back to RBMSCL.
I’m experimenting with using double-walled corrugated board rather than binders board since it has strength but not weight. The board surface is easily marred but with the book cloth adhered it seems pretty solid. I’m going with a telescoping design, that is a smaller tray that has aslightly larger lid that fits over it.
What I’m not sure of yet is the design of the lid. The base is too big to make a lid from one piece of board, so I will have to cobble something together. I’m also considering experimenting with a polyester lid so you can see into the box. Nothing will be stored on top of this box, so having a sturdy lid may not be an issue, but would it provide enough protection? More thought is needed. Luckily the next few days are chock full of meetings, so I’ll have time to mull it over.