Many months ago I learned that a new space, The Ruppert Commons for Research, Technology, and Collaboration, was going to be opening at the start of the calendar year. I was tasked with building an informational kiosk that would be seated in the entry area of the space. The schedule was a bit hectic and we ended up pruning some of the desired features, but in the end I think our first iteration has been working well. So, I wanted to share the steps I took to build it.
Setting Requirements
I first met with the Edge team at the end of August 2014. They had an initial ‘wish list’ of features that they wanted to be included in the kiosk. We went through the list and talked about the feasibility of those items, and tried to rank their importance. Our final features list looked something like this:
Primary Features:
- Events list (both public and private events in the space)
- Room reservation system
- Interactive floor plan map
- Staff lookup
- Current Time
- Contact information (chat, email, phone)
Secondary Features:
- Display of computer availability
- Ability to report printing / scanning problems
- Book locations
- Scheduleable content on ‘home’ screen
Our deadline was the soft opening date of the space at the start of the new year, but with the approaching holidays (and other projects competing for time) this was going to be a pretty fast turn around. My goal was to have a functional prototype ready for feedback by mid October. I really didn’t start working on the UI side of things until early that month, so I ended up needing to kick that can down the road a few weeks, but that happens some times.
The Hardware
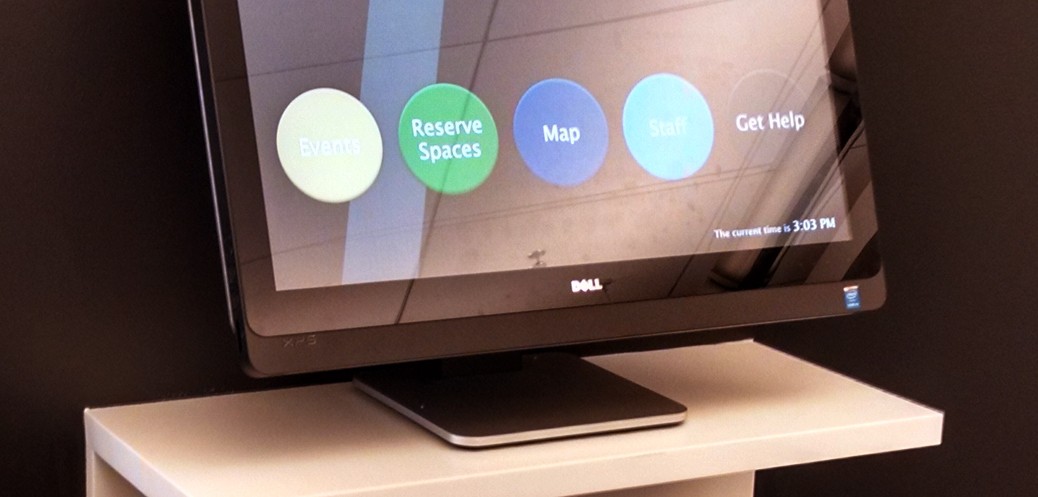
The Library had purchased two Dell 27″ XPS all-in-one touchscreen machines for the purpose of serving as an informational kiosk near the new/temporary main entrance of Perkins/Bostock. For various reasons, that project kept getting postponed. But with the desire to also have a kiosk in the Edge, we decided we could use one of the Dell machines for this purpose. The touch screen display is great — very bright, reasonably accurate color reproduction, and responsive to touch inputs. It does pickup a lot of finger prints, but that’s sort of unavoidable with a glossy display. The machine seems to run a little bit hot and the fan is far from silent, but in the space you don’t notice it at all. My favorite aspect of this computer is the stand. It’s really fantastic — it’s super easy to adjust, but also very sturdy. You can position it in a variety of ways, depending on the space you’re using it in, and be confident that it won’t slip out of adjustment even under constant use.  I think in general we’re a little wary of using consumer grade hardware in a 24/7 public environment, but for the 1.5 months it’s been deployed it seems to be holding up well enough.
The OS
The Dell XPS came from the factory with Windows 8. I was really curious about using Assigned Access Mode in the Windows 8.1, but the need to use a local (non-domain) account necessitated a clean install of 8.1, which sounds annoying, but that process is so fast and effortless, at least compared to days of Windows yore, that it wasn’t a huge deal. I eventually configured the system as desired — it auto-boots into the local account on startup and then fires up the assigned Windows app (and limits the machine only to that app).
I spent some time playing around with different approaches for a browser to use with assigned access. The goal was to have a browser that ran in a ‘kiosk’ mode in that there was no ability for the user to interact with anything outside of the intended kiosk UI — meaning, no browser chrome windows, bookmarks, etc. I also planned to use Microsoft’s Family Safety controls to limit access to URLs outside of the range of pages that would comprise the kiosk UI. I tried both Google Chrome and Microsoft IE 11 (which really is a good browser, despite pervasive IE hate), but I ended up having trouble with both of them in different ways. Eventually, I stumbled on to a free Windows Store app called KIOSK SP Browser. It does exactly what I want — it’s a simple, stripped down, full screen browser app. It also has some specific kiosk features (like timeout detection) but I’m only using it to load the kiosk homepage on startup.
The Backend
As several of the requirements necessitated data sources that live in the Drupal system that drives our main library site, I figured the path of least resistance would be to also build the kiosk interface in Drupal. Using the Delta module, I setup a version of our theme that stripped out most of the elements that we wouldn’t be using (header, footer, etc.) for the kiosk. I could then apply the delta to a small range of pages using the Context Module. The pages themselves are quite simple by and large. 
- Events — I used a View to import an RSS feed from Yahoo Pipes (which combines events from our own Library system and the larger Duke system).
- Reserve Spaces – this page loads in content from Springshare’s LibCal system using an iFrame.
- Map — I drew a simplified map in Illustrator based architect’s floor plan , then saved it out as an SVG and added ID tags to the areas I wanted to make interactive.
- Staff — this page loads in content from a google spreadsheet using a technique I outlined previously on Bitstreams.
- Help — this page loads our LibraryH3LP Chat Widget and a Qualtrics email form.
The Frontend
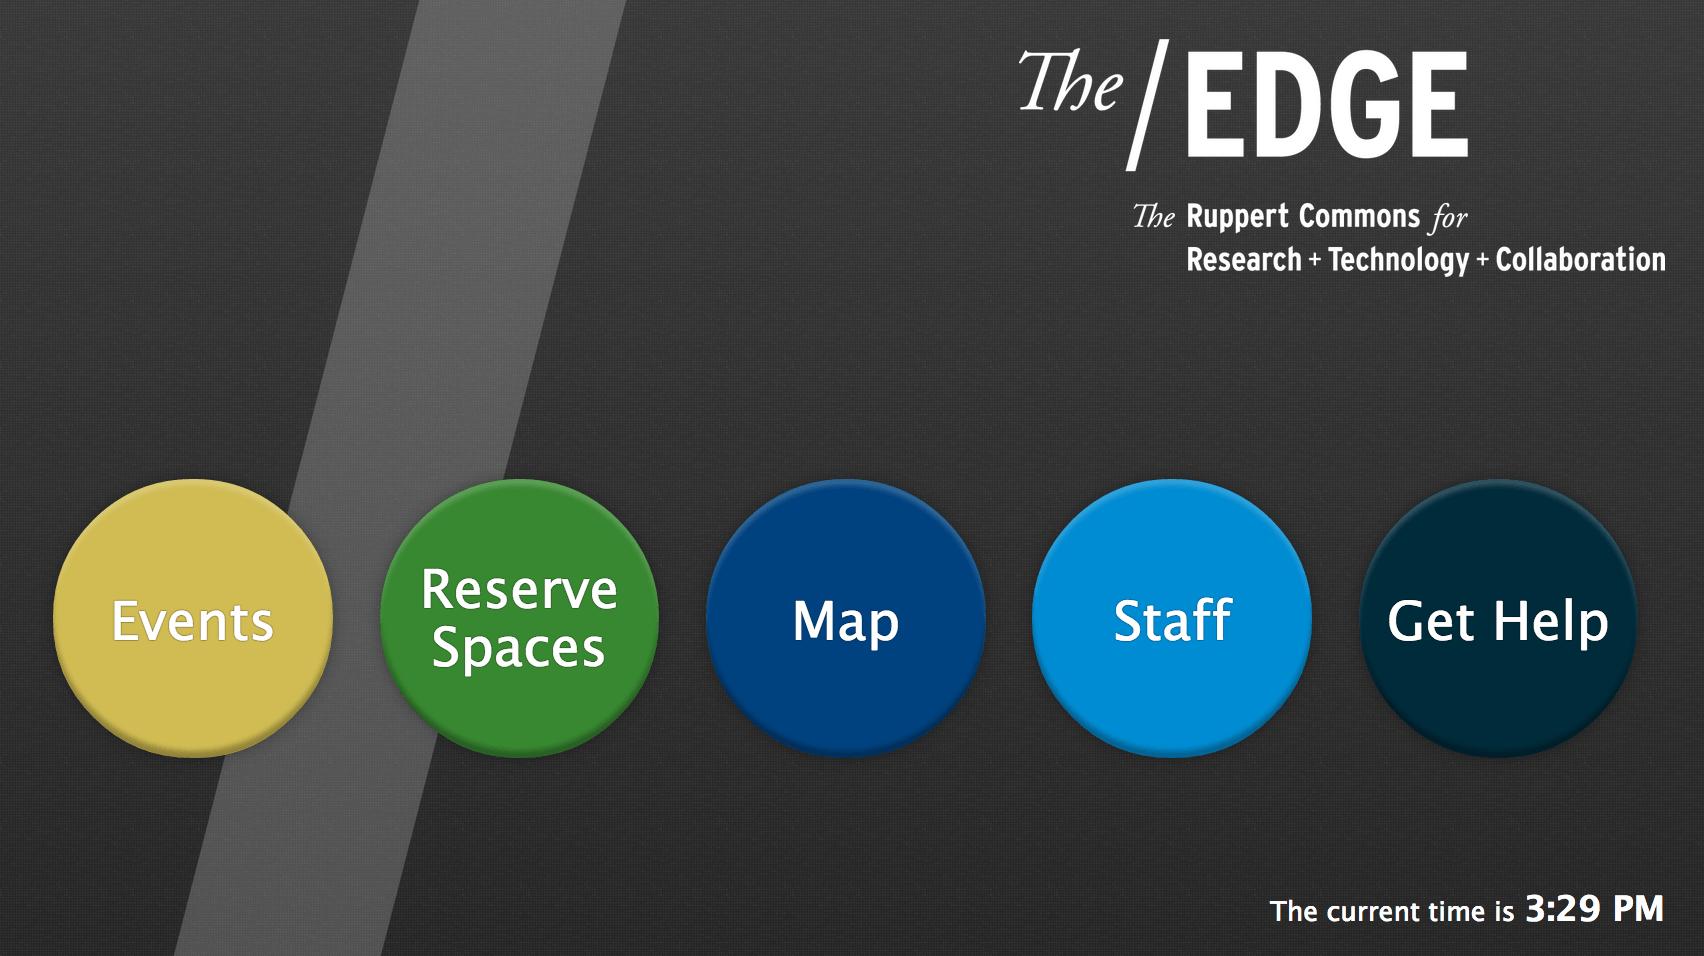
When it comes time to design an interface, my first step is almost always to sketch on paper. For this project, I did some playing around and ended up settling on a circular motif for the main navigational interface. I based the color scheme and typography on a branding and style guide that was developed for the Edge.  Many years ago I used to turn my sketches into high fidelity mockups in photoshop or illustrator, but for the past couple of years I’ve tended to just dive right in and design on the fly with html/css. I created a special stylesheet just for this kiosk — it’s based on a fixed pixel layout as it is only ever intended to be used on that single Dell computer — and also assigned it to load using Delta. One important aspect of a kiosk is providing some hinting to users that they can indeed interact with it. In my experience, this is usually handled in the form of an attract loop.
I created a very simple motion design using my favorite NLE and rendered out an mp4 to use with the kiosk. I then setup the home page to show the video when it first loads and to hide it when the screen is touched. This helps the actual home page content appear to load very quickly (as it’s actually sitting beneath the video). I also included a script on every page to go to the homepage after a preset period on inactivity. It’s currently set to three minutes, but we may tweak that.  All in all I’m pleased with how things turned out. We’re planning to spend some time evaluating the usage of the kiosk over the next couple of months and then make any necessary tweaks to improve user experience. Swing by the Edge some time and try it out!


