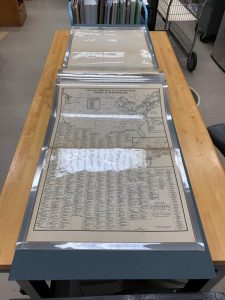
Each spring for the last couple of years, I’ve traveled up to the Winterthur Museum, Garden & Library to teach a workshop on blind and gold tooling to students in the Winterthur/University of Delaware Program in Art Conservation (WUDPAC). The workshop provides a very basic introduction to all the tools and materials that have historically been used to decorate bindings and allows the students to try some of the techniques for themselves. We also use the time to examine bindings from the library’s collection, looking closely at tool marks and other evidence, to determine how they were produced.
With in-person instruction suspended this semester, we decided to try a modified version of the workshop via the popular video conferencing platform Zoom.
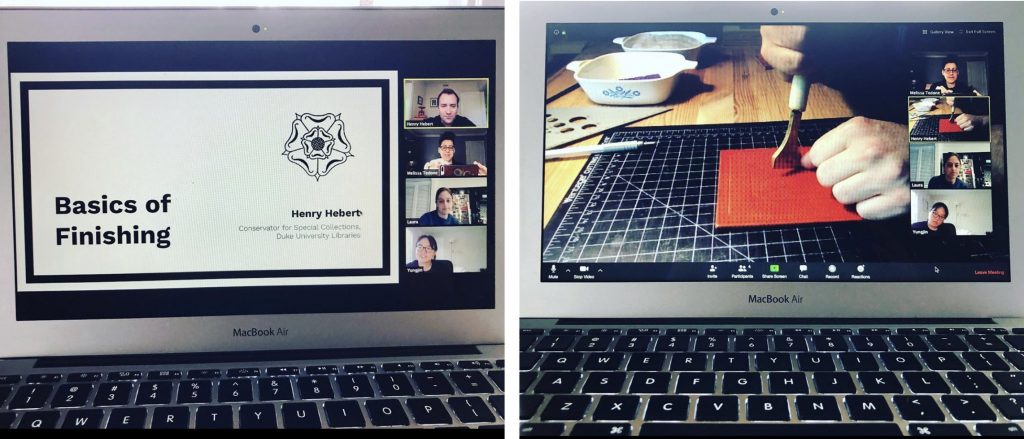
I had to change a lot about how I would ordinarily approach this workshop, since I usually provide paper hand-outs and bring a number of physical samples for students to examine. I was able to get around some of this by using the screen-sharing feature to display images of specific tools and diagrams of important concepts during the lecture portion of the workshop. I also shared links to specific bindings in the Folger Shakespeare Library’s Bindings Image Collection, so that each student could zoom in or navigate around the image on their own. Resources like this were a helpful stand-in for bindings from the Winterthur Library’s collection.

But what if you have an item on-hand which you would like your participants to examine more closely? My laptop’s webcam is thankfully good enough to show a fair amount of detail, but it can be a little tricky to orient the object in front of the camera so that your room lighting shows the surface characteristics. It might also be impossible to hold the object upright enough to view in frame.

I’ve seen some enterprising examples of detachable webcams mounted to headbands or task lights to create document cameras, but my webcam is not detachable. It turns out there is a simple way to turn your smartphone into a secondary, hand-held camera! Unfortunately, I figured this trick out too late for my own workshop – but maybe it can be useful for other folks doing instruction remotely. This trick requires you to first install the Zoom mobile app.
I start by scheduling a Zoom meeting and then either add the invitation to my calendar or email it to myself for quick access later. The meeting is launched on the primary device (in my case, a laptop) and the video and sound are set up. Instruction proceeds as usual until the hand-held camera is needed. At this point, tap the meeting link on a mobile device to join. When the meeting has launched in the mobile app, select “Join with Video” and then tap “Cancel” when asked to join audio. I learned the hard way that you will get some rather unpleasant feedback and echoing if you have audio going on two devices at once.
 At this point your meeting participants will be disoriented by your competing video feeds (and maybe by your disheveled quarantine hair), but these feelings will pass.
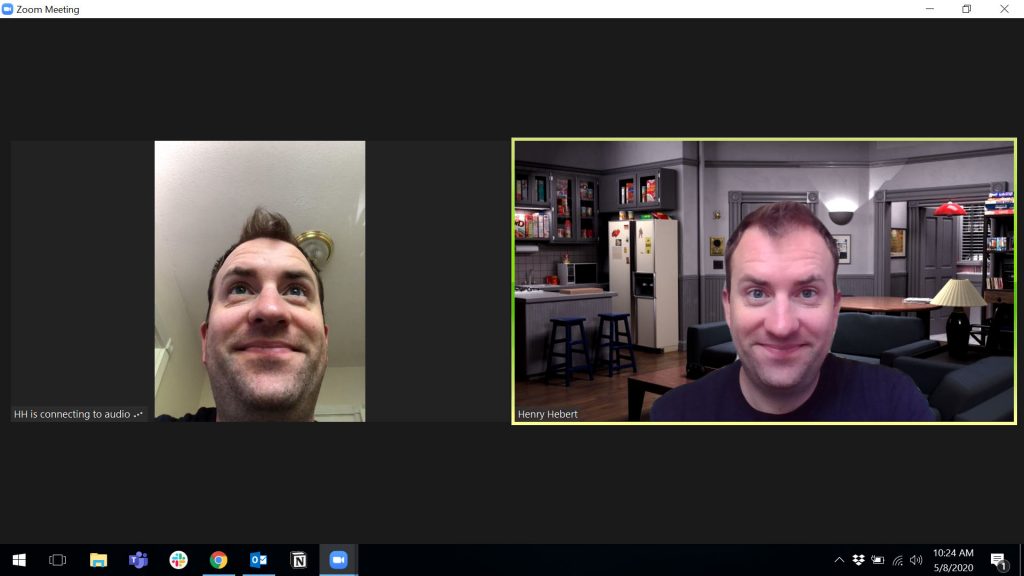 Tap the button at the top left of your mobile device’s screen to switch to the rear-facing camera. You should ask your audience to find and “pin” the video feed for your mobile device, so that it occupies the majority of the screen when they switch to the “speaker view”.
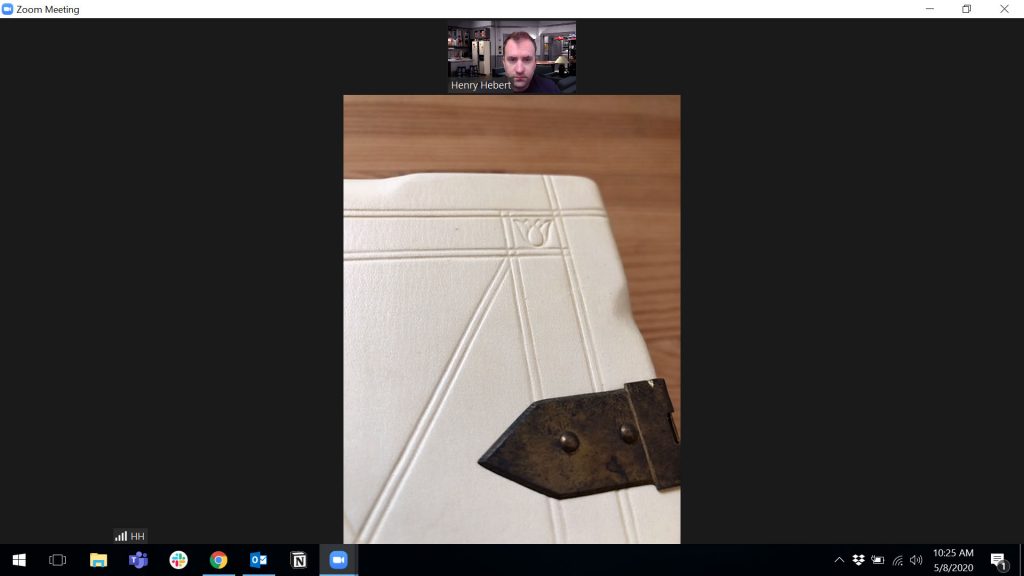 Now you can easily move your mobile device around the object during your instruction session. When you don’t need the second camera anymore, simply leave the meeting on that device. Obviously this setup will put some additional load on your home network and internet connection, but it has worked well enough in my experiments to get the job done. This method will probably also work on other video conferencing platforms, but I have not attempted it.
With so many people developing and participating in online instruction right now, I’m sure others are finding new and helpful ways to use the technology we might already have at home. What tools or tips have you found useful in your work from home situation?


