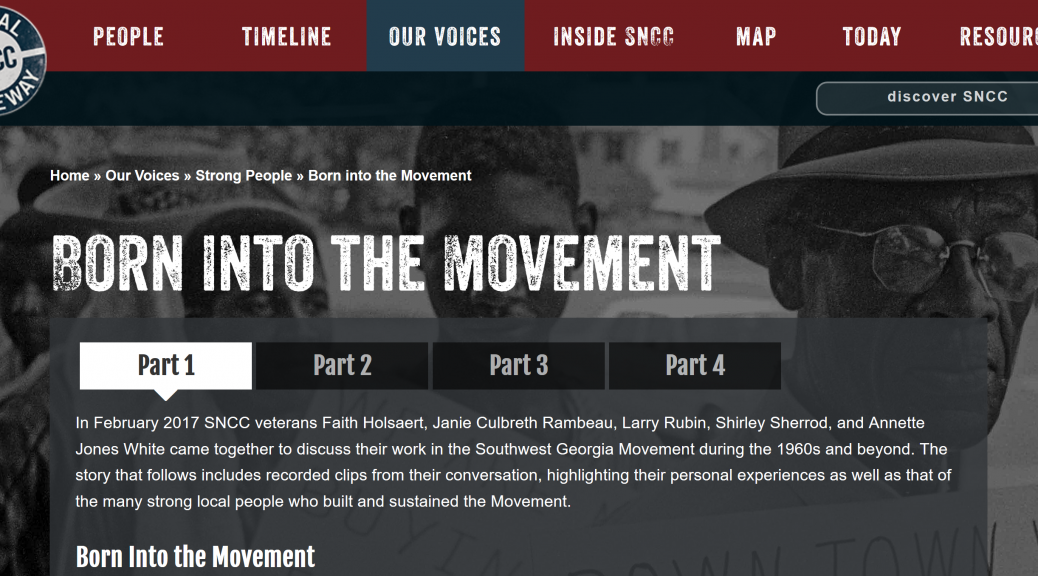
This past year the SNCC Digital Gateway has brought a number of activists to Duke’s campus to discuss lesser known aspects of the Student Nonviolent Coordinating Committee (SNCC)’s history and how their approach to organizing shifted over time. These sessions ranged the development of the symbol of the Black Panther for the Lowndes County Freedom Party, the strength of local people in the Movement in Southwest Georgia, and the global network supporting SNCC’s fight for Black empowerment in the U.S. and across the African Diaspora. Next month, there will be a session focused on music in the Movement, with a public panel the evening of September 19th.

These visiting activist sessions, often spanning the course of a few days, produce hours of audio and video material, as SNCC veterans reengage with the history through conversation with their comrades. And this material is rich, as memories are dusted off and those involved explore how and why they did what they did. However, considering the structure of the SNCC Digital Gateway and wanting to make these 10 hour collections of A/V material digestible and accessible, we’ve had to develop a means of breaking them down.
Step One: Transcription
As is true for many projects, you begin by putting pen to paper (or by typing furiously). With the amount of transcribing that we do for this project, we’re certainly interested in making the process as seamless as possible. We depend on ExpressScribe, which allows you to set hot keys to start, stop, rewind, and fast forward audio material. Another feature is that you can easily adjust the speed at which the recording is being played, which is helpful for keeping your typing flow steady and uninterrupted. For those who really want to dive in, there is a foot pedal extension (yes, one did temporarily live in our project room) that allows you to control the recording with your feet – keeping your fingers even more free to type at lightning speed. After transcribing, it is always good practice to review the transcription, which you can do efficiently while listening to a high speed playback.
Step Two: Selecting Clips
Once these have been transcribed (each session results in approximately a 130 page transcript, single-spaced), it is time to select clips. For the parameters of this project, we keep the clips roughly between 30 seconds and 8 minutes and intentionally try to pull out the most prominent themes from the conversation. We then try to fit our selections into a larger narrative that tells a story. This process takes multiple reviews of the material and a significant amount of back and forth to ensure that the narrative stays true to the sentiments of the entire conversation.

Step Three: Writing the Narrative
We want users to listen to all of the A/V material, but sometimes details need to be laid out so that the clips themselves make sense. This is where the written narrative comes in. Without detracting from the wealth of newly-created audio and video material, we try to fill in some of the gaps and contextualize the clips for those who might be less familiar with the history. In addition to the written narrative, we embed relevant documents and photographs that complement the A/V material and give greater depth to the user’s experience.
Step Four: Creating the Audio Files
With all of the chosen clips pulled from the transcript, it’s time to actually make the audio files. For each of these sessions, we have multiple recorders in the room, in order to ensure everyone can be heard on the tape and that none of the conversation is lost due to recorder malfunction. These recorders are set to record in .WAV files, an uncompressed audio format for maximum audio quality.
One complication with having multiple mics in the room, however, is that the timestamps on the files are not always one-to-one. In order to easily pull the clips from the best recording we have, we have to sync the files. Our process involves first creating a folder system on an external hard drive. We then create a project in Adobe Premiere and import the files. It’s important that these files be on the same hard drive as the project file so that Premiere can easily find them. Then, we make sequences of the recordings and match the waveform from each of the mics. With a combination of using the timestamps on the transcriptions and scrubbing through the material, it’s easy to find the clips we need. From there, we can make any post-production edits that are necessary in Adobe Audition and export them as .mp3 files with Adobe Media Encoder.
Step Five: Uploading & Populating
Due to the SNCC Digital Gateway’s sustainability requirements, we host the files in a Duke Digital Collections folder and then embed them in the website, which is built on a WordPress platform. These files are then formatted between text, document, and image, to tell a story.


