
I have been trying to catch up on some reading lately and just finished a wonderful collection of essays titled Roger Powell, the Compleat Binder. If you are interested in early manuscripts, I would definitely recommend that you give it a read – but one article in particular provided an excuse for some fun experimentation with broader book binding and book conservation application.
Robert Espinosa published a paper on a rigid board, laced structure for potential use as a conservation rebinding in the early 1980s, and a heavily revised version of this article appears in Roger Powell. In this second version, Espinosa expands upon his discussion of hand spun sewing supports.

Sewing supports are just one of many components in a sewn binding that can influence the action of a book, as illustrated in Tom Conroy’s excellent article The Movement of the Book Spine. Choosing the right combination of sewing supports, sewing structure, and spine linings can make a big difference in the resulting binding. We keep a selection of commercially-made linen cord on hand, but sometimes, when creating a new binding or replacing a damaged sewing support, they don’t quite meet the needs of the book. I decided to give Espinosa’s method a try.
The process starts off with a length of 18/3 Coats Barbour linen thread, tied together at the ends and doubled to create a length of four threads. I have stretched that piece over two needles in the image below to hopefully illustrate the starting configuration.

I dampened the thread a bit to soften some of the sizing and make it more flexible. I needed something to hold one end firmly while the other was twisted, so I just looped one end over a wall-mounted cabinet door handle. Next I tightened a small screw hook into the chuck of a cordless drill.  Now I just needed to figure out which direction to twist. Since the thread I was using has an “S” twist, the cord (or hawser-laid rope) would need have a “Z” twist. With one loop of the threads over the cabinet handle and the other over the hook of the drill, that meant it the drill should turn counter-clockwise (or in the “reverse” setting). Even going pretty slowly, I was able to wind approximately 3 feet of cord in about 10 seconds.
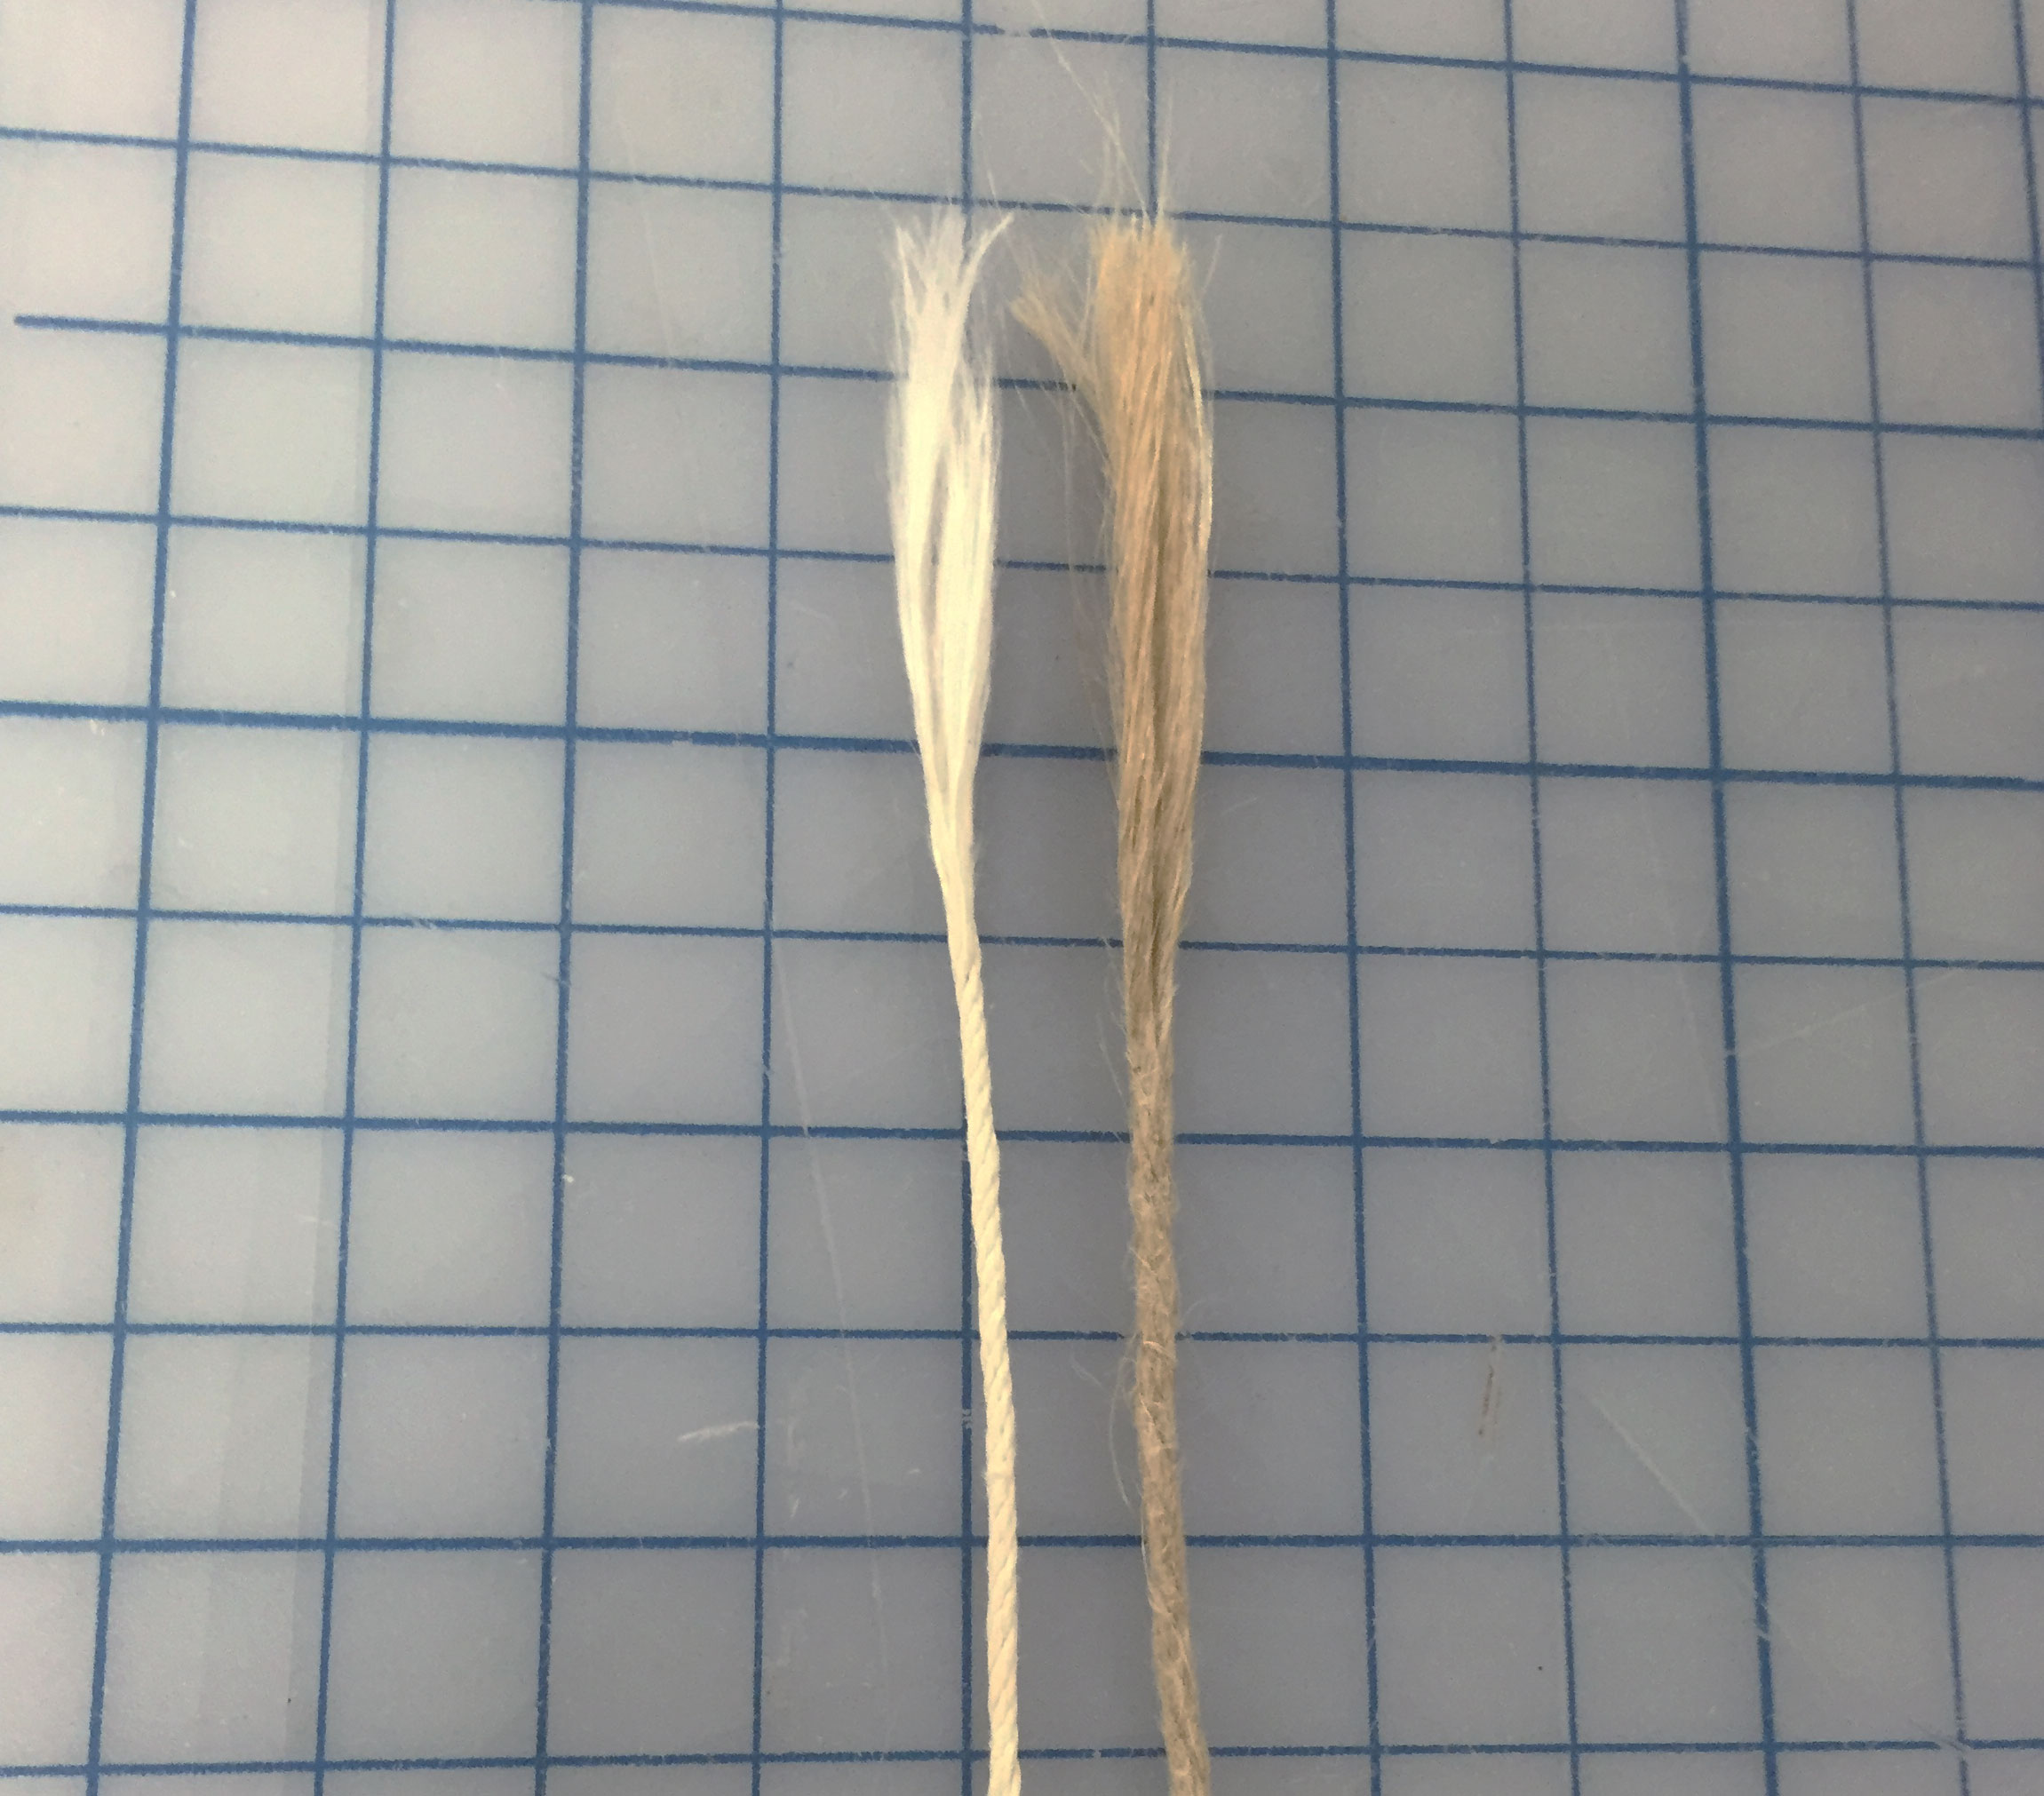
The result is about half the diameter of the smallest 4-ply cord we have on hand and frays out nicely. Using this method, one could create a custom cord to any specification simply by adjusting the thickness or number of strands of the starting thread.