Moving the Duke Family

As readers may remember we had a painting at Lilly Library spontaneously fall off the wall this summer while we were all working from home. The painting’s hanging wire was very brittle and snapped. It’s difficult to say whether it snapped first then fell, or broke on the way down as it snagged on the hook. Regardless, we started worrying about the wires on the Duke Family Portraits that hung high above the reference desk, and whether those, too, were in danger of falling. After consultation with Lilly and library administration, we decided we needed to remove these before the semester began and before people were in the building again.

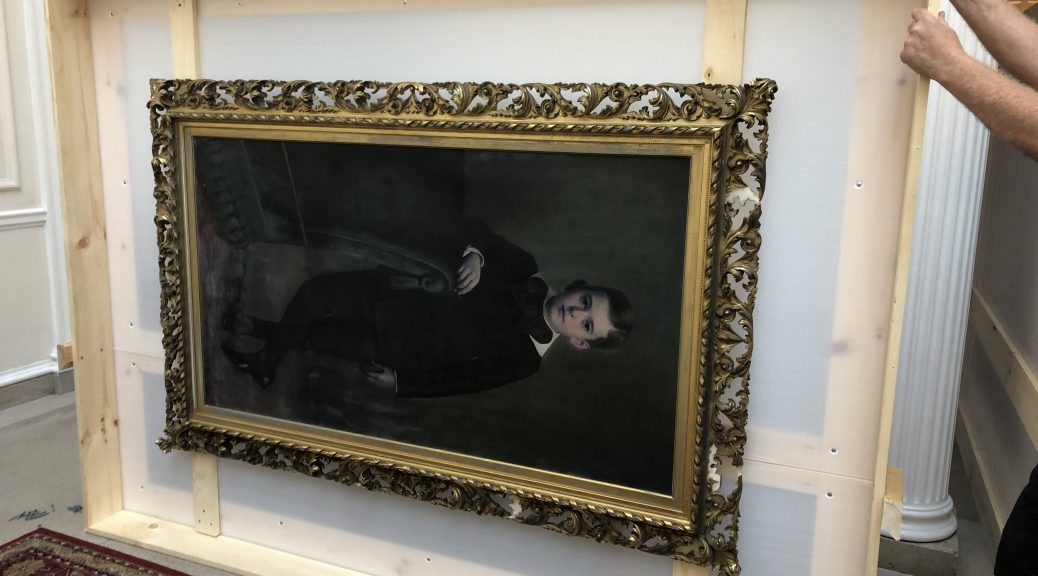
Needless to say this was not an easy endeavor. It took staff from Lilly, Conservation, LSC, Shipping and Receiving, Cataloging, and art handlers to make it happen. Here’s a visual play by play of the action. Click on the images for a larger view.

The first step was for our vendor to fabricate crates for each painting. Those were made and delivered to Lilly.

The “travel” crates have wood frames with corrugated coroplast sides to lighten the weight of the crates. Each painting ranges from 48″ wide to 73″ tall and 3″ deep. So every ounce counts with crates this size.

Next step was to get them off the wall and this required a small two-person lift. We had to temporarily remove the security gate to get it in through the front door.

Before crating we wanted to vacuum the decades of dust off the frames and paintings. While Rachel vacuumed, Peter and his crew kept removing paintings from the wall.

Next step was to attach coroplast backings and mounting hardware so we could screw them into place in the crates. It also gave us a chance at a closer look at the damage the frames have sustained over the years. Our decision to remove these now was confirmed when we saw that the eye screws in some were starting to pull out of the frames.

Next was to get them secured in the crates and labeled. We asked Cataloging to create stub records and assign barcodes for these so we could track their location in storage.

Once crated they were ready to move to the LSC. We had extra hands on site so that we could move them safely out of the building, down the ramp, and onto the truck. As four people moved the crates, one stayed with the truck to make sure the contents were secure.

These are now safely at LSC. One of the things we did right was to write the name of the portrait and the barcode on both ends of the crates just in case our lovely picture labels would not be visible when they were placed in the facility. Turns out that was a great idea because that is exactly what happened.

Moving these while the library closed proved to be a good decision. We had space to work safely and didn’t have to worry about working around staff or students.

The paintings will come back to Lilly Library eventually, once they’re able to be rehung safely and securely.

Photos courtesy Kelley Lawton, Rachel Penniman, and Beth Doyle. 


Sewing Models: Pandemic Edition

By Mary Yordy, Senior Conservation Technician

At the beginning of the quarantine, practical arrangements to retain connectivity to my desktop at work and forge other forms of digital connectivity with my workplace kept me busy. I researched questions about surface contamination of books and paper, I cleared out and organized files and reviewed hundreds of informative links and tutorials I’d neglected to study in my usual routine, wherein I’m juggling the day-to-day demands of my bench work against the influx of digital resources. But weeks became months, and I am used to seeing the results of a day’s work mounting up in the book press or filling shelves. Though I was diligent in my hours at home, after around six weeks I needed to produce something tangible, and I wanted it to be relevant to the life of the lab.

Work runs along a fulcrum from past to future that is understood collectively and concretely. Without that, it’s hard not to suspect we have become shadow boxers. How do we create assets for a post-epidemic future we cannot fully know? How do we make decisions about value and use without knowing what the future holds or when it will start? Luckily for me, the perfect project appeared under my fingertips late one night, going through my files at home: “Sewing Samples–2006.” Preserved within it were the beginnings of a project that related to the early history of the lab, one had the potential to provide knowledge to future workers in our craft.

The file held a collection of cards made during one of the early in-house workshops Beth Doyle taught for the three technicians on staff at the time: me, Rachel Ingold, and Diane Sutton. Beth taught us basic and more complex sewing methods, stitches and knots used in bookbinding. Recalling that day, sitting around an old library table in the 2006 lab, threw the impressive developmental span of Duke Library Conservation in sharp relief.

Sewing sample cover

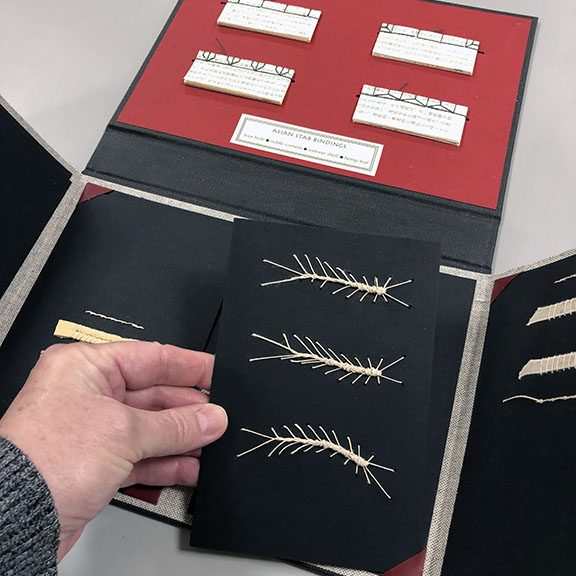
In addition to the samples sewn that day on index cards, there was a nearly complete set of the stitches sewn onto black paper folia in the folder. I had never completed this more advanced solo project based on Beth’s original workshop. The idea was to make something visually appealing, complete, and inclusive of additional visual information to orient a beginner to the application of the stitch in 3-dimensional structures.

Left side fully open according fold sewing sample book.


Inside front cover with stab binding and other sewing samples.


Stab binding cards.

Stitch sample cards made in the course of workshops work well as memory prompts for people who have already learned them. However, for beginners, the flattening of the sewing process onto a card and the need to infer structural information can make them a little baffling. I had come across this file once or twice before and verified that it was a worthy goal.  But mid-quarantine, the project felt like more than that: it was like an arc from the beginnings of the lab, through this time of mass uncertainty, to the future gaze of someone beginning to learn bookbinding.

Caterpillar sample card.


I finished sewing all of the samples on the face of black folia, located other visual information needed to design inserts for each folio, and built a gate-format accordion album in a hard case to hold them all.  There are 8 spaces on the back of the fold outs so additional samples can be added–there are always more stitches to learn.

Caterpillar sample card (inside).

Return to Campus, part 2

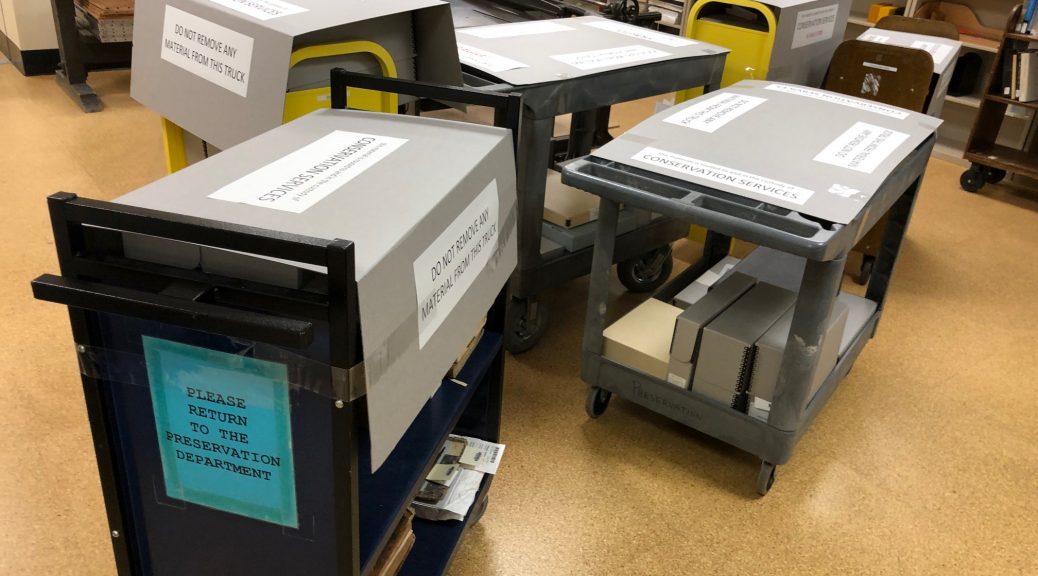
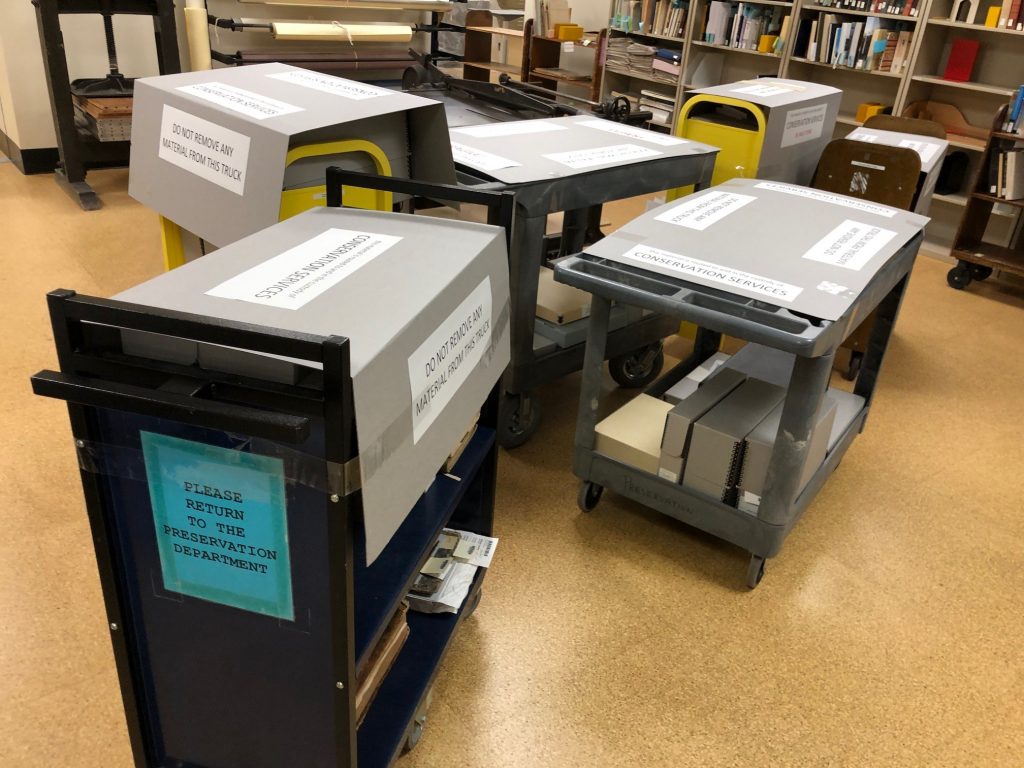
We are slowly getting back to a “new normal” for the lab. Lab staff have returned on a two-day-on/three-day-off weekly schedule to allow for social distancing. We have new lab cleaning protocols in place for shared equipment, we are wearing masks, and we are figuring out how to navigate the building to avoid people as much as possible. We have also brought back the work we took to the secure stacks while we were away.

book trucks with conservation work to be done
They’re baaaaack!

Our current priority is to do repairs to support the Library’s “digital first” initiative. This means we are prioritizing repairs for digital imaging requests from faculty and patrons for the fall semester. We are also working on some exhibit prep and general collections repair. It feels really good to be back in the office and at the bench, even if it is for a shortened week.

Erin repairing items prior to digitization.

Look at These Labels

by Erin Hammeke, Senior Conservator

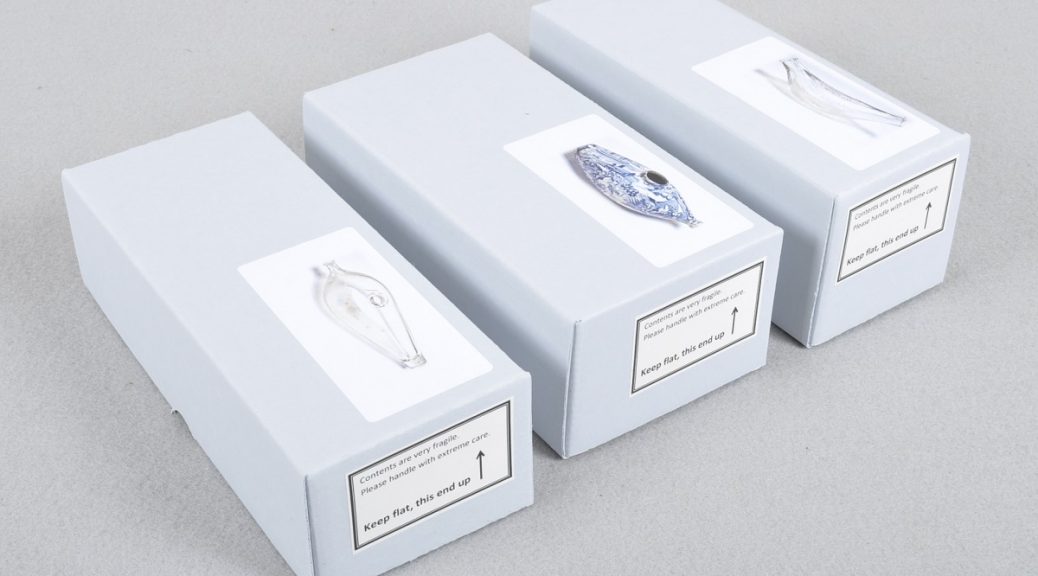
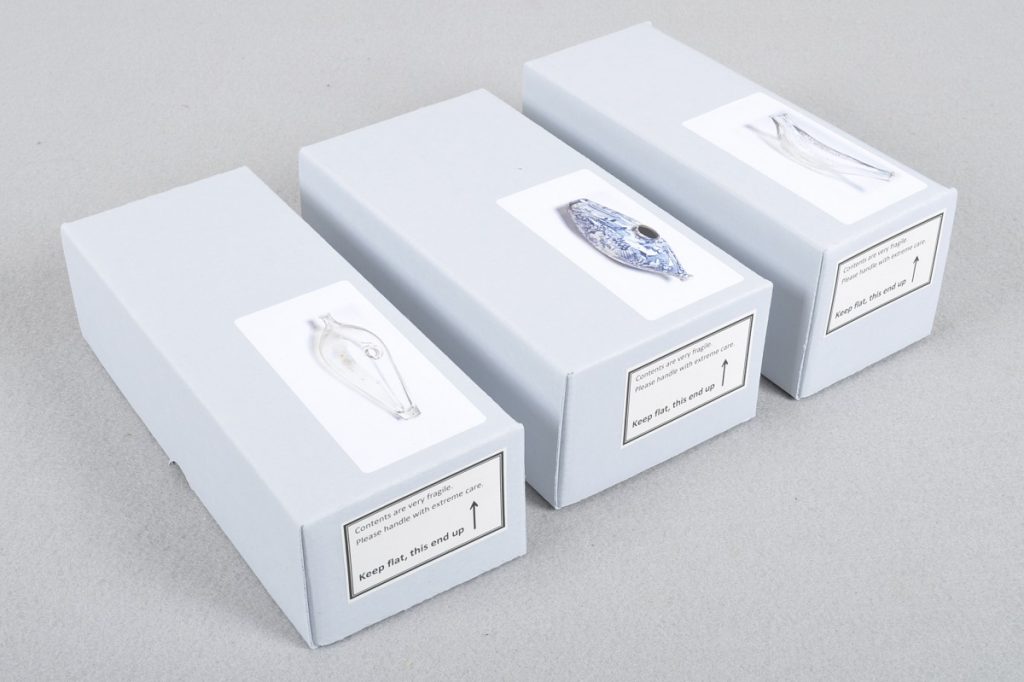
Archival boxes with picture labels of objects inside.

We get pretty excited about labels in the Conservation Services department, as evidenced by this post, and this one. Apart from spine labels, we frequently add signage to our enclosures to provide information about what’s inside and how it should be handled.

We often add picture labels to the outsides of our enclosures, particularly those containing fragile objects. We find these labels cut down on browsing and give and idea of what’s inside.

Picture labels can be created fairly quickly by capturing at relatively low resolution and under normal lighting conditions. We photograph items on a white background in our digital photographic documentation studio. Using the levels adjustments in Photoshop, select the white eyedropper and then select the white background. This usually causes the background to disappear and makes for a cleaner looking label.

Examples of object labels

We add in handling information specific to the item, such as HANDLE WITH GLOVES or CAUTION: SHARP!

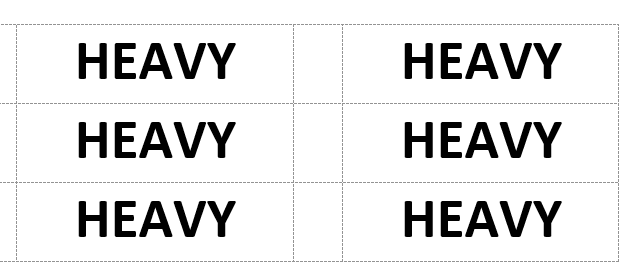
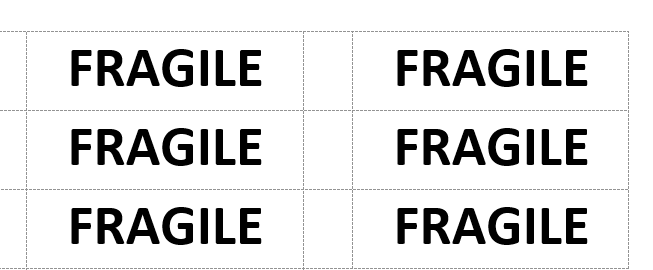
We also print of sheets of small labels with common handling concerns, such as CONTAINS GLASS, FRAGILE, HEAVY. This makes for quick and easy labeling of boxes that otherwise wouldn’t get a special photo label.

Label that reads "Heavy"

Label that reads "Fragile"

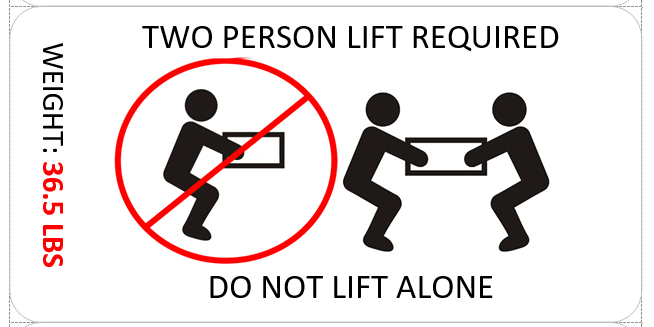
We’ve even had luck playing with clip art to make some useful handling labels.

Label for a "two person lift", including the weight of the box.

Infographics

Graphic label showing how to move the object.


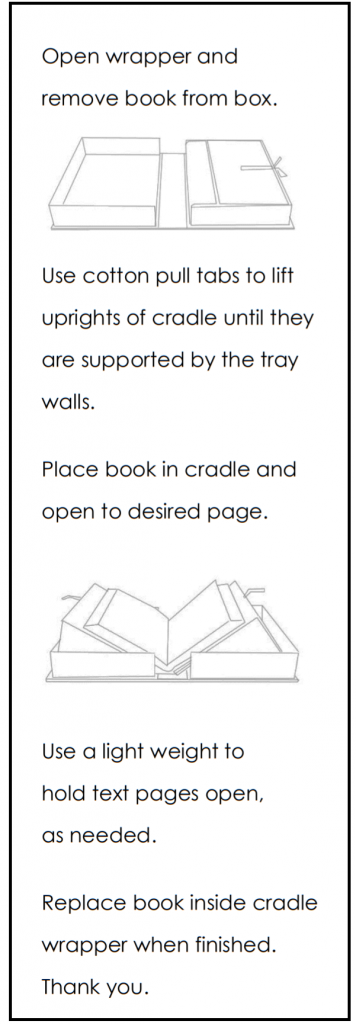
Label describing how to use enclosure with attached cradle.

Sometimes you need a simple and specific way of demonstrating how to handle an item, and narrative text or clip art just won’t cut it. We’ve had some luck creating infographic style labels using this process:

  • Take a high resolution photo of the action/item you’d like to have pictured in your infographic label.
  • In Photoshop, open your image and create a new layer on top of the image.
  • On the new layer you’ve created, trace the elements with a drawing tool. Working at 100% or higher, and using the smoothing settings will help to improve any jagged or rough-looking lines in your drawing.
  • Copy the layer with the drawing and paste it onto a new blank canvas with a white background. Make any final adjustments to your drawing, keeping in mind that it doesn’t have to be perfect.
  • Reduce the size of your drawing without reducing the file quality. Most of these images will not be printed out very large, so pick a label size, such as 2 x 4” and resize the drawing so it fits on that label. You will find that most imperfections in the drawing will not be noticeable when the drawing is resized.