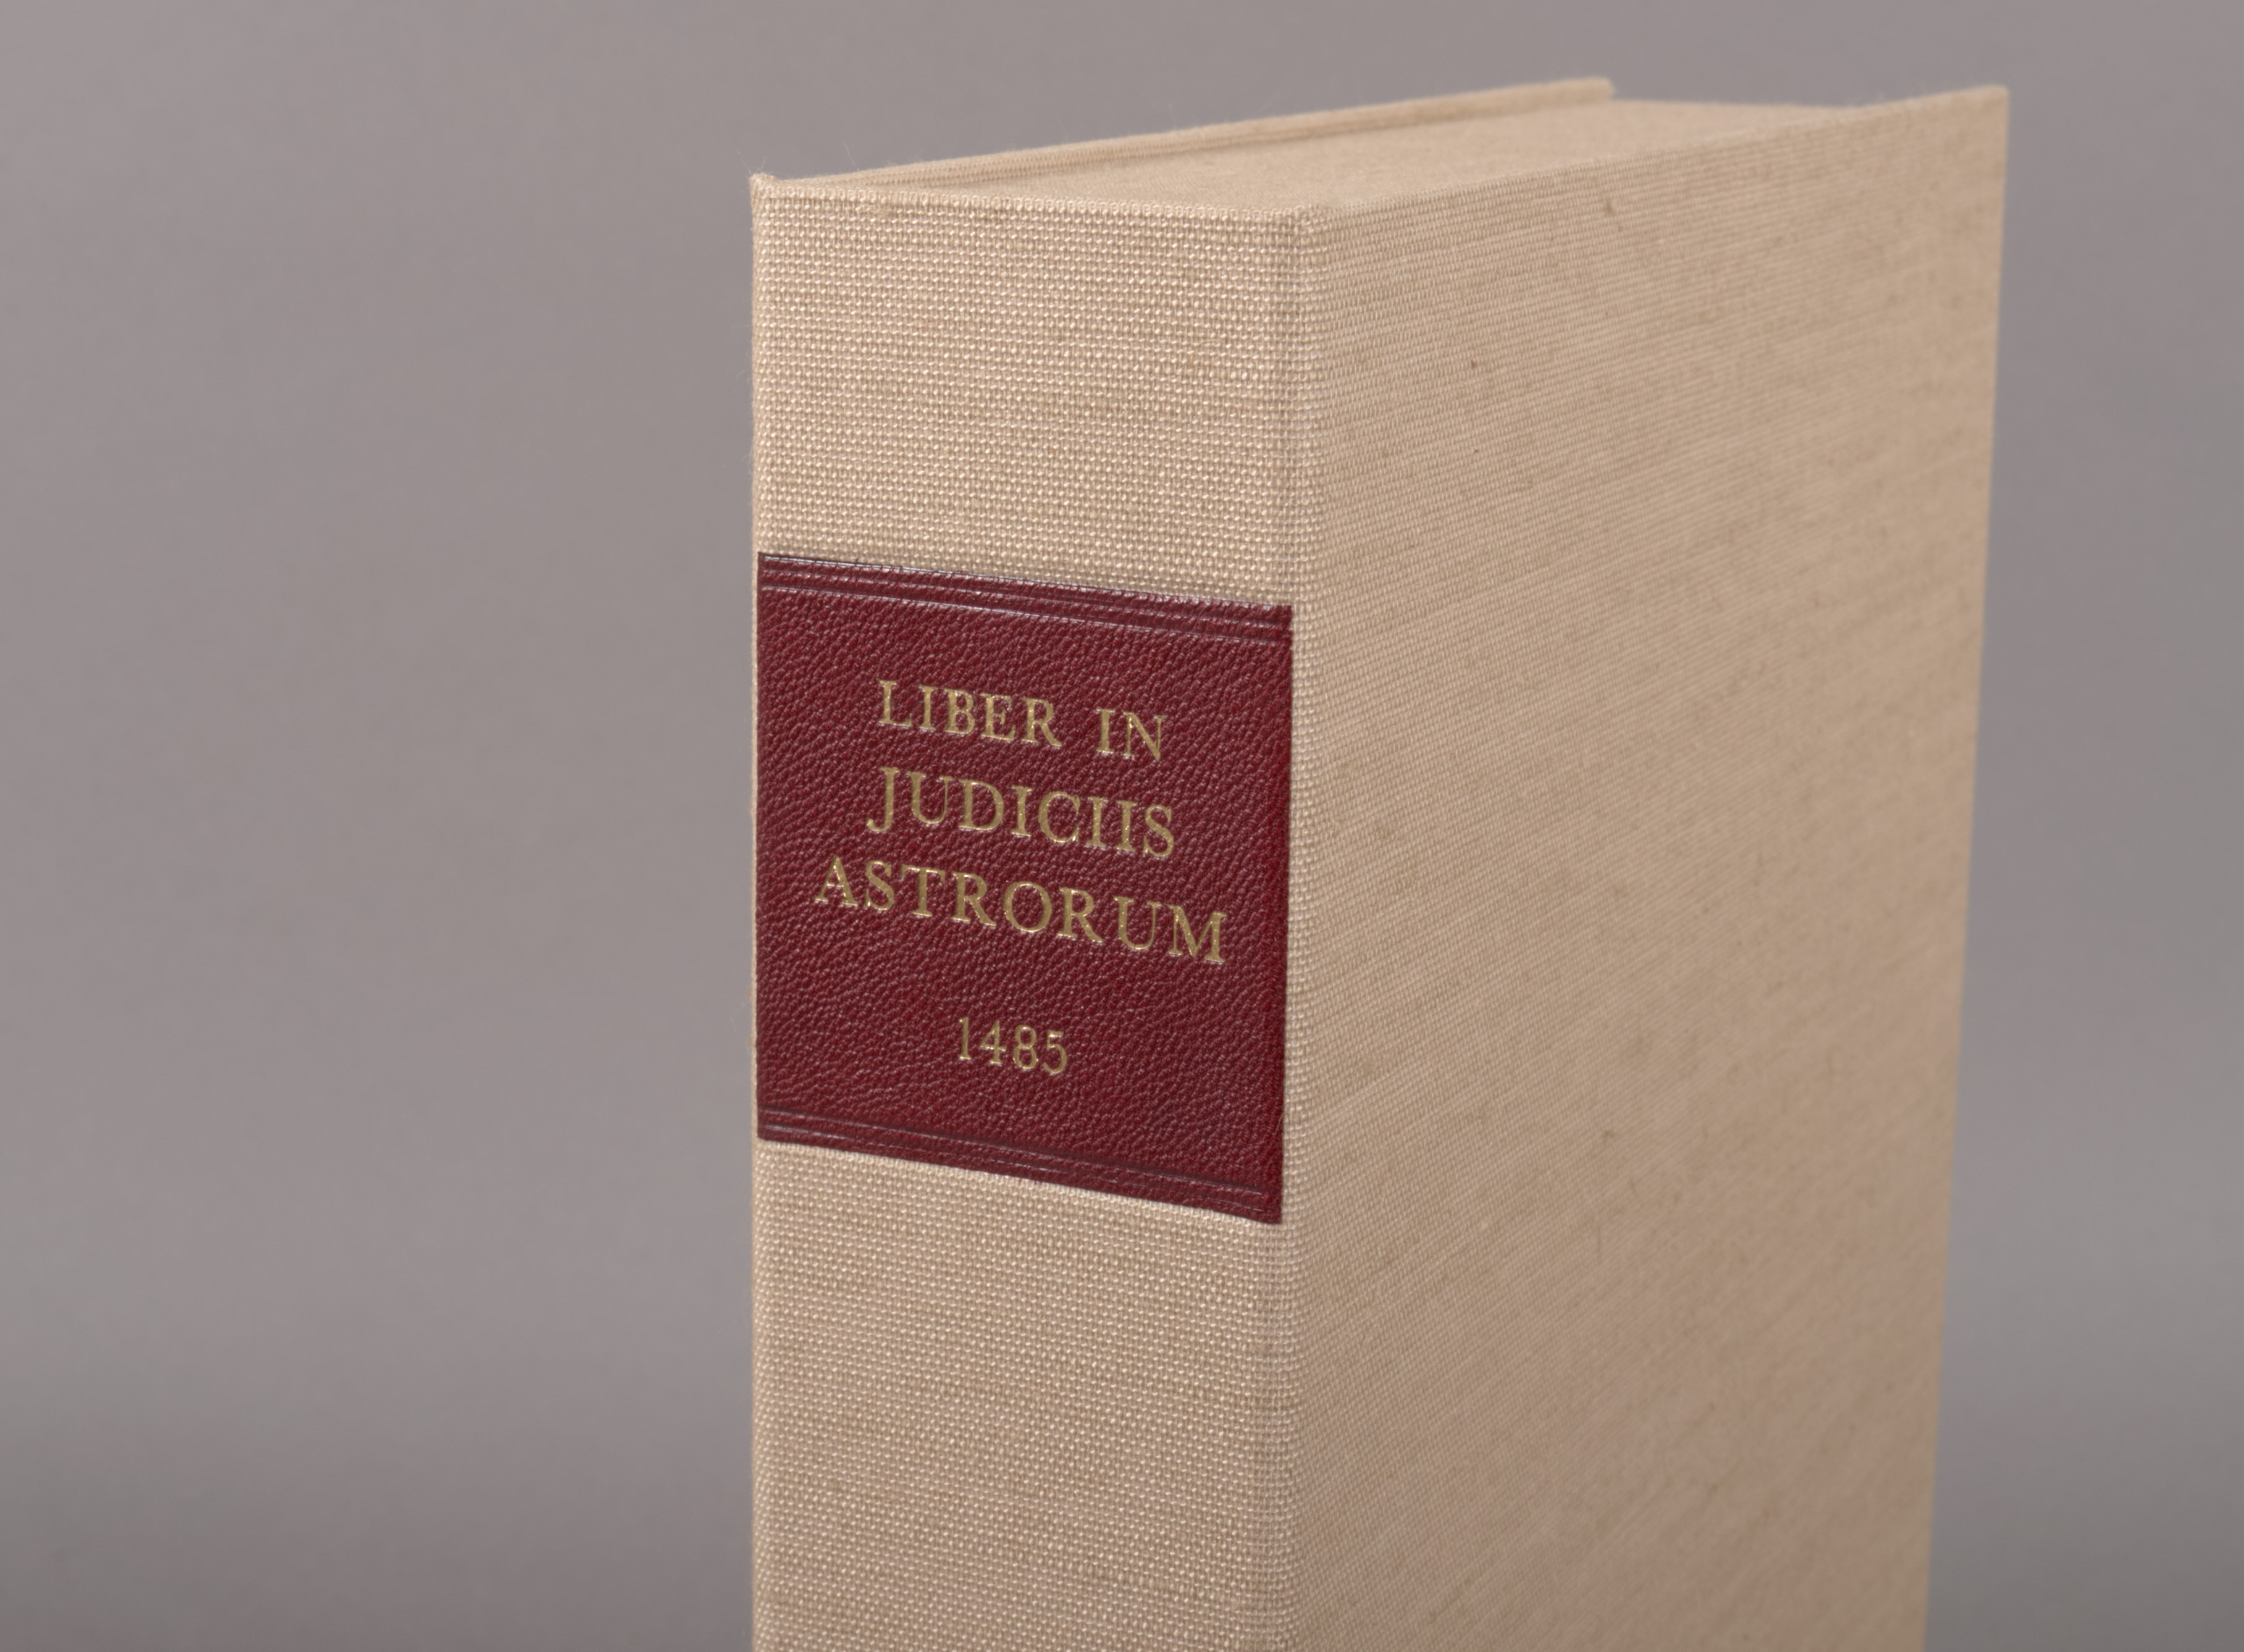
One can really go down a rabbit hole when it comes to making labels for book enclosures. In addition to considering the layout and typeface, there are a number of materials and printing or gilding techniques that can be used to create one. Stamped leather labels are certainly a nicer option, but require special equipment and are very time consuming to produce.
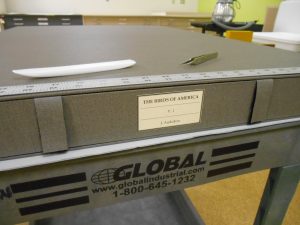
Paper labels are very quick to make, especially in large quantities, and everyone has the necessary equipment. With a little effort in setup, paper labels can look surprisingly good on a box.
One of the major problems I have had with setting up paper labels digitally is the lack of spacing control between lines or between letters that one has with a hot stamp or handle letters. Common word processing software doesn’t make this type of layout work easy; however, I have recently discovered some simple tricks in Microsoft Word that can be employed to achieve a more pleasing arrangement of text.
When setting up a label in Word, I will often start with a simple text box. Before typing any titling text, I set the dimensions of the text box based on measurements from the spine of the enclosure. I will also set the box to have a compound line (thick and thin) to look more like traditional tooling. There is a lot of literature about choosing typefaces and laying out book titling, so I won’t get into any of that here. Let’s just focus on spacing.
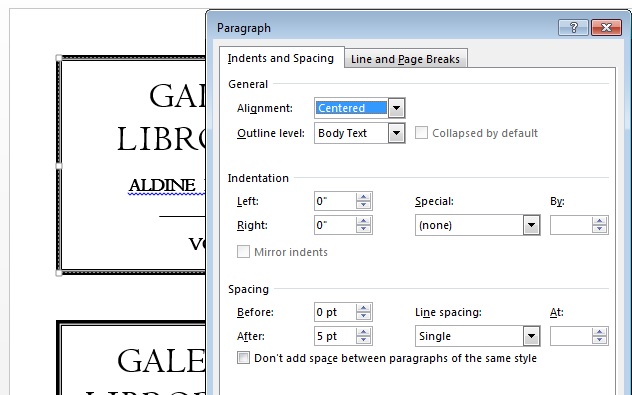
With the text generally arranged and sized to fit, I will start adjusting the spacing between lines, commonly referred to as “leading“. Word seems to default to multiple spacing between lines, so I remove all of that first. With all the text selected, right click and select Paragraph. After setting the line spacing to Single, you can then customize the point spacing after each line to achieve the leading you want.
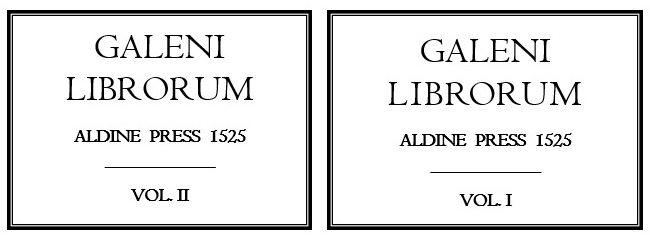
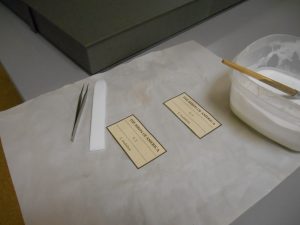
Next you may need to adjust the spacing between letters, also known as kerning. The example below uses Centaur as the typeface and, on the left, you will see some bigger variation between letter spacing. Compare the “IB” to the “RO” spacing in “LIBRORUM”.
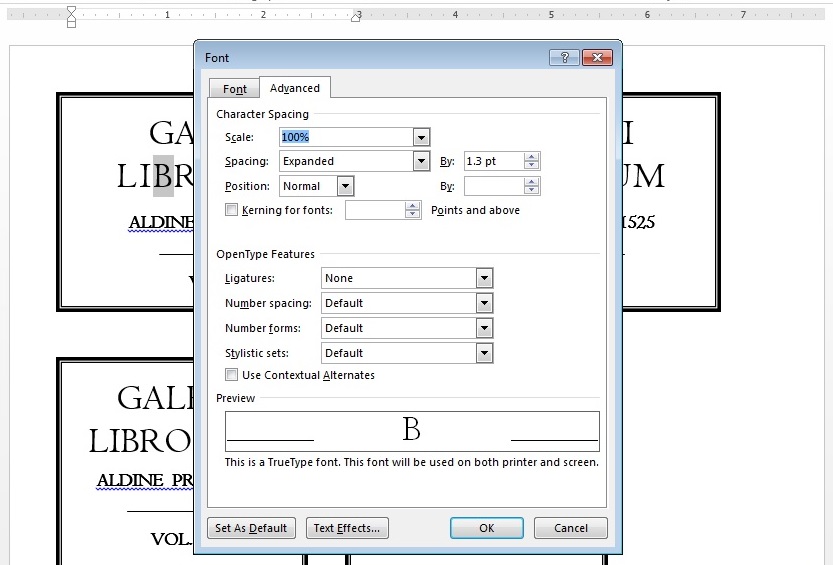
On the right, I have adjusted the letters to have a more uniform appearance. I find this spacing more subtle on a screen, but much more obvious on a printed label for some reason. The kerning is adjusted in a similar way to the leading: with a letter highlighted, right click and select Font. Under the Advanced tab, you can choose Expanded or Condensed spacing and modify it with a number. In this example, I expanded the spacing of the I and B and reduced the spacing for the R.
I find that a little consideration to spacing makes a huge difference in the look of my book titling and labels. Hopefully these simple modifications can come in handy for other folks, too.
Welcome to Part Two of EXTREME ENCLOSURES: Miniatures.
If you ever want to feel like some sort of extreme being (a giant, perhaps, or even better: Andre the Giant), you may want to take a gander at the tiniest books that Rubenstein Library has to offer: the miniatures. The raw power you feel when holding five leather bound books in the palm of your hand is astounding. Rubenstein has almost two hundred miniature books. These little guys, known as The Minis, are often bullied by the notorious “big boys of the stacks.” Once again, Conservation has to step in to take care of at-risk books. We needed to help the Minis bulk up so they are not beat up by larger books or lost in the wild (albeit highly climate controlled) world of the stacks.
Do not let the sense of “being huge” go to your head when handling the miniatures.
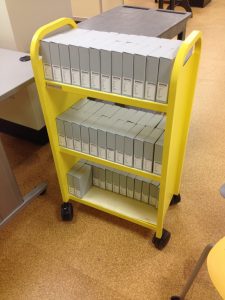
The miniatures had previously been housed in folders within document boxes; usually a dozen or so in each box. One may handle multiple volumes before finding the one they wish to access. Once the desired volume is finally found, it can be easily lost due to its miniscule size. To facilitate handling we wanted to house them individually in standard size corrugated clamshell boxes (aka “pizza boxes” or “drop spine boxes.”). First we had to decide on what that standard size would be.
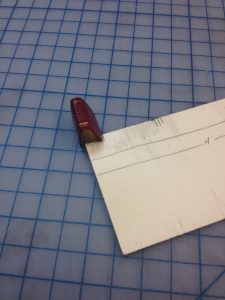
The height of the standard box was set by the 8-inch-high shelves. To determine the width and depth of the standard box, I measured each miniature to find the largest amongst them. I settled on a standard box that would measure 6 inches x 1.75 inches x 4 inches. An added advantage to a standard box is the ability to batch tasks. I would measure, cut, and crease 30 or so clamshells at a time, saving a lot of time.
A pride of Minis in their new homes.
The highly sought after “batch stack.”
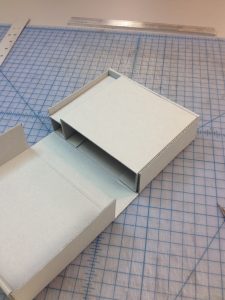
Once I had the standard clamshells figured, I had to determine how to settle the books into their new houses without them rattling around. I wanted to keep the inserts simple and intuitive. After a few experiments, I chose a two-tiered system of spacers made from corrugated board adhered with double stick tape. I added Volara and 10 point card stock tabs to further stabilize when necessary. Watch as this Mini “Addresses of Lincoln” gets a house.
I used the Mini to determine the height and width of the first spacer.Inserting the first spacer with double stick tape.
I used the space left in the box to determine the size of the 2nd spacer.The Mini-Two-Tier-System™.
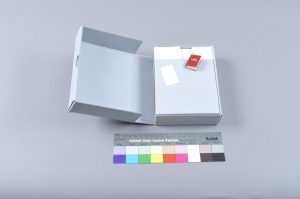
Inserting Volara. Those Minis love a good foam party.
I used the height and width of the Volara recess to determine the tab size.
The tab allows for easy retrieval of the Mini.
When finishing up the nearly two hundred enclosures for all these vulnerable Minis I rejoiced. Knowing how intimidating other large volumes can be to the slighter books in the collection, it’s nice to know a conservation technician can make a petite book’s size anxiety just a little less extreme. I am comforted that the Minis now rest easy: safely tucked away in their soft foam and supportive board havens, never to feel lost or intimidated again.
A vulnerable mini prior to receiving a house.
Several adequately housed Minis basking in their new security:
My love of extreme things (extreme sports, extreme reality television) has led me to create a two part blog series: EXTREME ENCLOSURES.
An example of a beloved extreme enclosure, the Boo Box, from “Hook.”
In part one, I will detail the creation of four Andre-the-Giant-sized cloth-covered telescoping boxes for our cherished Audubon’s Birds of America. Part two will chronicle the construction of corrugated clamshell boxes (aka “drop spine boxes” or “pizza boxes”) for the few hundred miniature books held by Rubenstein Library.
Those are some BBB’s (big, beautiful books).
Boxing The Audubons
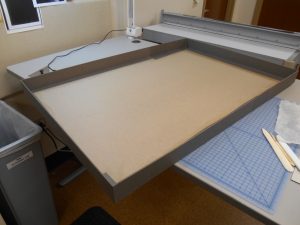
Audubon’s Birds of America is a four volume set of double elephant folios containing life size prints made from engraved plates. Each volume has a footprint of around 40 inches x 27 inches, and weighs around 47 pounds. When making an enclosure for a book this gigantic there are a few things to keep in mind: the weight of the item after boxing, and the area of the materials needed to construct the box. Measures need to be taken to ensure the box itself isn’t too heavy. Per Beth’s suggestion, I used double-walled corrugated board for the bottom tray. Double-walled corrugated board would lend adequate support while also being significantly lighter than a tray made of double walled binder’s board.
One problem: the sheets of double walled corrugated are not large enough to create a box this big. Using a micro spatula, I peeled one layer off each sheet and laminated two sheets of corrugated together with a Polyvinyl Acetate (PVA) and Methyl cellulose mix.
Peel one layer off the bottom of the top sheet, one layer off the top of the bottom sheet.
Keep adequate weight on the sheet while it dries so as to avoid warping.
Once the sheet is dry I can construct the bottom tray and cover it with cloth. I chose a tray that had three fixed walls and one collapsible wall that would facilitate removal of the book. Working with wet adhesive and corrugated board was the most frustrating step of all. Unlike binder’s board, corrugated will buckle under pressure from my bone folder. When adhering the cloth, I had to be very careful of how hard I pressed. A ginger touch was key. The corrugated also felt unstable while the adhesive was wet. The inner corners of the tray were especially wonky after getting all the cloth laid down, making me feel as though all was lost. This wonkiness did, however, subside after adequate time had been given for the adhesive to dry. Once dry, the tray was remarkably strong.
‘Tis a rough road, the path of the corrugated…one might even describe it as extreme.
Attaching the collapsible wall.
Moving on to the top tray was a reprieve. What a cake walk! The top tray was constructed like any cloth covered box; a single wall of binder’s board. The cloth stuck to that binder’s board like a Californian on a skateboard. The main challenge was adhering large swaths of cloth consistently to avoid air bubbles.
This step was such a cake walk, I had to keep myself from imagining these bricks were cakes.
If I flipped the whole tray over, it resembled an oversized sheet cake.
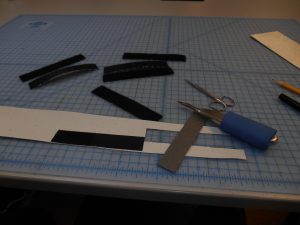
Next I created Velcro tabs to adhere in between the tray and the outer lip to keep the top and bottom lids securely fastened when the box is handled. I lined the Velcro with book cloth and shaved down the Velcro parts that would be placed in between the tray and the lip to reduce their swell. Making sure the Velcro strips stayed stuck to the tray was an issue. The PVA often had trouble keeping the plasticized Velcro in place, making it easy to dislodge the strips. I found that once the lip had been firmly adhered, the strips stayed in place.
Lining and shaving the Velcro strips.
Adhering Velcro before adhering outer lip.
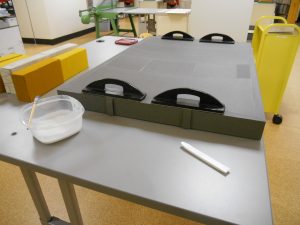
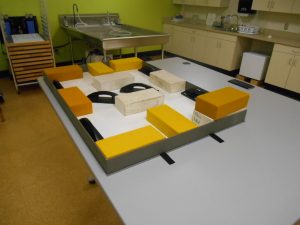
Next comes adhering the outer board to the tray. Because this behemoth would not fit in any of our presses and the area of the tray was impossible to adhere in one go without adequate pressure, I resorted to a multiple-step-adherence-approach. I used brick weights for an initial gluing. Once dry, I had to re-glue each corner, one at a time, and place each corner into the press with blocks. I rigged up an extreme support system for the tray while in the press: a stool.
Step one: Bricks.
Step Two: Press with Duke Stool Support System™
And finally, the finishing touches: labels.
Like an expertly landed kick flip.
Upon fitting the item into the box I weighed the item with its enclosure. It totaled a whopping 66 pounds. The book weighed 47lbs, and the box 19 pounds. Saving a bit of weight on this box kept us from reaching into the twenty-pound range on the enclosure alone.
It fits! No meltdown needed.My first 66 pounder.
But alas, we must always say goodbye. In extreme circumstances, I prefer to keep my eyes closed so as to avoid crying.
Emotions run high.
The Audubon’s have settled down in their new homes. Although they continue to amaze visitors of Duke University with their awe-inspiring depictions of the Birds of America, their bindings are no longer at risk in un-enclosed spaces.
Stay tuned for Part Two of Extreme Enclosures: Extreme Miniatures.
As evidenced by the archives from the tag “Boxing Day“, we make a lot of boxes in the lab. Some objects require specific enclosures and we have many materials and techniques at our disposal for fulfilling the needs of the object. Of particular interest to me lately have been enclosures appropriate for parchment over boards bindings, which include some form of restraint.
Parchment is hygroscopic by nature and will change size and shape dramatically under different environmental conditions (Woods, 2006). The structure and limited adhesive of a limp binding will usually allow the parchment to adjust (Clarkson, 1982), but bindings composed of parchment adhered over stiff boards can distort significantly with fluctuating relative humidity. The vellum over boards binding below recently came through the lab for treatment and illustrates (to a lesser extent) some of the typical warping that can occur with this style of binding.
Planar distortion of the board creates a poor book action and opens the textblock to dust penetration. Once the boards have been flattened again, storing the book in an enclosure can create a micro-climate and buffer the item from some environmental fluctuations. Including gentle pressure or restraining elements can prevent the warp from returning or pushing open the box. Note that one should not attempt to flatten warped boards with pressure alone. Simply pressing down on the fore edge of a distorted board will strain and potentially damage the joints. There are many different options for creating a restraining enclosure; the following examples are common solutions, but certainly not exhaustive.
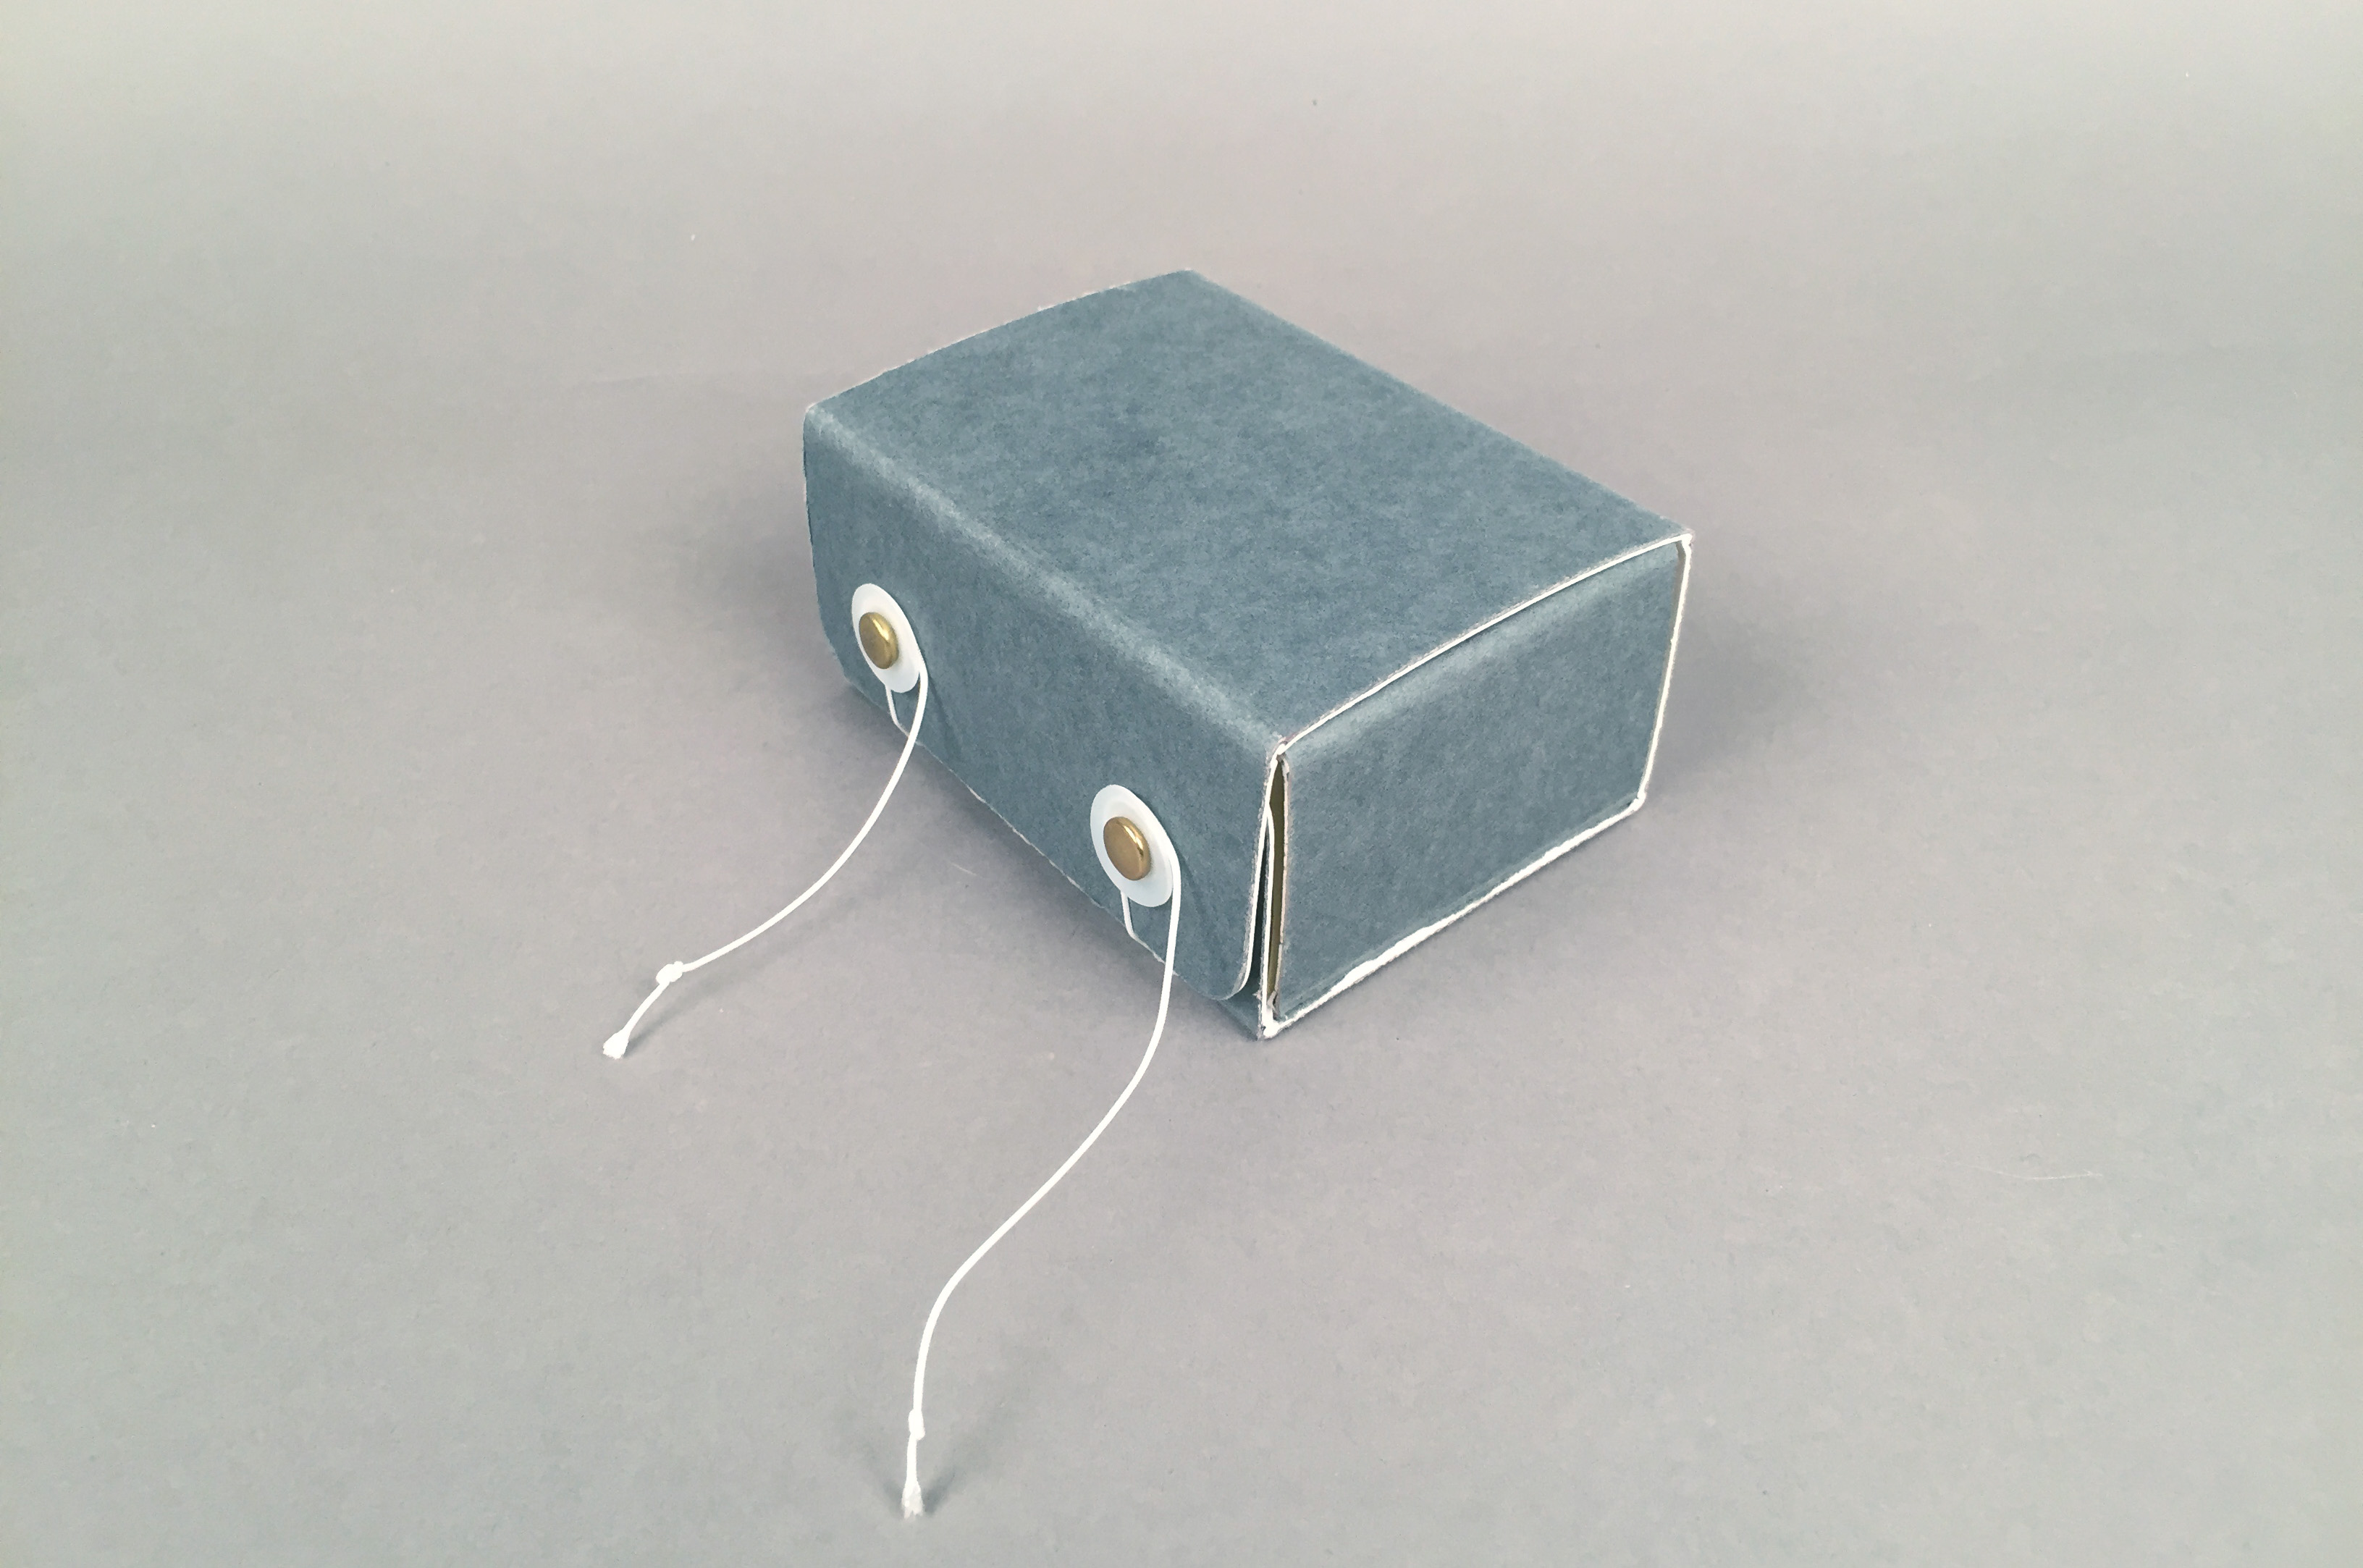
The simplest and most cost-effective of this type of enclosure is the the classic “phase box” (Waters, 1998). This design is constructed from stiff barrier board, with string and post ties at the fore edge. While quick to construct, this solution is not as elegant as some of the others.
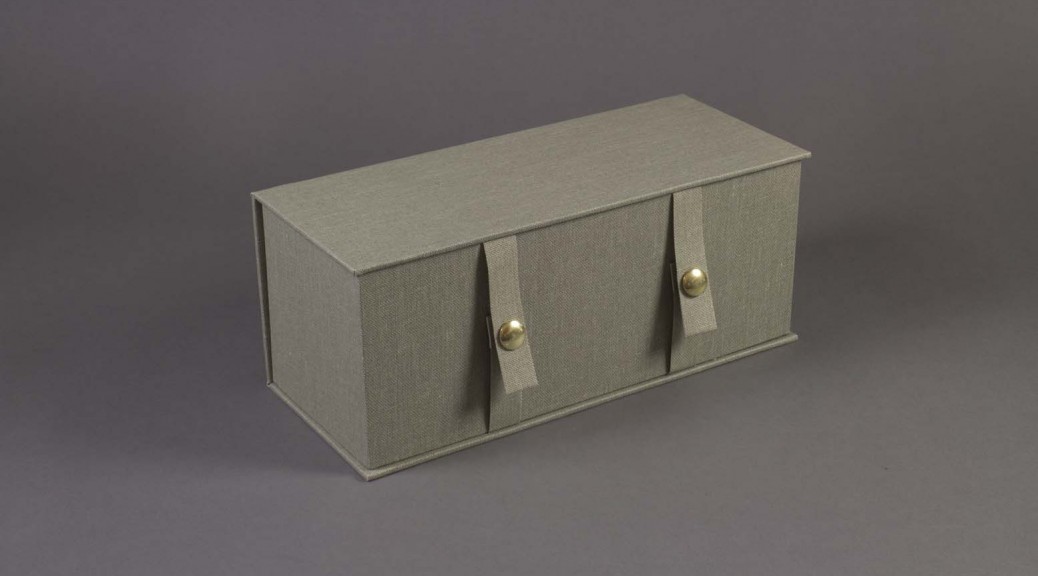
Another option is to construct a restraining wrapper that would sit inside a standard box. Tomomi Nakashima, Book Conservator at the University of Utah, J. Willard Marriott Library, has developed a rather inventive wrapper, using magnets, barrier board, and clear polyester. Photos below by Christina Thomas.
Magnetic wrapper designed by Tomomi Nakashima. Photo by
Christina Thomas.
Magnetic wrapper, tail view
Magnetic wrapper, spine view
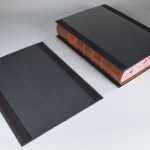
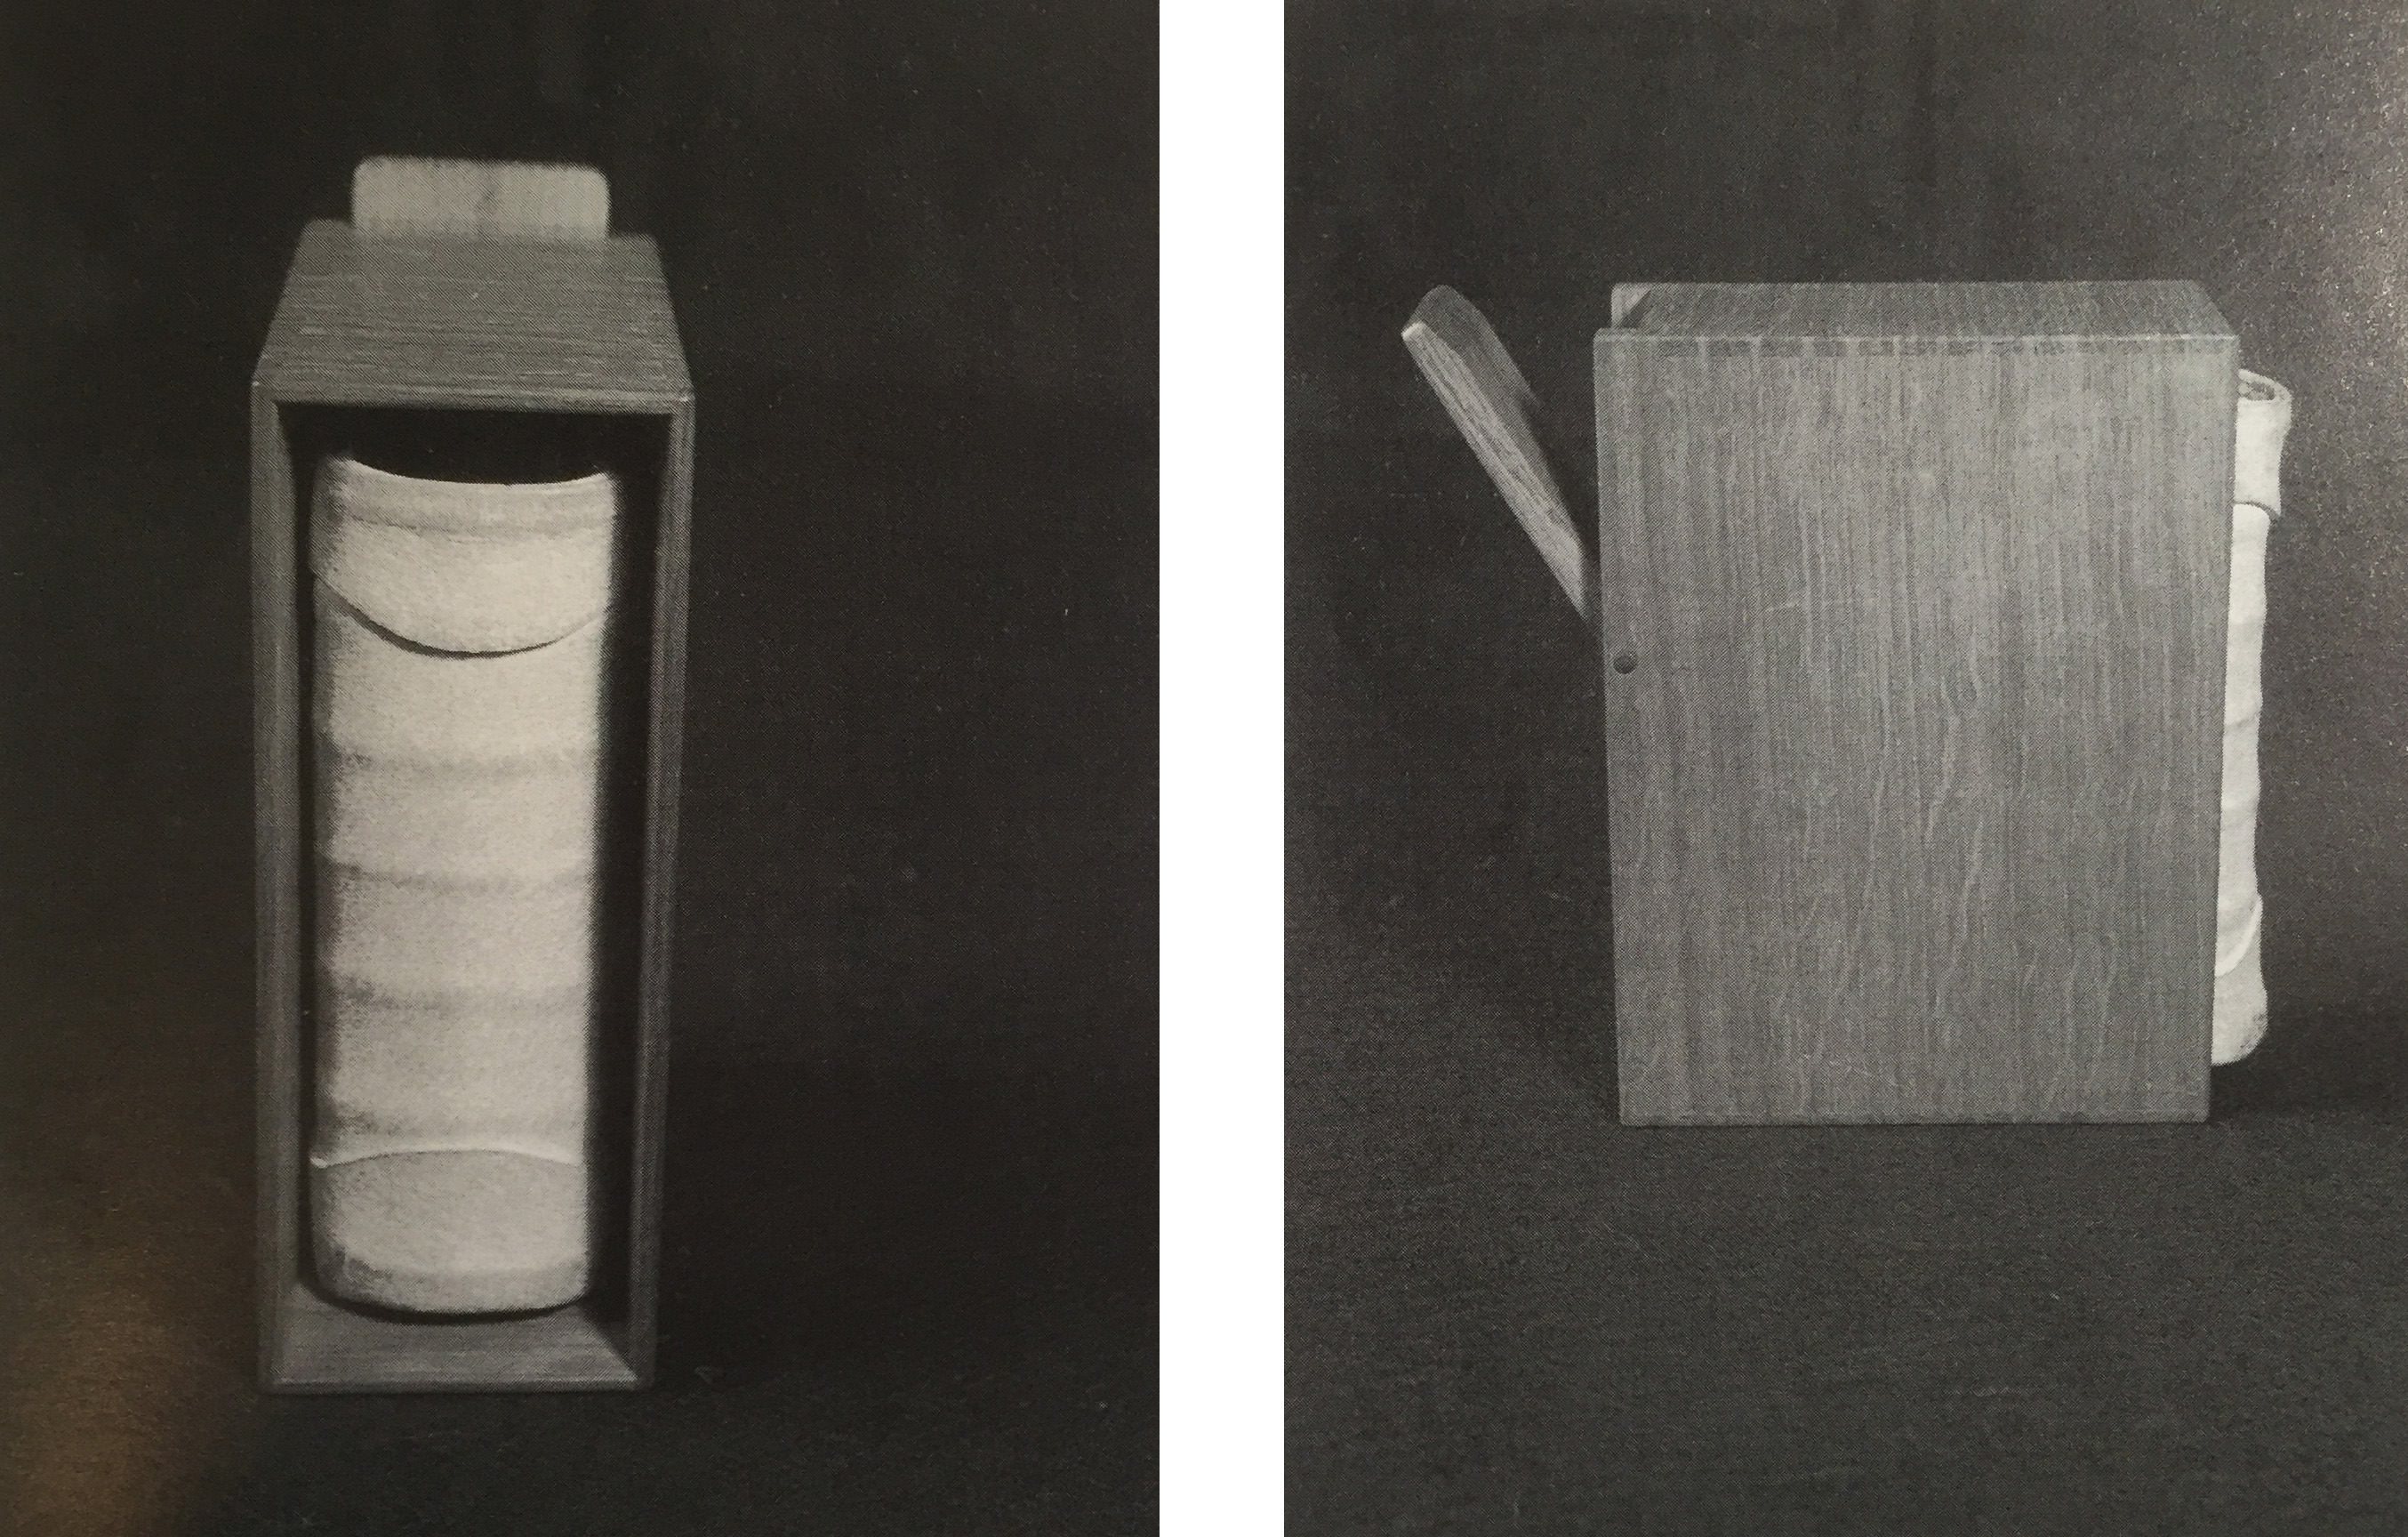
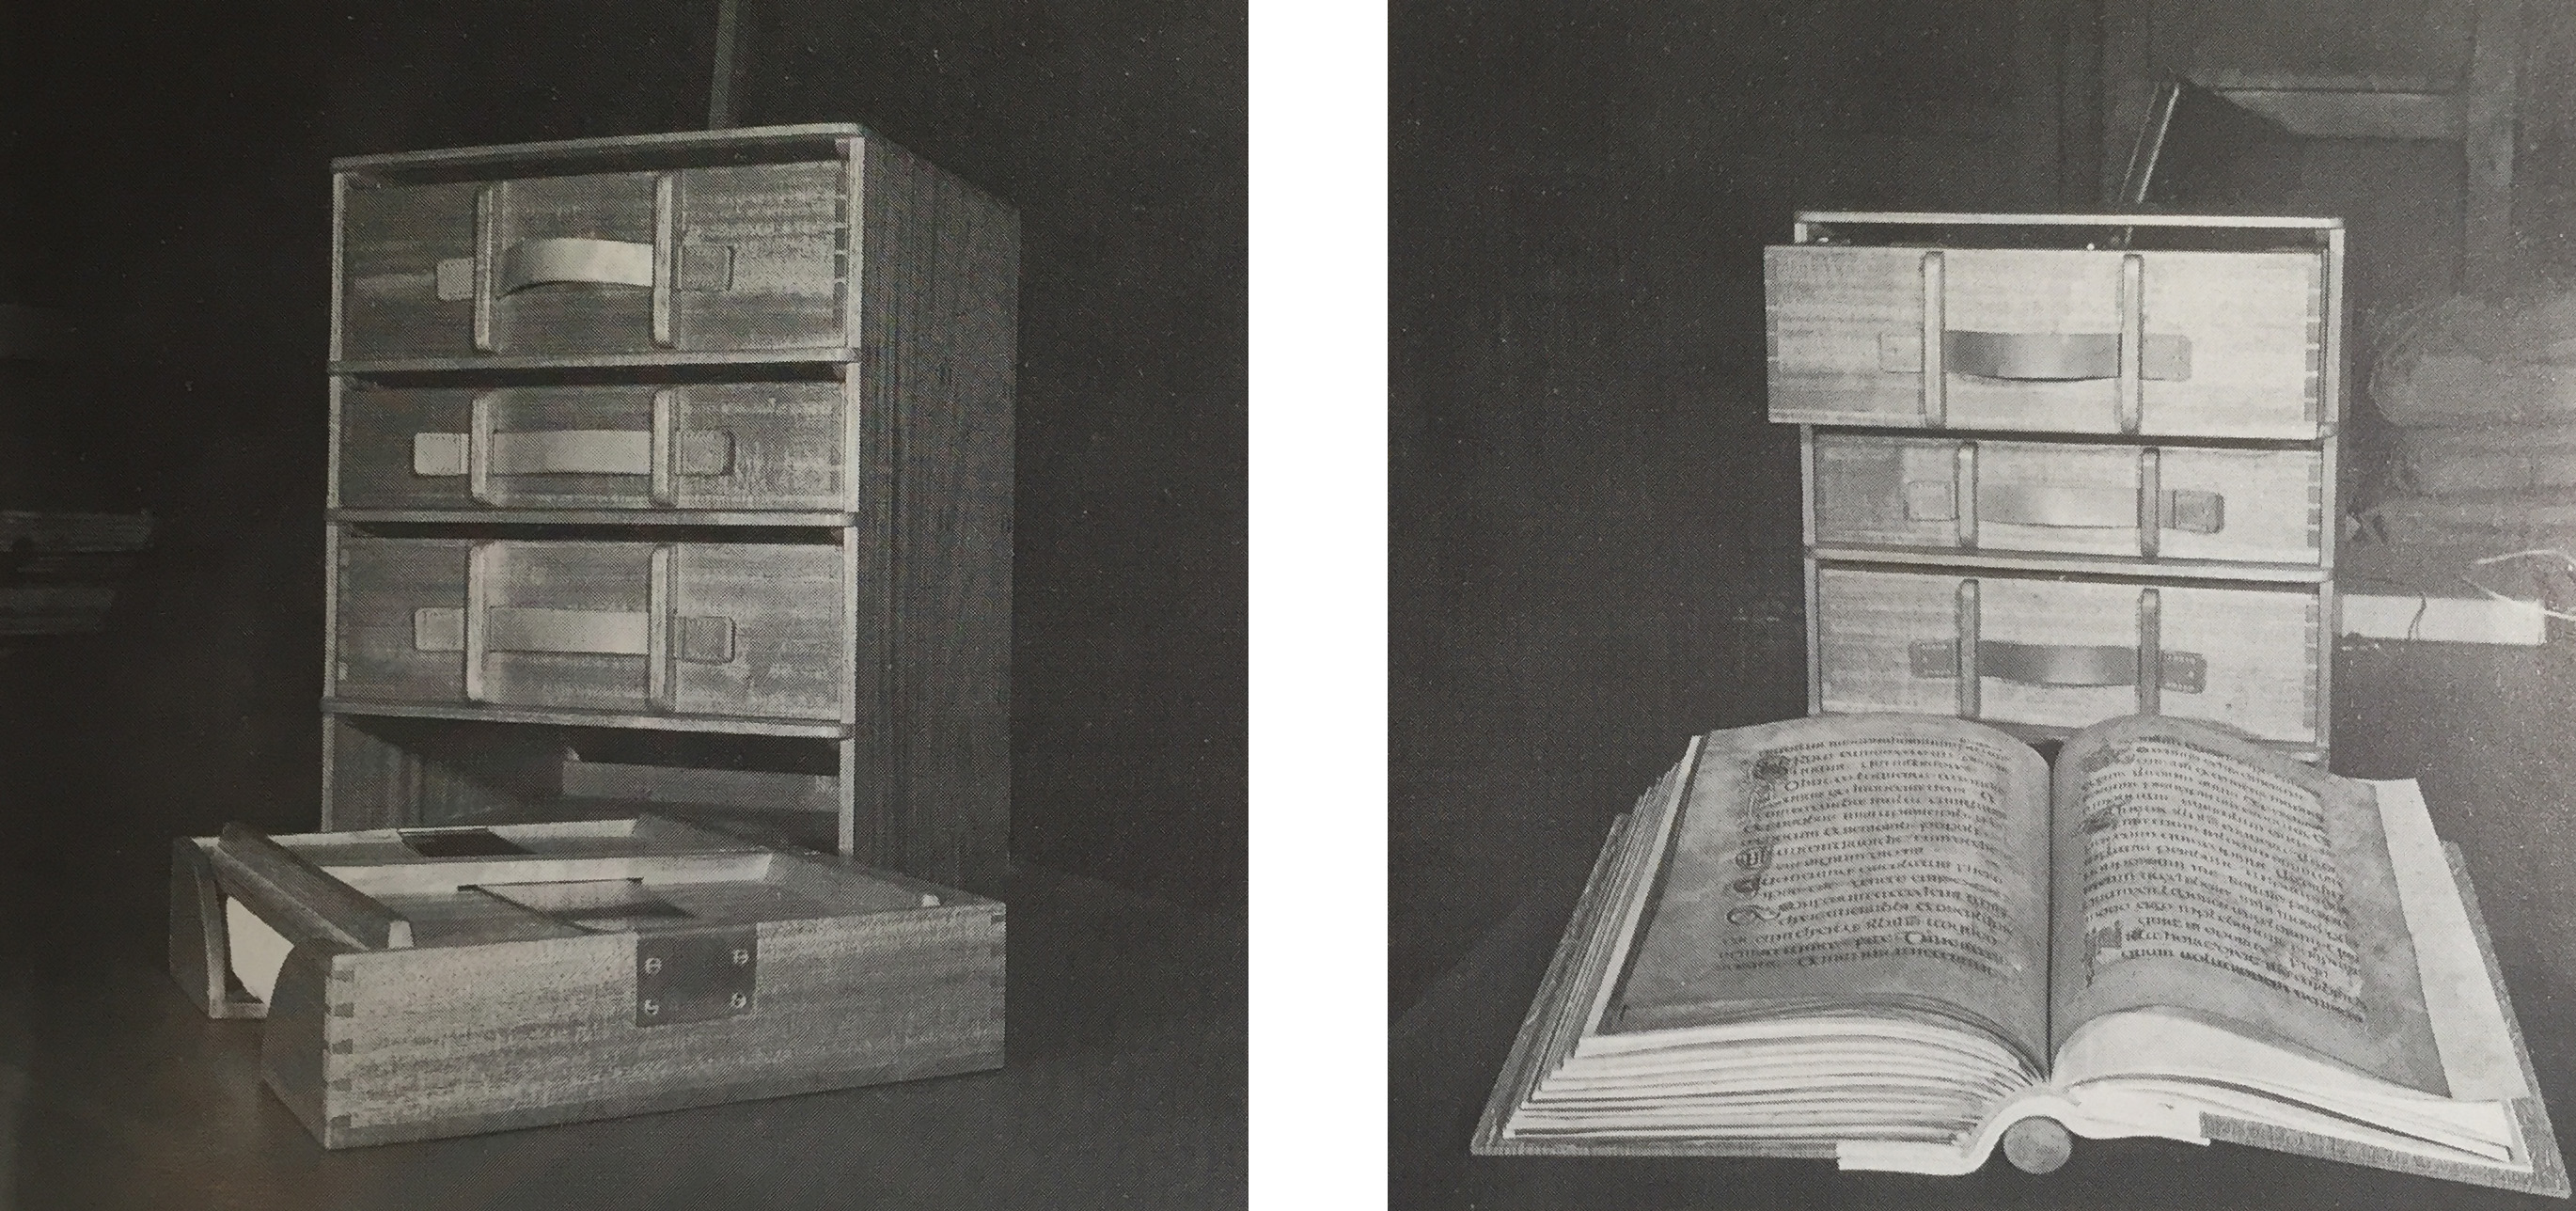
The slipcase was once a very popular style of book enclosure and is still often seen with fine press editions or design bindings. Slipcases can be simple to construct and, if well-fitting, will restrict the opening of the volume inside. Roger Powell’s treatment of the Ricemarch Psalter in the early 1950s made use of a wooden version of the slipcase for this very reason (Cains, 1996). It is worth mentioning that Powell also used a set of spring-lidded wooden boxs for the Book of Kells (Pignatti, 2012).
Ricemarch Psalter. Wooden pressure box designed by David Powell, fabricated by Edward Barnsley’s workshop. (Cains, 1996)
We do not currently make new slipcases for items in our collections. Books can be difficult to safely remove from your run-of-the-mill cloth-covered slipcase, and the abrasive action of sliding a book in and out can present a danger to fragile covering material. A chemise may reduce but likely will not eliminate those handling issues.
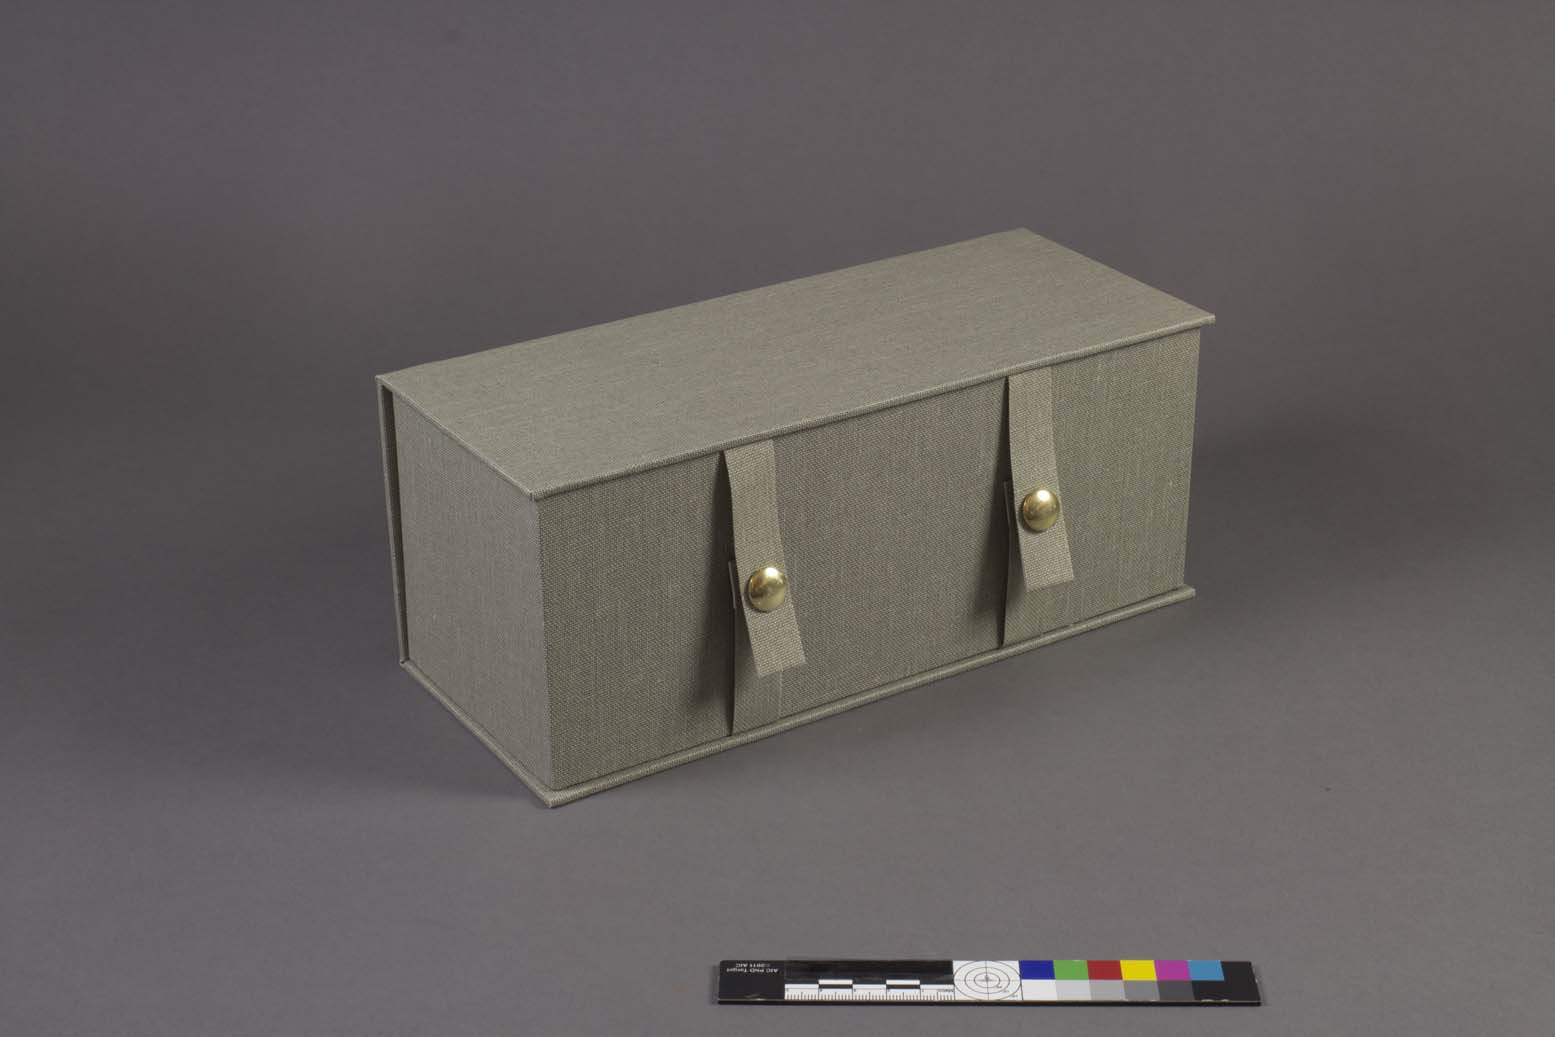
The cloth-covered “clamshell” or “drop-spine” box can be a more durable and aesthetically pleasing enclosure than those listed above. For books requiring restraint, the clamshell structure can be easily modified to include restraining elements. There are examples in the literature of boxes with clasps (Foot, Blacker, & Poole-Wilson, 2004), but I cannot recall ever seeing one. Clasps can be difficult or expensive to make, and one would assume those clasps have suffered from the same condition issues as their book-bound counterparts over the years. There are modern alternatives with the same mechanical principles, however. Fore edge restraints using ribbon ties, Velcro®, or metal snaps can easily be adhered between the trays and case of the clamshell enclosure.
As bookcloth can tear quite easily with applied shearing force, I would suggest including a more durable material at the core of each strap. I will often use Tyvek® or parchment strips, wrapped in bookcloth.
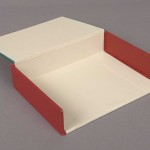
Another variation commonly made to hold parchment over boards bindings is the pressure-lid clamshell box. The inner tray of the enclosure features a simple flap or lid, which is hinged to the fore edge wall and prevents the boards from pushing the box open.
I cannot recall ever receiving explicit instruction on an exact method for covering and attaching the inner lid for this style of box. Having learned many different methods over the years for constructing and covering a standard clamshell enclosure, I became curious as to how other conservators and bookbinders were executing this modification.
I began with a review of the literature on book enclosures to determine where this structure originates. Email listserv discussions have suggested several attributions of its origin to notable figures in the field, but I have not been able to make a definite link. Many of the classic manuals and reference volumes describe a method for making a clamshell box, but I have yet to find one which describes the making of the pressure lid. My biggest obstacle is nomenclature: while I tend to call this feature a “pressure lid”, it is often described with other names. A simple online search yields several images of this style of box shared in digital portfolios or treatment documentation, with “pressure lid” “pressure flap”, “fore edge flap”, and “inner lid” all appearing as descriptors. I have not yet been able to examine some of the more obscure print resources, however, and my own admittedly compulsive curiosity will likely force me to continue searching.
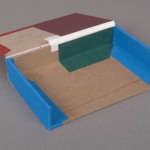
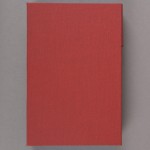
With input from colleagues, I began constructing models using different methods of attaching the pressure lid. Four methods emerged. A note about these illustrative models: Each model is only the inner tray of the enclosure. I completed each step of the covering process with a different color of cloth to better illustrate the process. In all but Method D, the pressure lid closes to fit inside the walls of the tray. Obviously for these methods, the thickness of the covered board must be accounted for in constructing the dimensions of the inner tray.
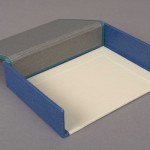
Method A
My initial thought was to attach the inner lid with as few pieces of cloth as possible. In this method, the head and tail of the lid are first covered with strips of cloth, then the lid is attached at the time of covering the inner tray. The interior of the lid and tray were then covered with a single piece of cloth. Click the thumbnail images for a larger image.
This method of covering is the nicest looking in my opinion, but it can be tricky to accomplish neatly and produces more waste cloth than the others.
Method B
Sidney F. Huttner suggested a method with similar attachment. The lid is still attached at the time of covering the tray, but with a much narrower strip of cloth. A second piece of material covers the outside of the lid, with turn-ins at the three remaining sides. For this model, I covered the inside with separate pieces of cloth for the interior hinge, interior of the lid, and floor of the tray.
This covering technique can be accomplished very quickly and makes use of smaller pieces of material, creating less waste. The slight bump of cloth on the exterior of the tray (far right image) is not as attractive, but could be mitigated with in-filling.
Method C
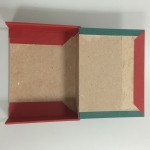
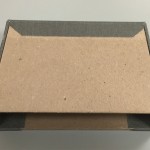
The boxing manual from the Library of Congress includes a description of a clamshell box with a “hinged shelf” (Brown, Etherington, & Ogden, 1982). This shelf was intended to separate and hold two items in the interior of the box; for example, a book and a set of plates. I discovered that the design could be easily adapted to function as a pressure lid.
The inner tray of the enclosure is constructed and covered in the usual way, with an additional covered board thickness added to the width of the tray dimensions. The flap is constructed separately, using two pieces of board. The thinner board of the flap is then glued to the interior fore edge of the tray.
This method uses a little more material and can be a little tricky to securely attach. During the gluing process, I stood the tray up on the fore edge inside a book press with the flap in place. Wooden blocks were then stacked inside the tray until they cleared the spine edge. The press was then tightened down onto the wooden blocks.
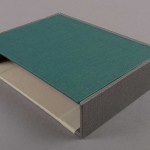
Method D
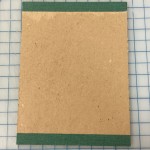
The final method of covering was suggested by Scott Kellar. For this method, the pressure lid actually sits on top of the walls of the tray. The tray is covered as usual, but the flap of cloth which usually covers the interior of the fore edge wall of the tray is sliced off at the top of the wall. The pressure lid is covered with an extended piece of cloth at what will be the fore edge and the remaining three sides are turned in. A spacer of thin material (20pt Bristol board) is placed between the flap and the tray while the extended cloth is glued around the fore edge of the tray and turned in underneath. When dry, a strip of material is added to the interior joint. In this model, it would appear that the interior fore edge wall and floor of the tray are covered separately. The lovely cut away model pictured below was kindly made and sent to me by Karen Hanmer.
I find that it is always nice to have options when constructing an enclosure and the different elements of these methods can be adapted or recombined in many different ways. I would like to thank everyone who answered my inquiries about their covering methods, and I hope that these descriptions and images are of some use to those attempting the pressure lid box for the first time.
Bibliography
Brown, M., Etherington, D., & Ogden, L. (1982). Boxes for the protection of rare books. Washington, D.C.: Library of Congress.
Cains, A. G. (1996). Roger Powell’s innovation in book conservation: The early Irish manuscripts repaired and bound, 1953-1981. In R. Powell & J. Sharpe (Ed.). Roger Powell, the compleat binder (pp. 80-85). Turnhout: Brepols.
Clarkson, C. (1982). Limp vellum binding and its potential as a conservation type structure for the rebinding of early printed books. Hitchin, Herts., England: Red Gull Press.
Foot, M. M., Blacker, C. & Poole-Wilson, N. (2004). Collector, dealer, and forger: A fragment of nineteenth century binding history. In M. M. Foot (Ed.) Eloquent witnesses (pp. 264-281). London: Bibliographical Society.
Pignatti, G. (2012). Boxes for the housing and protection of books: Observations on their history and development. E-conservation: the online magazine, 23.
Woods, C. S. (2006). The conservation of parchment. In M. Kite & R. Thomson (Ed.). Conservation of leather (pp. 200-224). Oxford: Elsevier Butterworth-Heinemann.
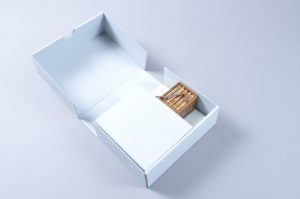
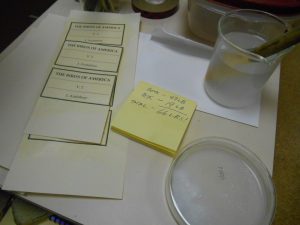
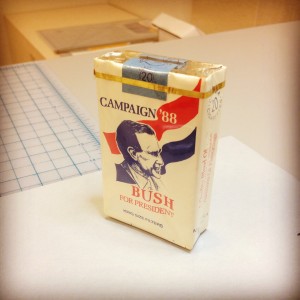
We’ve seen a lot of campaign s.w.a.g. come through the lab. Check out this gem from the George Bush ’88 campaign. I bet you can’t give cigarettes away at a rally anymore. Or maybe you can.
Smoke ’em if you got ’em.
Tedd is working on boxing a great Duke and Sons Tobacco collection. We’ll have more on that project in a future post, so stay tuned.
By Rachel Penniman, Senior Conservation Technician for Special Collections
In my last blog post I showed an example of a tremendously oversize item that ended up in our super-size flat file storage. Not everything is best stored flat in a drawer. On some occasions we choose to keep an oversize item rolled. The new Rubenstein Library stacks space has cubbies purpose built to house rolled items.
Super-oversize flat storage drawers on the bottom, cubbies for rolled storage on the top.
For protection, we store our rolled items in archival tubes in either a 4.5” or 6” diameter and a 4’, 6’, or 10’ length. However after purchasing a number of 4.5” diameter tubes I discovered that none of our suppliers could provide caps for that size tube. Virtually every other size tube had a corresponding cap, but not this size. What to do? Without caps the rolled items could just slide out the end of the tube defeating the purpose of a protective housing.
With all the materials and know-how at our disposal we decided to fabricate caps in-house. To the drawing board!
Tube Cap Version 1.0.
Our first attempt at making caps were created by cutting a large circle out of archival corrugated board and creasing a smaller circle in the center. Segments of the outer part of the circle are cut and folded up like an old fashioned vegetable steamer basket. The cap is placed on the tube and tape is wrapped around the outside to hold the segments in place.
Cap after scoring and cutting.Bending the segments up like a vegetable steamer basket.
Interior of the assembled cap.
These were relatively quick to produce, though the fit was finicky. It was really difficult to get the sizing just right so it slipped onto the tube without being too loose. Even with the perfect sizing, the little segments would often catch on the lip of the tube making it difficult to put on. They didn’t look terribly professional either. Worst of all, we discovered that over time as they were taken on and off the tubes they became looser and looser.
So I went back to the drawing board and mocked up a different model.
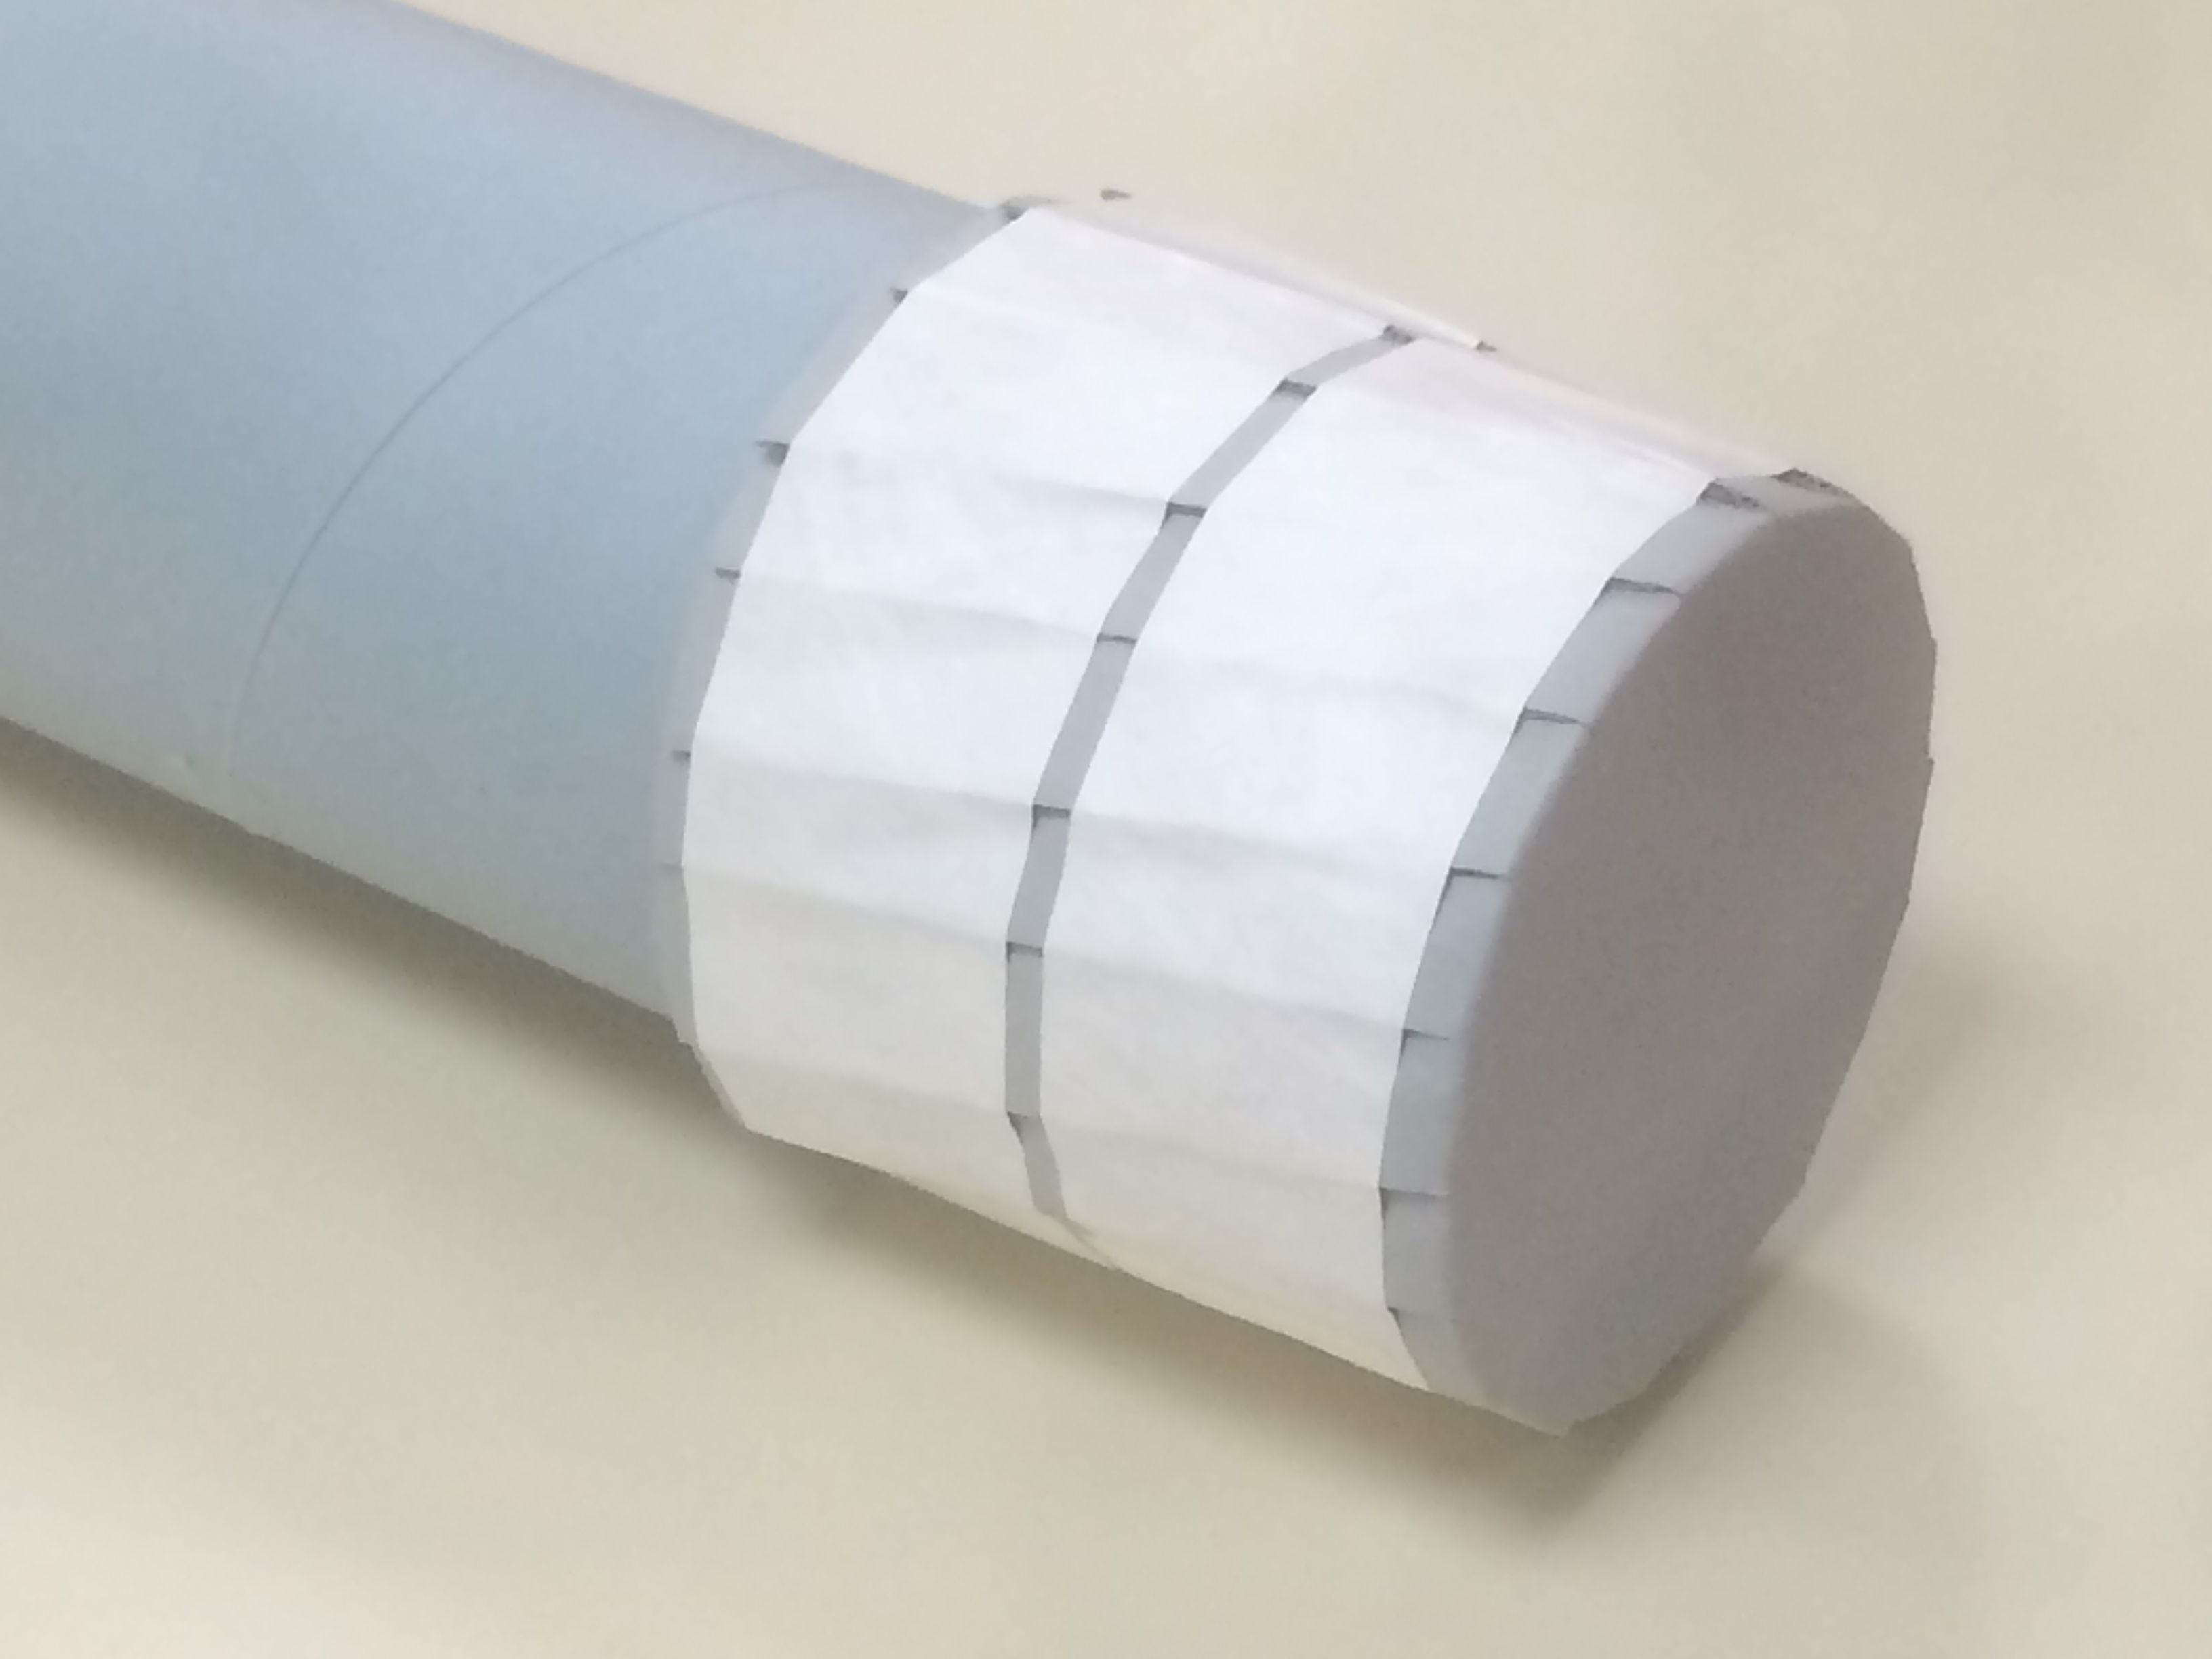
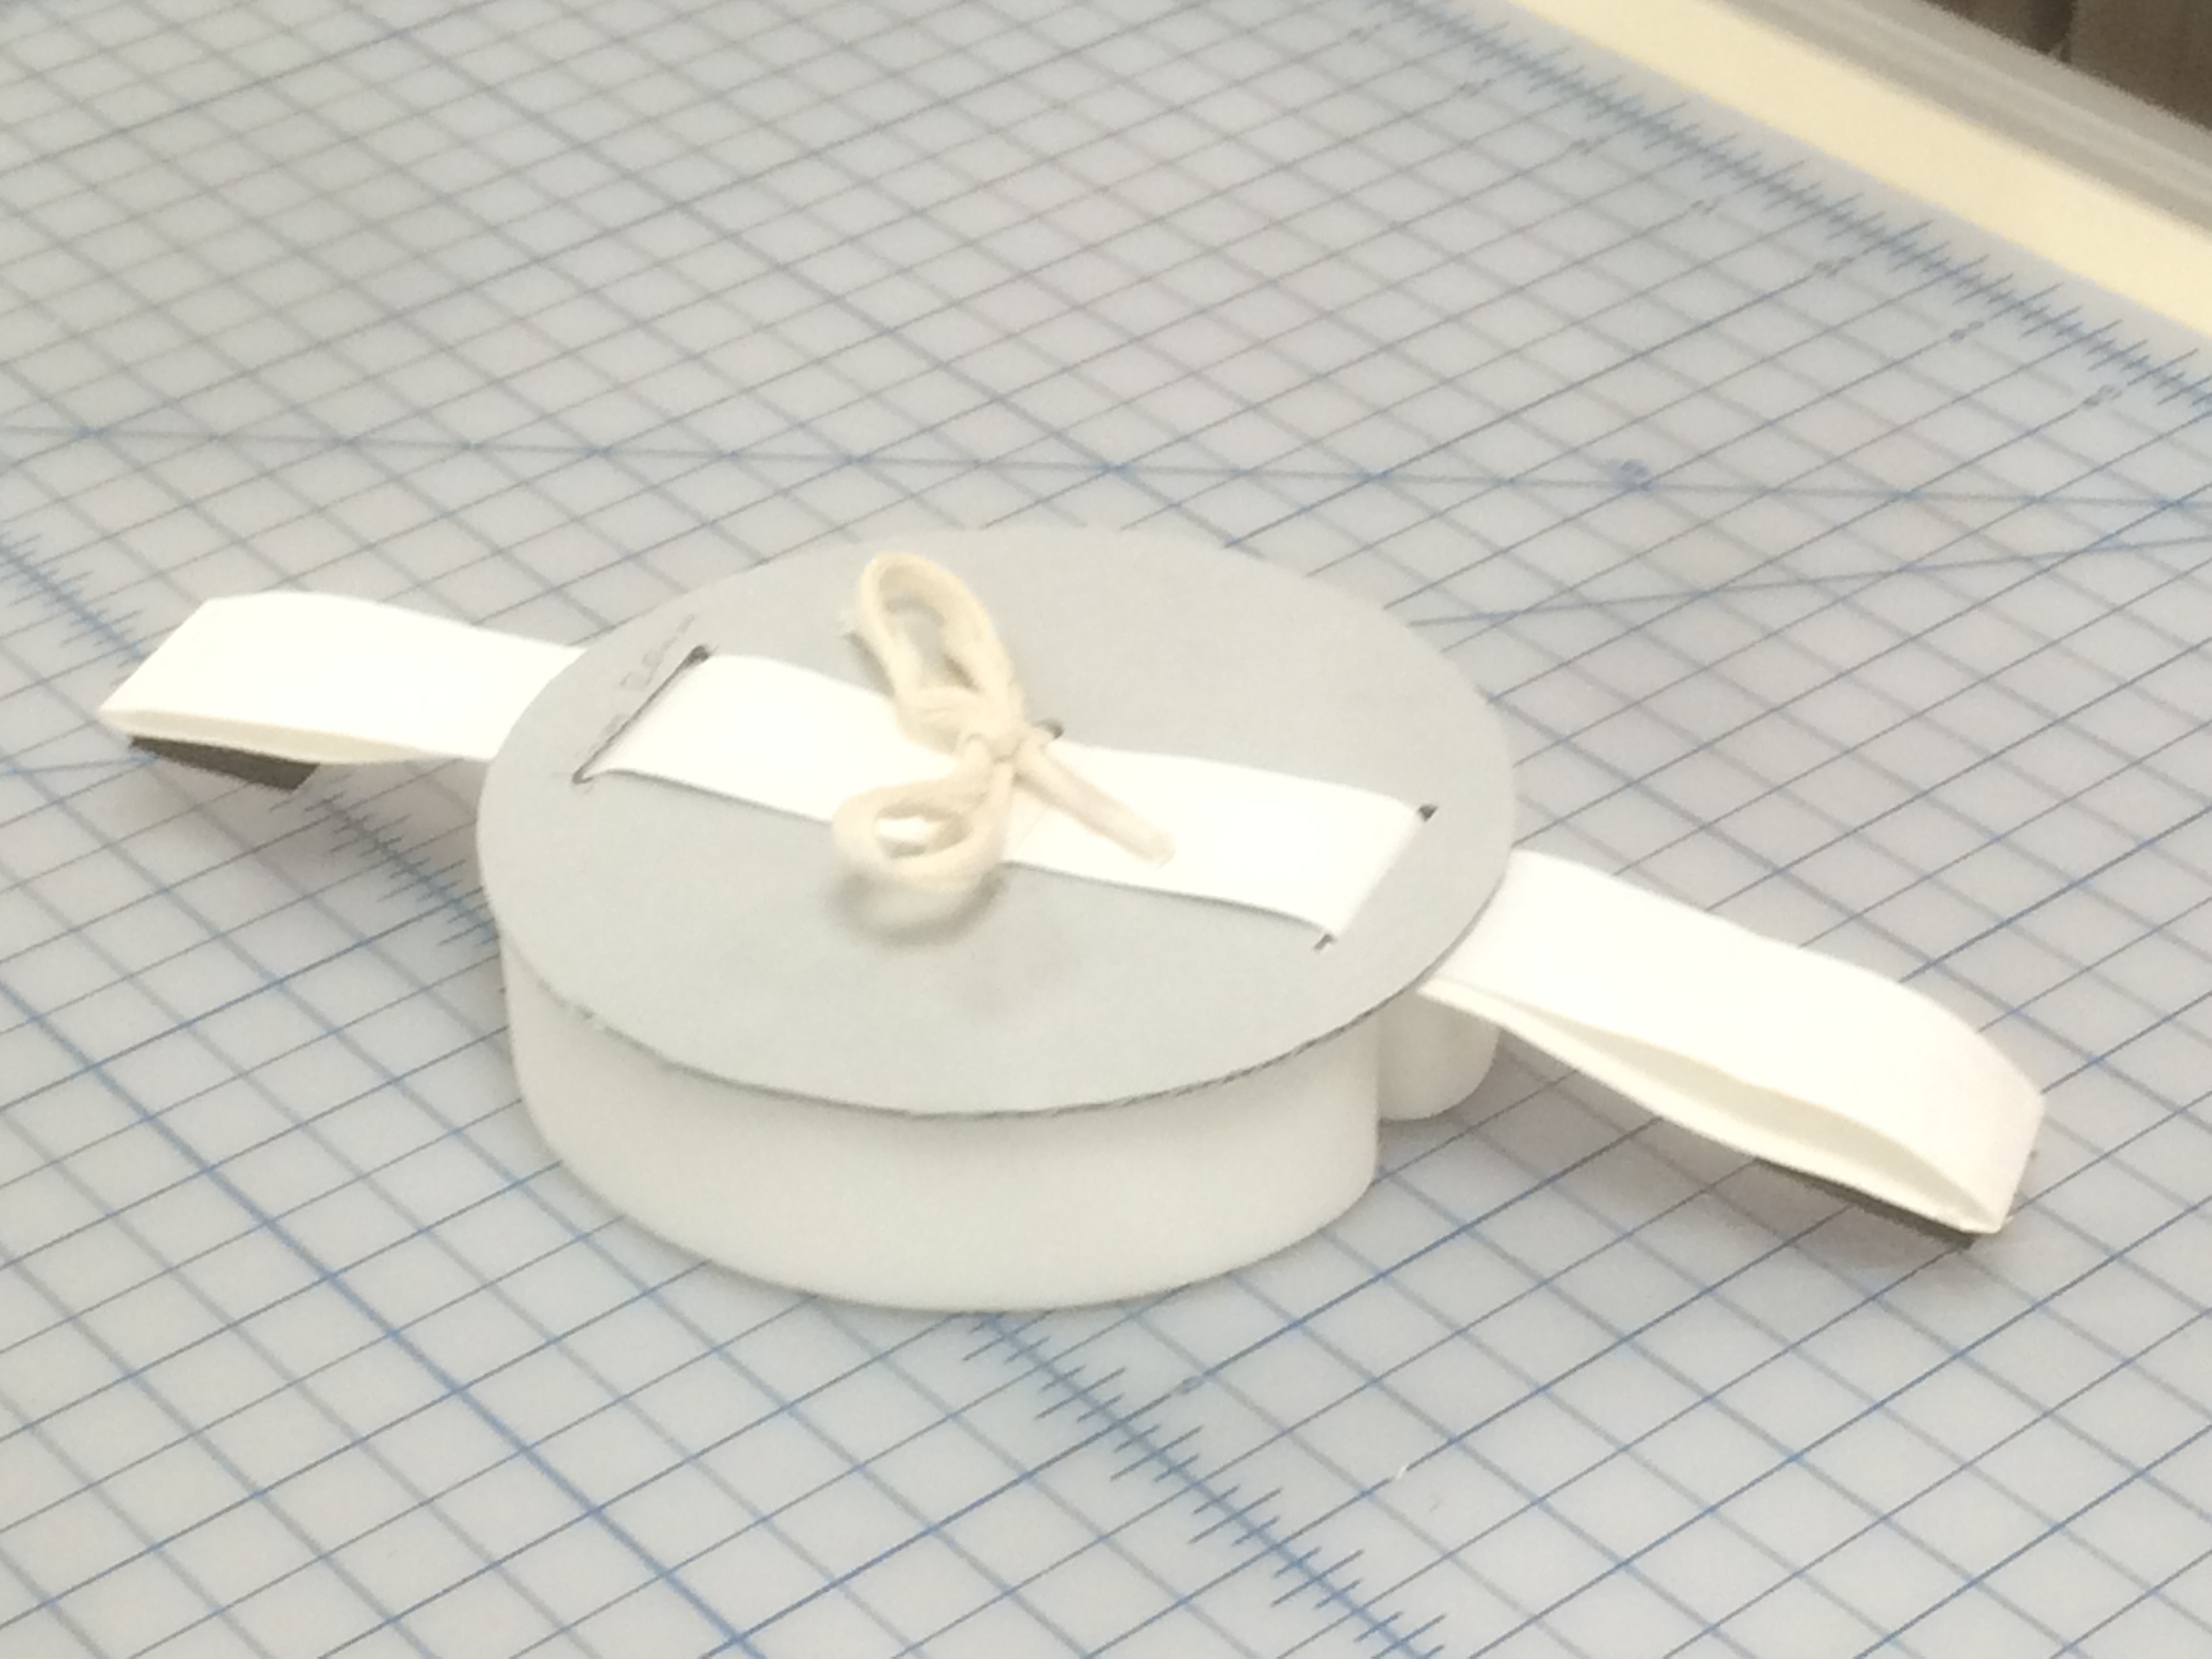
Tube Cap V. 2.0 on a tube.
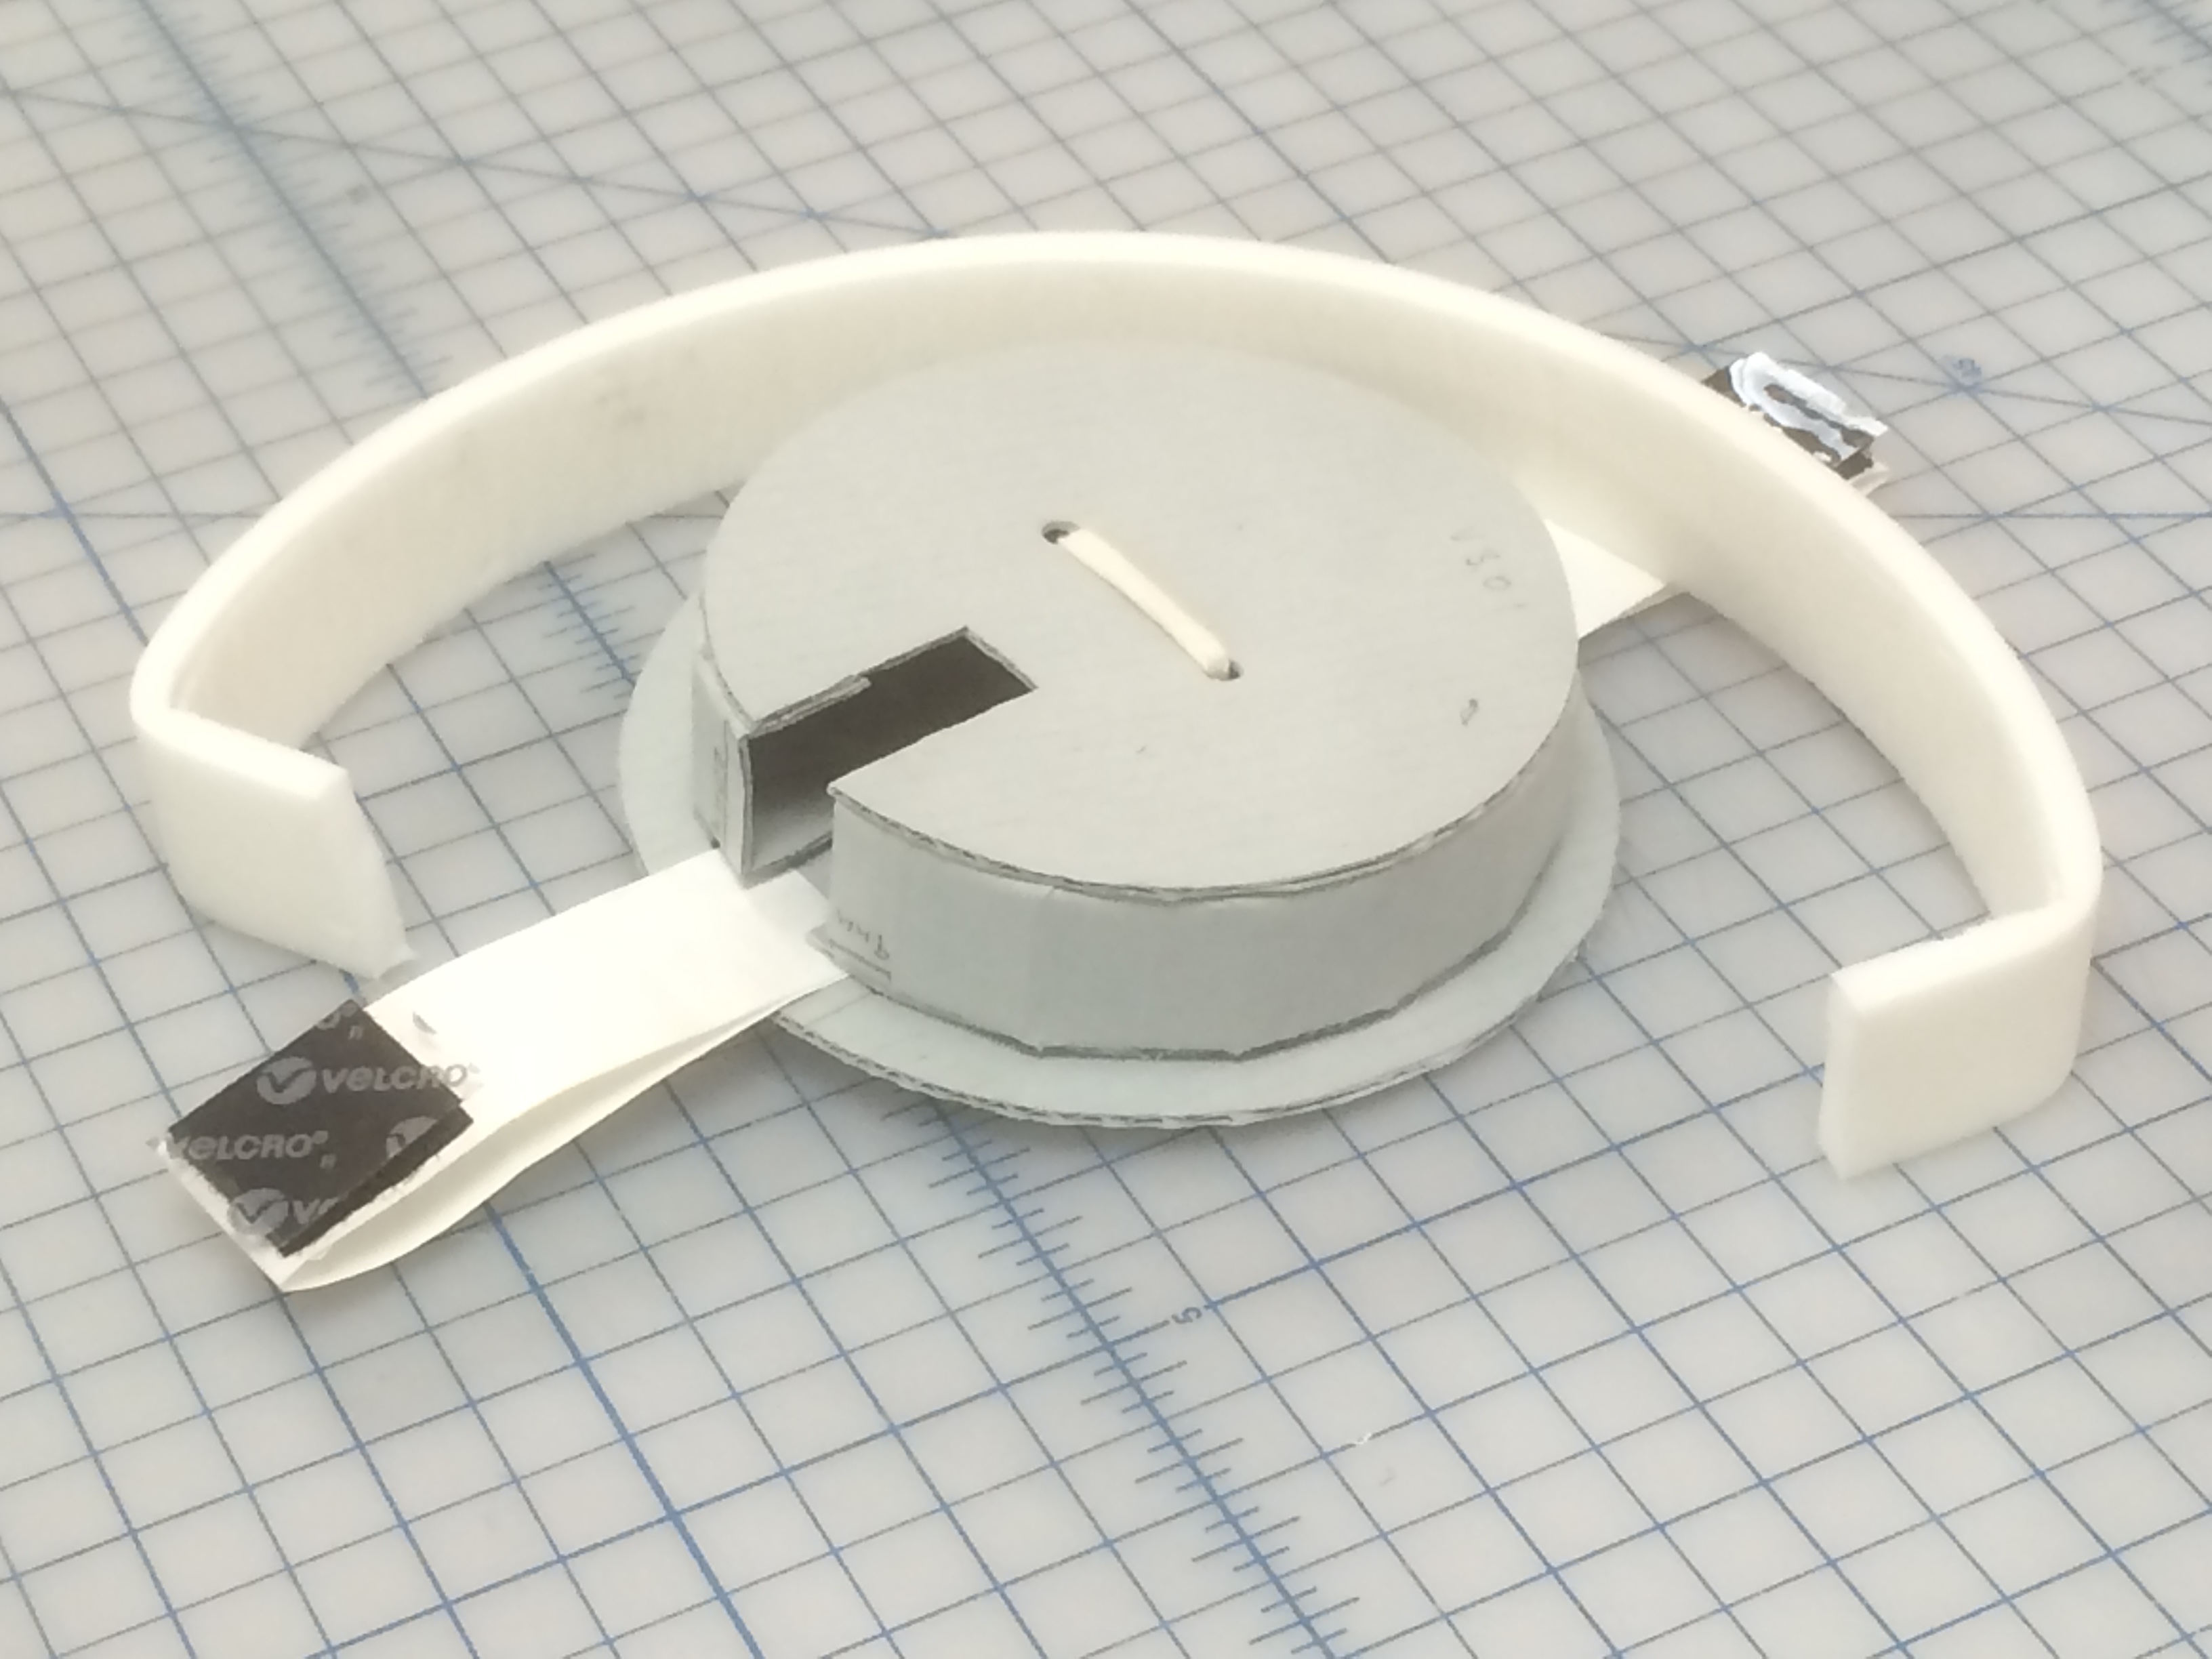
For the second version I opted instead to try a cap that inserted into the tube instead of one that slid onto the exterior of the tube. I started by building up alternating layers of archival corrugated board and Volara foam to create the round plug. I then wrapped Volara foam around the perimeter of the plug to help it fit snugly inside the tube. A couple of slightly larger round pieces of archival corrugated board created the top of the cap. A strap of Tyvek tape with Velcro at the ends helped to hold the cap securely in place on the tube, and a loop of linen tape through all the layers gave a handle to pull the cap off.
Bottom of Tube Cap V 2.0.Tube Cap V 2.0 partially disassembled to show layers.
What an improvement! Version 2.0 fit better, stayed in place, held up over time, was easier to insert and remove, and looked pretty spiffy too. In terms of function this model was an A+. But cutting perfect circles out of cardboard is difficult, time consuming, and rough on the wrists. Also no matter how well I measured I could never get all the slots and holes on the circles to line up perfectly. I also wasn’t happy with how much expensive Volara this model used. I considered replacing the Volara with more layers of cardboard but estimated that would require cutting 12 more circles out of board. Too much board use and too much wrist pain!
Back to the drawing board again.
This time I tried to take the parts I really liked from Version 2.0 (the general plug design, the Velcro strap, the linen tape handle) and modify the parts I didn’t (cutting lots of circles out of cardboard).
Tube Cap Version 3.0 (looks almost the same as 2.0 huh?).
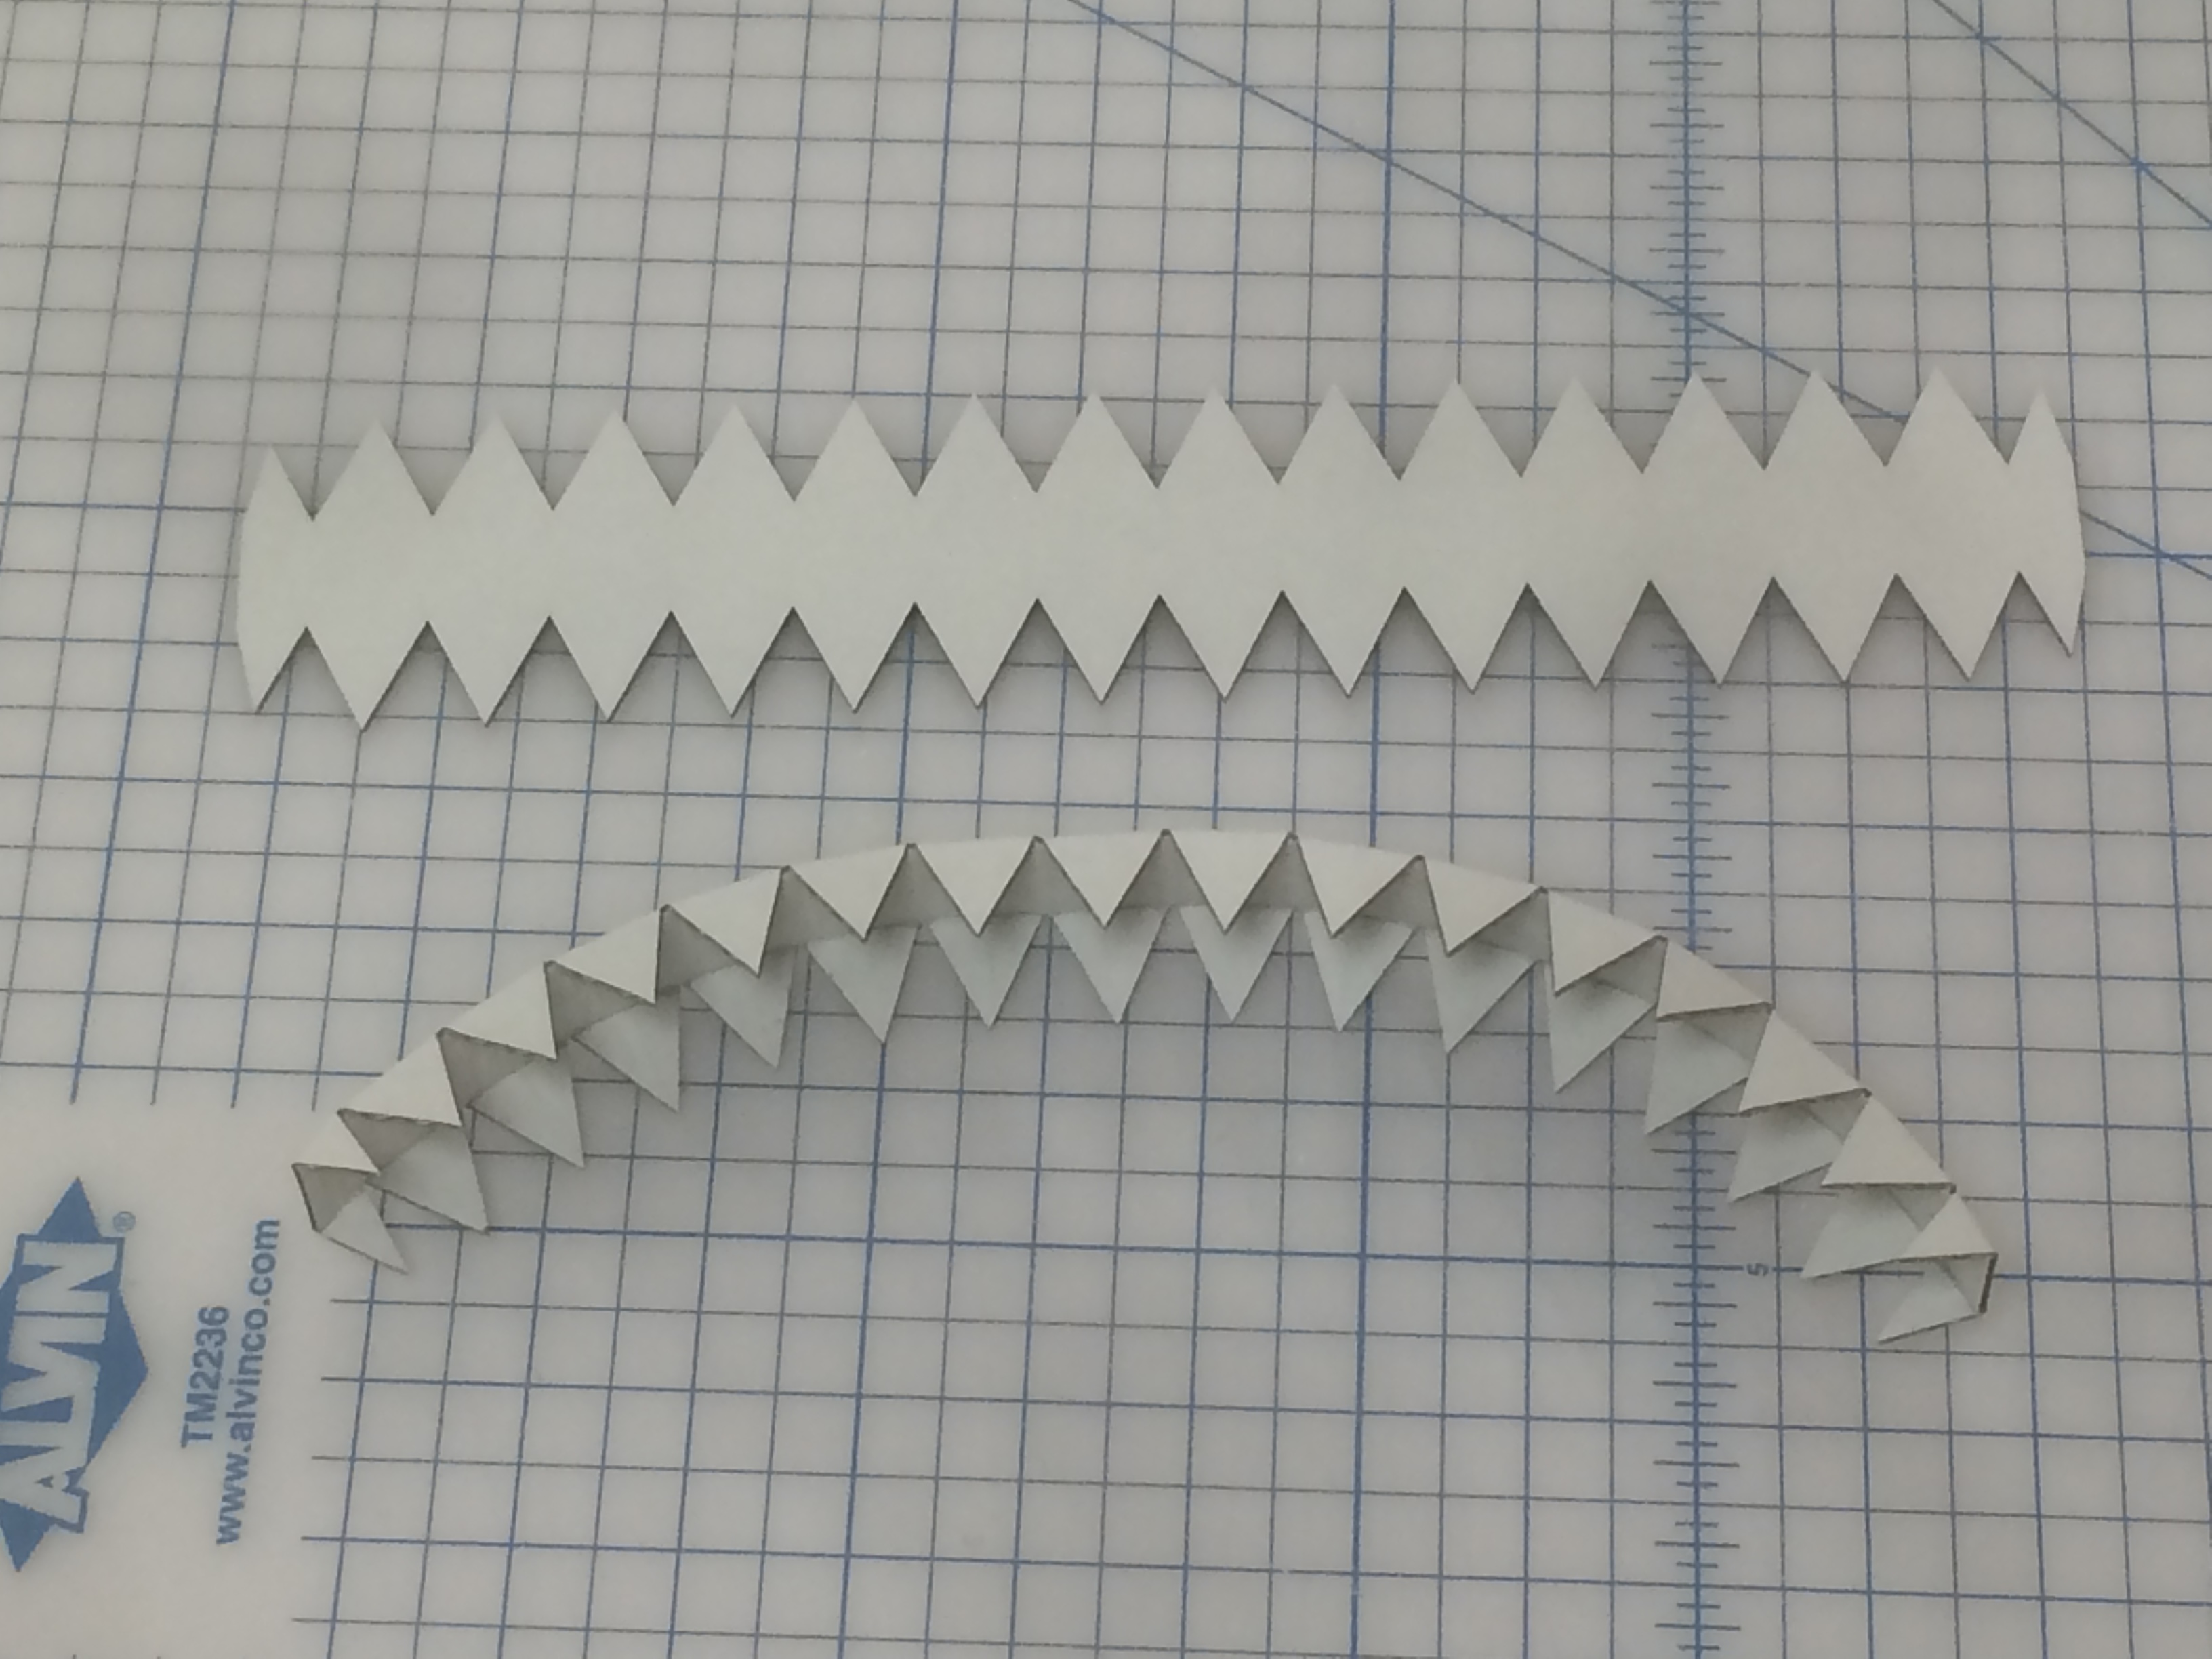
While the final product of this version looked almost exactly like Version 2.0 the interior was very different. Rather than layering Volara foam and many circles of corrugated board to create the plug, I created a wall out of a single piece of corrugated board that is attached with double stick tape to only two circles of corrugated board.
Tube Cap Version 3.0 partially disassembled to show layers.Wall piece after cutting (top) and after creasing and bending (bottom).Wall attached to one side.
This model reduced the number of circles to I needed to cut from 6 to 3 and greatly reduced the amount of material used overall. I really liked this model and was extremely happy with the function and happier with the small quantity of material needed, but three circles per cap would still take some time to cut by hand.
I wonder how other institutions handle capping their rolled storage. Has anyone else found an easy, efficient, archival way to cap their tubes?
Stay tuned for part 2 of the continuing saga of Tube Caps: Adventures in cutting!
The papyri collection is finally in its new home in the renovated Rubenstein Library stacks. We successfully completed its move yesterday to the new vaults. Part 1 of this project started in 2010 as a proposal for a new housing strategy for the papyri. In 2012 the project began in earnest as we prepared the collections for the move out of the old stacks to make way for renovation. We finished the project in 2013 and moved the papyri to the temporary Rubenstein stacks on the third floor of Perkins Library.
Papyri in their new(ish) boxes in the renovated stacks.
Yesterday we moved the collection into its new home in the renovated Rubenstein stacks. They are now in a cool, dry and stable environment, with fire sprinklers even! I nearly shed a tear of joy when we placed the last box on their new shelves.
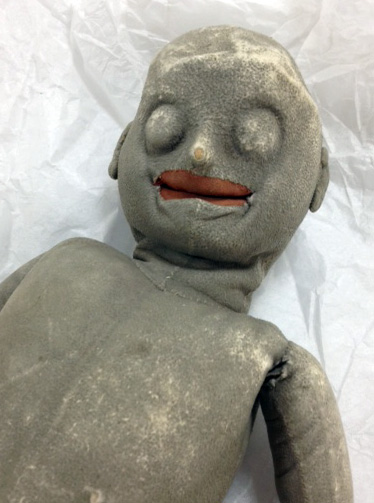
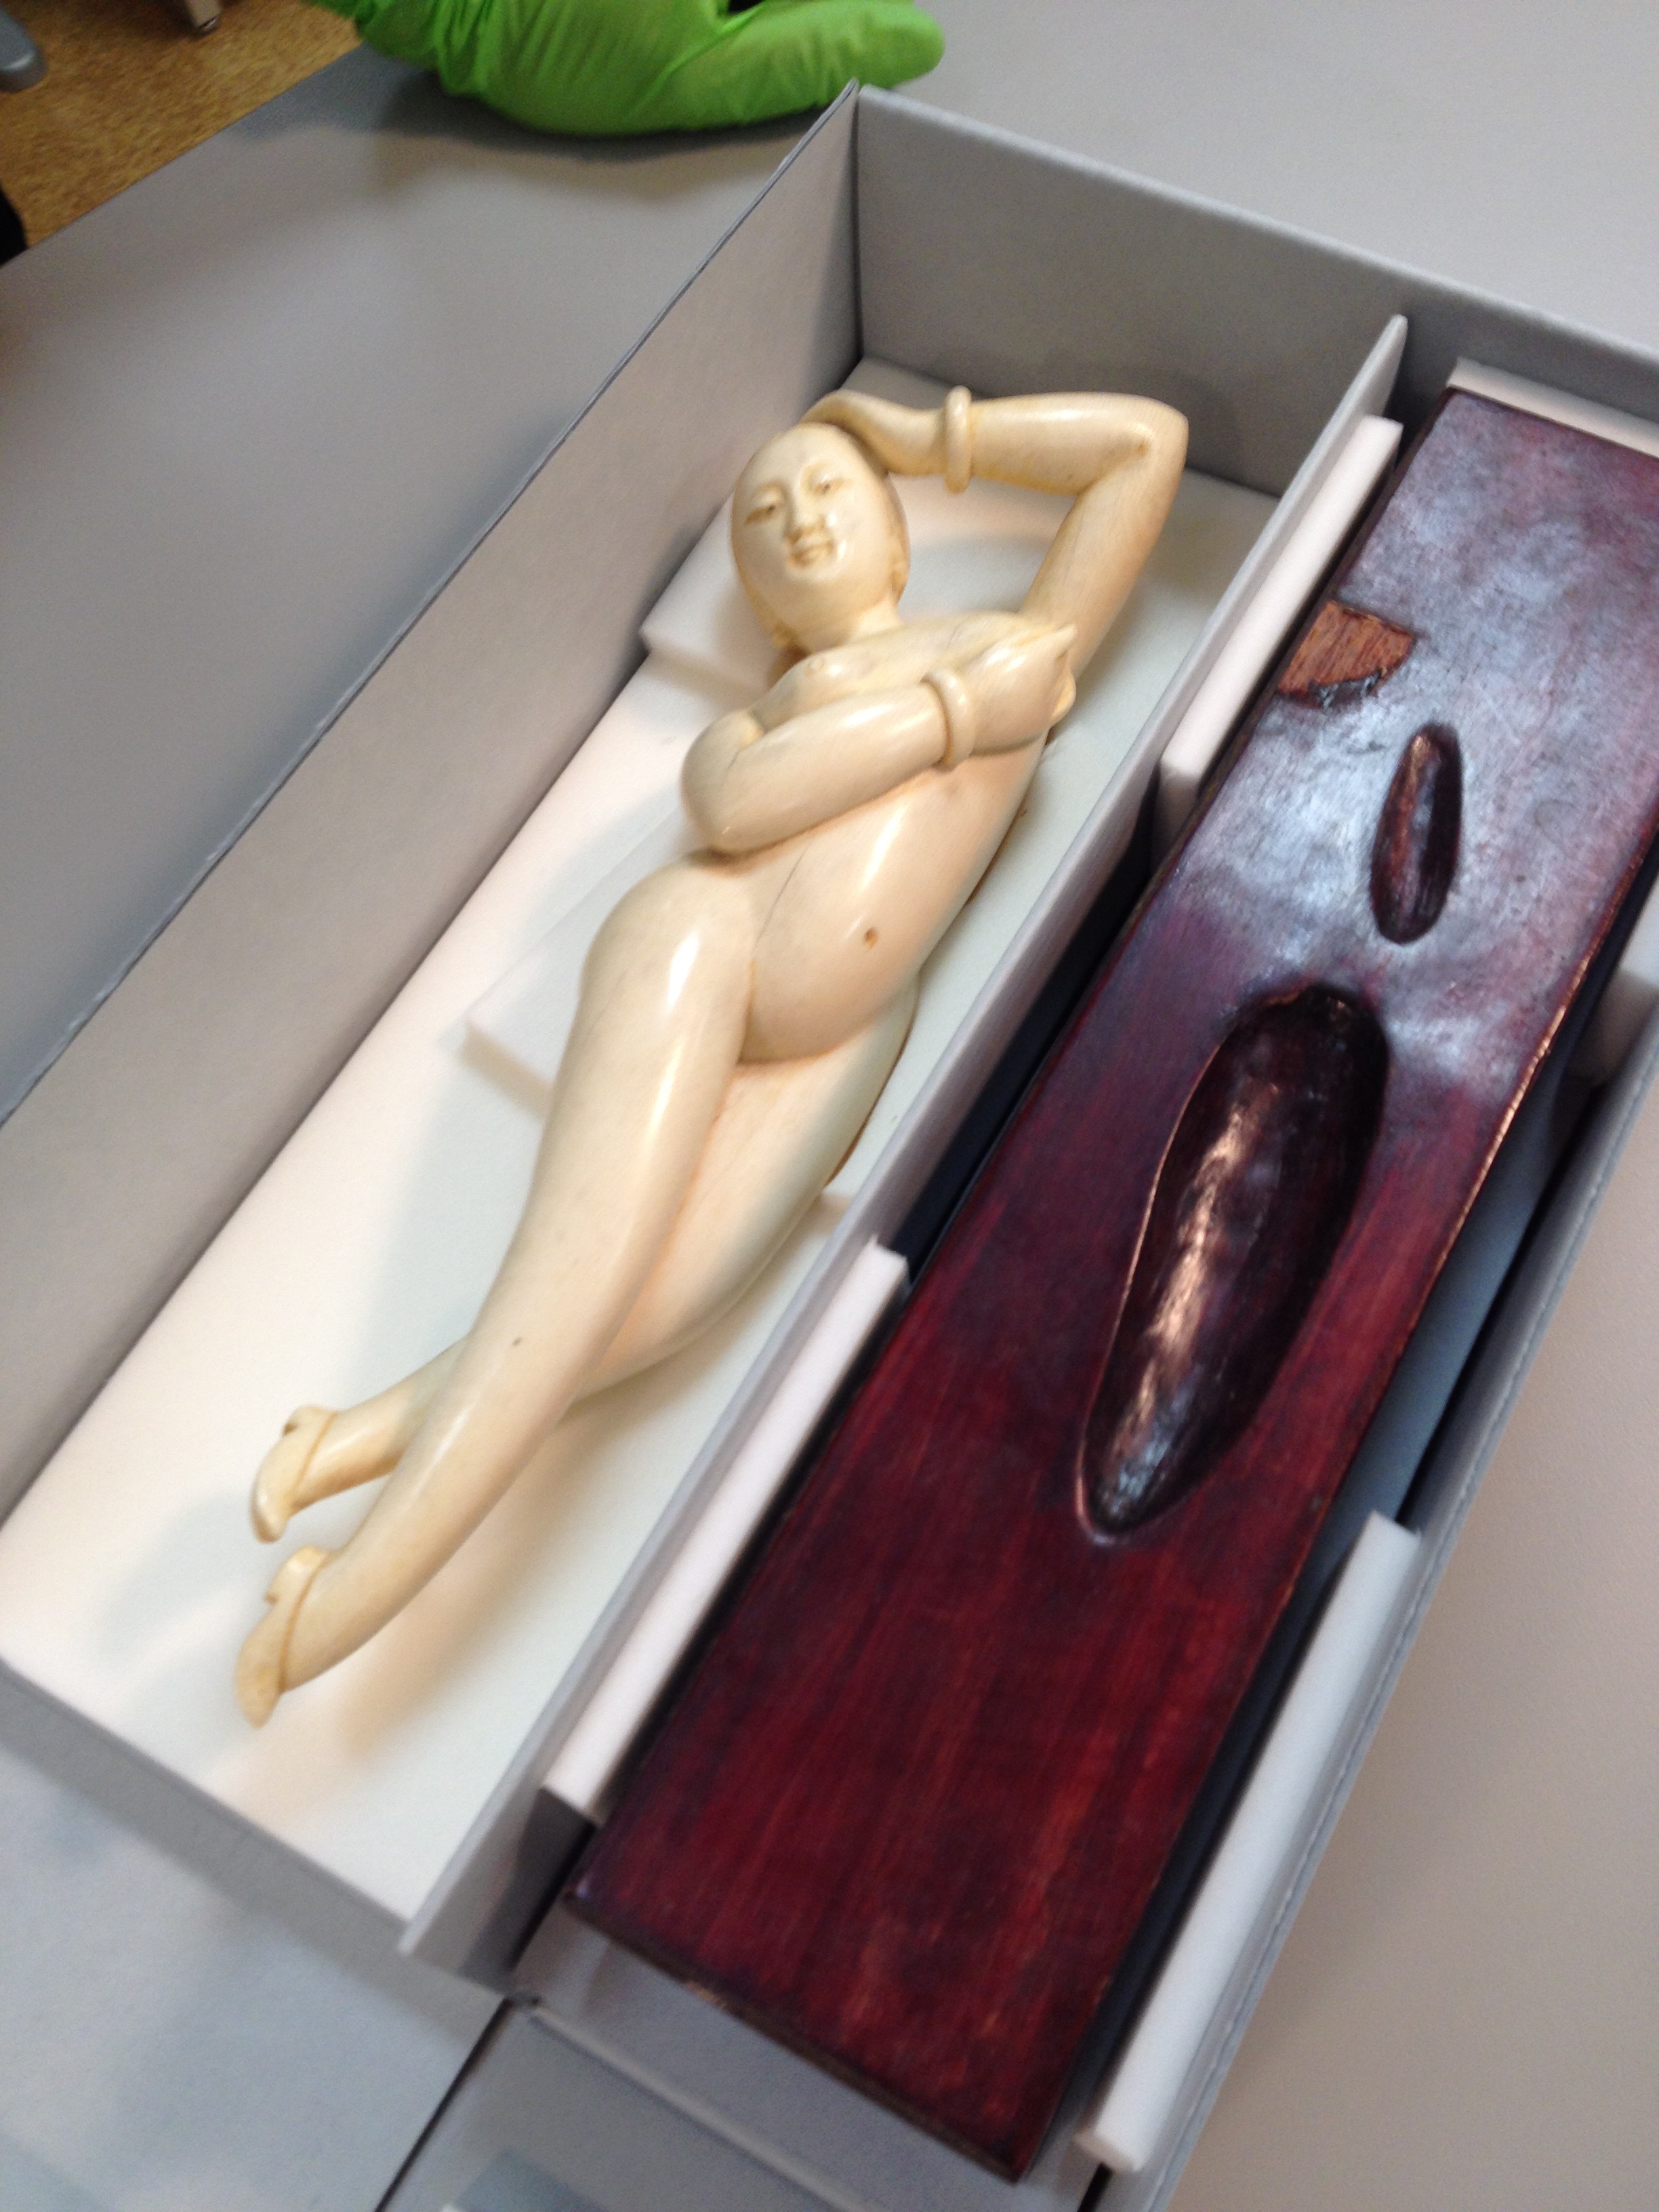
We got an amazing History of Medicine Collection artifact in the lab today for boxing . It is an anatomical birthing model dated to the 1890’s. The body and placenta are made of a soft suede material with red and blue yarn for the umbilical cord. The stitching that attaches each section to the main body is very finely done.
I don’t know the complete history of this item. But judging by the attention to detail on the hands, feet, and ears, along with the elegant stitching, you can tell this was a lovingly-crafted model.
Every now and then something really, really great comes to the lab for a custom enclosure. We have been working on high priority items in anticipation of the Rubenstein Library move to its renovated space this fall.
On Rachel’s bench is one of the ivory manikins from the History of Medicine Collection. This one is lounging on a beautifully carved-out wooden bed. I love that the manikin is wearing shoes. Very modest indeed.
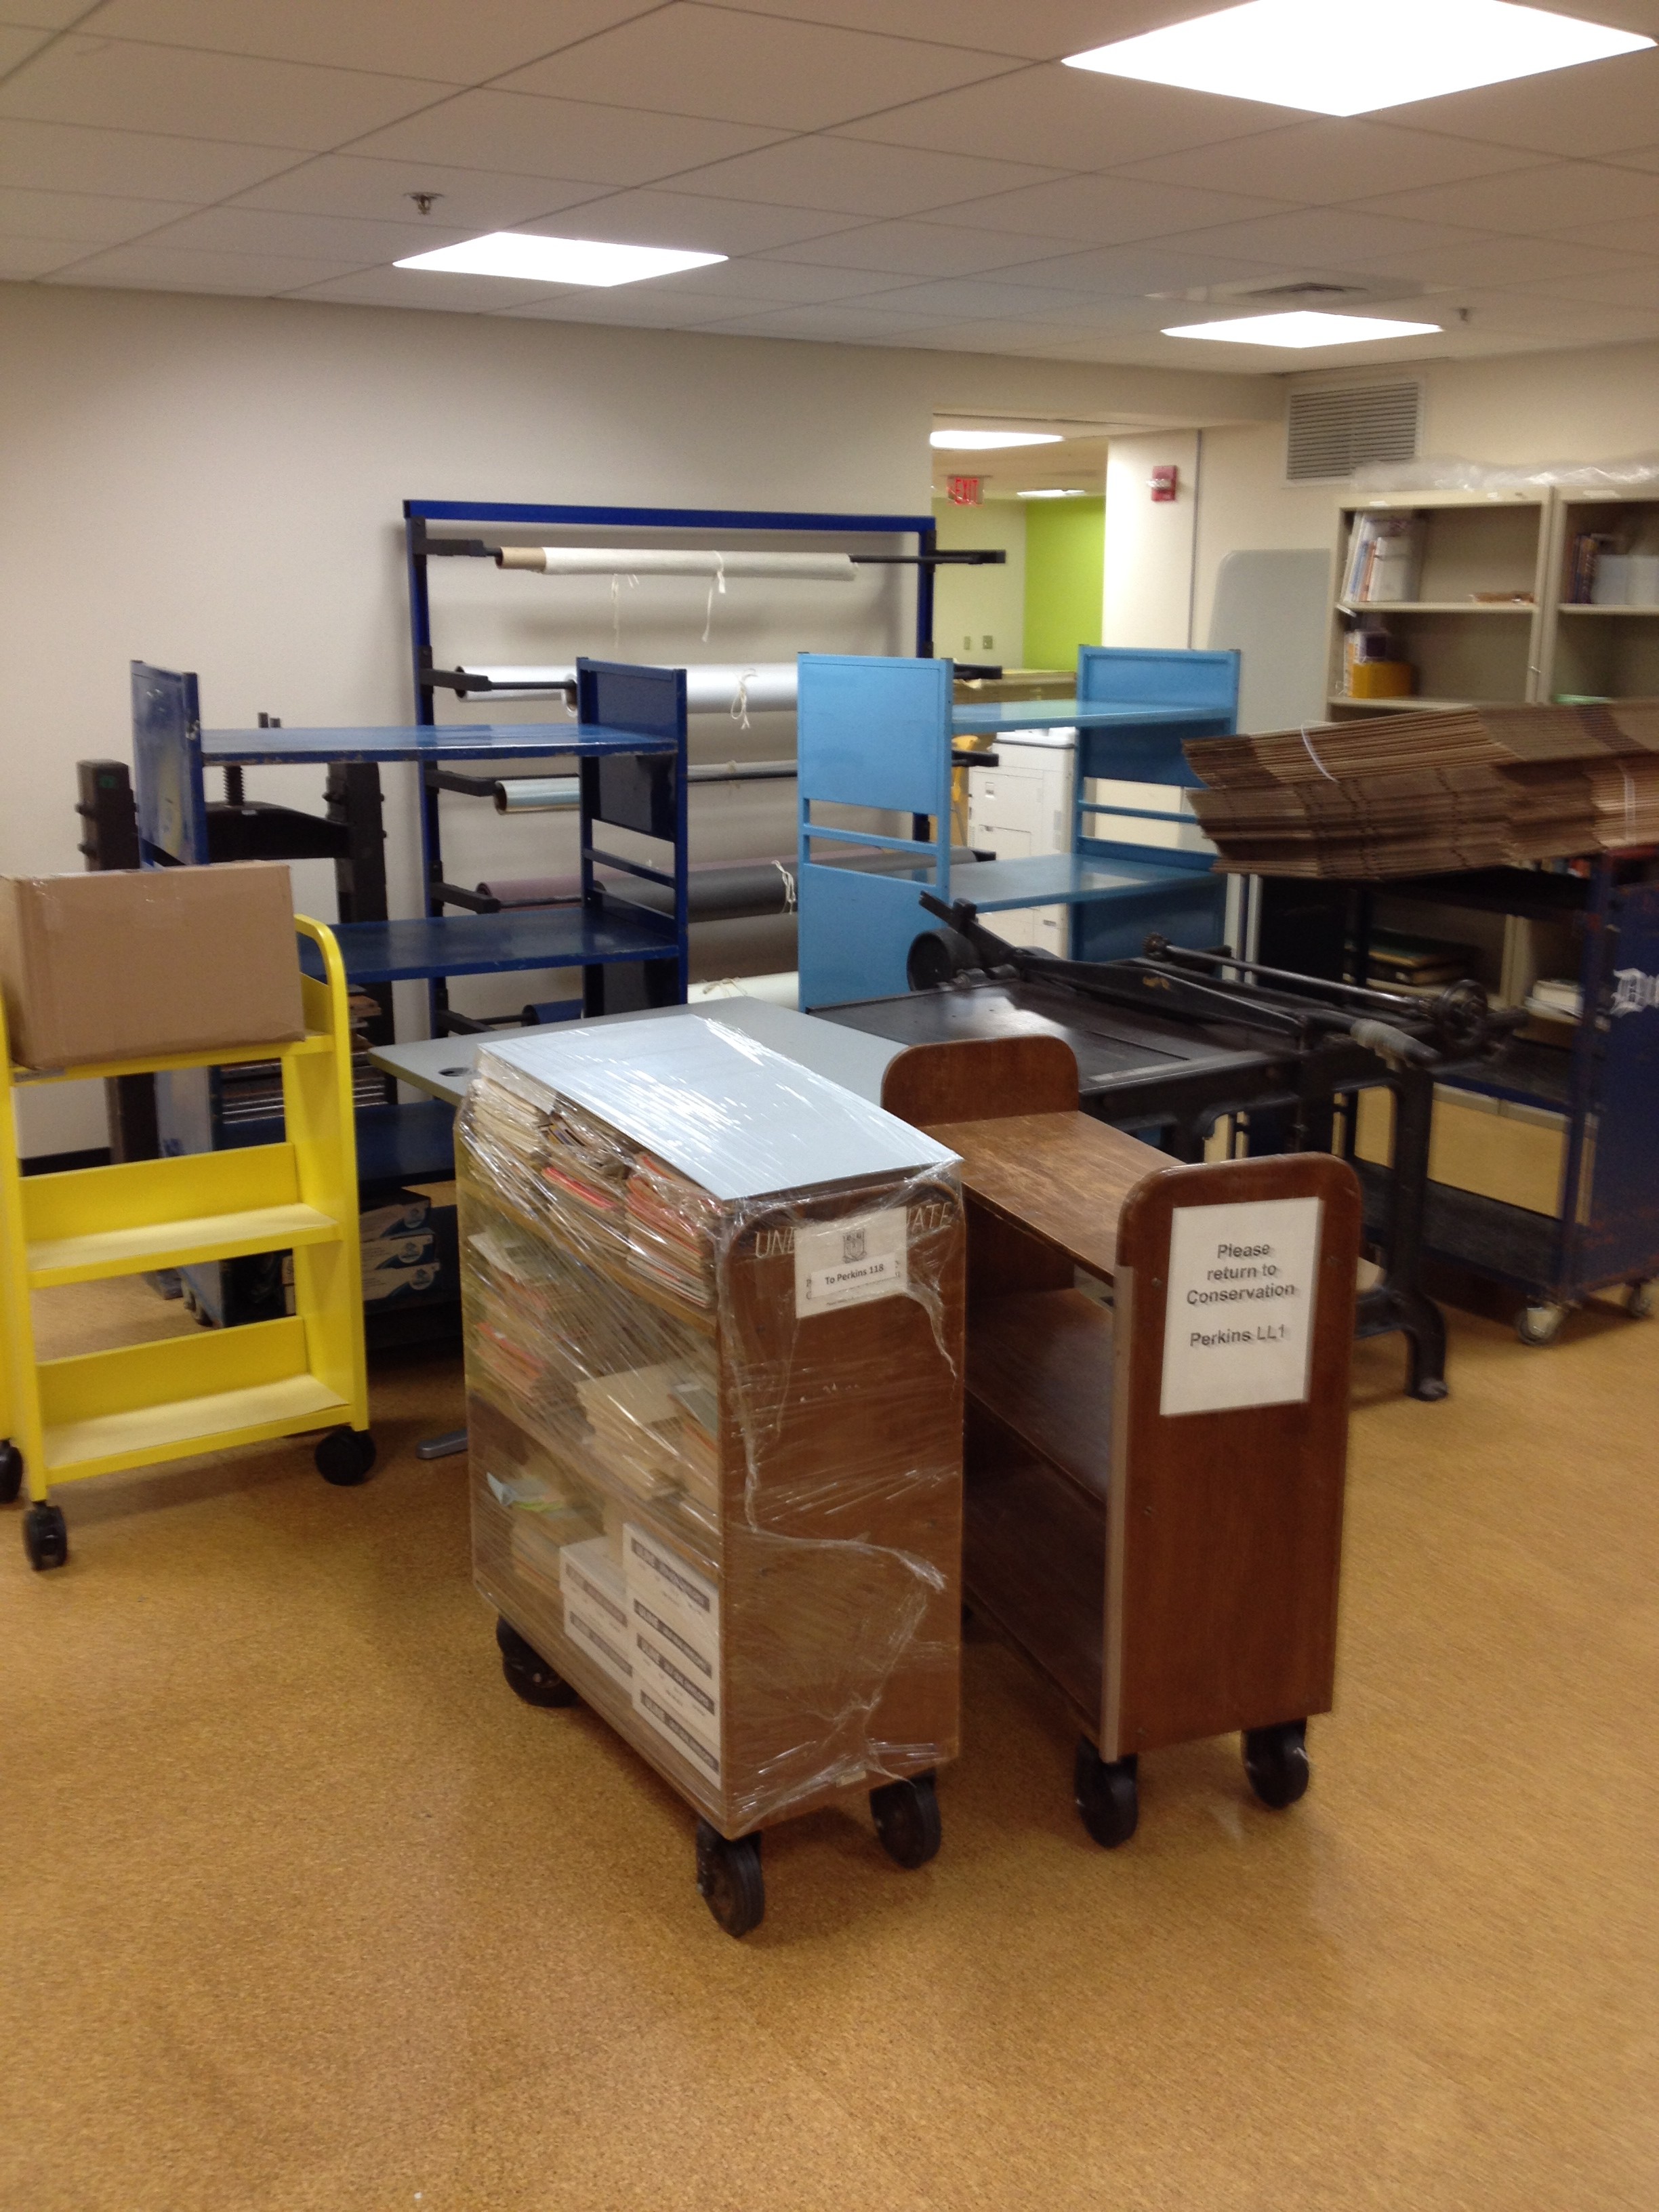
We are undergoing an epic boxing day…boxing the entire lab to move temporarily off site. Construction work needs to be done in our ceiling, which means we need to move out to make way. We are packing up the entire lab and moving some of it to temporary space, some will go into storage. If all goes well, we will be back into the lab in mid-December. Wish us luck!


