
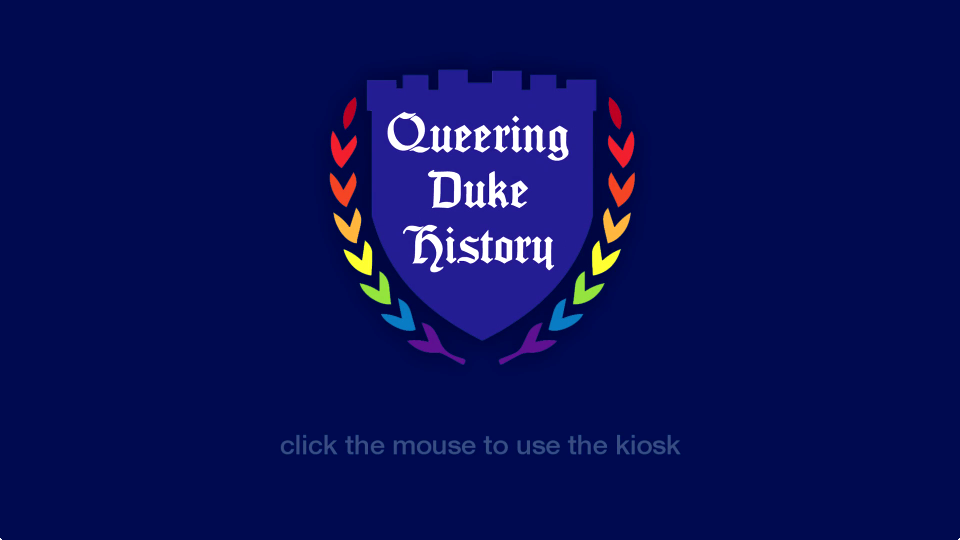
I’ve had the pleasure of working on several exhibit kiosks during my time at the library. Most of them have been simple in their functionality, but we’re hoping to push some boundaries and get more creative in the future. Most recently, I’ve been working on building a kiosk for the Queering Duke History: Understanding the LGBTQ Experience at Duke and Beyond exhibit. It highlights oral history interviews with six former Duke students. This particular kiosk example isn’t very complicated, but I thought it would be fun to outline how it’s put together.

Hardware
Most of our exhibits run on one of two late 2009 27″ iMacs that we have at our disposal. The displays are high-res (1920×1080) and vivid, the built-in speakers sound fine, and the processors are strong enough to display multimedia content without any trouble. Sometimes we use the kiosk machines to loop video content, so there’s no user interaction required. With this latest iteration, as users will be able to select audio files for playback, we’ll need to provide a mouse. We do our best to secure them to our kiosk stand, and in my tenure we’ve not had any problems. But I understand in the past that sometimes input devices have been damaged or gone missing. As we migrate to touch-screen machines in the future these sorts of issues won’t be a problem.
Software
We tend to leave our kiosk machines out in the open in public spaces. If the machine isn’t sufficiently locked down, it can lead to it being used for purposes other than what we have in mind. Our approach is to setup a user account that has very narrow privileges and set it as the default login (so when the machine starts up it boots into our ‘kiosk’ account). In OS X you can setup user permissions, startup programs, and other settings via ‘Users and Groups’ in the System Preferences. We also setup power saving settings so that the computer will sleep between midnight and 6:00am using the Energy Saving Scheduler.
My general approach for interactive content is to build web pages, host them externally, and load them on to the kiosk in a web browser. I think the biggest benefits of this approach are that we can make updates without having to take down the kiosk and also track user interactions using Google analytics. However, there are drawbacks as well. We need to ensure that we have reliable network connectivity, which can be a challenge sometimes. By placing the machine online, we also add to the risk that it can be used for purposes other than what we intend. So in order to lock things down even more, we utilize xStand to display our interactive content. It allows for full screen browsing without any GUI chrome, black-listing and/or white-listing sites, and most importantly, it restarts automatically after a crash. In my experience it’s worked very well.
User Interface
This particular exhibit kiosk has only one real mission – to enable users to listen to a series of audio clips. As such, the UI is very simple. The first component is a looping ‘attract’ screen. The attract screen serves the dual purpose of drawing attention to the kiosk and keeping pixels from getting burned in on the display. For this kiosk I’m looping a short mp4 video file. The video container is wrapped in a link and when it’s clicked a javscript hides the video and displays the content div.
The content area of the page is very simple – there are a group of images that can be clicked on. When they are, a lightbox window (I like Fancy Box) pops up that holds the relevant audio clips. I’m using simple html5 audio playback controls to stream the mp3 files.


Finally, there’s another javascript running in the background that detects and user input. After 10 minutes of inactivity, the page reloads which brings back the attract screen.
The Exhibit
Queering Duke History runs through December 14, 2014 in the Perkins Library Gallery on West Campus. Stop by and check it out!